Start problems

Sylvia has been giving me intermittent starting problems the last few years. Rarely has it been so bad that she wouldn’t start at all, but it’s gotten progressively worse.

While on my way to catch a ferry after visiting friends in Amsterdam I stopped in Germany to get gas. I wasn’t on a very tight schedule, but did want to arrive at the terminal in time to relax a little and enjoy the trip. After filling up, the car refused to start. The dreaded (but by now familiar) “click-click” happened each and every time. Usually after a few attempts the engine fires up, but here in the middle of nowhere, Germany, a half an hour later I was starting to sweat a little.

A nice old man was kind enough to give me a jump (but the problem isn’t a low battery), Sylvia finally took the hint and roared to life. I didn’t turn the engine off again until I was on the ferry!

So it was time to get to the bottom of this. A fellow owner had made his own investigation and caught the pinion gear red-handed stopping before it engaged the ring gear. At the time both of us thought that the “click” sound was due to the gears hitting each other, but not continuing past that point to engage. Later we discovered that they never got that far.

I started by measuring the voltage in the battery and checking the starter relay. 13.8v in the battery, the relay was worn (apparently arcing) but worked fine and passed current.

Next up was to check all grounding points. Each one showed good and constant ground, meaning that the problem lies elsewhere.

I would have suspected the starter motor, but it’s been rebuilt. In fact both of them have (always good to have a spare), with US sourced OEM parts (see one of my previous posts about the same, found here).

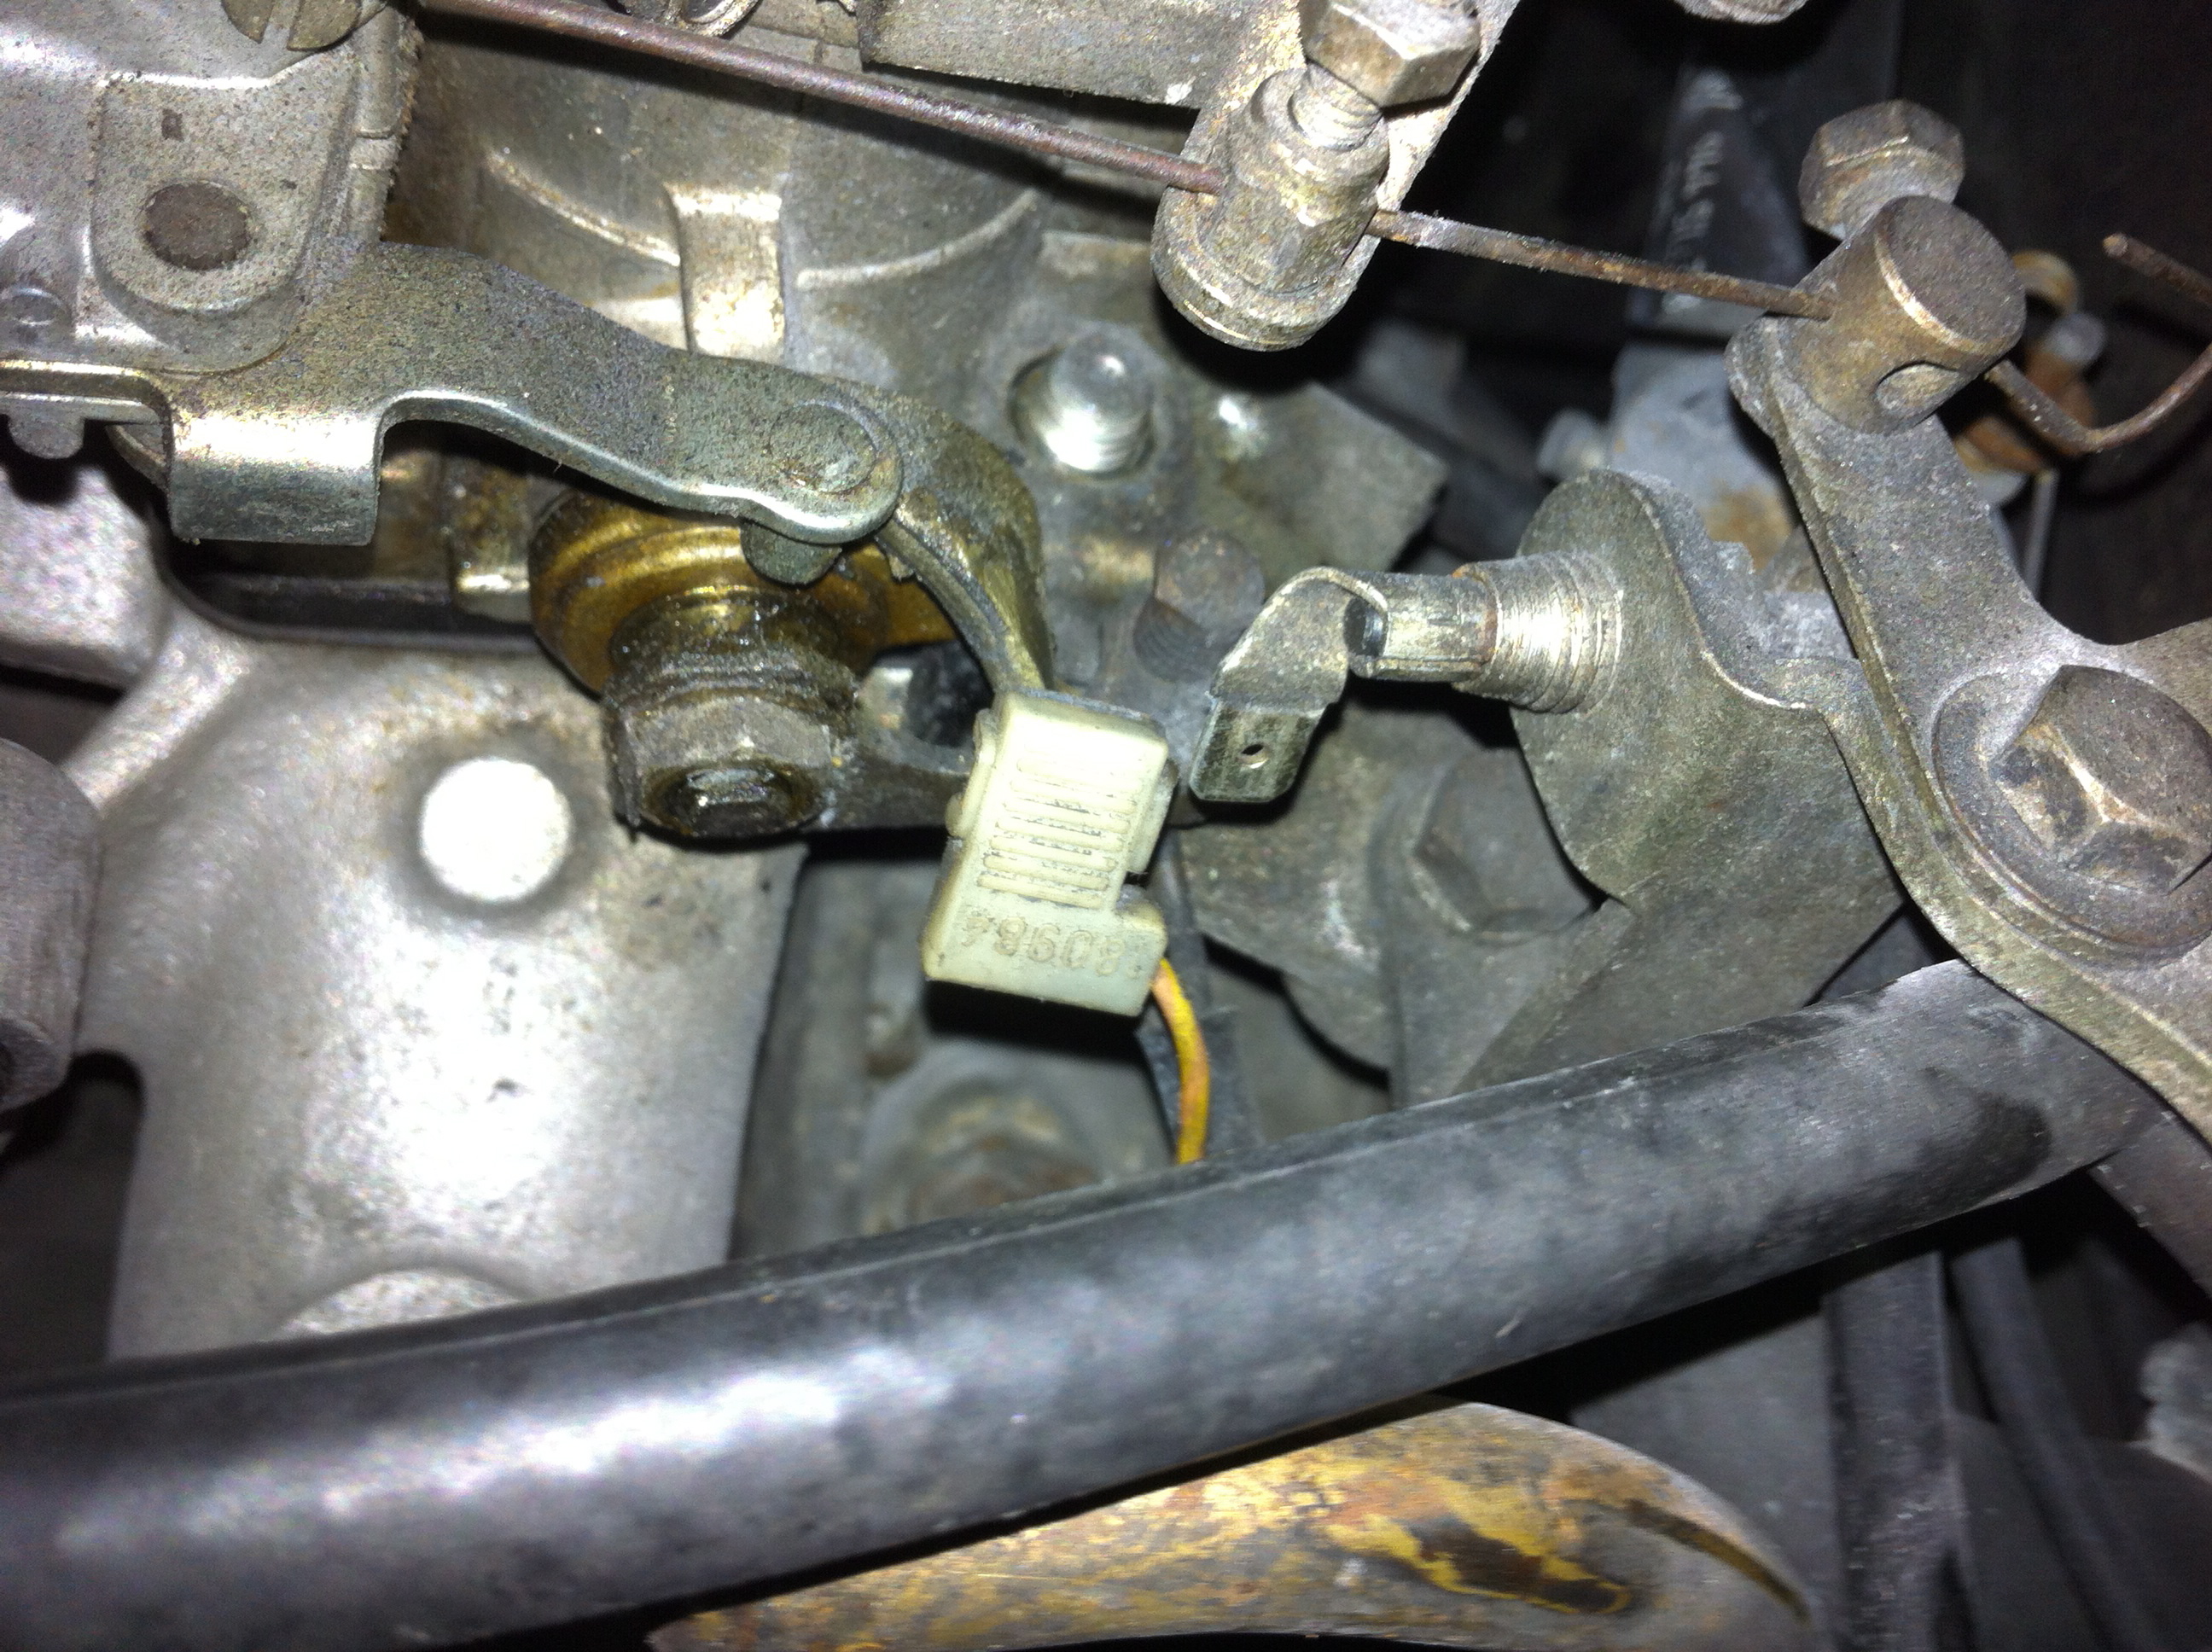
The detective work continued by measuring the voltage at the starter when cranked. The wire from the battery to the starter is huge, probably 1 guage or so. The one to the solenoid is smaller, and is spliced to a wire that leads into the cabin and the relay. We found that the splice was stealing over 1/2 a volt, and by the time it got to the starter solenoid there were only 9.7 – 9.8vDC, while there should be at the very minimum 10.5 – 11vDC to engage the solenoid and trigger the starter.

Judging from the looks of the cable, together with its age, it’s past due for replacement. A new one is on order from Campana in Italy. If the problem persists, at least one variable has been eliminated.
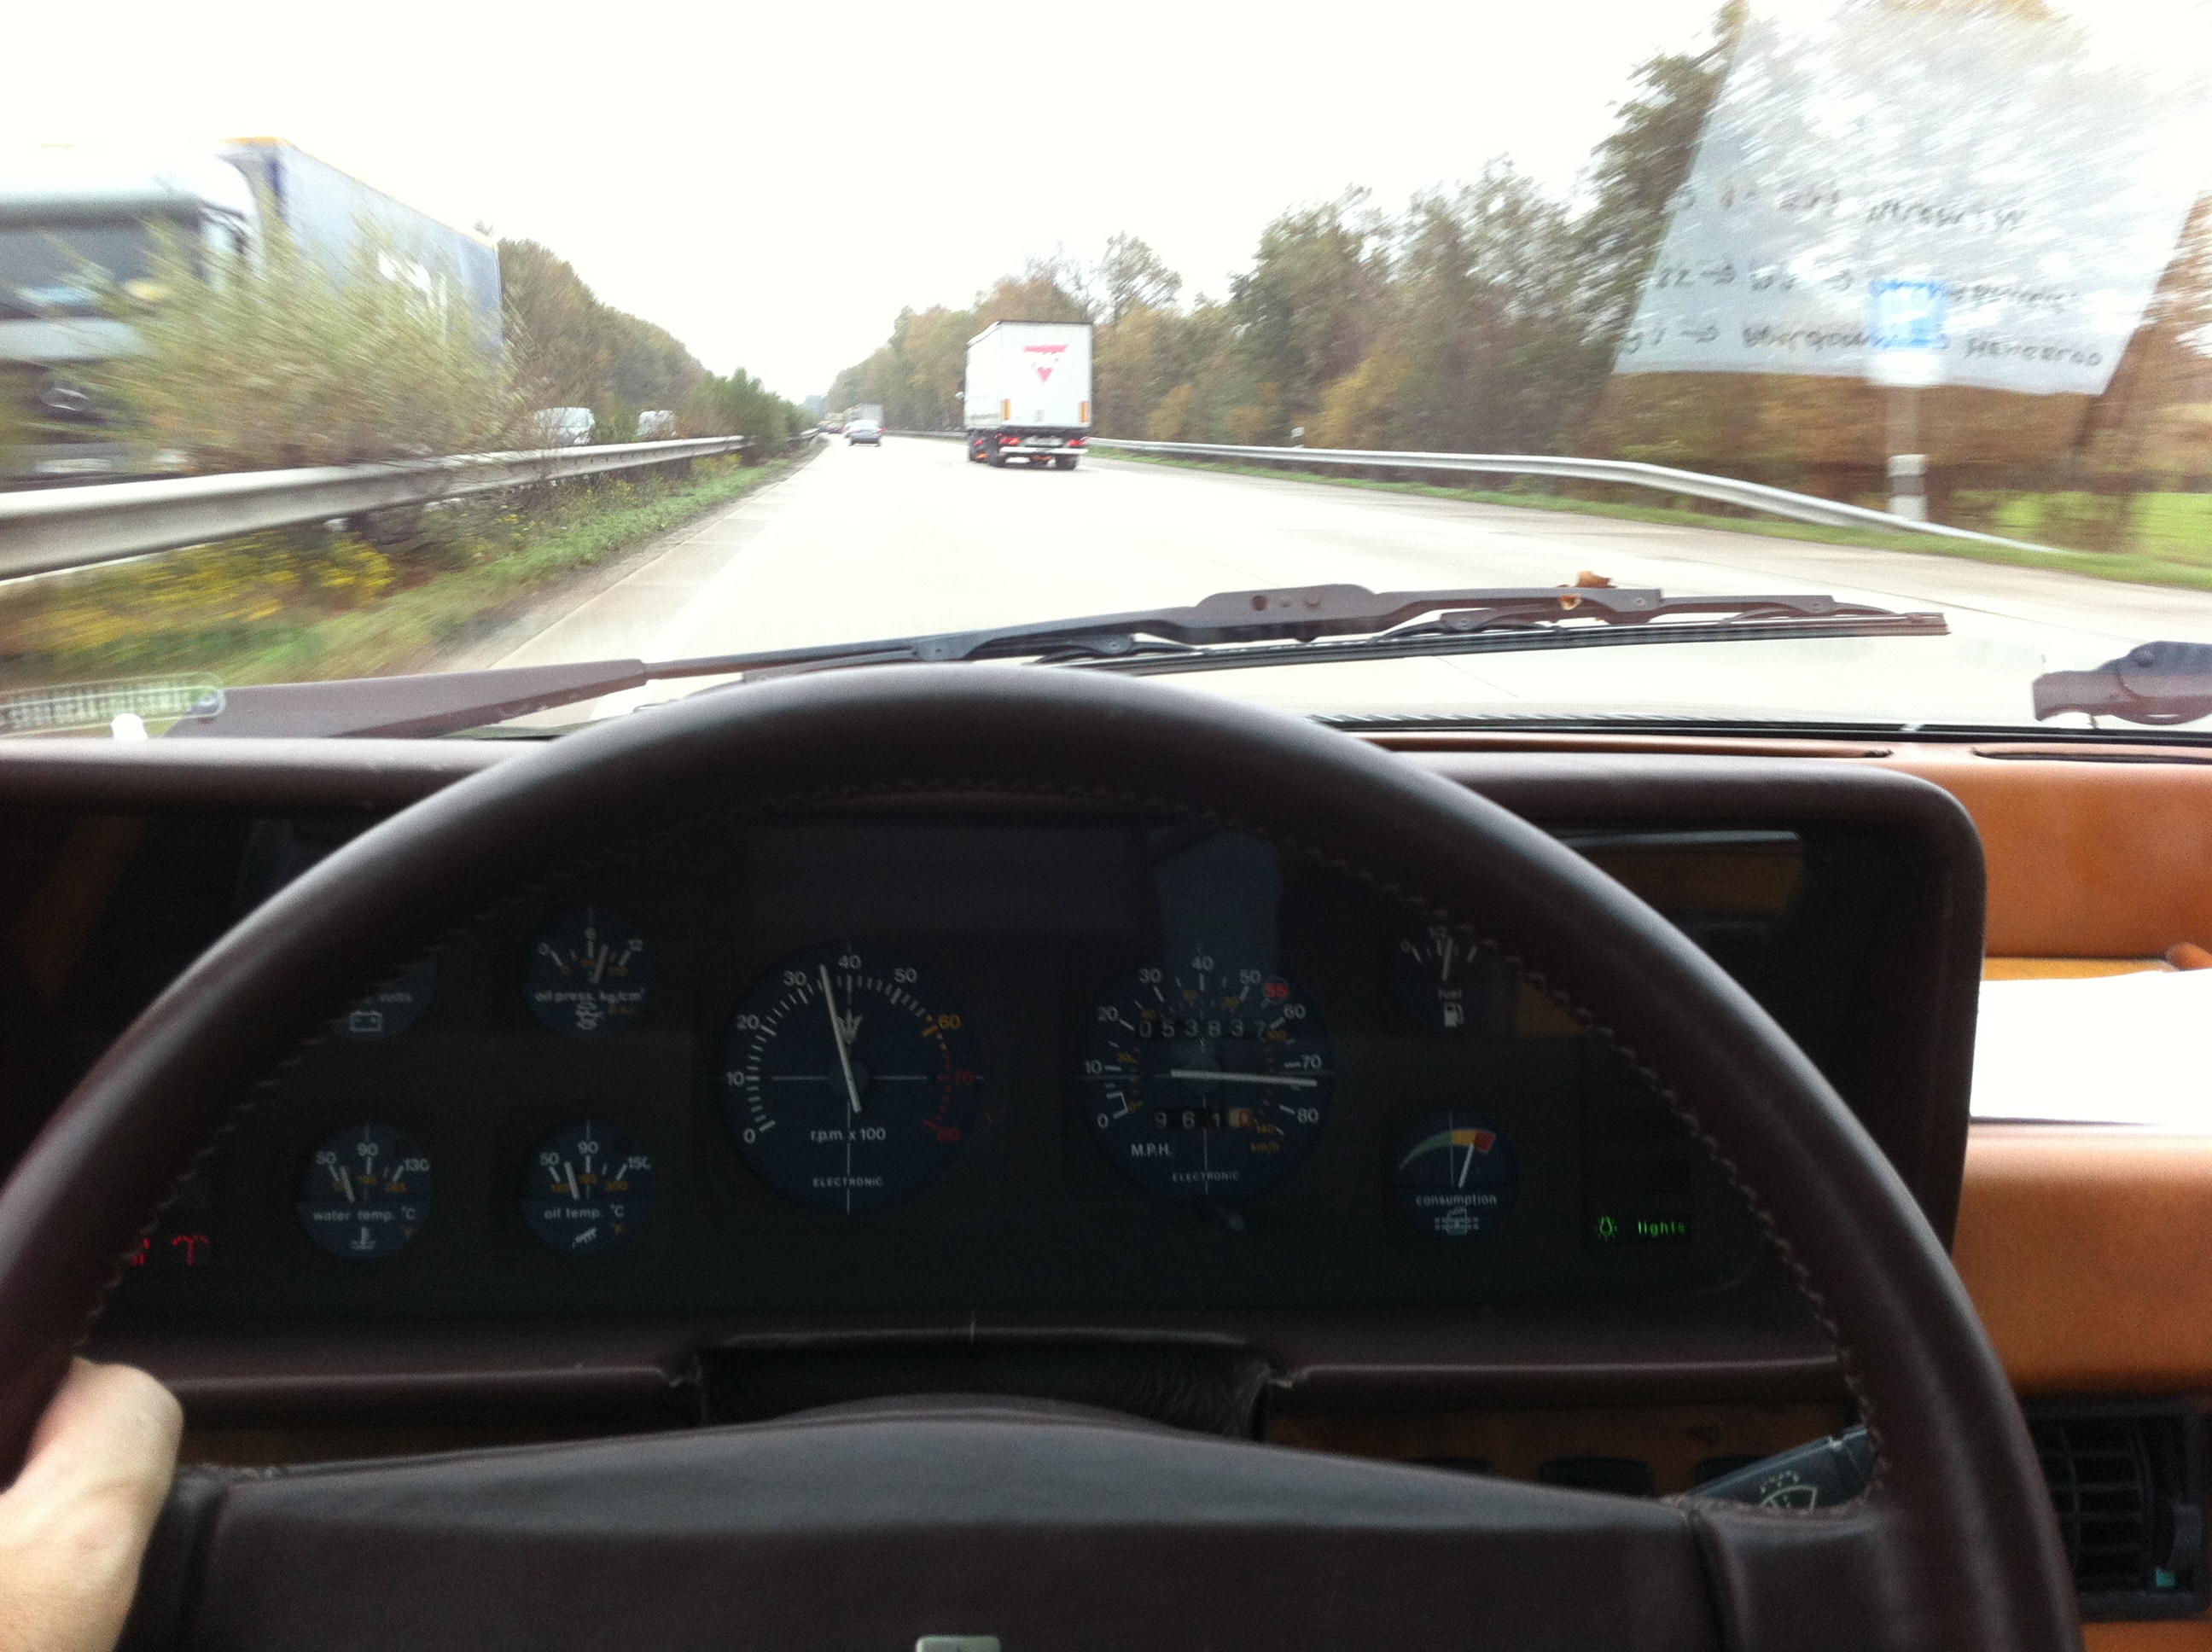
Will it start..?

Running rough

After the carburetor rebuild, I had expected the engine to purr like a kitten and scream like a race car. This is a Maserati, after all.

Such was not to be the case.

Dialing in the correct air:fuel mixture with a Gunson Colortune seems straightforward enough, as well as mighty clever. You can actually see what’s going on in the combustion chamber while the motor runs. Pure genius. I first disconnected the air pump and vacuum system as per the service manual, but found it nearly impossible to find a good (and stable) idle speed as well as the proper light-blue flame in the cylinders.

One issue was that I was only seeing combustion every 1 or 2 seconds on average, the rest of the time all I could see was a spark. With the colortune it’s WYSIWYG, so something was wrong.

The other issue, which later revealed itself to be dependent on the first, was that several cylinders were impossible to get a nice bright blue flame by tweaking the idle mixture screws. I did as best I could and the car ran ok, just not as smoothly as I wanted.

At higher rpms I was able to observe continuous combustion and with an appropriate color. So it seemed that the acceleration circuit was working correctly.

Still, the car would at times idle a bit roughly and still felt a bit less powerful than expected, and the number one cause of carb problems and uneven running is air leaks. The timing had already been checked and set by a mechanic during one of the previous dyno runs.

My car is a US spec one, meaning it’s fitted with emissions equipment in a (futile) attempt to reduce its substantial contribution to global warming. I’d like to say I do my part, after all I did fit catalytic converters on the car.

A friend came by and we mapped out the vacuum system, tracing each hose and line in an effort to pinpoint any potential problem or leak.

There’s a diagram on the inner fender, passenger side, but basically there’s a  cam cover breather hose and recirculated fuel/air pipe off of cylinders 1 & 2, and there are hoses forming a loop off the front and rear of the intake manifold. These are controlled by 2 solenoids , the one closest to the firewall activates the vacuum advance on the distributor, the other appears to be connected to the charcoal canisters. There are butterfly plates to close the air input in trumpets of air box when cold, until the engine warms up, and charcoal vapor canisters to collect unburned vapors off the carbs and cam covers.

Following the vacuum lines with the engine running, we quickly discovered that the solenoid that controls vacuum advance wasn’t doing its job. It wasn’t clear if it had reached retirement age or was on strike, but by bypassing it (easy enough as there already was a tee there to connect from the solenoid to the hvac controls in the car) the idle smoothed out instantly. That one small adjustment, and suddenly Silvia sounded a lot more like a Maserati!

Smog system solenoids

Without the help of the vacuum advance, the mixture in the cylinders is ignited too late in the Otto cycle to make power, allowing for the speed of the engine. That explains why at higher rpms the engine was running better, as the mechanical advance takes over for the vacuum advance used at idle. When we bypassed the solenoid, effectively putting the vacuum advance “on” at all times, the idle smoothed out and we were able to tune the carburetors for ideal air/fuel mixture.

Our assumption received further confirmation when we hooked up the Colortune again and were easily able to dial in picture perfect blue-flame combustion on all cylinders. Some were easier than others, it might be that the adjustment screws need replacing.

With this taken care of, next up is to register consumption and power over the next few weeks and then revisit the timing to get it as optimal as possible.

Carburetor rebuild

After a day at the dyno shop, their recommendations were to fix the leaking exhaust and clean and rebuild the carbs. No. 2 carb was leaking, and they adjusted the others as best they could. The car felt peppier and had more power, but there’s always room for improvement.

I pulled the carbs off of the manifold, the job is pretty straightforward. Remove the air box and lay it off to the side, unbolt the trumpets from the air box baseplate, disconnect the vacuum & breather hoses at the same time.

IMG_7889 IMG_7890 IMG_7891 IMG_7895 IMG_7907


Remove the choke wire on the drivers side and disconnect the microswitch connector. Pull and plug the fuel line from the fuel rail input. Loosen the hose clamps on each fuel inlet line and remove the fuel rail. At this point you can loosen the nuts holding the carb baseplates down and remove the carbs. Note that carb 1 and 2 (counting forwards from the firewall) hold each other in place, meaning you may have to remove carb 1 before 2. I started with carb 4 and worked my way backwards when I discovered this the hard way.

IMG_7911

IMG_7916  IMG_7944 IMG_7938

Inspect the phenolic riser plates for wear and unevenness, anything that can let ‘unmetered*’ air through is a bad thing and will cause endless headaches, bad running and a general all around bad mood.

Plug the manifold openings to prevent unwanted objects from finding their way into the cylinders. That would really ruin your day.

IMG_8412

Coming up: carb teardown.

*unmetered – a carburetor is essentially a controlled air leak into the engine. It mixes a precise amount of fuel with the air that flows through the venturii to provide an optimal fuel:air mixture. Any air entering the system by other means, ie via a leak, will unbalance the ratio and render all tuning and tweaking moot.

First drive

I’m not going to quote the Joe Walsh song, we all know it and it’s horribly cliché. But it’s the only song I know about a Maserati (if you happen to know of another one, leave a comment!).

No, I didn’t make it up to 185, have to keep things real, as well as within local speed limits.

"...does 185", but *we're* not doing 185. Not today.
“…does 185”, but *we’re* not doing 185. Not today.

Sylvia performed marvelously, aside from a temperamental starter – I thought that was fixed?!? I noticed at the start of my drive that there were a lot of rattles, creaks and noises in general. After a while everything seemed to settle down, and even later things were perfect, the only noise coming from the shifter badge that rattles once in a while. I notice that the asphalt quality has a lot to say as far as noise levels in the cabin go, and taking a few really nice long drives helped shake things down and allowed everything to settle in.

The first drive was in a downpour, and I was happy to note that not a single drop of water entered the cabin anywhere. Dry as a bone. The new seals perform perfectly, and also help to keep noise out.

A long drive on the freeway was uneventful, the car performing admirably, cruising along smoothly and rapidly for hours on end. Because of the comfort of the interior, you don’t really notice the acceleration or the true speed you’re traveling. 80mph feels more like 50. Hit the gas and you can see the speedometer gain rapidly, but the acceleration feels effortless. It’s very refined.

IMG_7516

There’s still a bit of vibration between 2200 – 2800 rpm in 3rd gear. One guy I spoke with said he suspects it’s the prop shaft and commented it immediately when we went for a drive. He thinks it probably happens in 1st and 2nd as well, but isn’t as noticeable at lower speeds. It’s not a huge deal, and the prop shaft went back into the car in the exact same orientation as when we took it out to overhaul the transmission (we marked it), but it is something I’d like to have checked and make sure it’s correctly balanced.

The new front headlights are brilliant! Literally. They light up the road so much better and are extremely precise in their throw, you can see exactly what area they cover perfectly, and it’s exactly the area needed to drive at night. The high beams only increase the reach and are nicely constrained to the road and shoulder. Kudos again to Daniel Stern, this is one of the best improvements I’ve made to the car.

Hit a double rainbow on the last drive, don’t know if you can see it. It’s lovely how the water beads on the car and simply rolls off.

Double rainbow over  autumn colors
Double rainbow over autumn colors

I’m very pleased with the color, it suits the car so much better than the purplish blue it was painted in before, and the depth and richness of the Blu Sera is truly striking.

All in all I’m extremely satisfied, and really happy to have the car back on the road.

Please don’t be tempted to think that this is the end of this blog – this is after all a 33 year old car! Next up is to put her on the dyno and see how many horses have escaped over the years, and if we can get them all back in the corral…

Comments are open!

The final result

is stunning…..

Factory fresh
Factory fresh
In good company
In good company
ready for business
ready for business

Lots of time spent getting all the last loose ends taken care of.  Headlamp washer jets fitted, mirrors painted and mounted, correct lenses fitted to front blinkers, and much more.

I’m ready for a drive!

Bumpers back

in place, EU spec. Note how the front and rear end look so much tidier and more integrated with the body. It changes the overall stance and look of the car, even though the difference is more subtle than say on the Bora, Merak, or Khamsin.

Forgot to put the EU spec front park/turn light lenses on, the US spec all-amber ones are still in place in the picture.

Great stance
Great stance
looking a lot more businesslike now

We’re rapidly approaching completion!

Come together

right now. Great tune, regardless of who really sang the backing vocals.

Sylvia’s slowly coming back together, it’s really good to see.

The front windscreen wiring is run and connected (and working!), both bumper beams and the four bumper corners painted/refreshed, under arch areas all cleaned off and re-stone chip protected with wax injection done, tires back on wheels and wheels back on car!

I had an auto electrician re-run the main battery leads as well, the way the connections were before left a lot to be desired.

Looking more and more like a car
Ride height corrected, new windshield in place and wired up, approaching completion

Wheel repair

The QP3 comes from the factory with magnesium-alloy rims. Lightweight, strong and an understated yet sporty design that matches the car nicely.

Some people have tried to weld in new metal, or powder coat magnesium alloy wheels. Please don’t. While not an expert myself, those I’ve spoken with have informed me that incorrect treatment of mag-alloy (especially applying heat – while welding, powder coating, etc) will ruin them, making them brittle and prone to shattering.

There are a few online guides that explain how to do it, step by step. For example a fellow WordPress blogger: http://stevekouracos.wordpress.com/restoration/tips-and-tricks/aluminum-magnesium-wheel-restoration/

Here’s what proper restoration can do:

TL262QP
cleaned, stripped and filler applied
Primed and ready to go
painted and clear coated

Seals, gaskets and felts

All apertures on the car have received new gaskets and seals, windows, doors, trunk, etc.

I’m not sure if you can see in the photos, but the doors are now nearly air tight. Driving through a deluge results in not a single drop anywhere in the car, and the road noise is substantially less due to both the better seals and the renewed insulating material in the doors.

TL255QP

new felt and guides
new felt and guides
new guide lips for each window