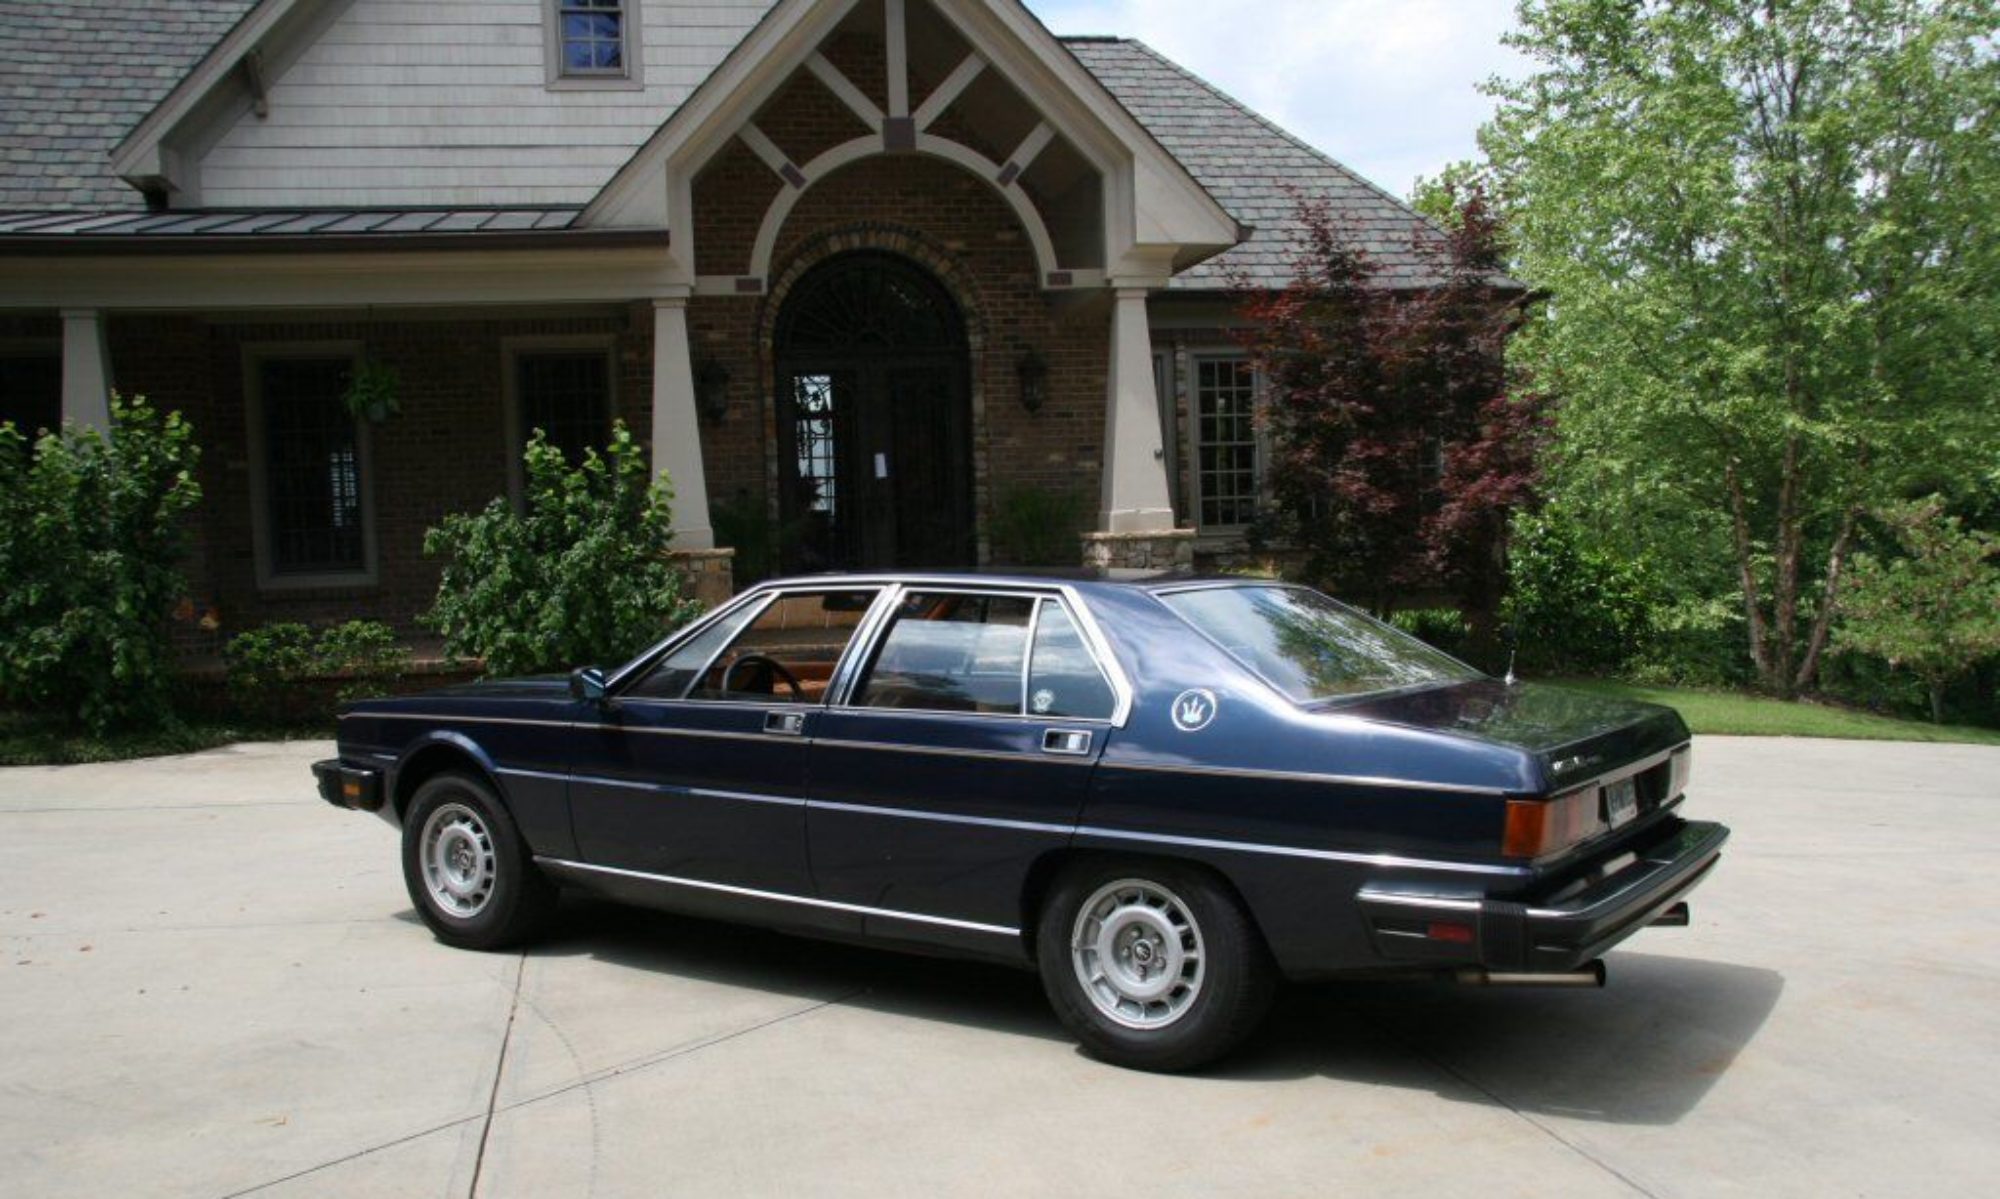
After the carburetor rebuild, I had expected the engine to purr like a kitten and scream like a race car. This is a Maserati, after all.
Such was not to be the case.
Dialing in the correct air:fuel mixture with a Gunson Colortune seems straightforward enough, as well as mighty clever. You can actually see what’s going on in the combustion chamber while the motor runs. Pure genius. I first disconnected the air pump and vacuum system as per the service manual, but found it nearly impossible to find a good (and stable) idle speed as well as the proper light-blue flame in the cylinders.
One issue was that I was only seeing combustion every 1 or 2 seconds on average, the rest of the time all I could see was a spark. With the colortune it’s WYSIWYG, so something was wrong.
The other issue, which later revealed itself to be dependent on the first, was that several cylinders were impossible to get a nice bright blue flame by tweaking the idle mixture screws. I did as best I could and the car ran ok, just not as smoothly as I wanted.
At higher rpms I was able to observe continuous combustion and with an appropriate color. So it seemed that the acceleration circuit was working correctly.
Still, the car would at times idle a bit roughly and still felt a bit less powerful than expected, and the number one cause of carb problems and uneven running is air leaks. The timing had already been checked and set by a mechanic during one of the previous dyno runs.
My car is a US spec one, meaning it’s fitted with emissions equipment in a (futile) attempt to reduce its substantial contribution to global warming. I’d like to say I do my part, after all I did fit catalytic converters on the car.
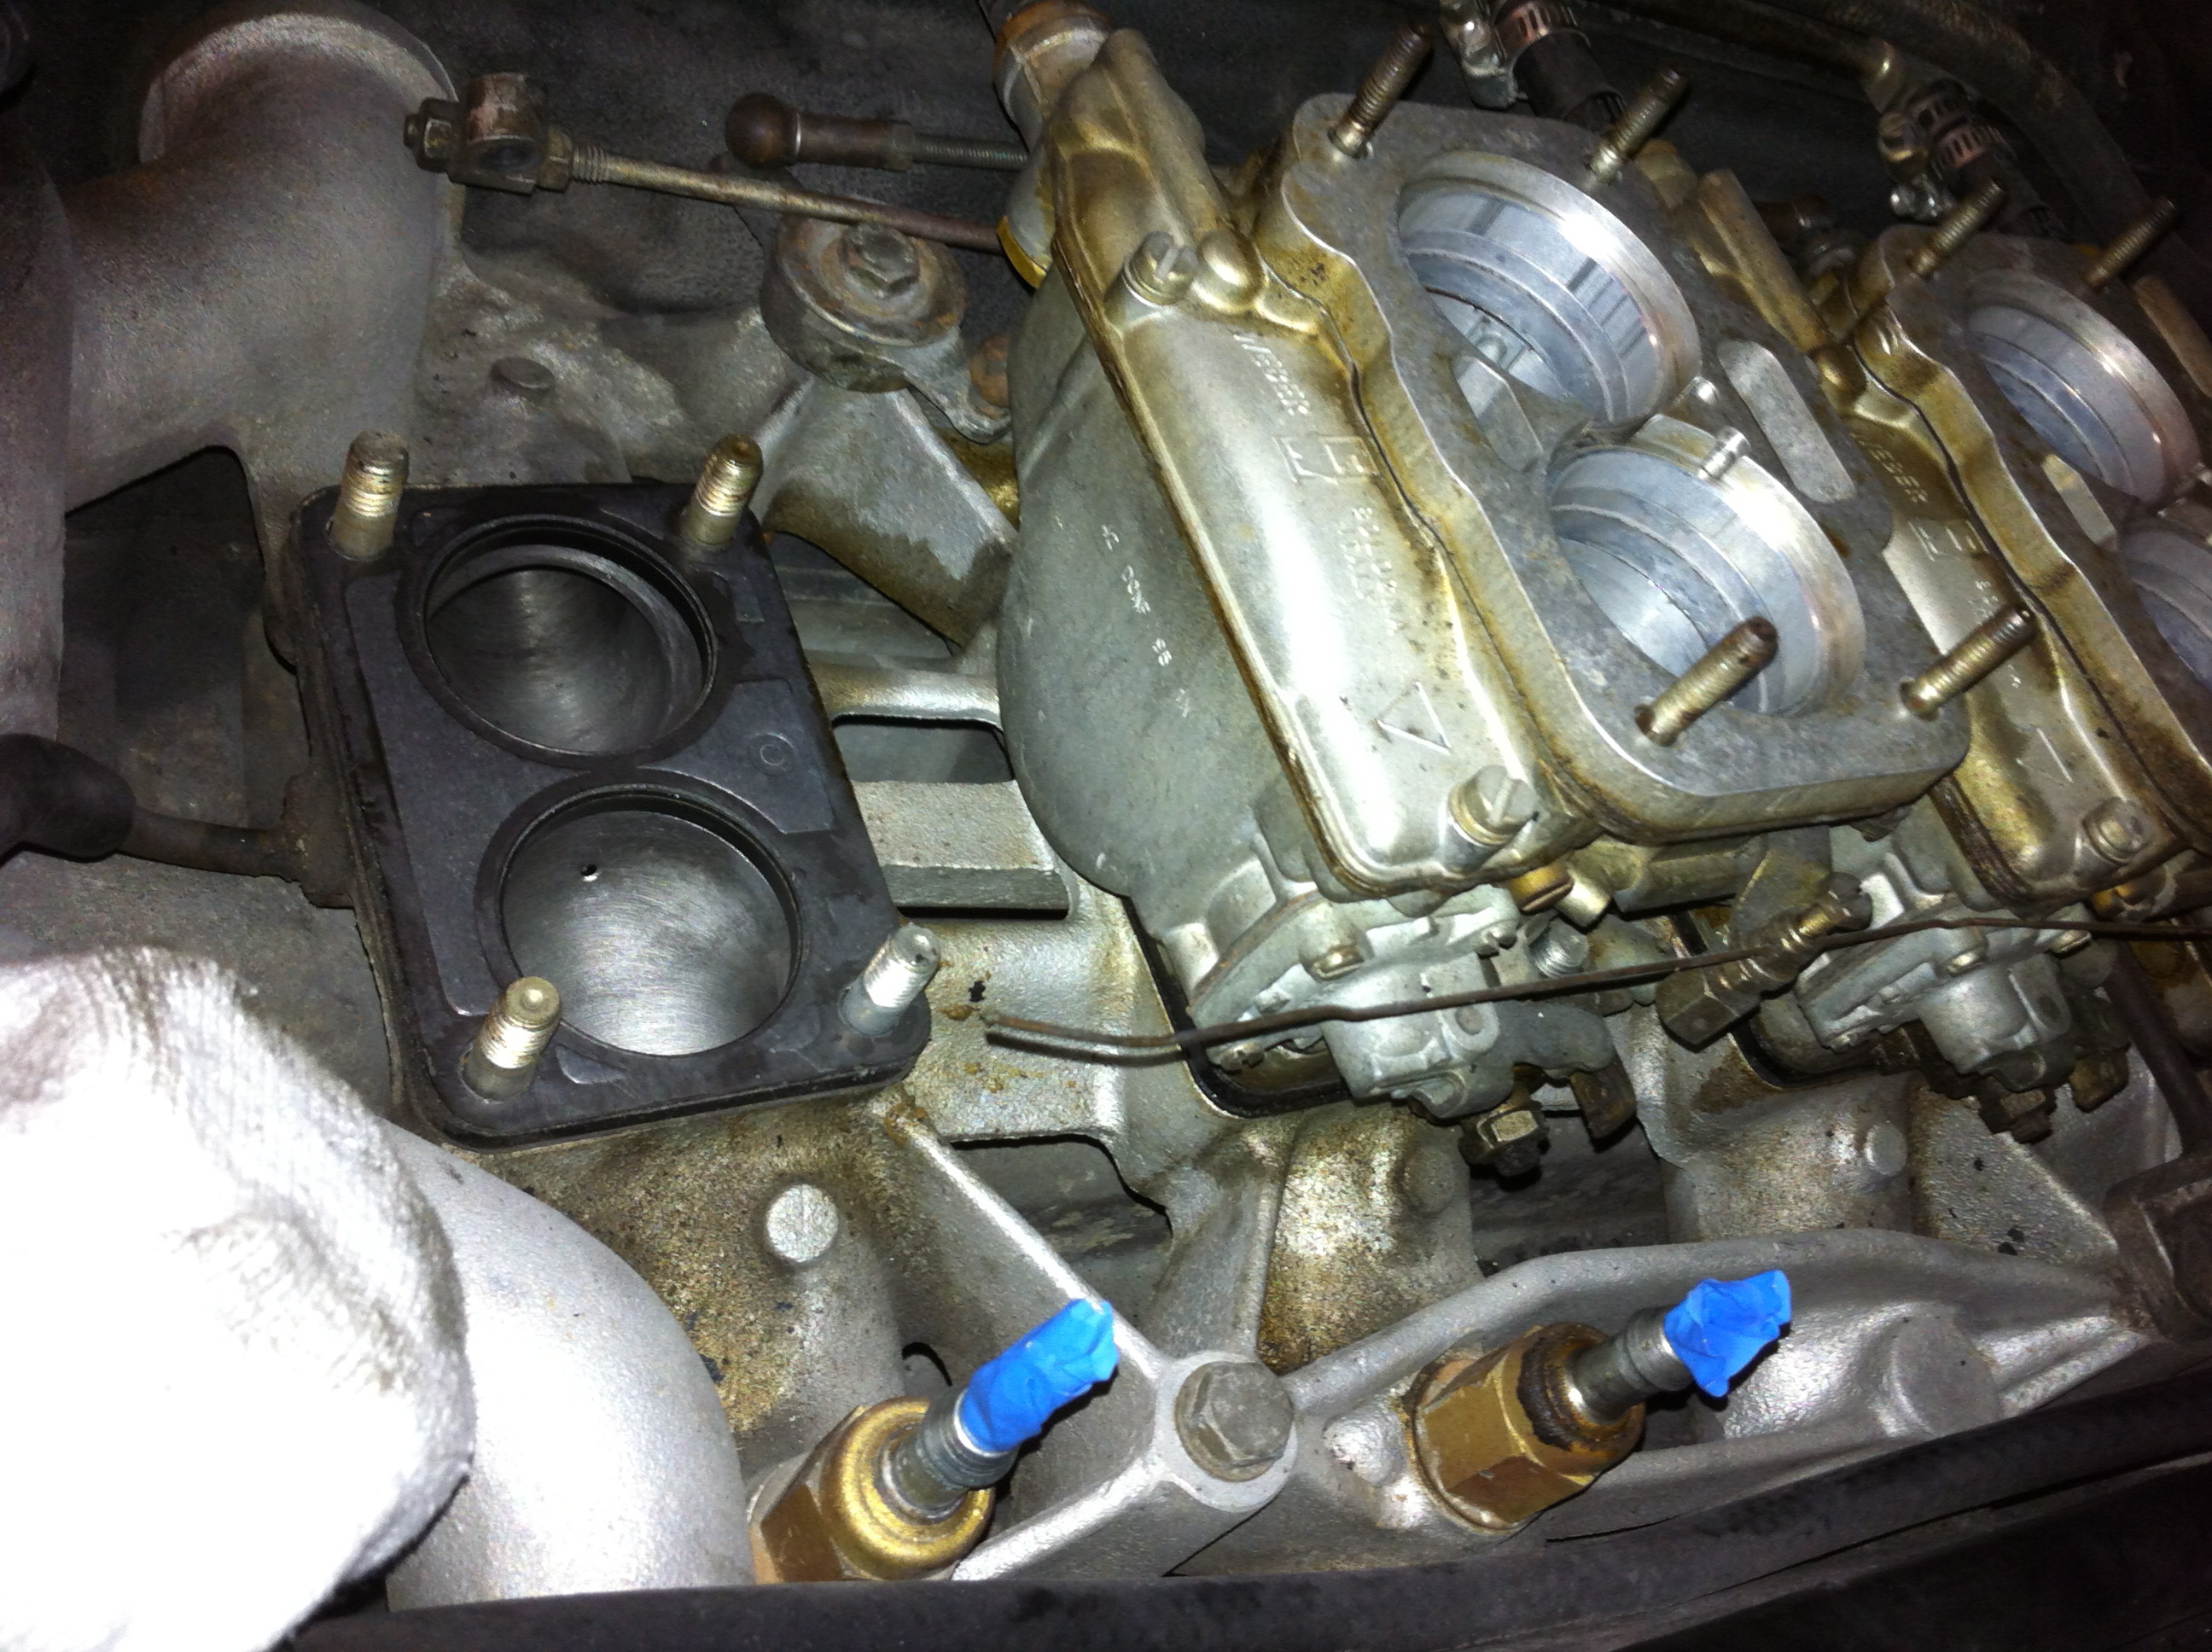
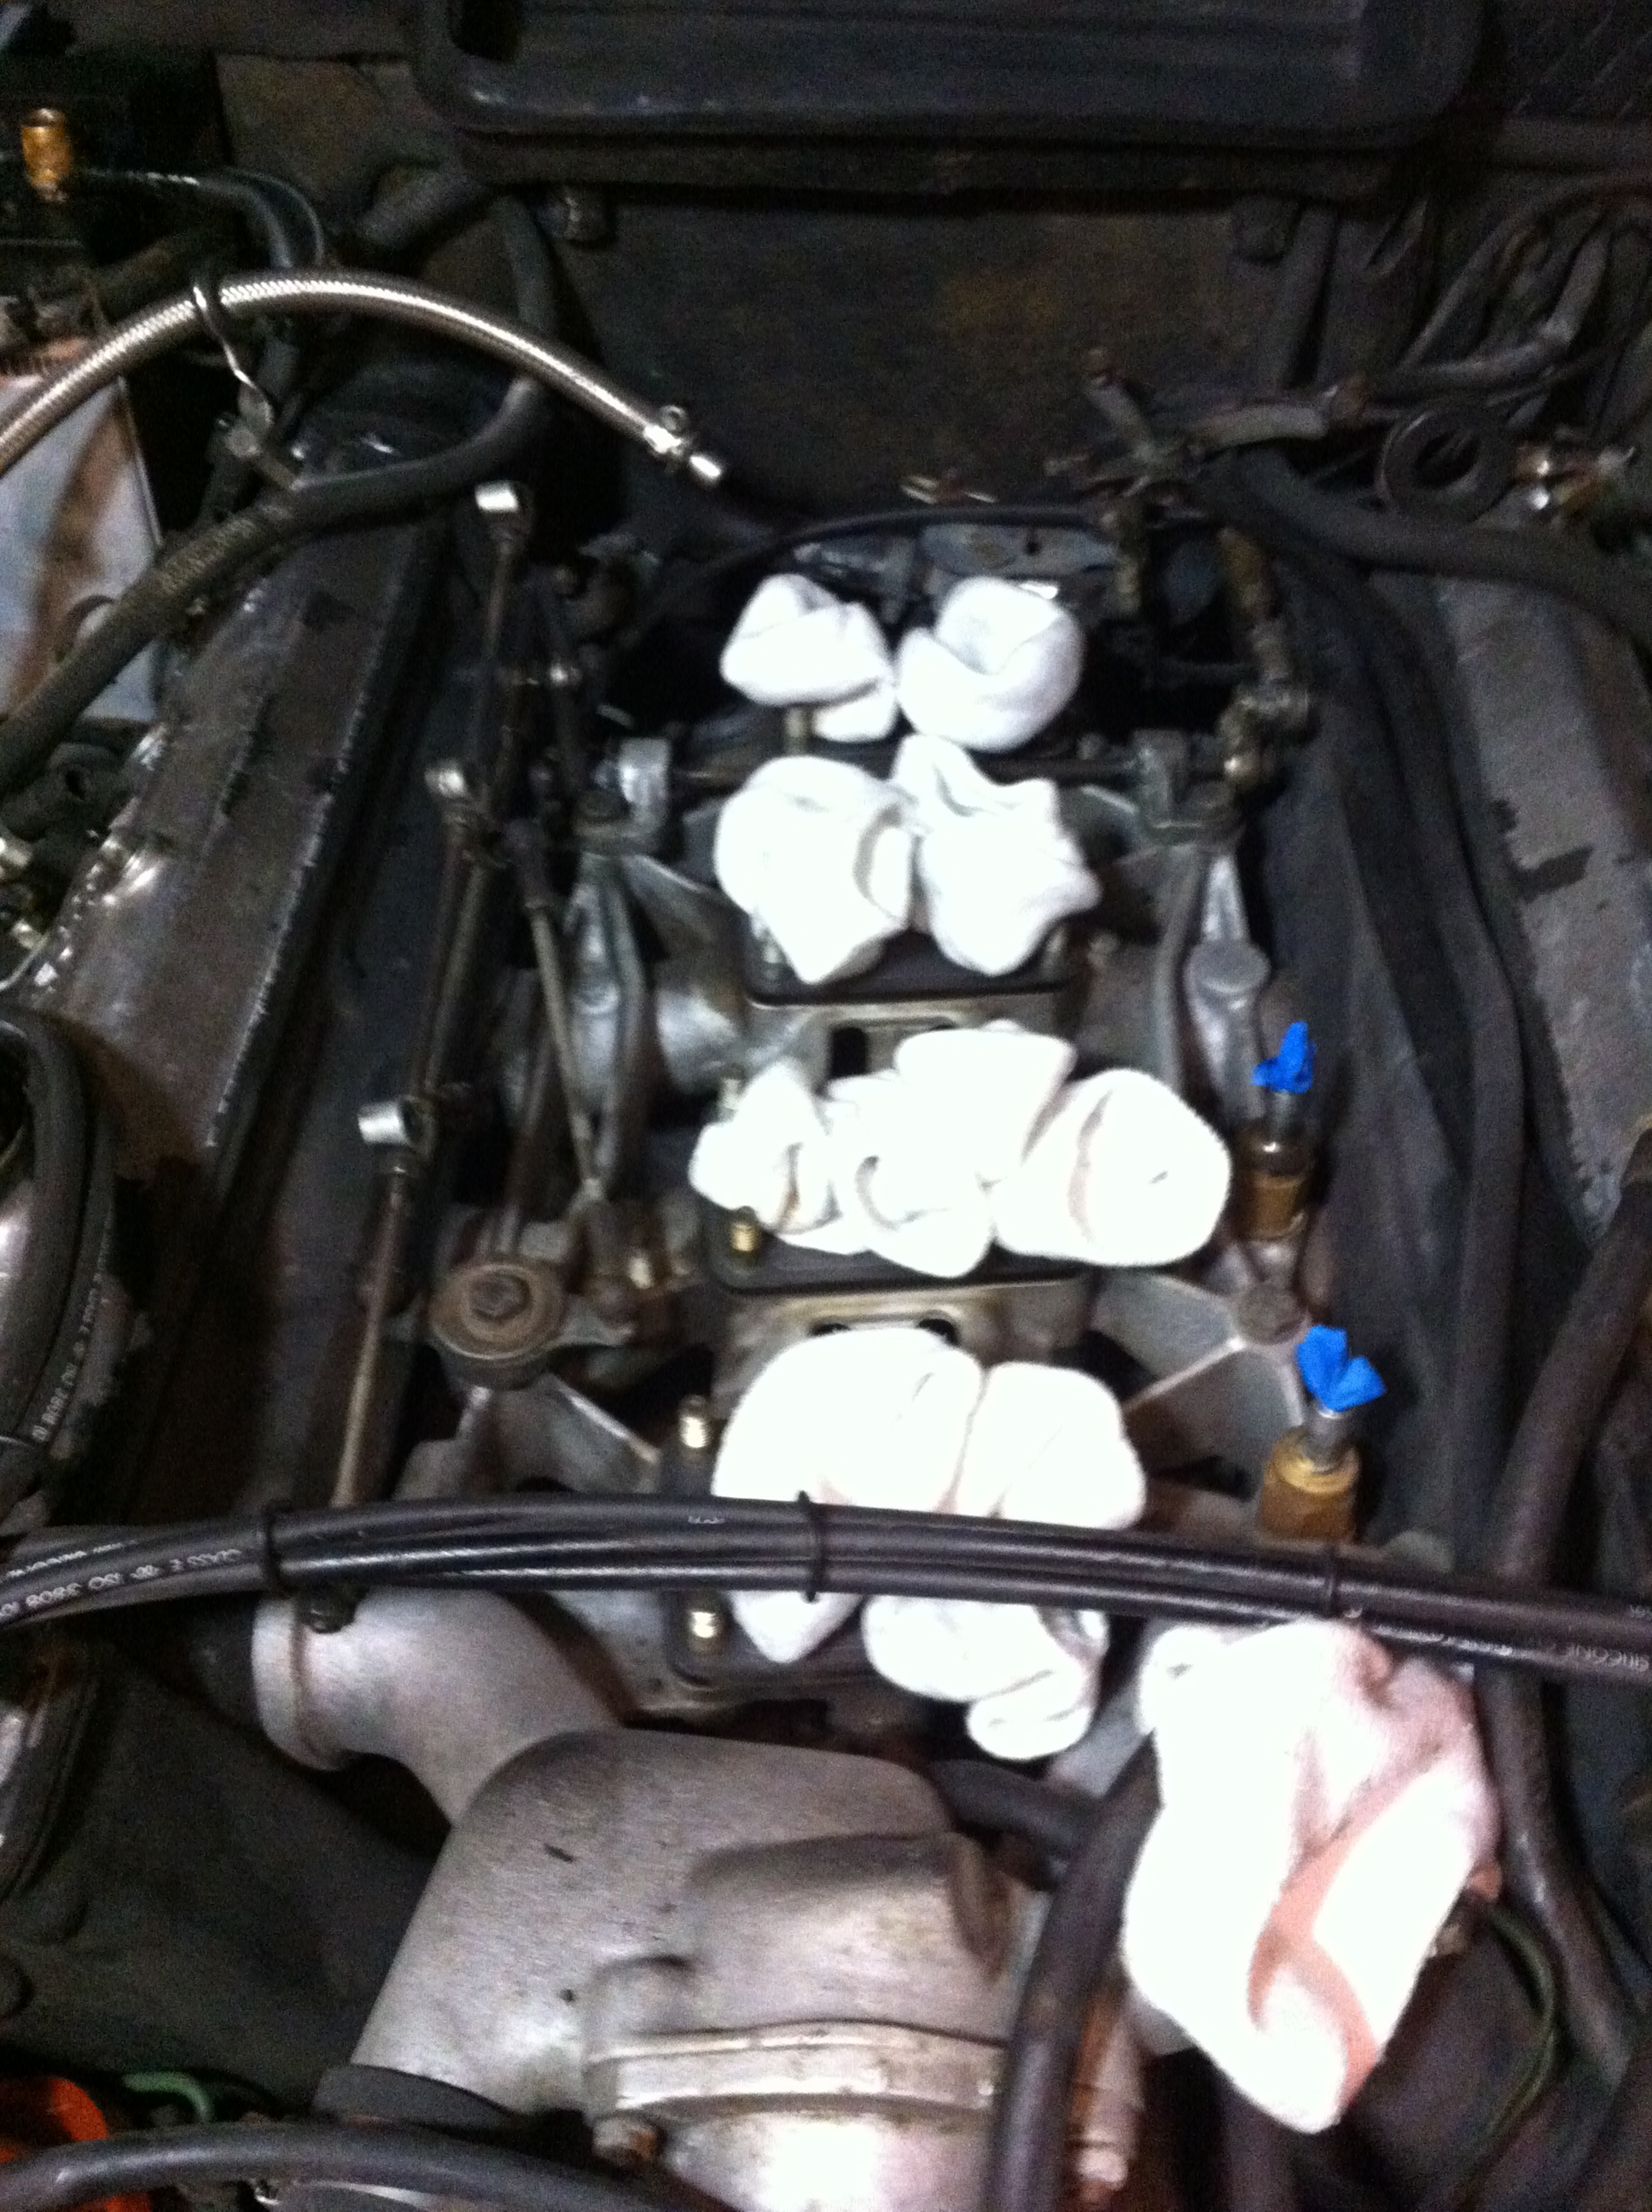
A friend came by and we mapped out the vacuum system, tracing each hose and line in an effort to pinpoint any potential problem or leak.
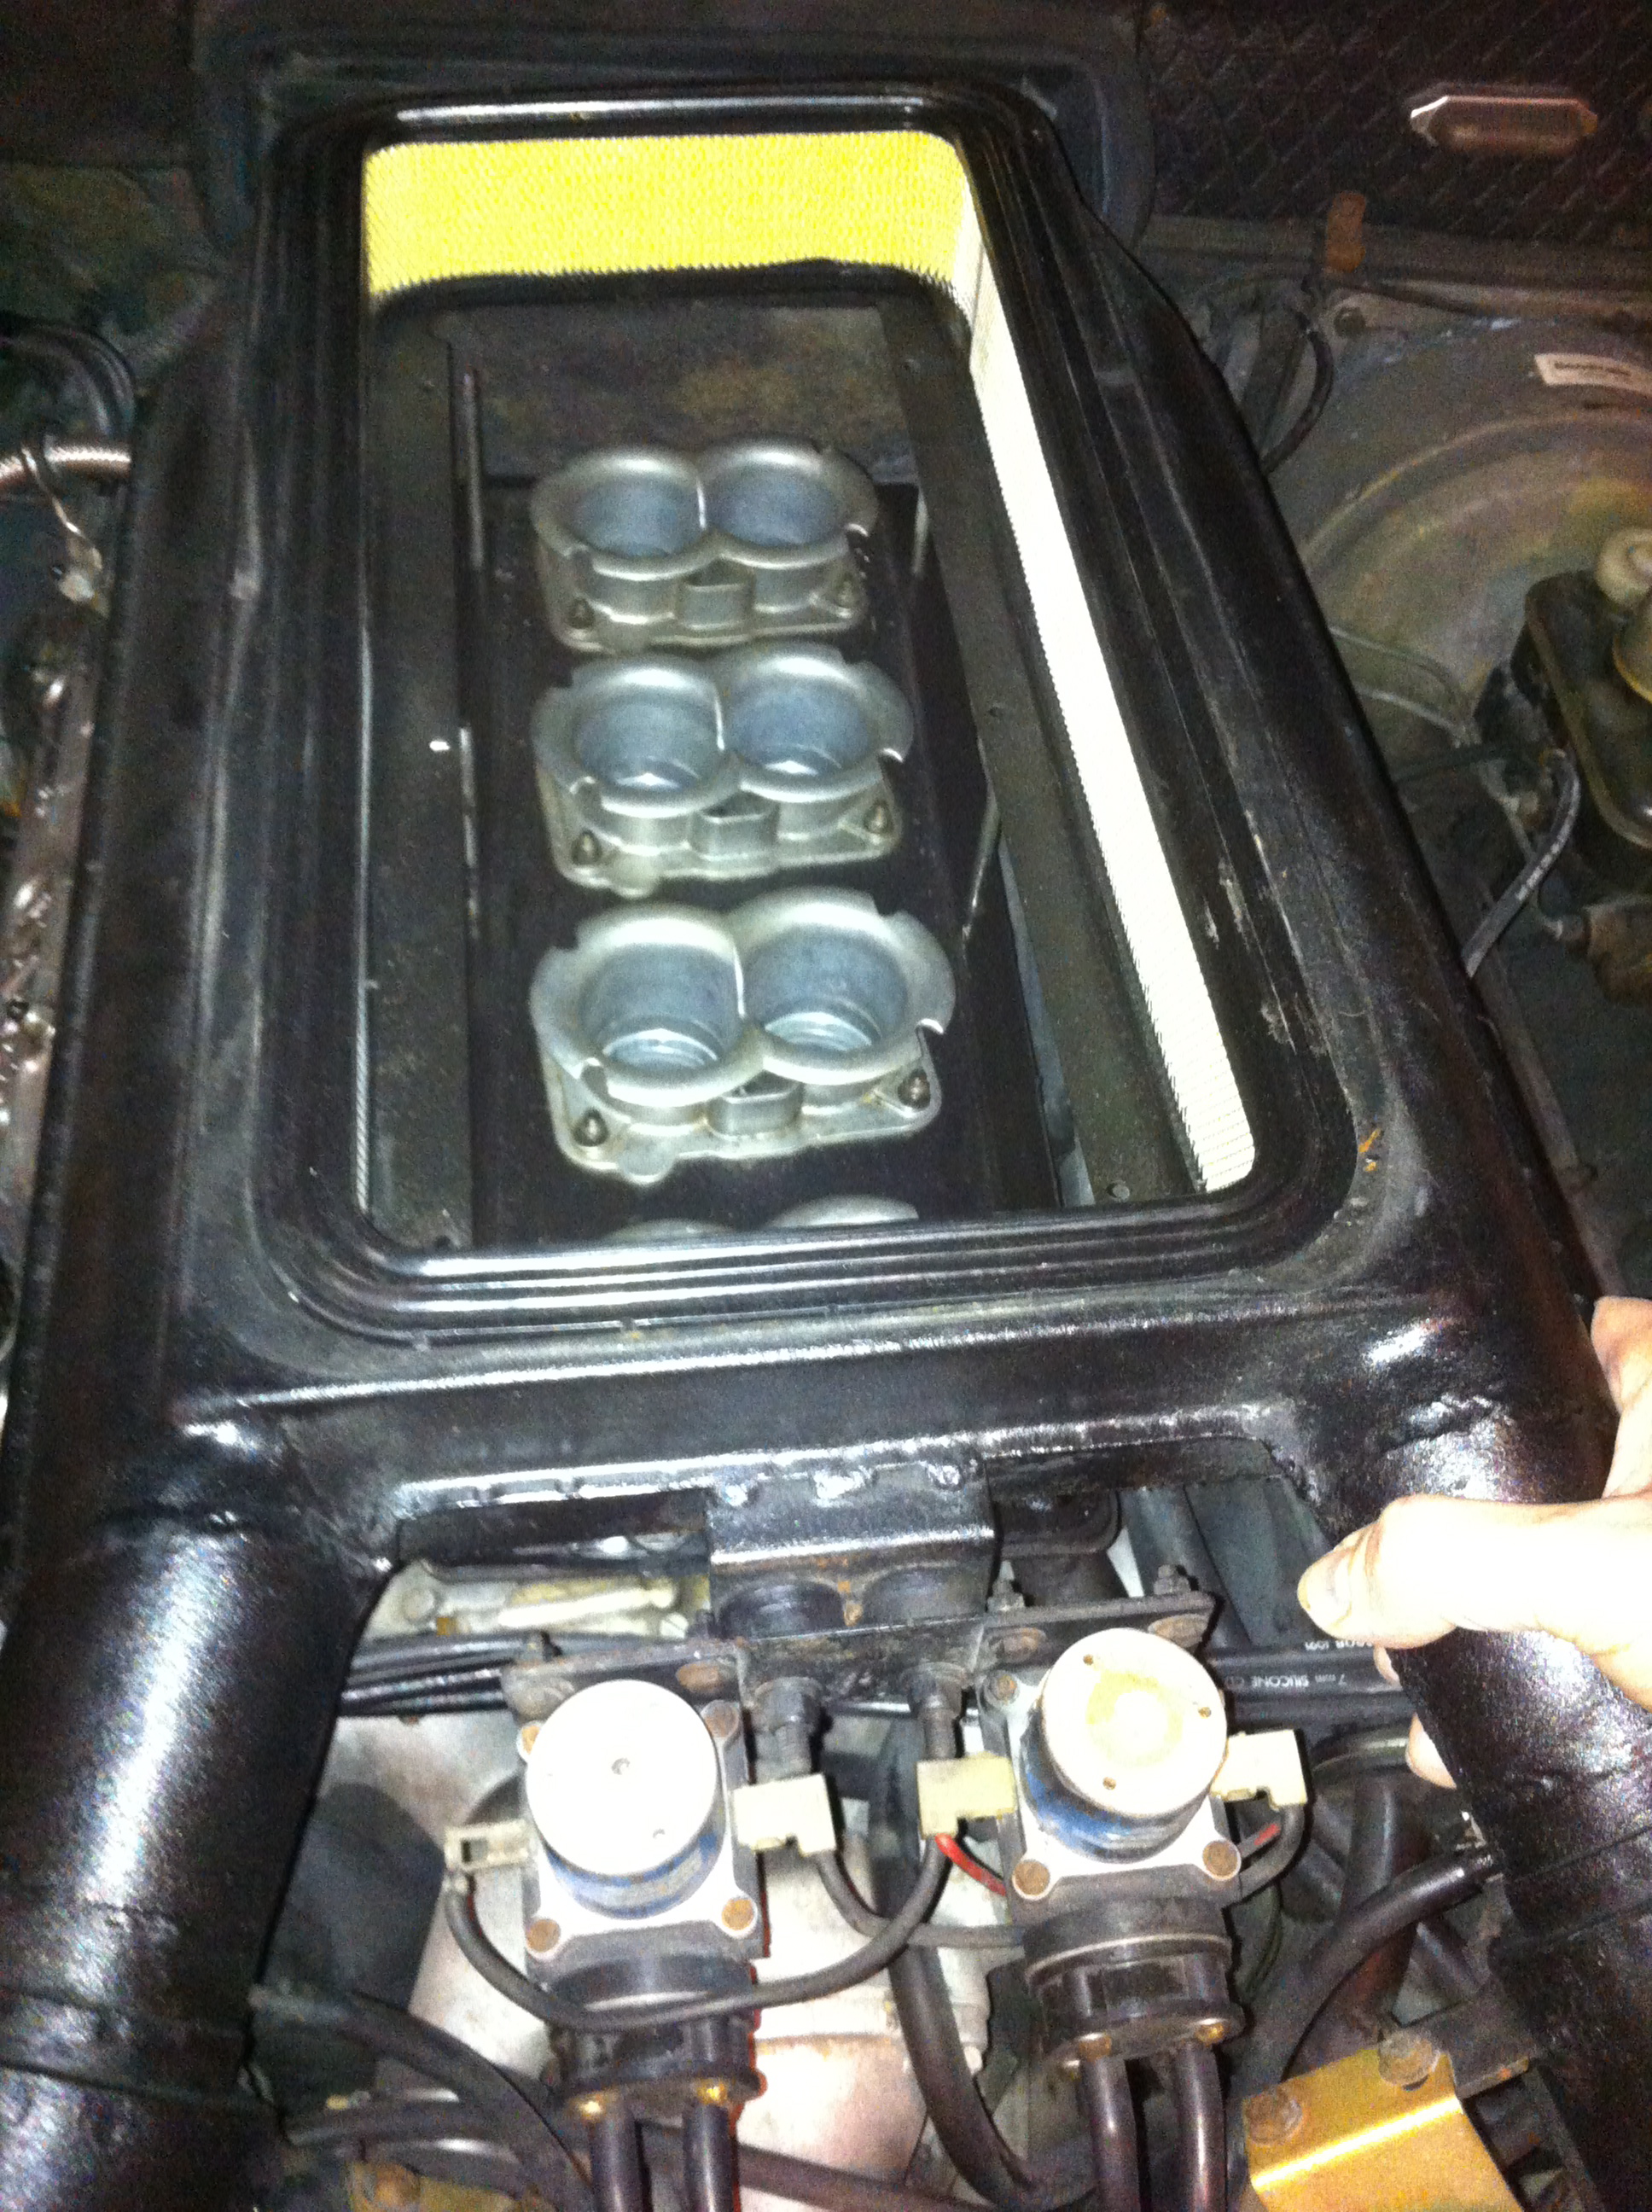
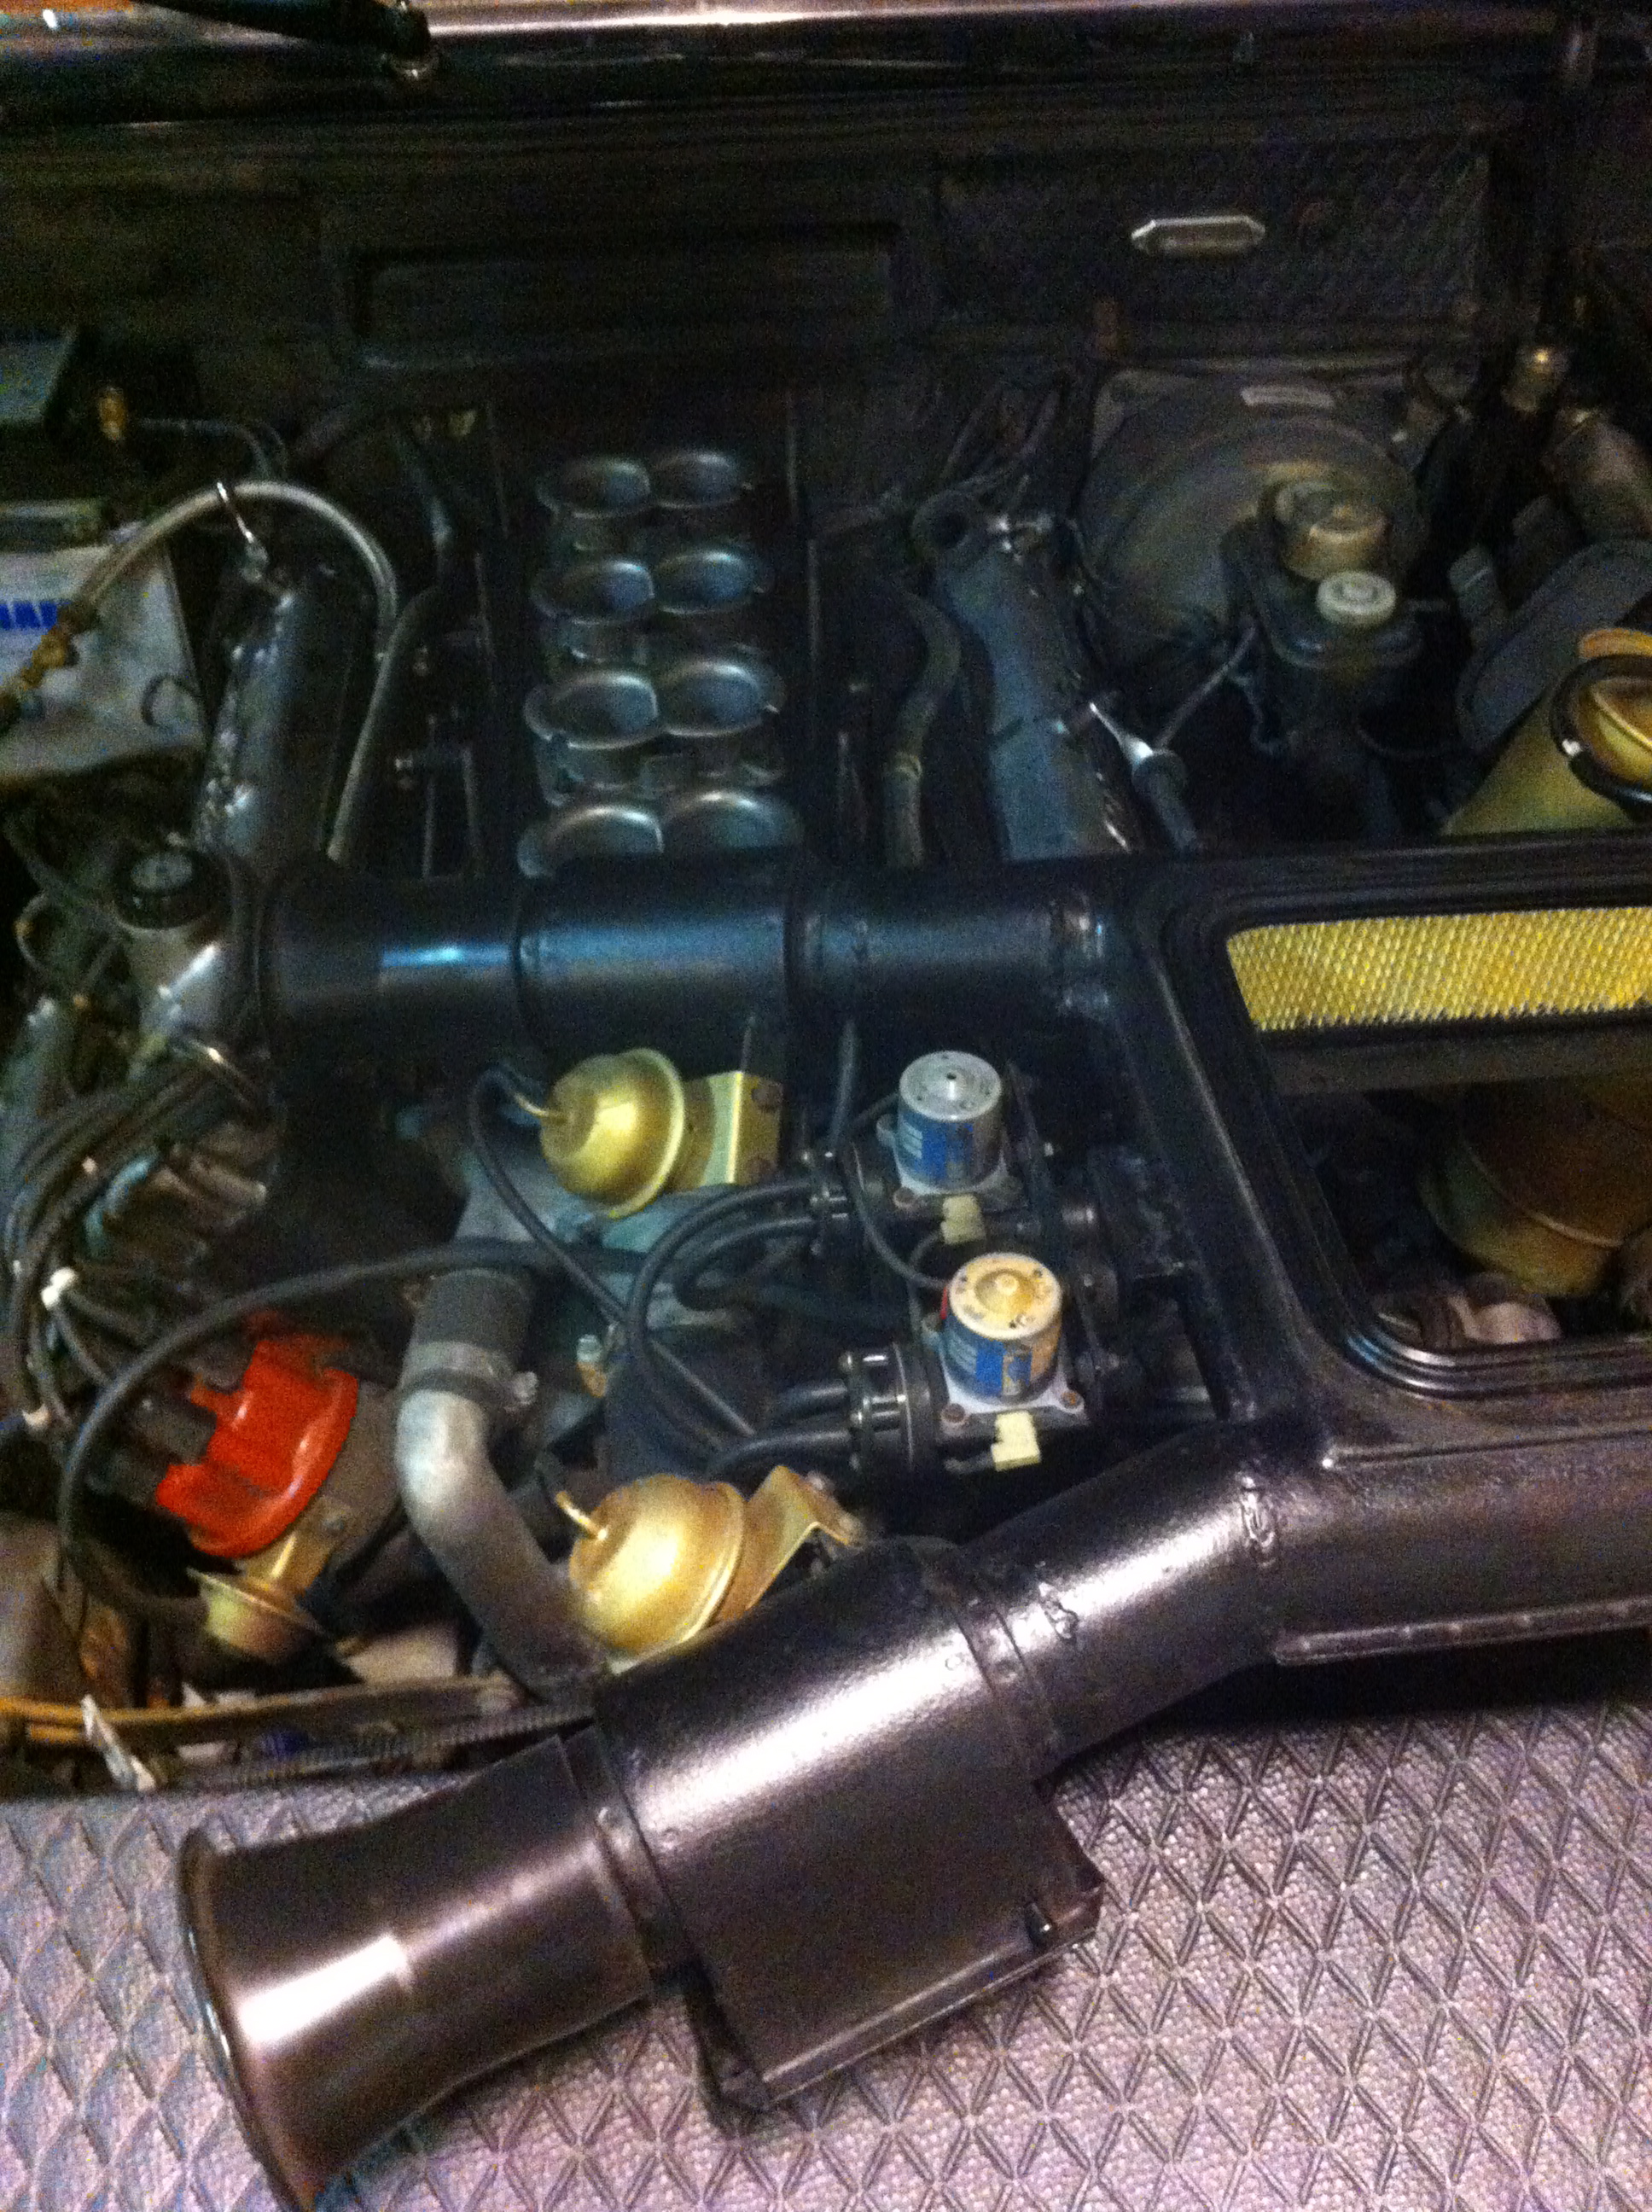
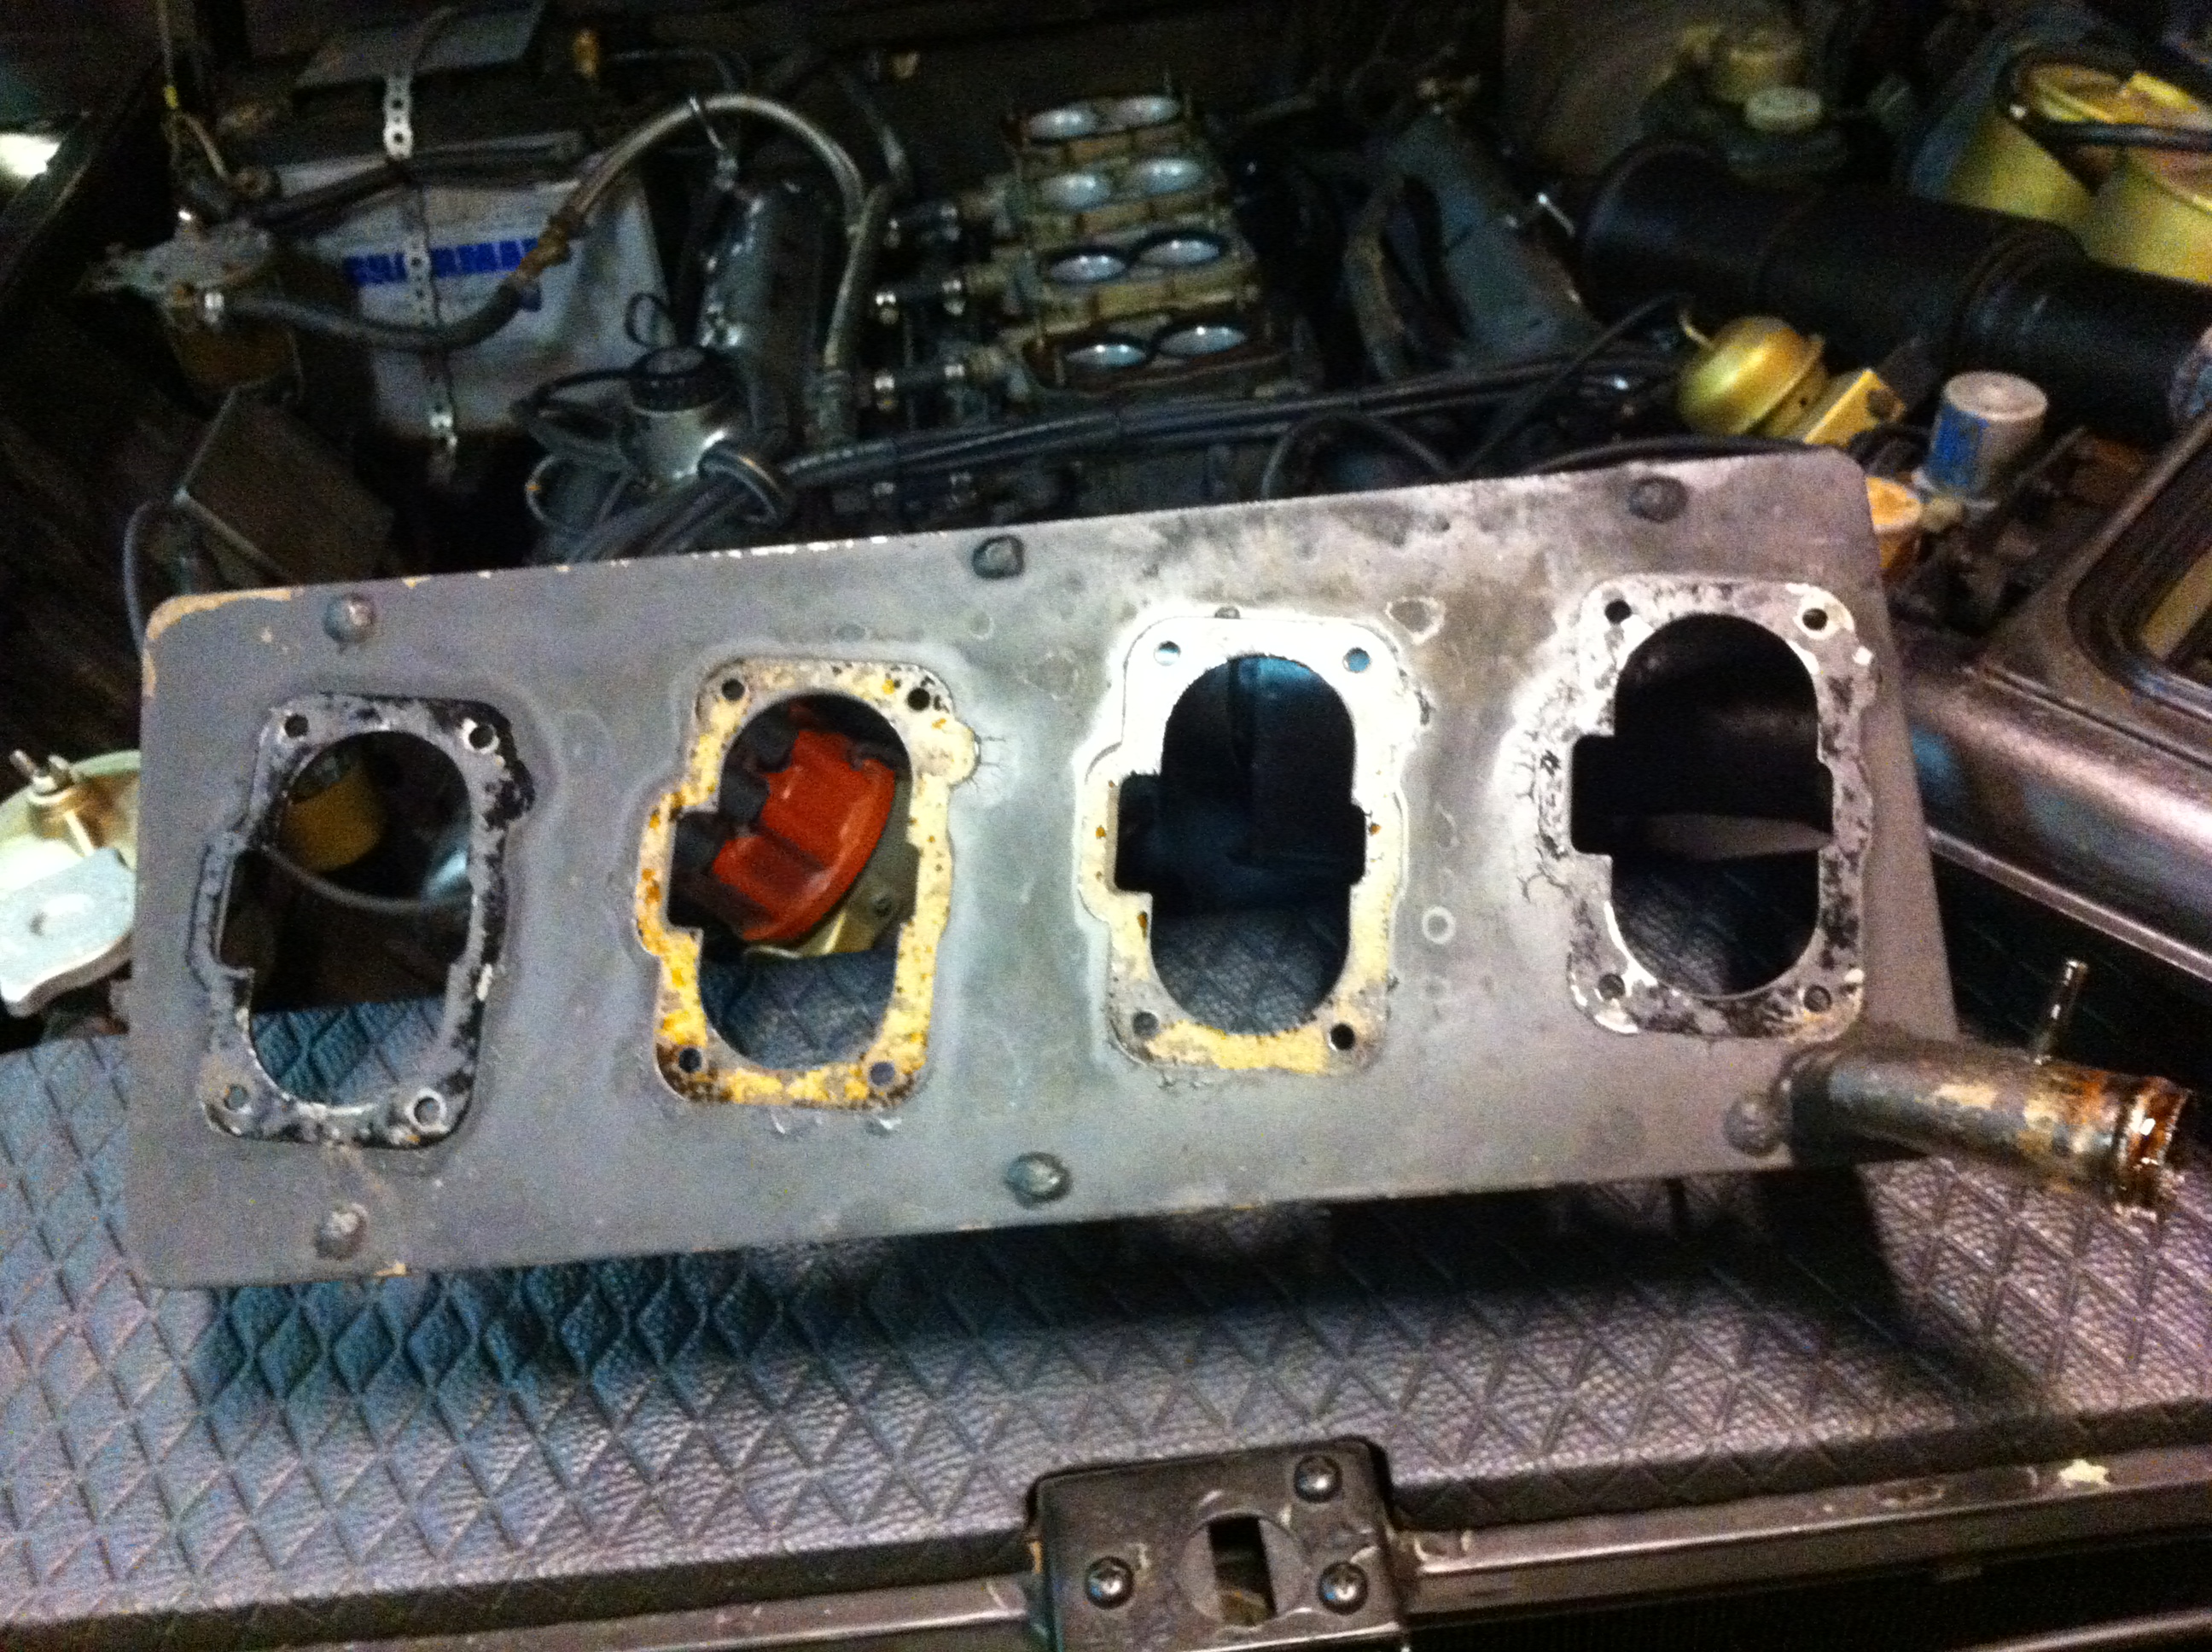
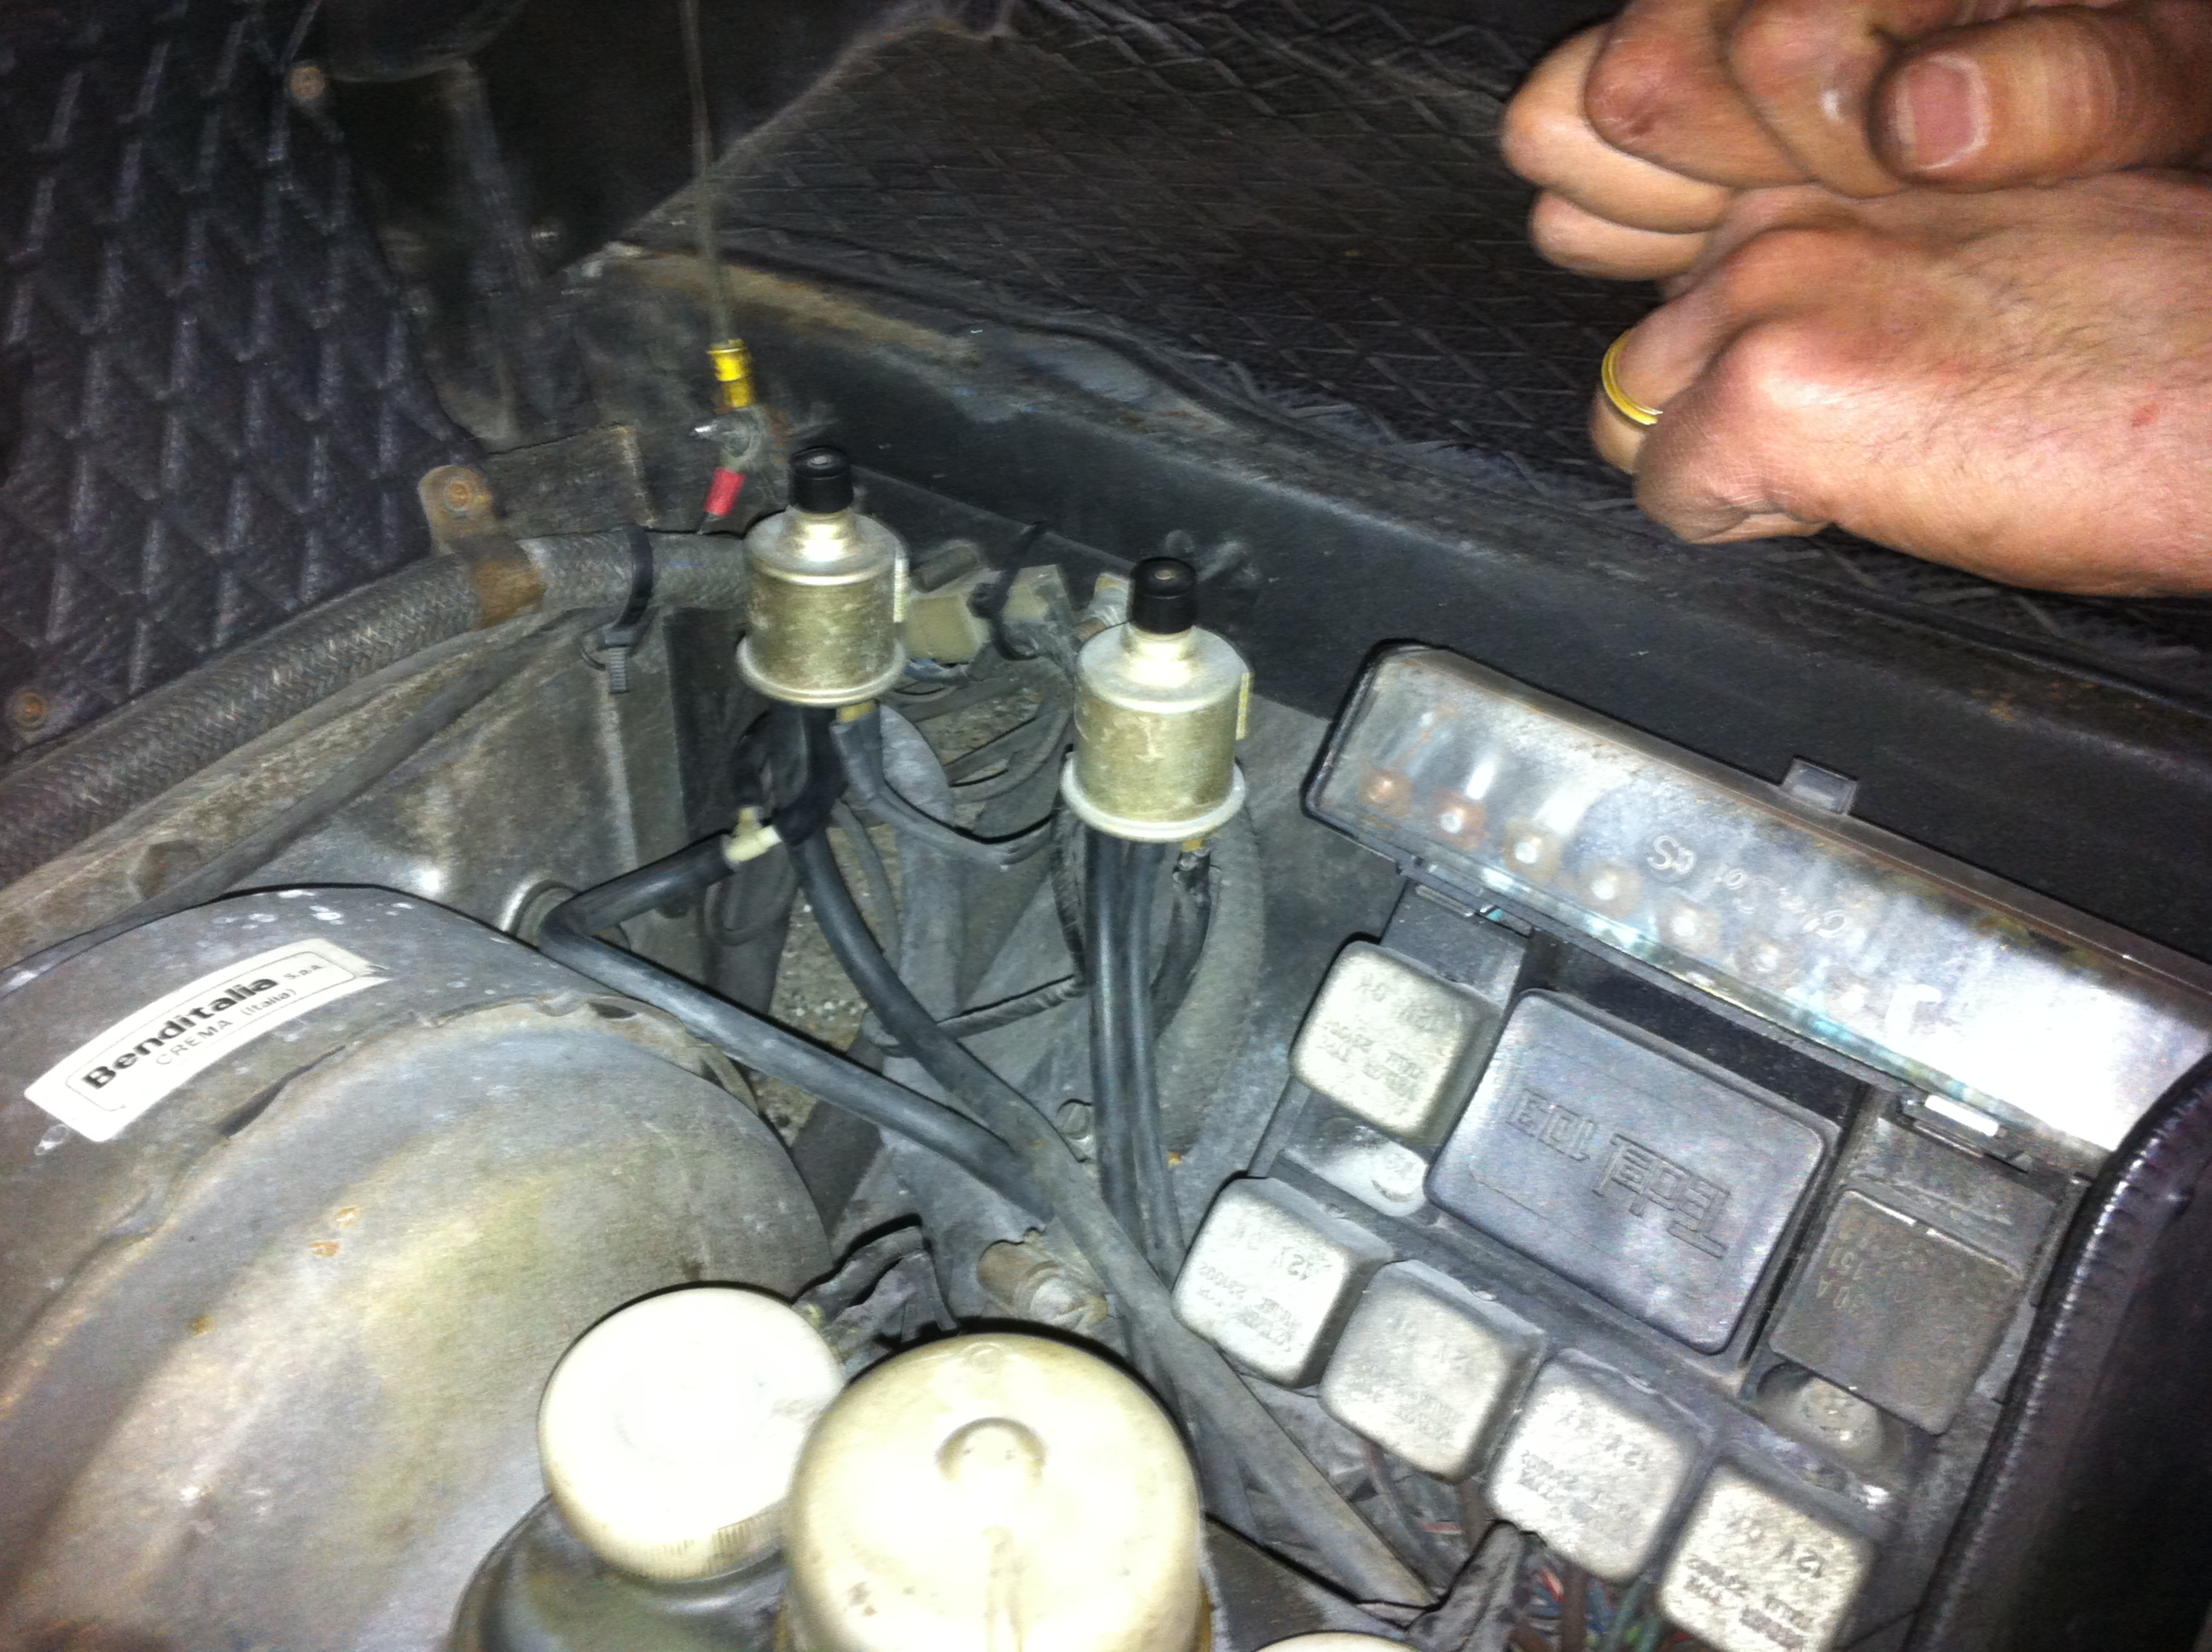
There’s a diagram on the inner fender, passenger side, but basically there’s a cam cover breather hose and recirculated fuel/air pipe off of cylinders 1 & 2, and there are hoses forming a loop off the front and rear of the intake manifold. These are controlled by 2 solenoids , the one closest to the firewall activates the vacuum advance on the distributor, the other appears to be connected to the charcoal canisters. There are butterfly plates to close the air input in trumpets of air box when cold, until the engine warms up, and charcoal vapor canisters to collect unburned vapors off the carbs and cam covers.
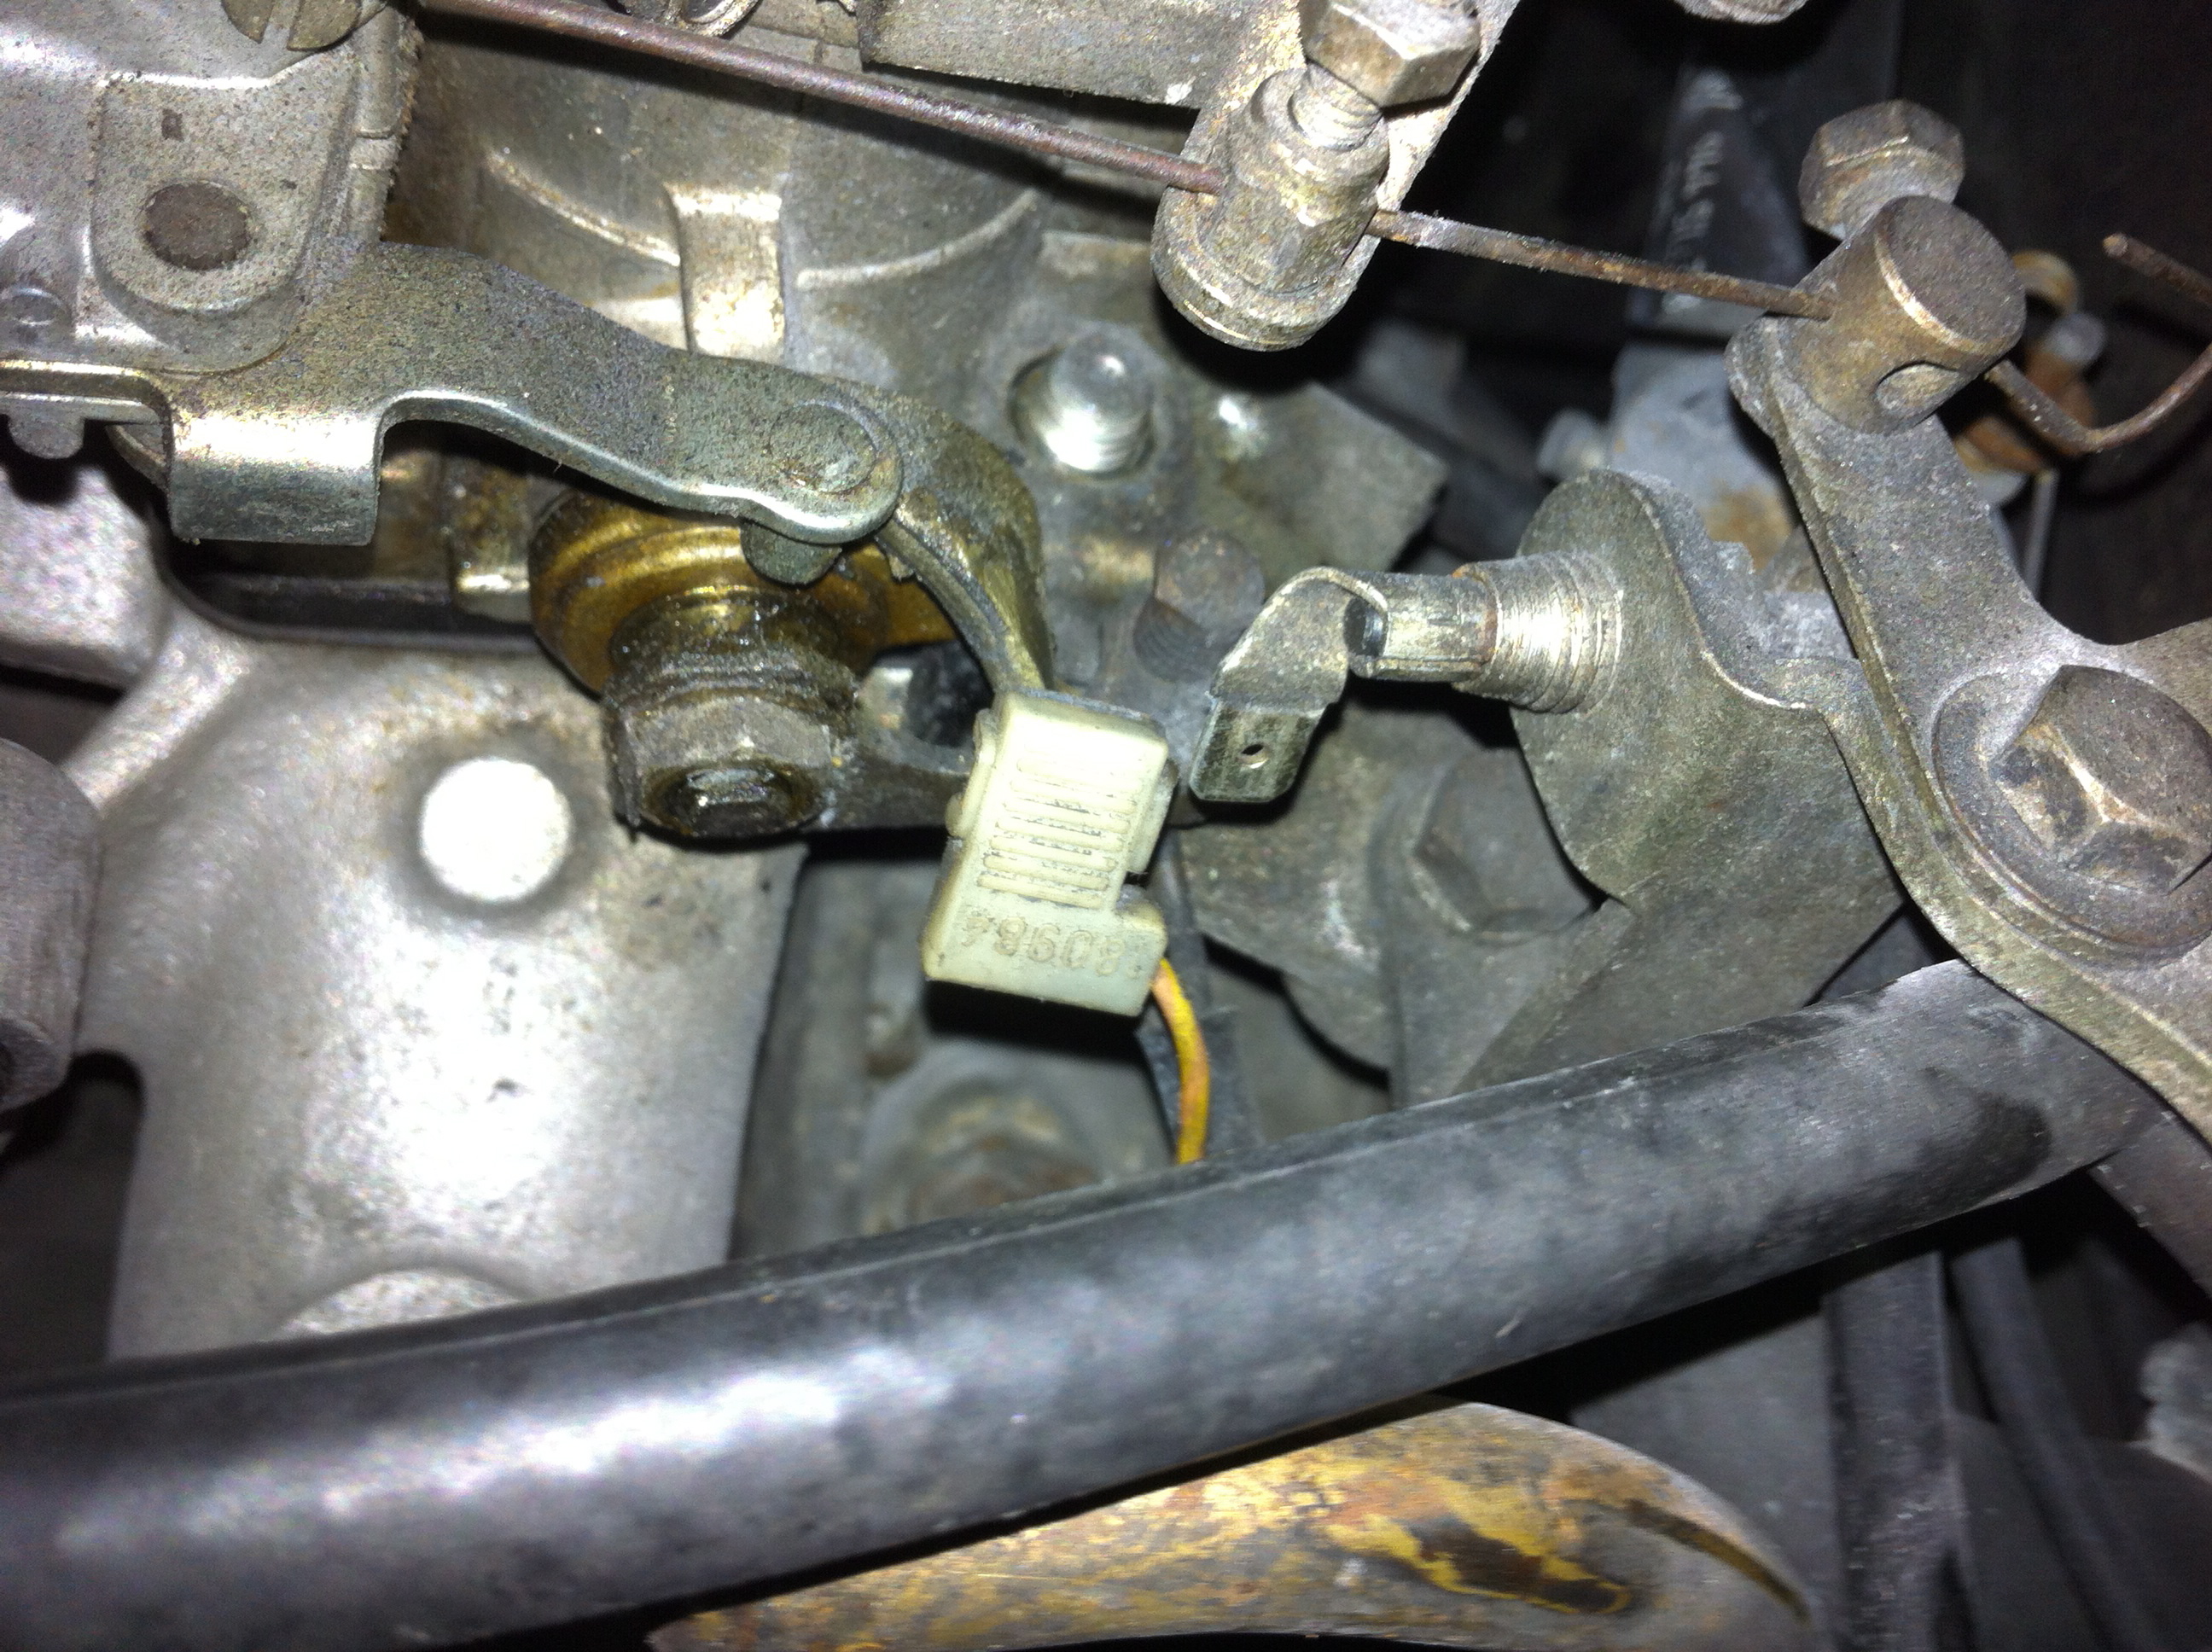
Following the vacuum lines with the engine running, we quickly discovered that the solenoid that controls vacuum advance wasn’t doing its job. It wasn’t clear if it had reached retirement age or was on strike, but by bypassing it (easy enough as there already was a tee there to connect from the solenoid to the hvac controls in the car) the idle smoothed out instantly. That one small adjustment, and suddenly Silvia sounded a lot more like a Maserati!
Without the help of the vacuum advance, the mixture in the cylinders is ignited too late in the Otto cycle to make power, allowing for the speed of the engine. That explains why at higher rpms the engine was running better, as the mechanical advance takes over for the vacuum advance used at idle. When we bypassed the solenoid, effectively putting the vacuum advance “on” at all times, the idle smoothed out and we were able to tune the carburetors for ideal air/fuel mixture.
Our assumption received further confirmation when we hooked up the Colortune again and were easily able to dial in picture perfect blue-flame combustion on all cylinders. Some were easier than others, it might be that the adjustment screws need replacing.
With this taken care of, next up is to register consumption and power over the next few weeks and then revisit the timing to get it as optimal as possible.