Blu sera metalizzato

The pictures speak for themselves. First the color itself:

TL132QP TL135QP TL140QP


After a few coats, a clear top coat is applied, rubbed down and polished:

Clear top coat applied
A Ghibli in the background
Wet sanding
Wet sanding
wet sanding
wet sanding
First polish
First polish
Looking good, and there are still 2 more polishing stages to go before she's done
Looking good, and there are still 2 more polishing stages to go before she’s done!

As is probably apparent from the pictures, the color is quite different from what she came in with, which was a purplish blue from a respray in the USA many years ago. This is the 1980 model year correct Maserati “Blu Sera metalizzato” that the car came with originally. It’s quite close to the 5000GT color, although the metallic flakes appear a bit larger, giving a livelier impression. On a car this size, that’s a good thing.

I’d love to hear what you think of the color – thumbs up? Thumbs down? What’s your opinion of the color? Does it suit the car? What color do you think works best on this car, and why? Comments are open!


Artistry in metal (II)

Every crease and detail in the body is pin sharp and precise. It’s always a pleasure to watch a master craftsman at their trade.

“Anyway, a few pics – but loads of progress – this week. Filling/shaping work completed, main body etch primed, high build primed and guide coated. Masking removed.”

TL87QP TL88QP TL89QP

2k etching primer applied
primed
primed

TL93QP

Guide coat
Guide coat
Guide coat
Guide coat

TL99QP


A solid body

The car so far, with the exception of the front passenger door, has proven to be a solid and straight “what you see is what you get” car, no hidden surprises, patched-over accident repair or other confidence killers. A very good, well cared for car with documented ownership since new, all of whom kept her properly maintained.

“..lower sill areas cleaned back, new right front door stripped out (glass removed etc) and light surface rust removed from sills.
To be fair to the guys who did the repairs previously and painted the lower sill area – had done a very thorough job of de-rusting. The sills are completely solid.”

Image

Image


As to the bumper support areas replaced (see previous entry), the shop writes,

“I won’t be replacing the left rear bumper support area as it’s pretty perfect. I think the only reason the right side had gone was due to previous repair there which was tied up to the old right rear wheelarch repairs. (Which I’m certain happened a long time ago and certainly wasn’t a more recent ‘cover up’ job).”

The new door has been trial fitted and looks pretty good already, but will need minor adjustments to give perfect panel gaps.

Image

The usual suspects (rust)

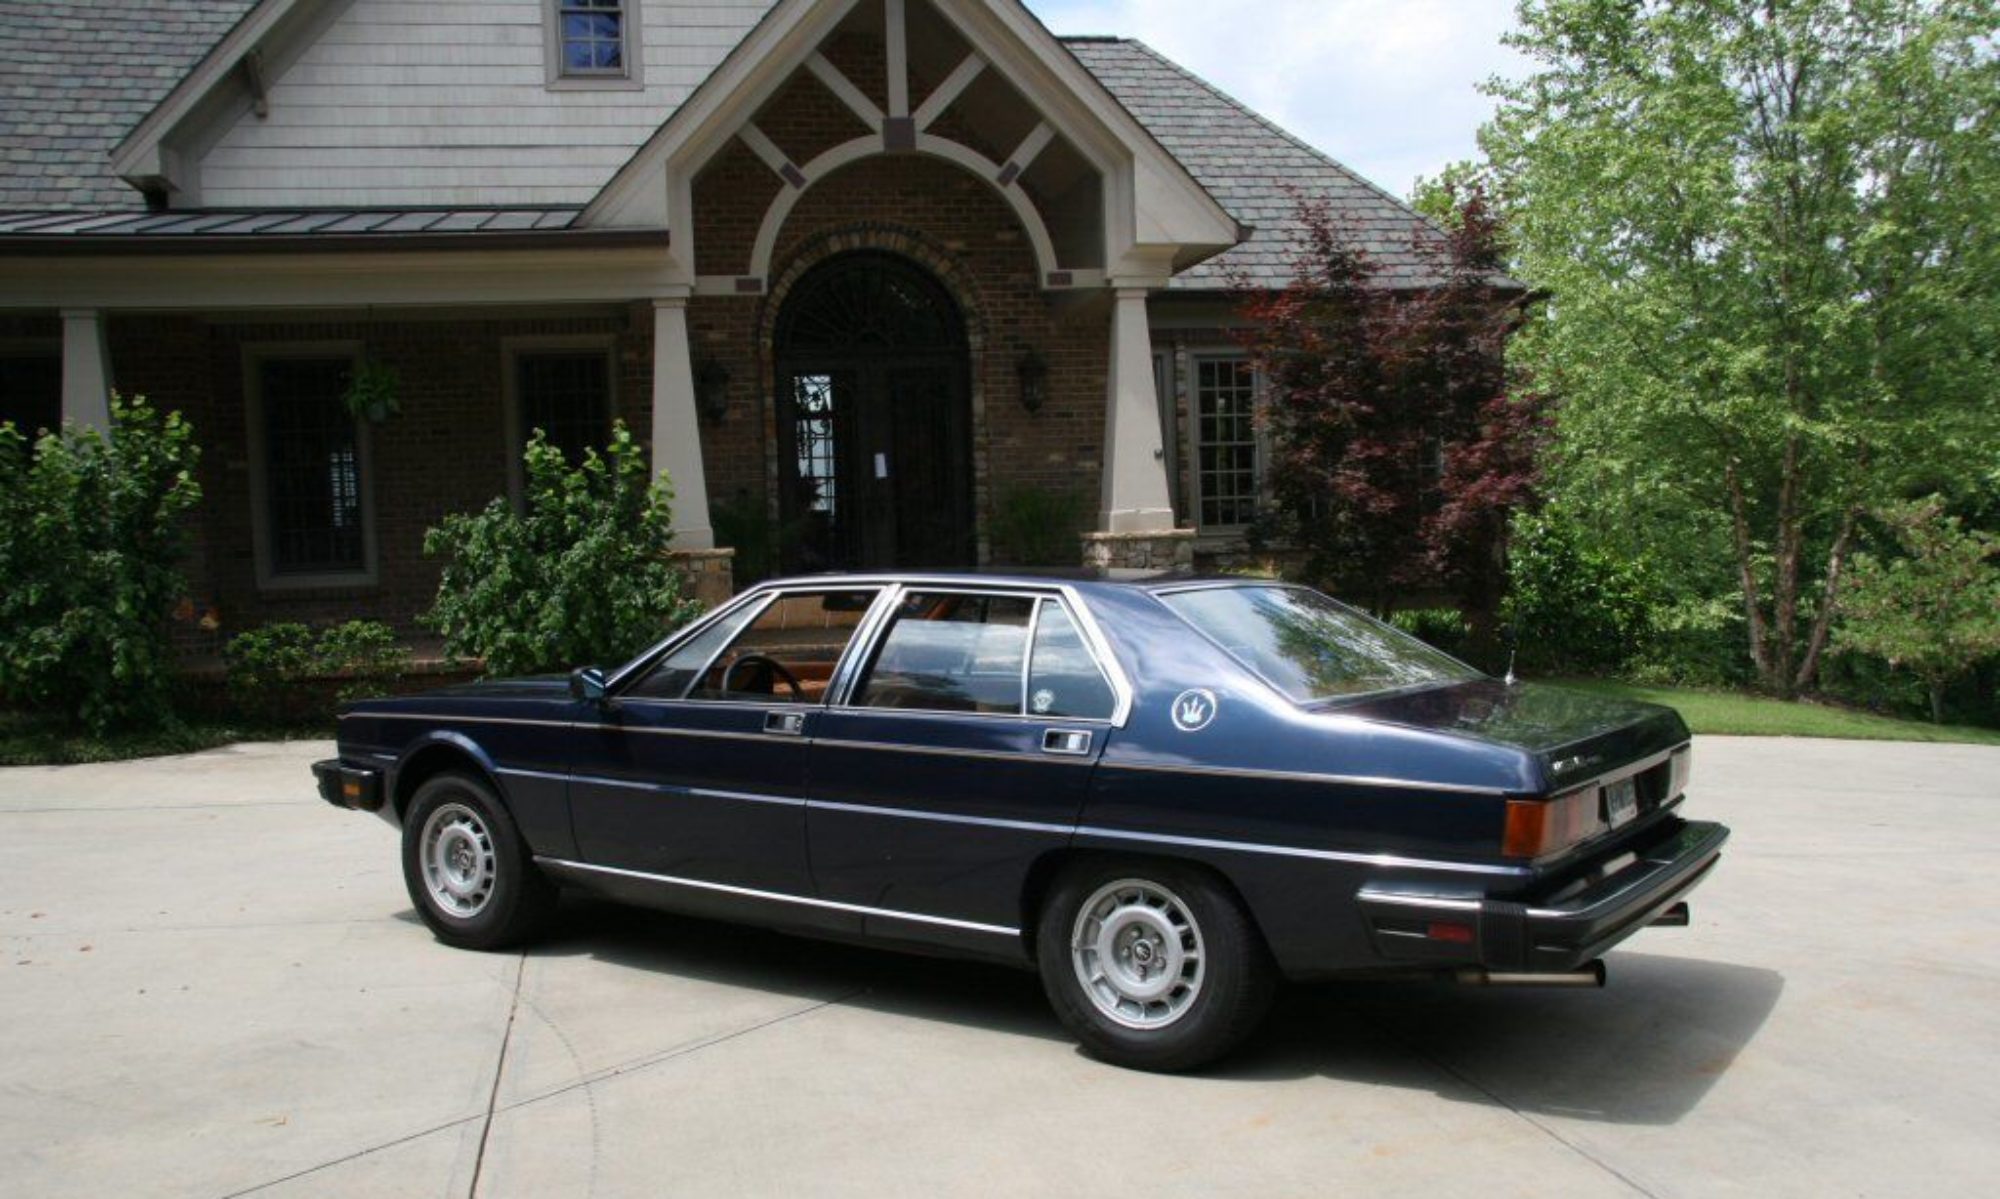
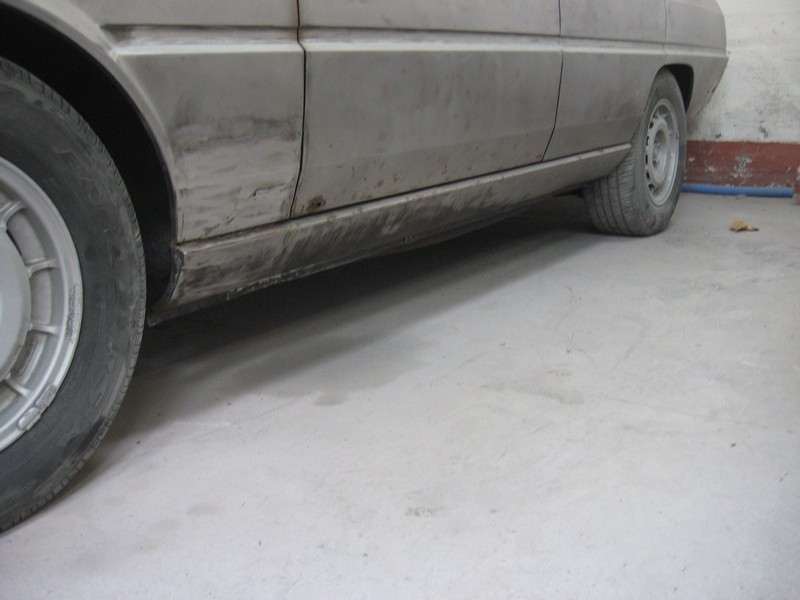
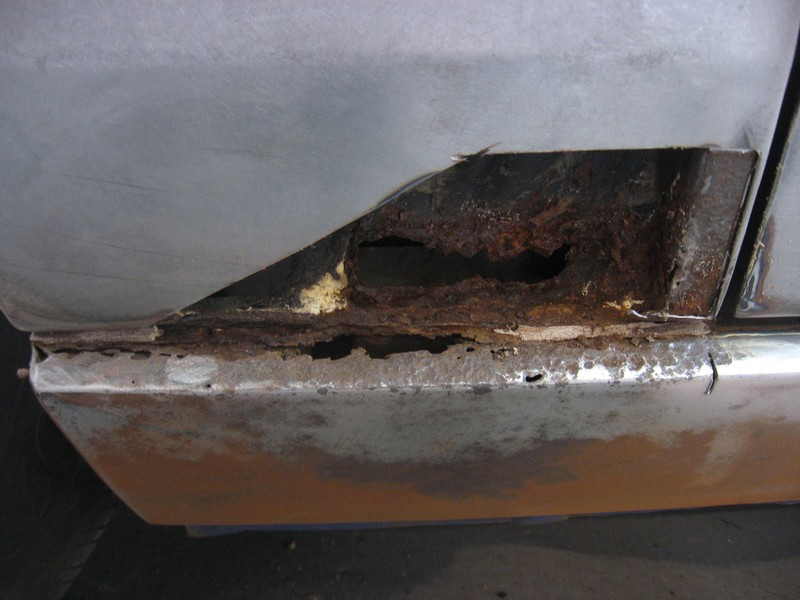
Rumor has it that the communist government in Italy during the 70’s – 80’s made a deal with the USSR for steel to supply their automobile production, resulting in cars that rust more readily than their competitors. Hopefully any historians in the audience will be able to verify or refute the accuracy of the rumor, but as anyone who’s ever owned an Italian car knows, they rust like no others. I don’t even think that a Jag could rust faster, and that’s saying something.

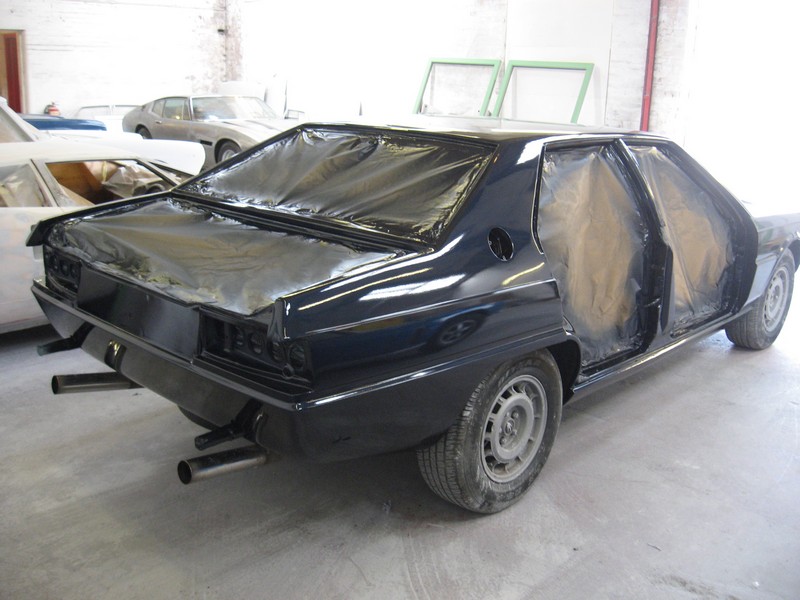
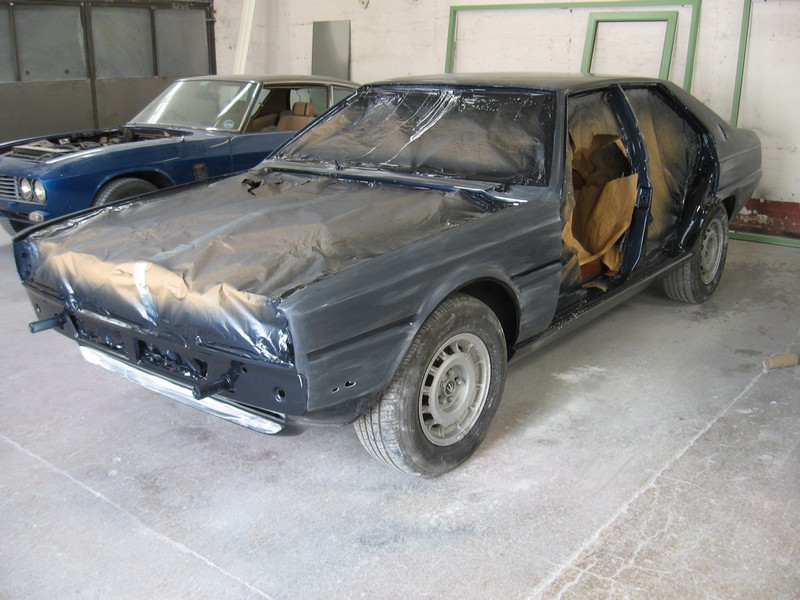
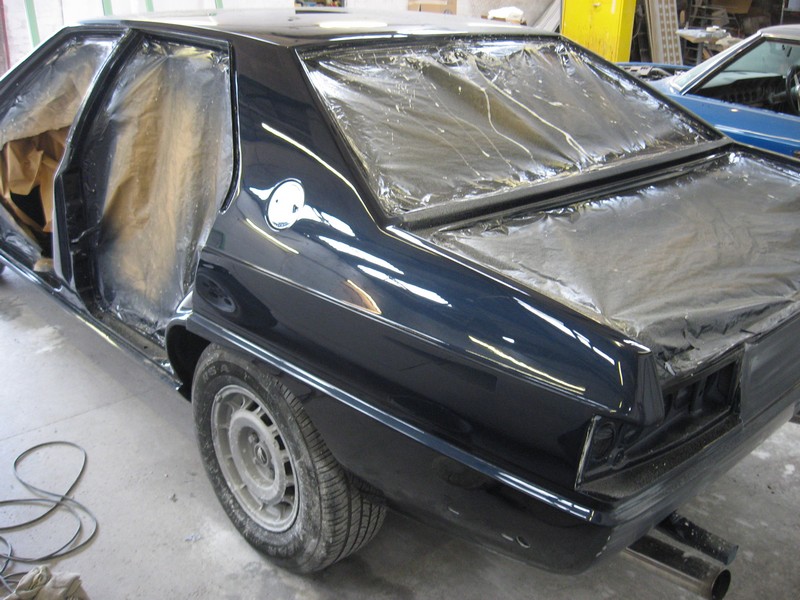
Meaning that 33 years on, mother nature has had her say in the matter, and the results aren’t pretty. The expert’s assessment is that this is no big deal and pretty common and far from the worse they’ve seen, and I’m comforted by the fact that they know their way around a pair of tin snips and welding machines. Blindfolded.

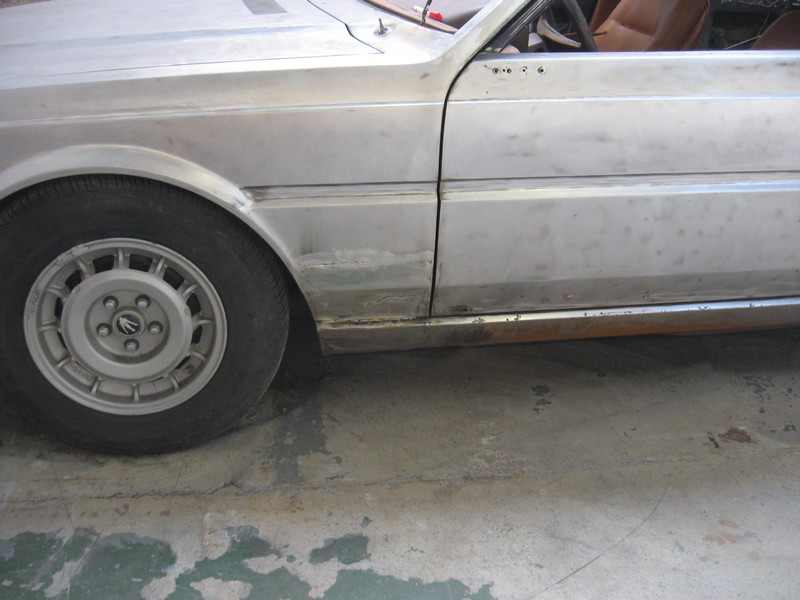
E.g. “The car is pretty well as I expected, PLEASE don’t feel in any way downhearted at the seeming extent of the metal repair work………….this is very much the norm.”

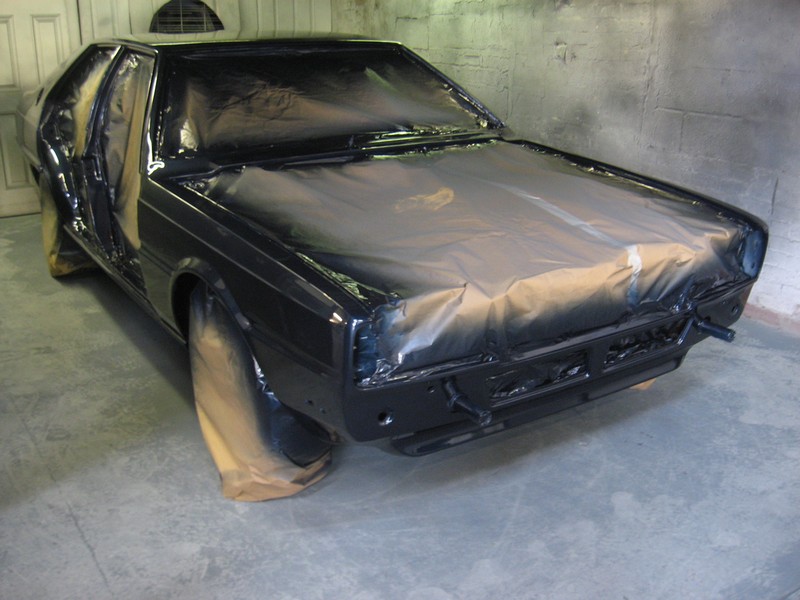
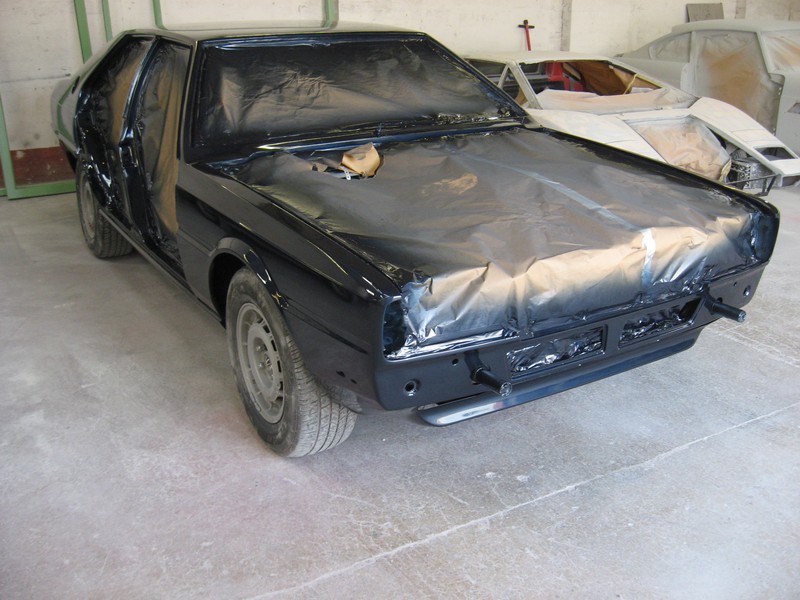
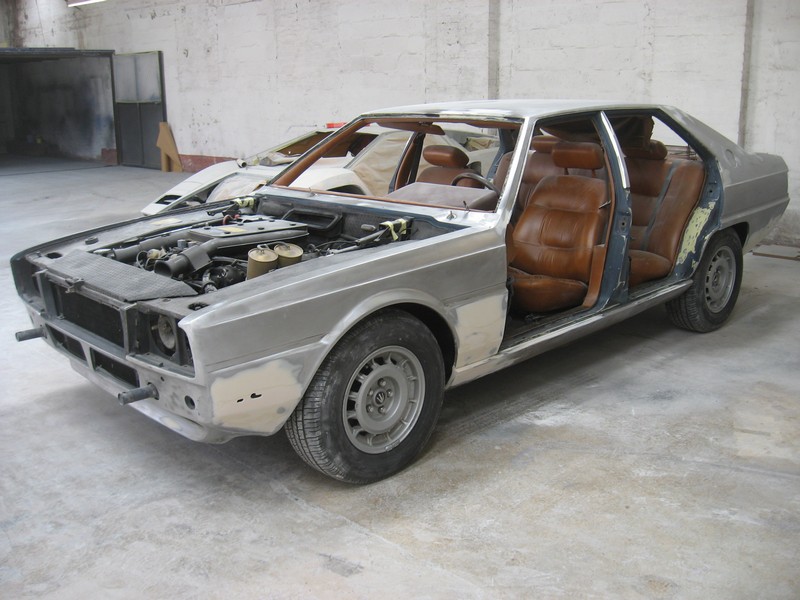
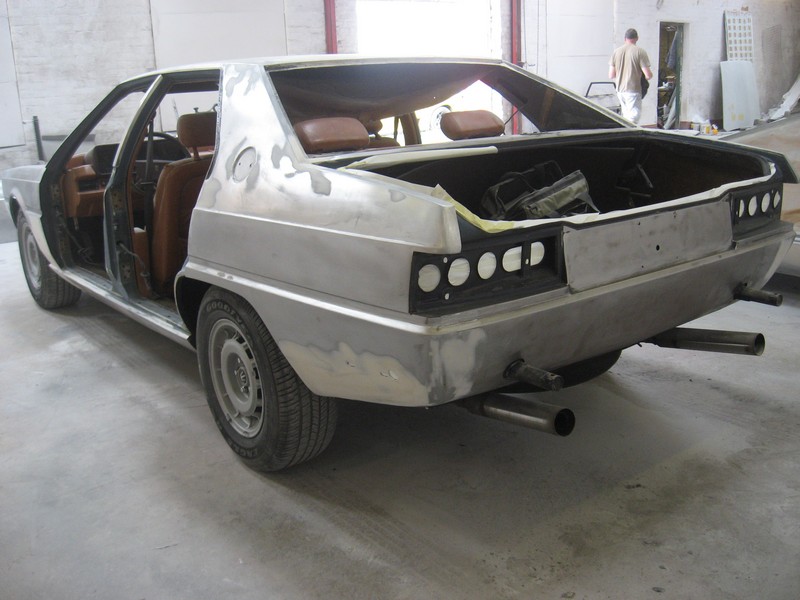
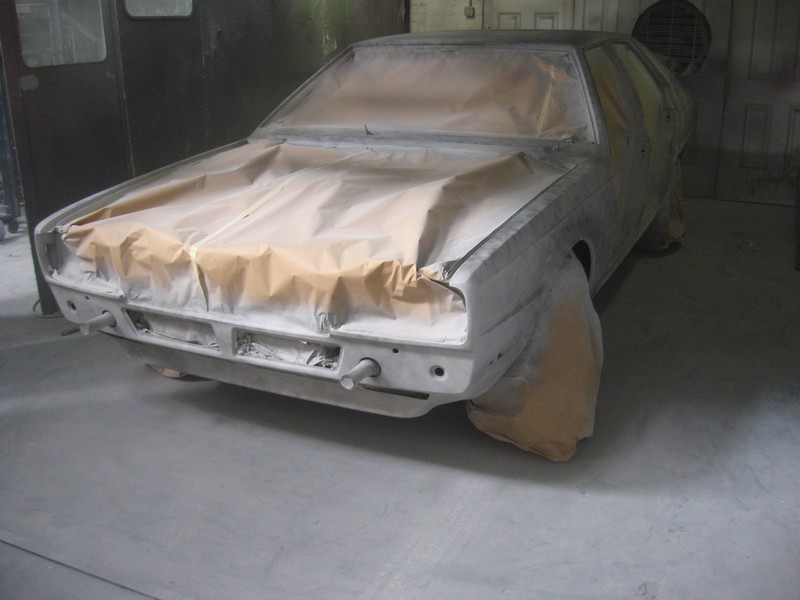
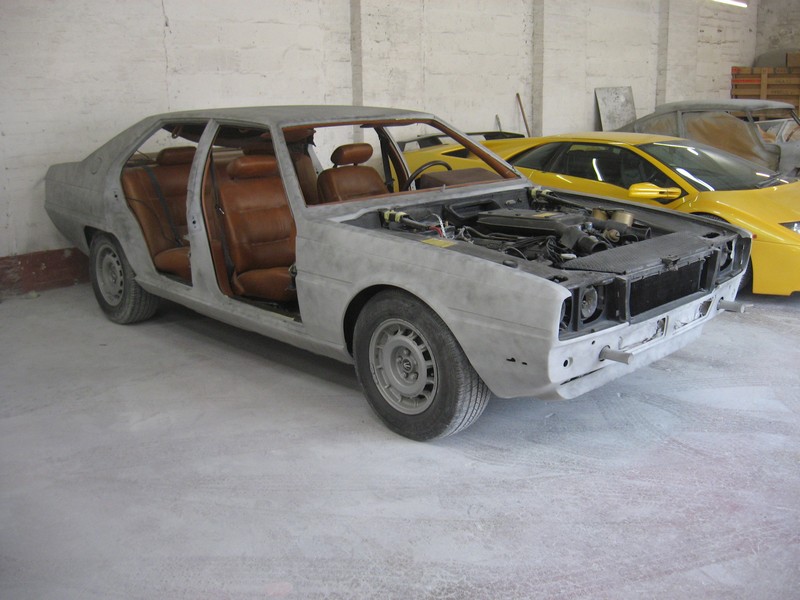
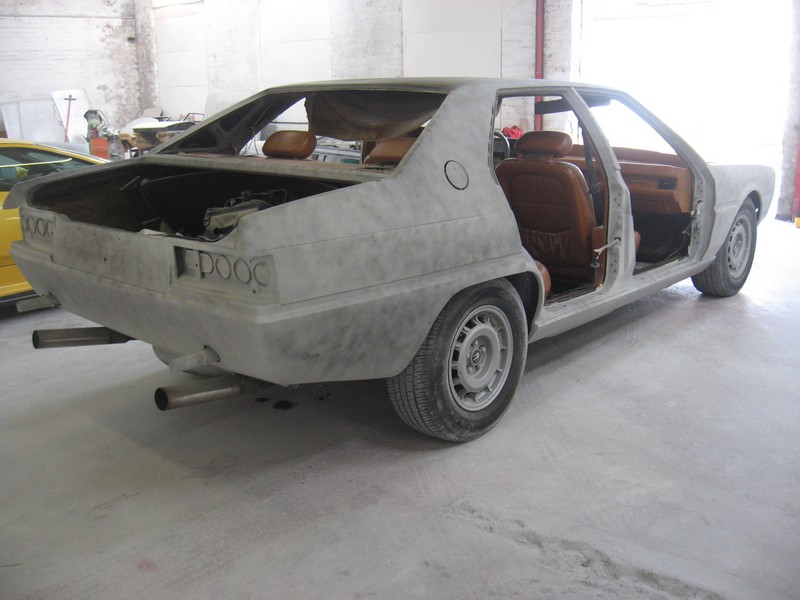
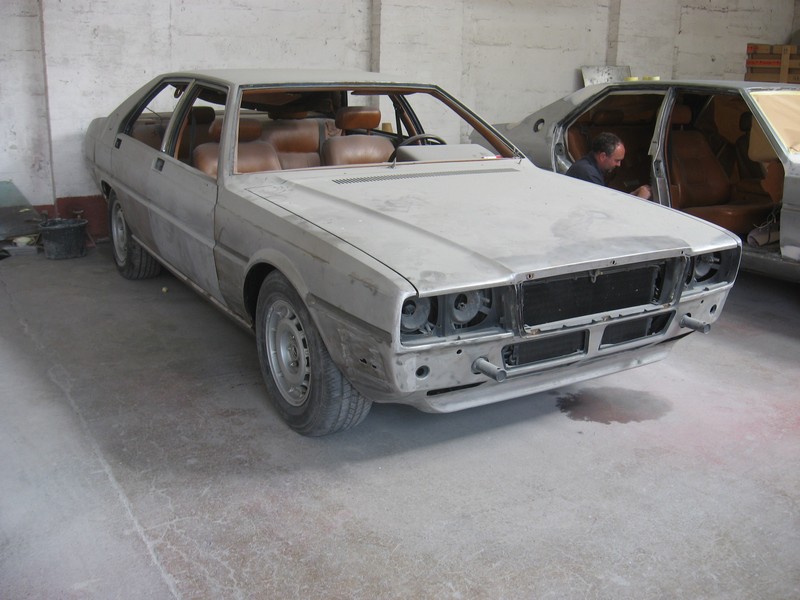
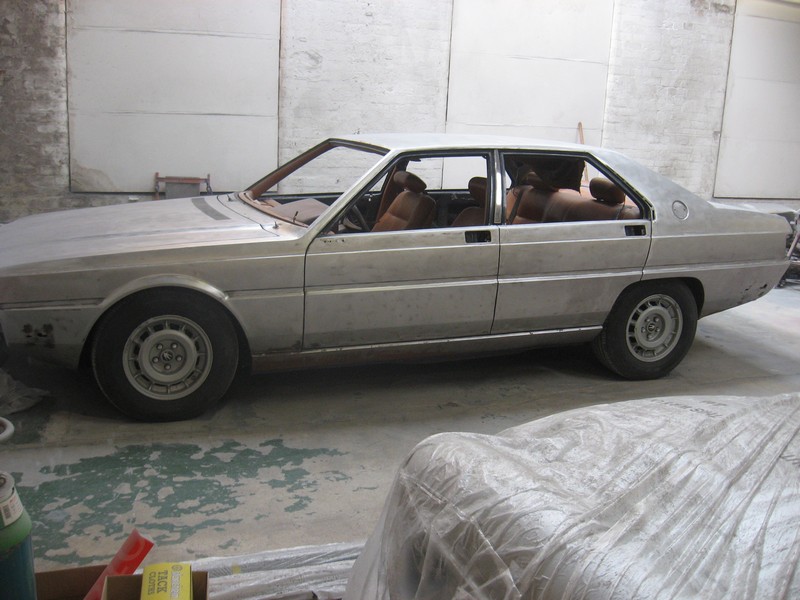
“First few pics show the stripping completed (including the ‘detail’ stripping of the body suages, glass reveals, rain gutters and all of the other difficult areas).”

TL37QP TL36QP


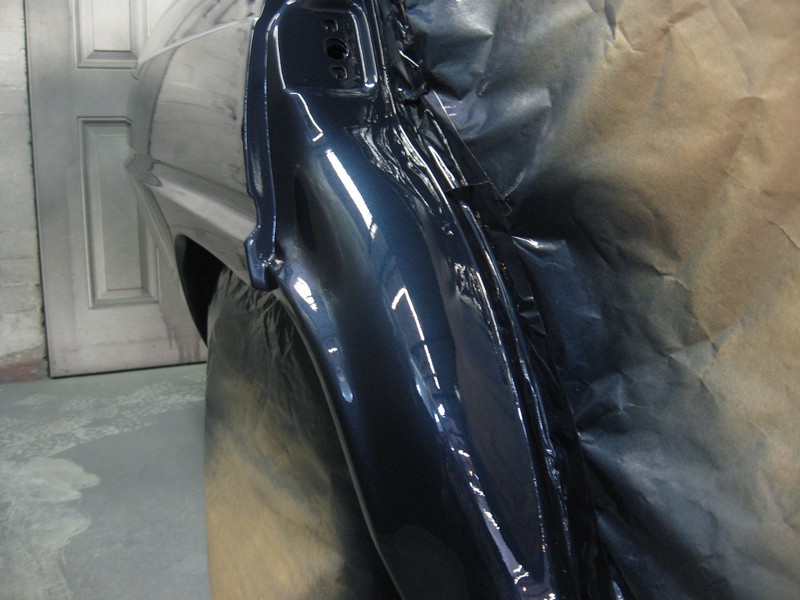
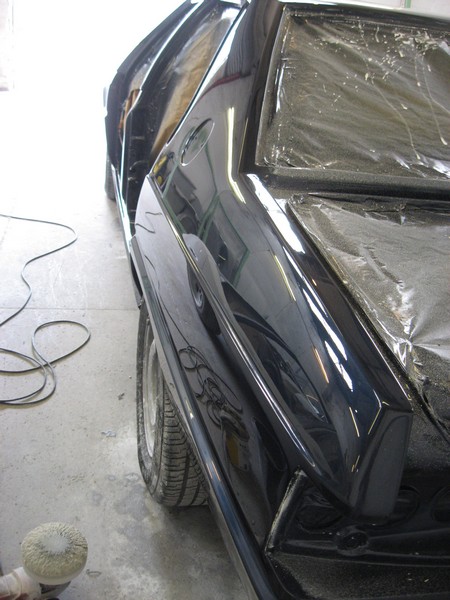
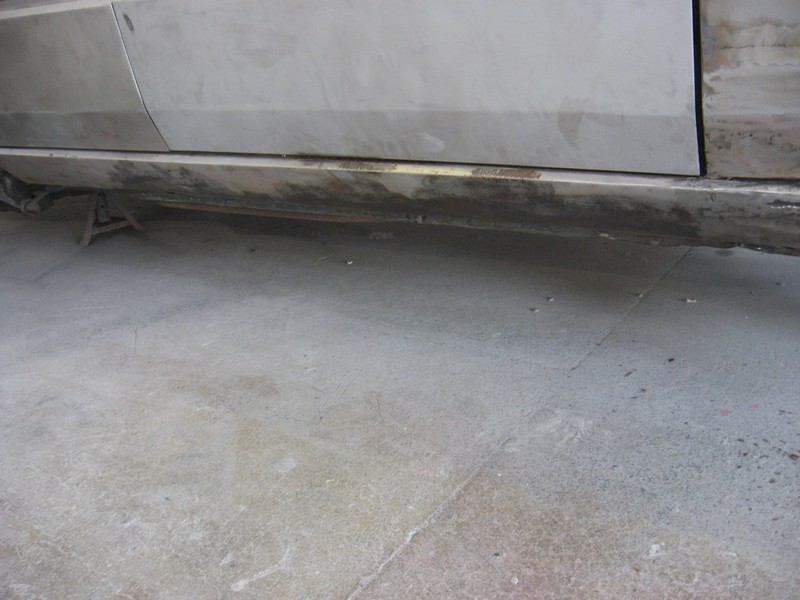
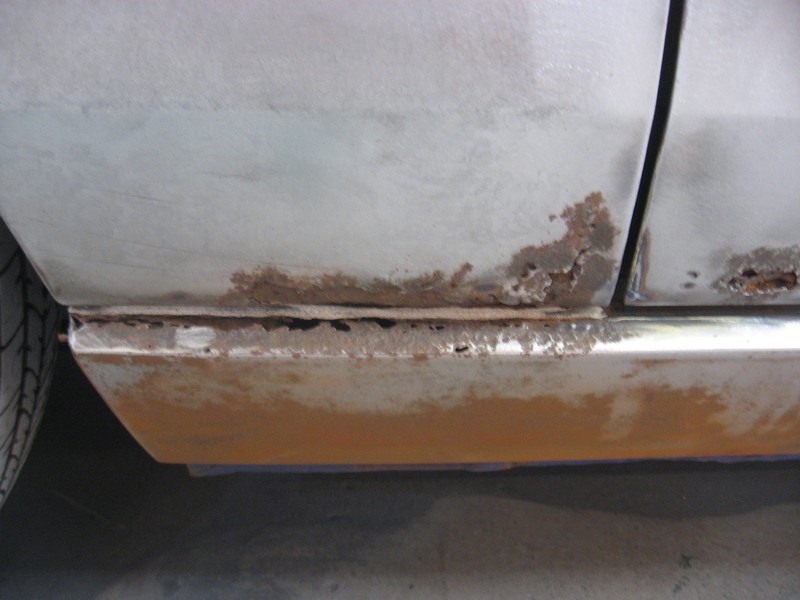
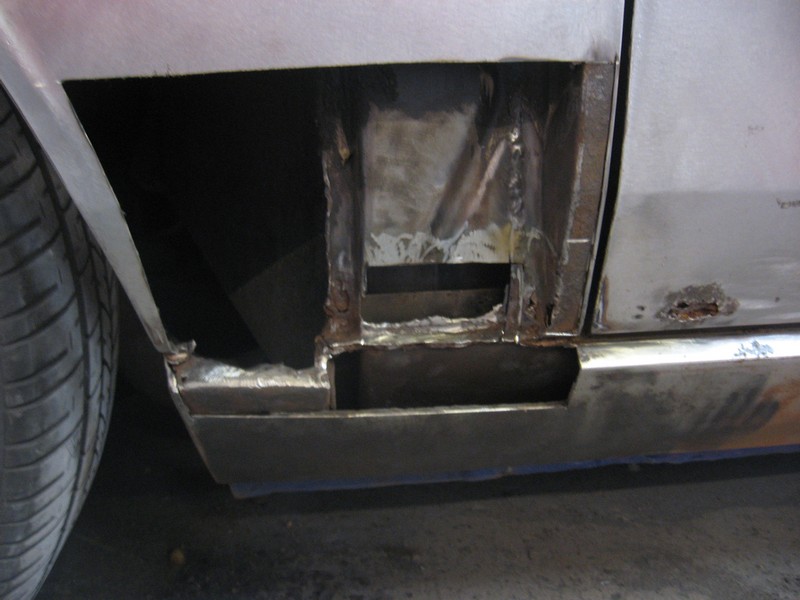
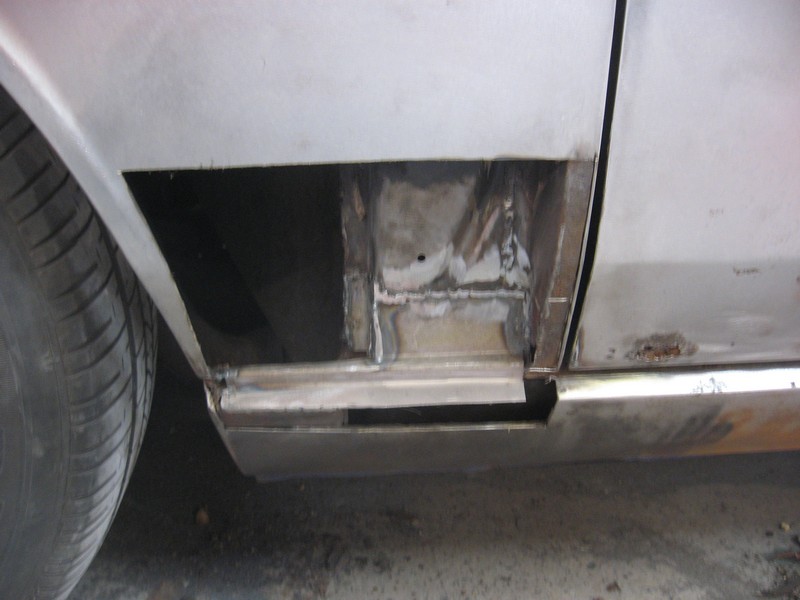
“As you can see I have begun the metalwork on the most complicated areas…….the lower front wing/sill structure and having cut away the corrosion on the left side we found the lower A panel support had rusted out also, so removed a larger section of the front wing to enable access to cut the rust out and repair properly. I have also drilled a hole in the support panel so that we can fully protect it with a cavity wax at the end of the job. Finally new sections made for the outer panelwork (sill and lower front wing) and welded in.
Next stage is to do the same on the right side.”


TL43QP TL44QP TL45QP TL46QP TL47QP


Excellent work. I’m looking forward to seeing how this continues.