Back on track

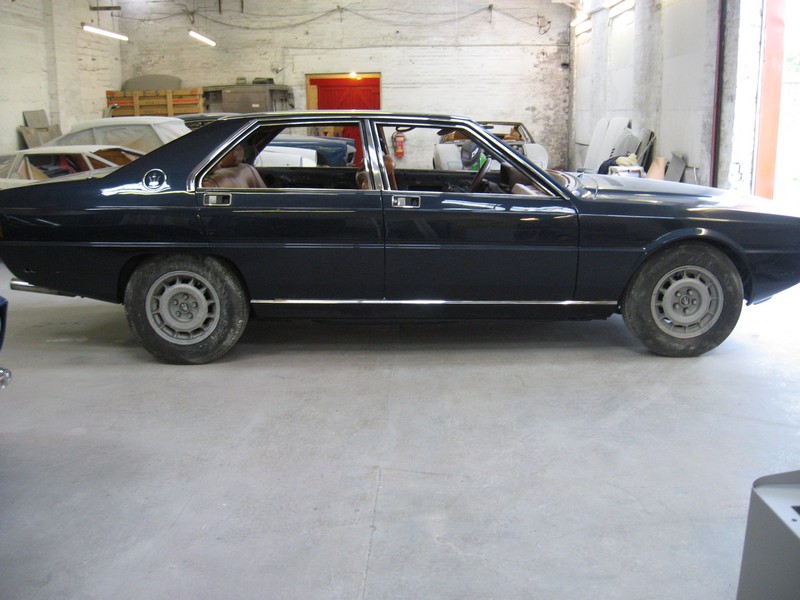
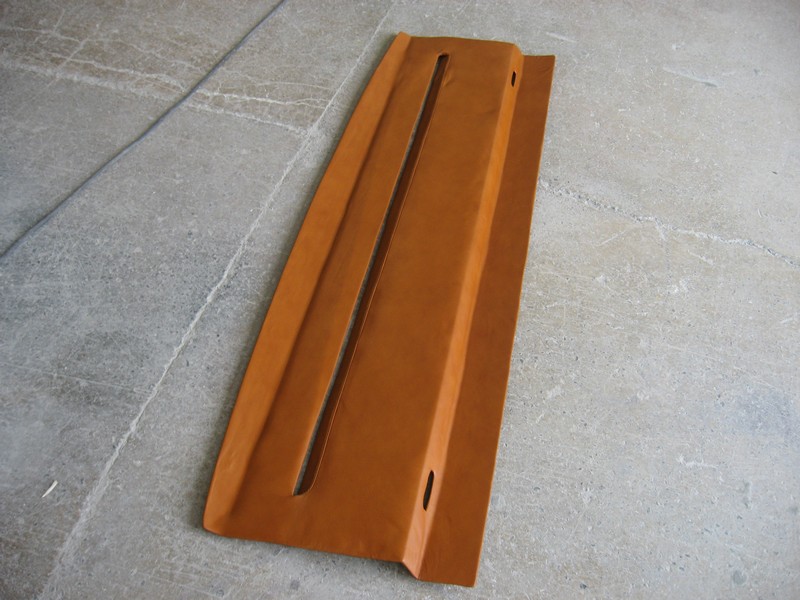
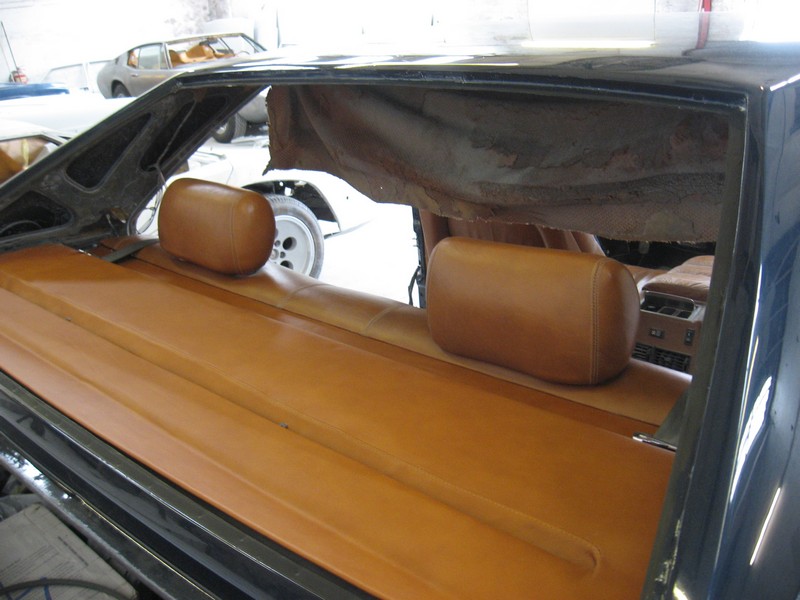
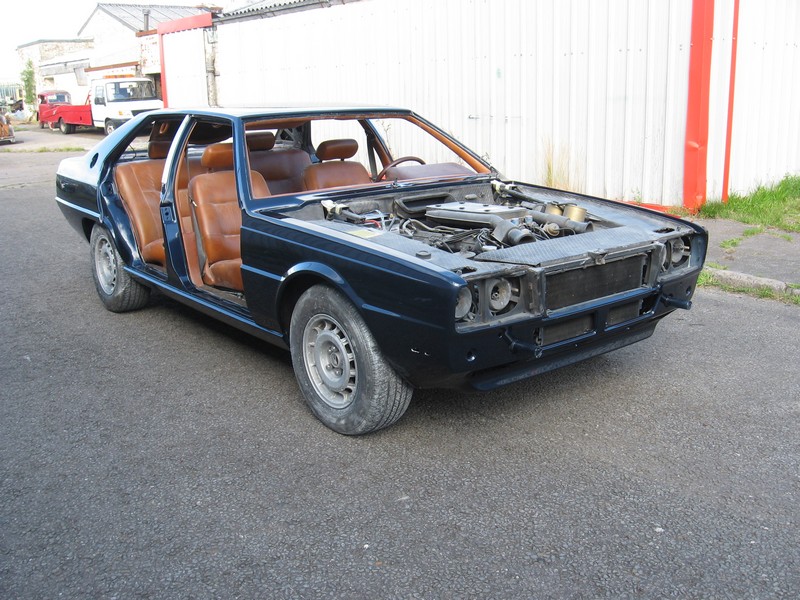
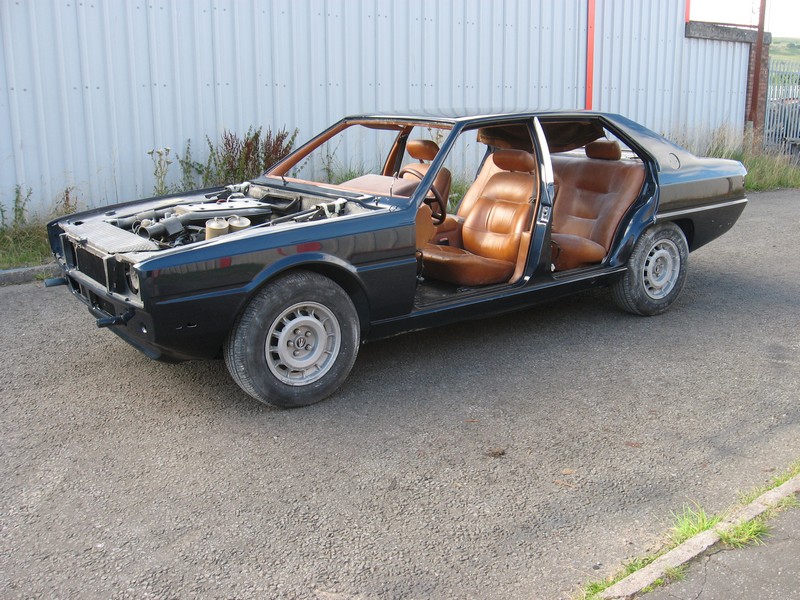
Been a while since I’ve posted anything, but a lot has happened. Will do my best to fill in patient readers and followers of this humble blog.

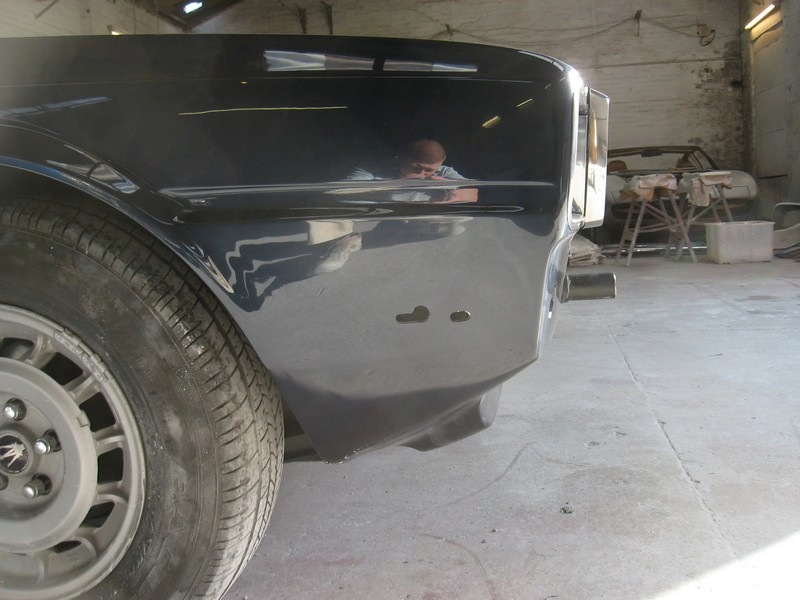
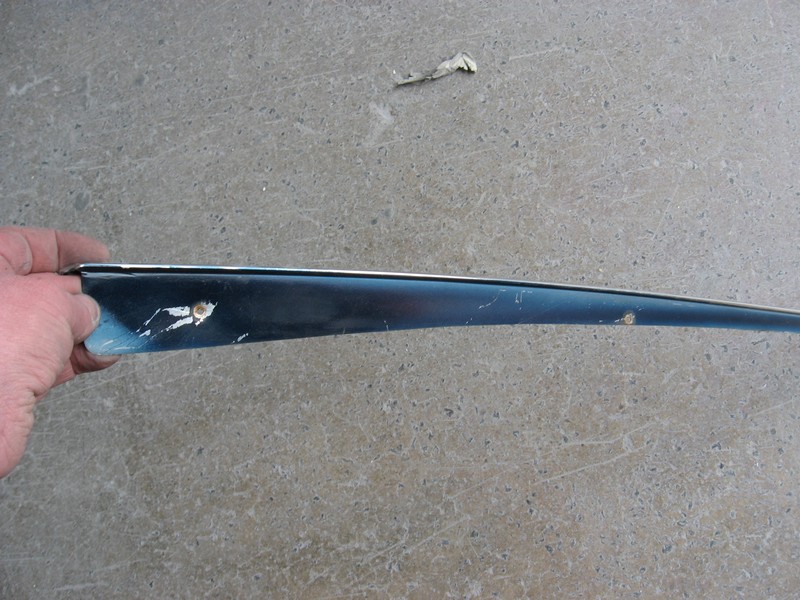
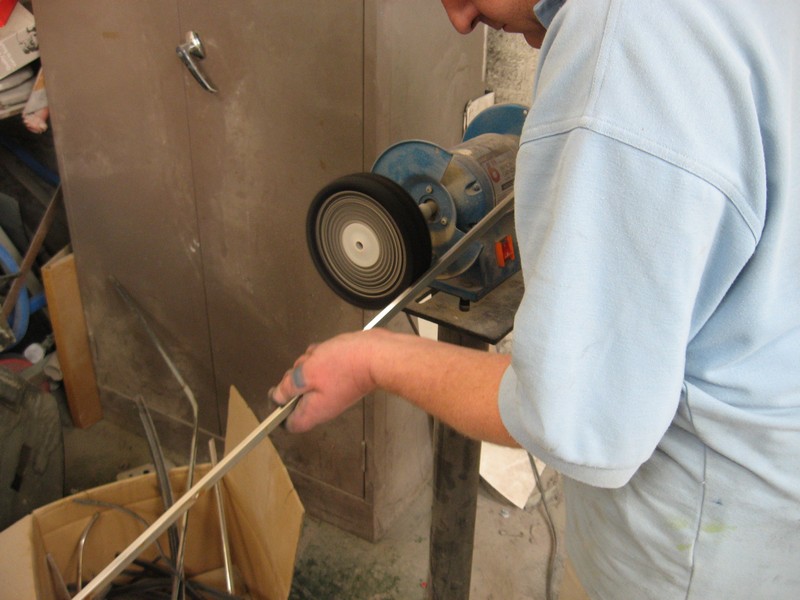
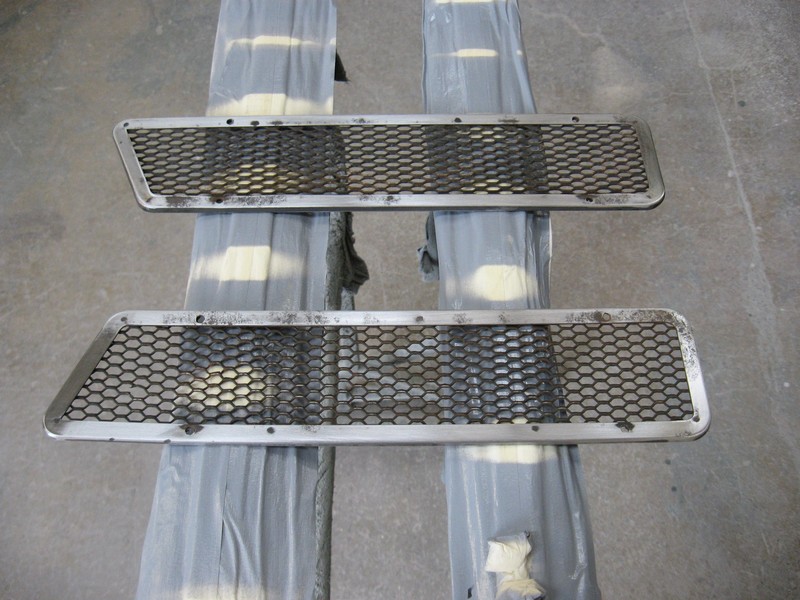
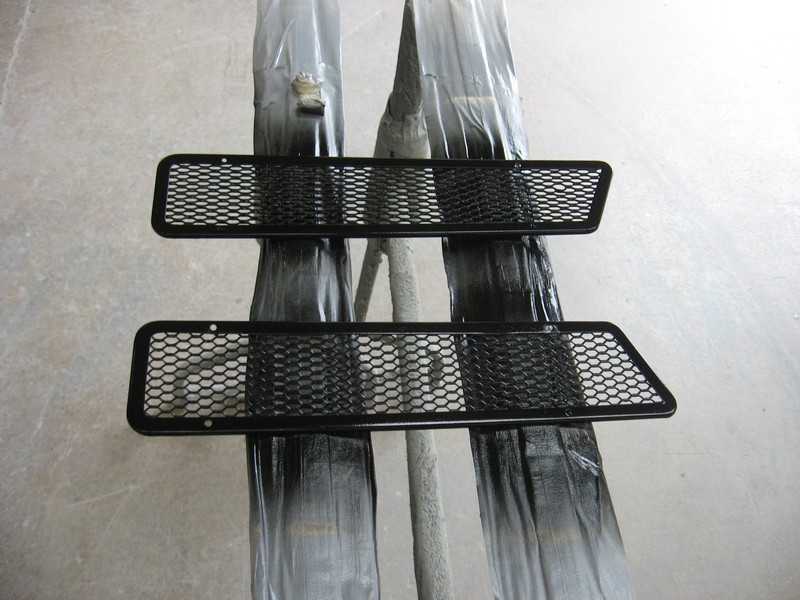
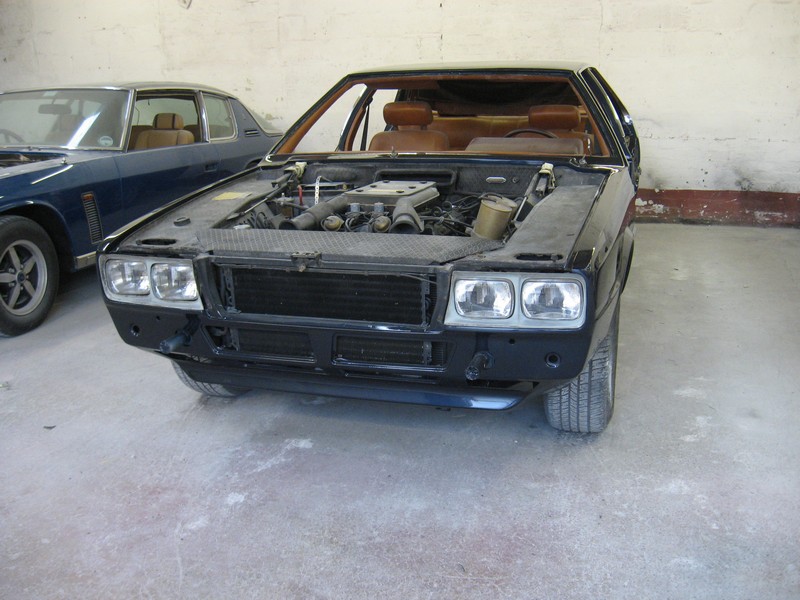
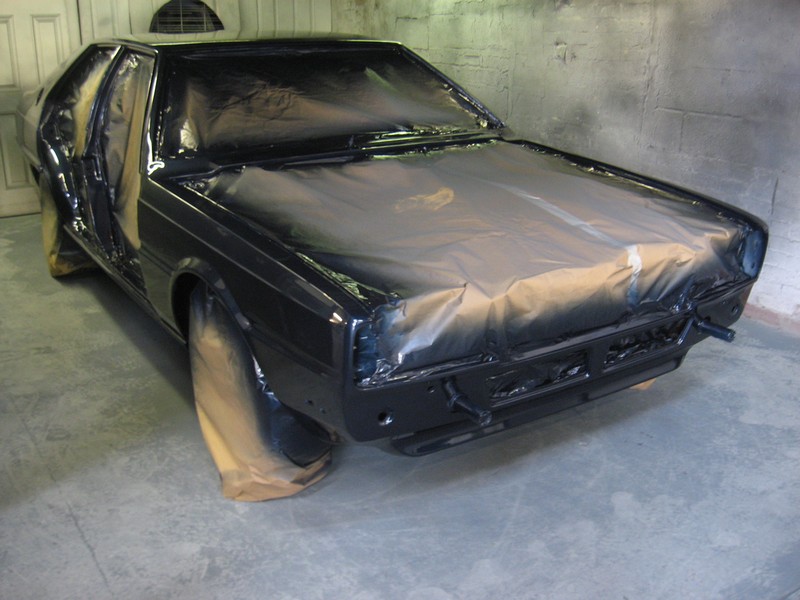
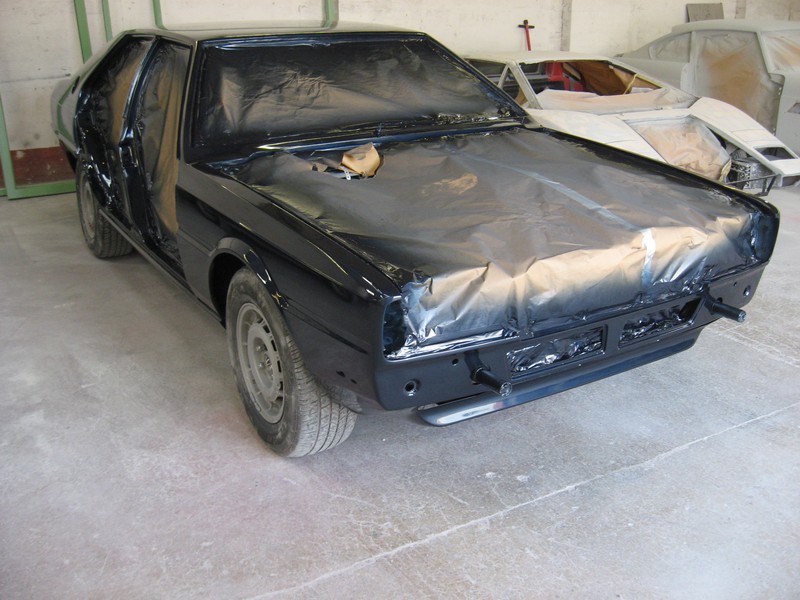
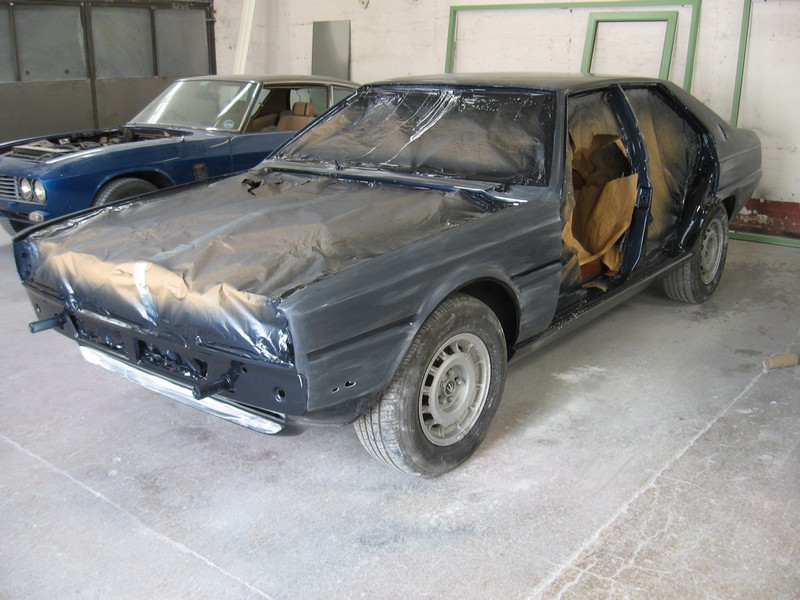
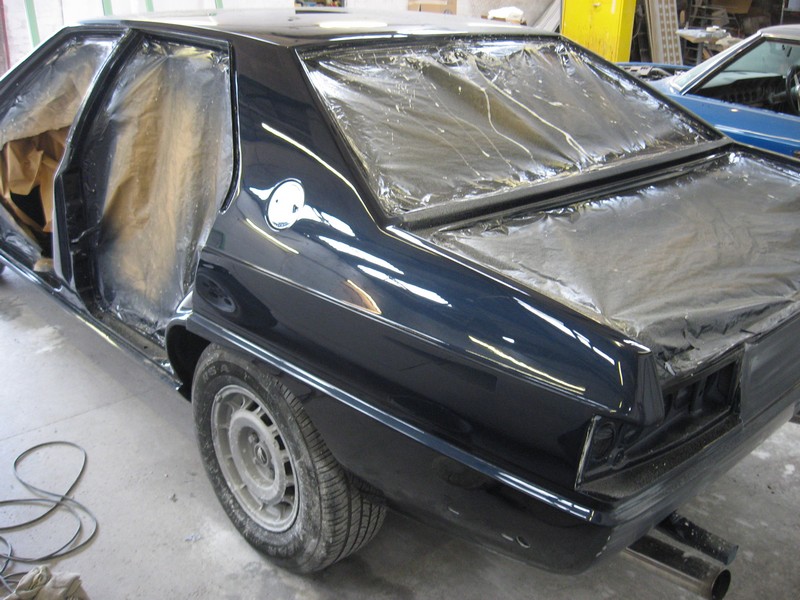
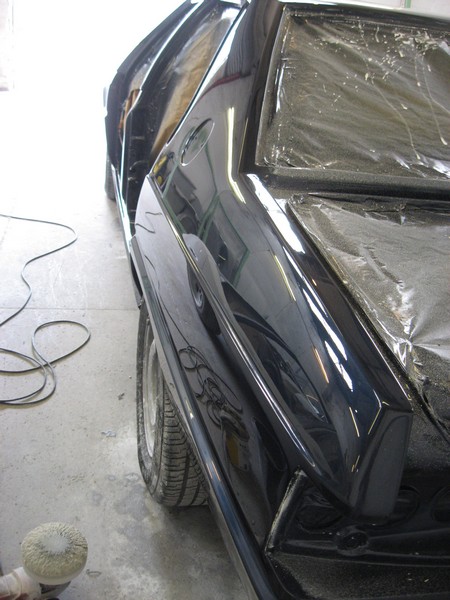
I decided we needed to do the bumpers right, which meant re-doing some work.

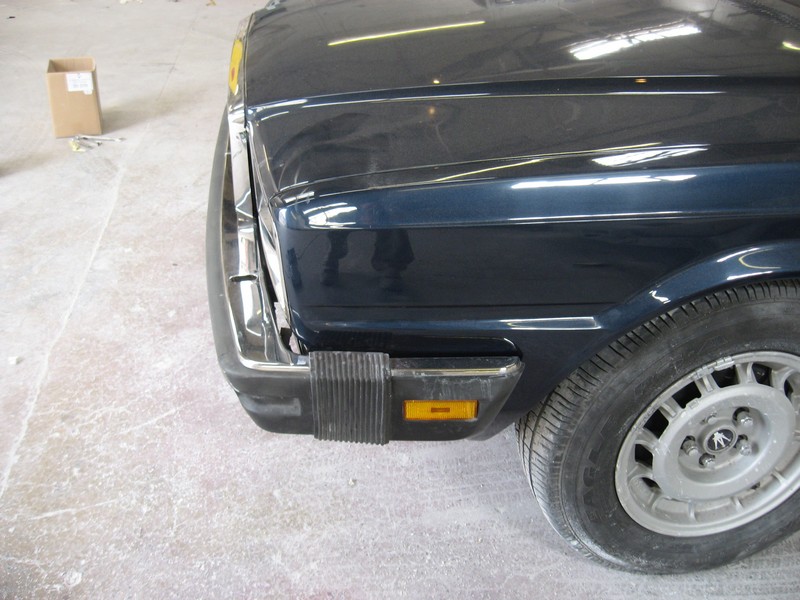
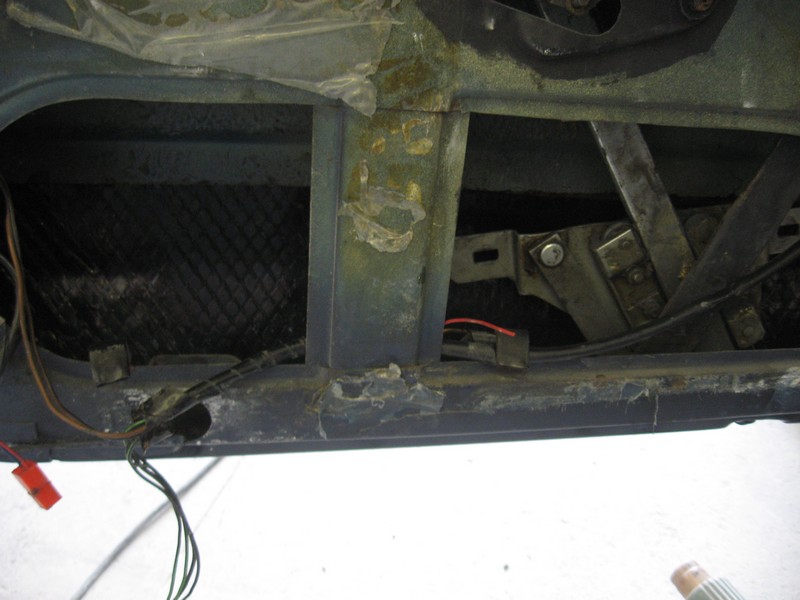
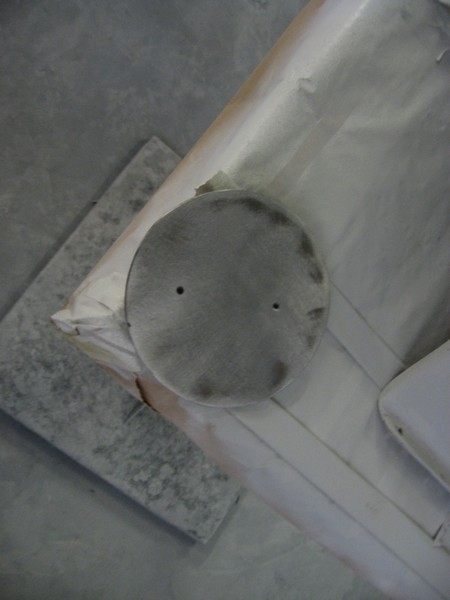
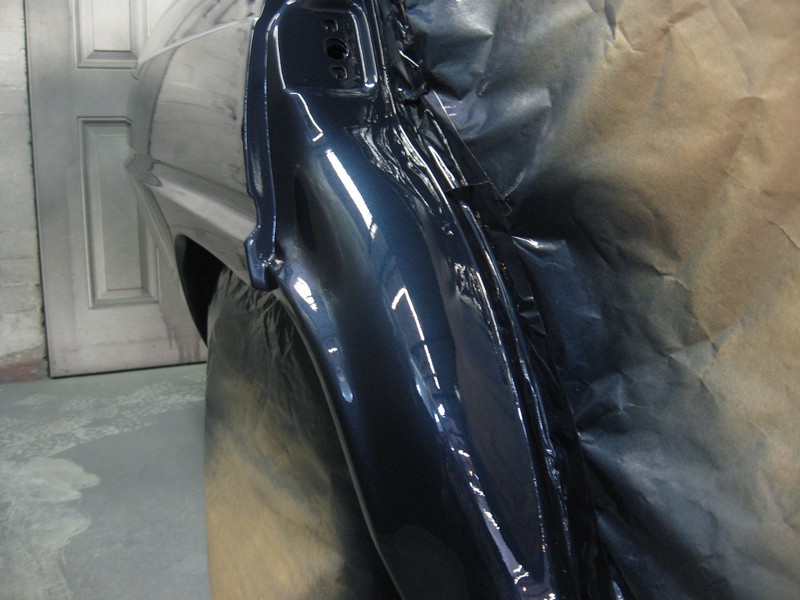
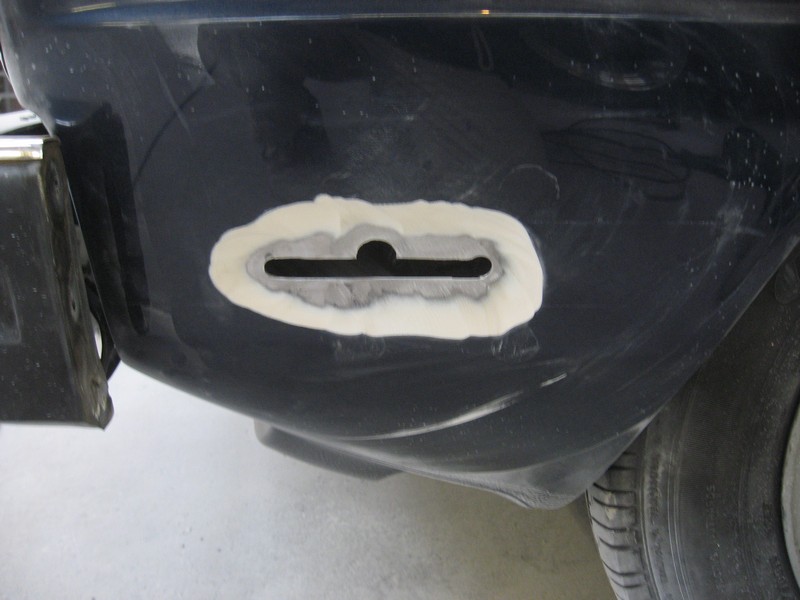
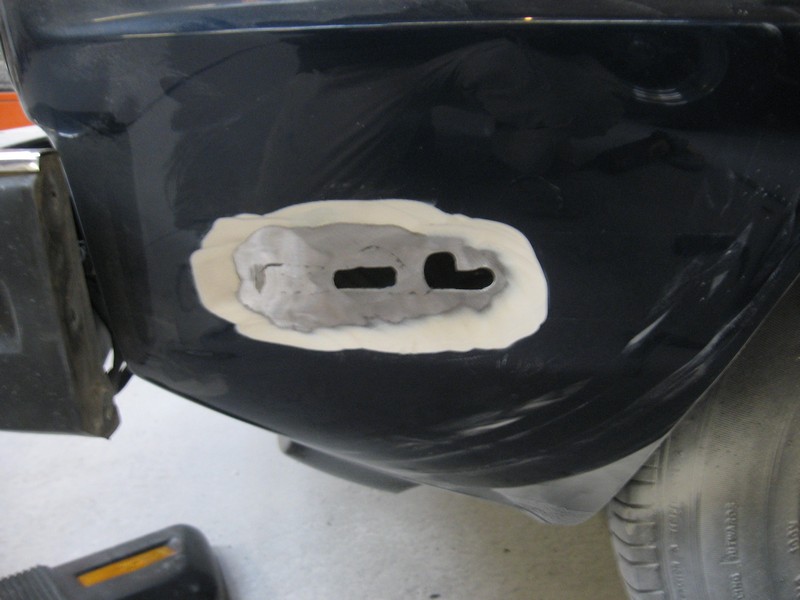
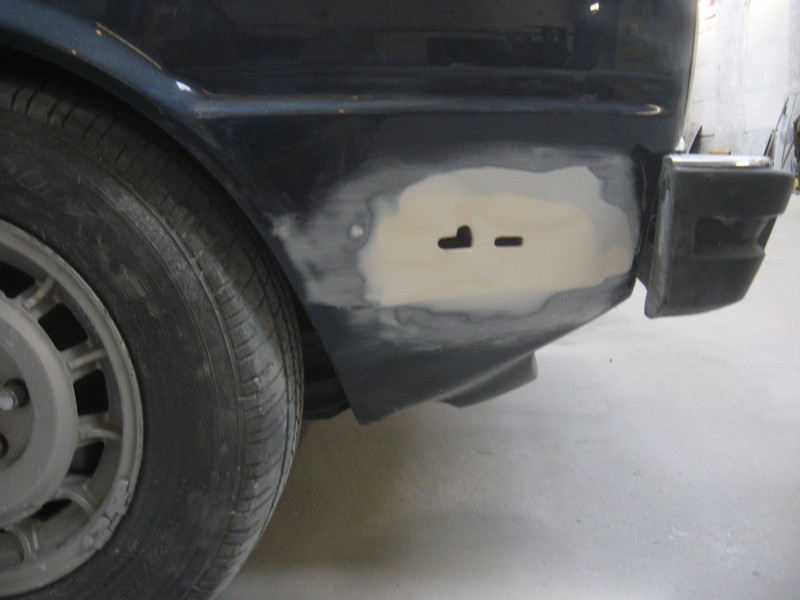
“front bumper mounts re-drilled/cut, new metal sections welded in to ‘fill’ the gaps and filled/shaped smooth ready for priming.”

Stripped and extended
Same on other end
Same on other end

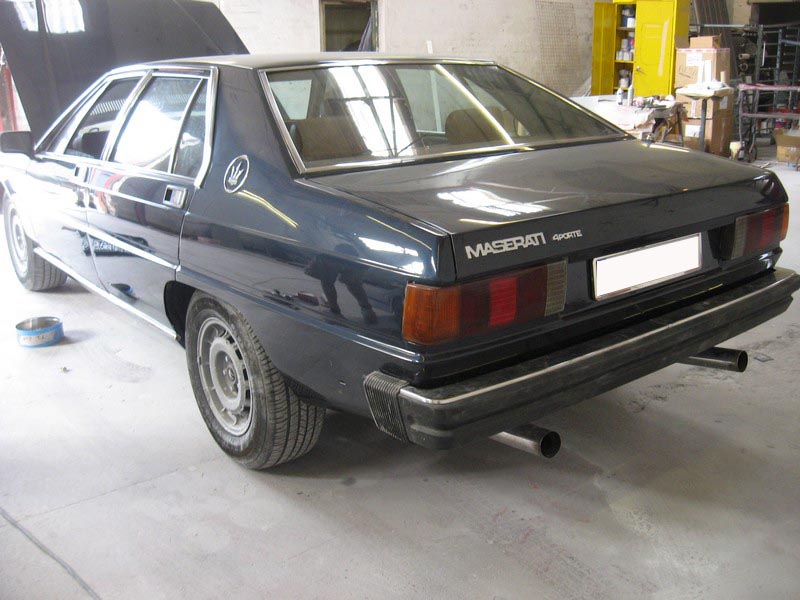
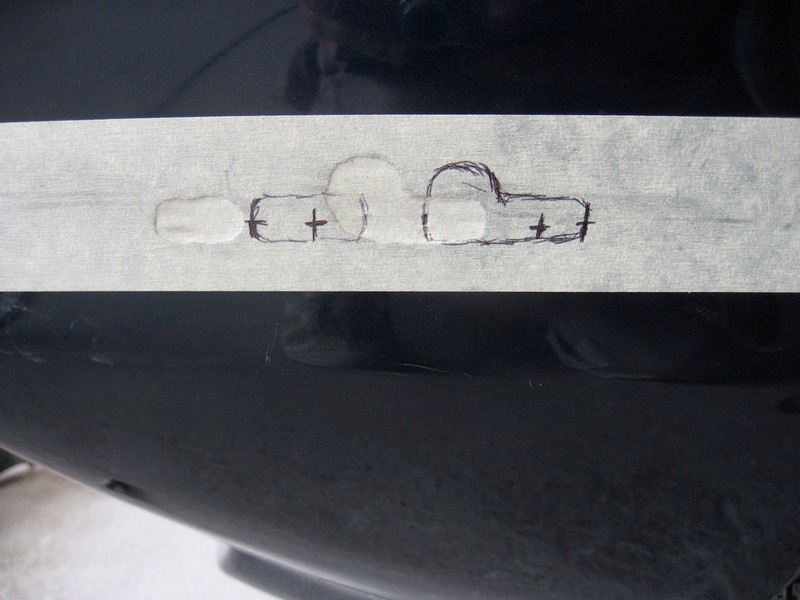
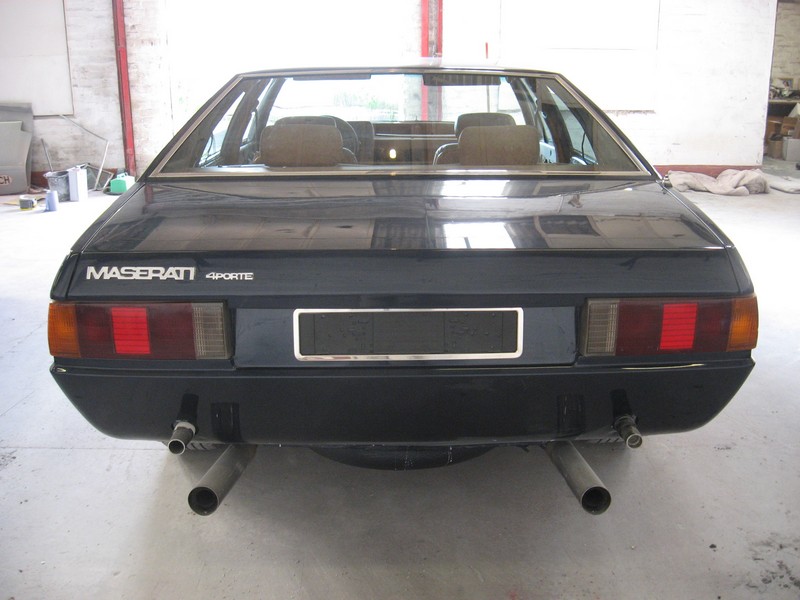
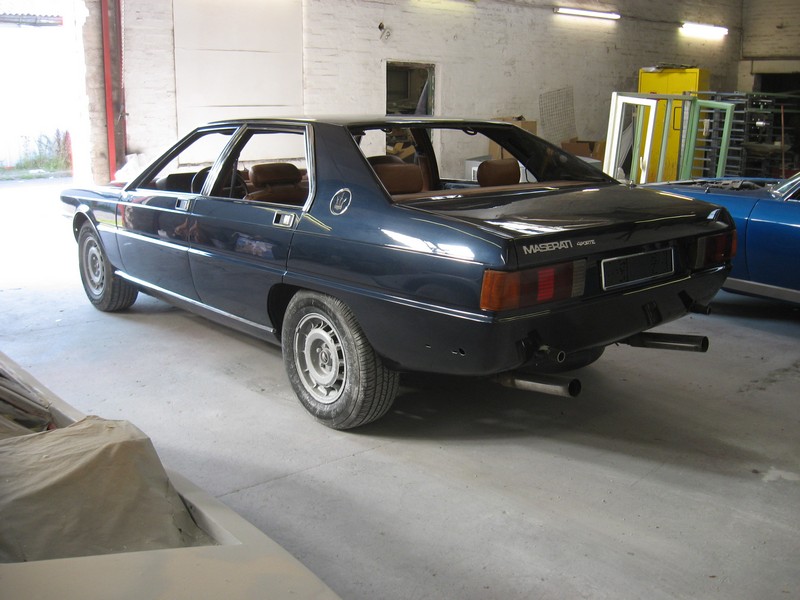
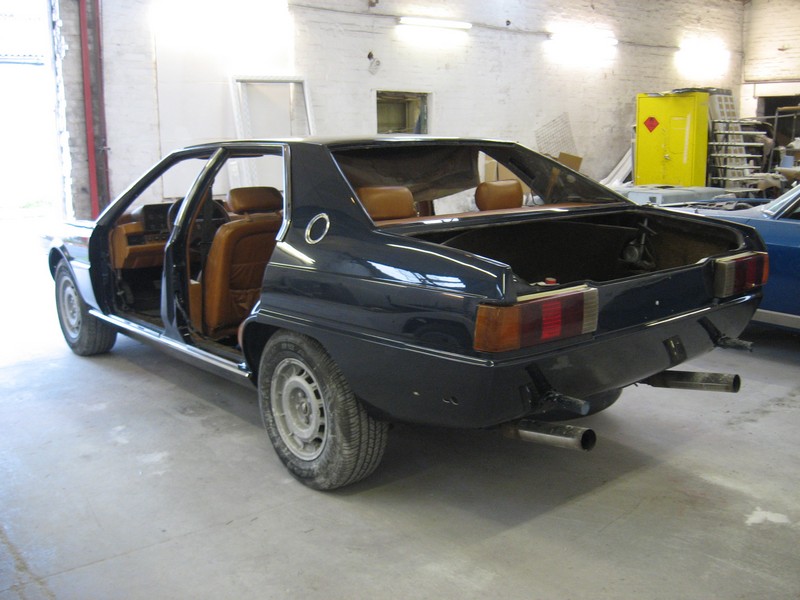
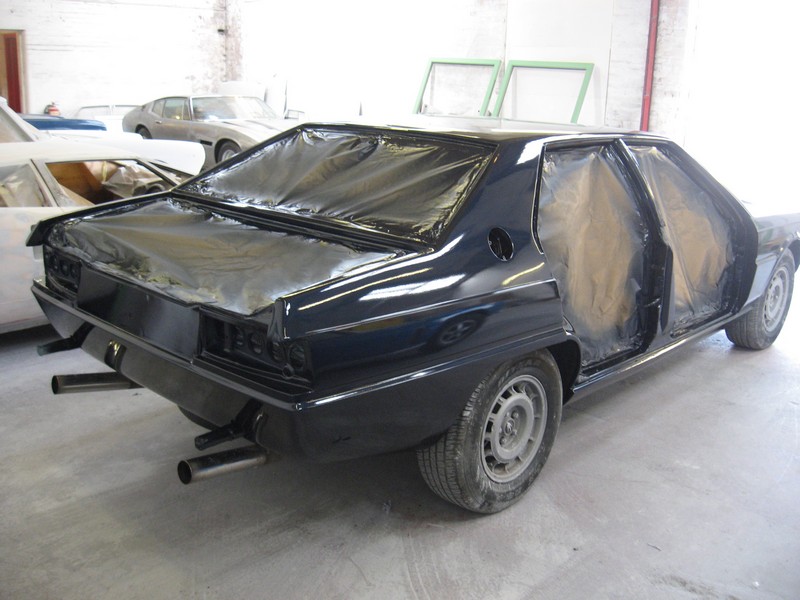
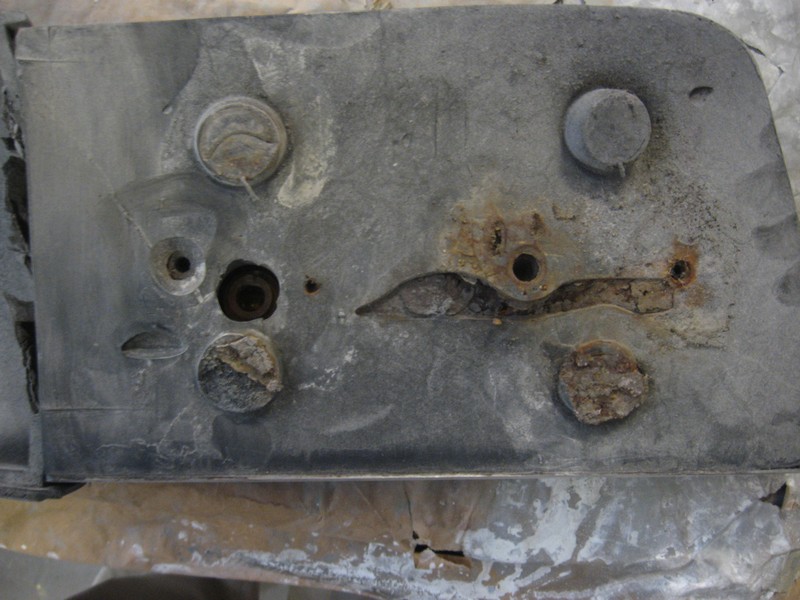
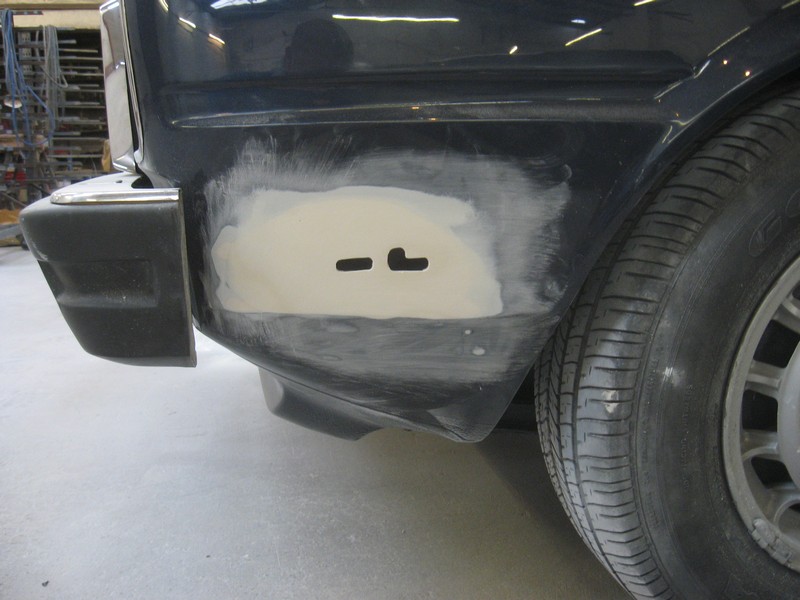
“A little good news on the rear bumper corners – the holes in the body were the same measurements on Mr X’s car as yours which completely confused me for some time until I compared the rear bumper corners from your car with his, all of the rear bumper corners have provision for THREE mounting holes, even though only two are used and have threads fitted, this allows the bumper corners to be interchangeable and no need for different spaced holes from Euro to USA spec. Whilst the holes are there though, there is no thread for the bolt so we have spoken to the engineering company a few workshops down from us and they are going to fit thread inserts in both rear bumper corners to align with the existing holes in the rear of the body.”

Mounting system for rear side bumper bits.
Primed and ready
Primed and ready
Waiting for paint
Waiting for paint

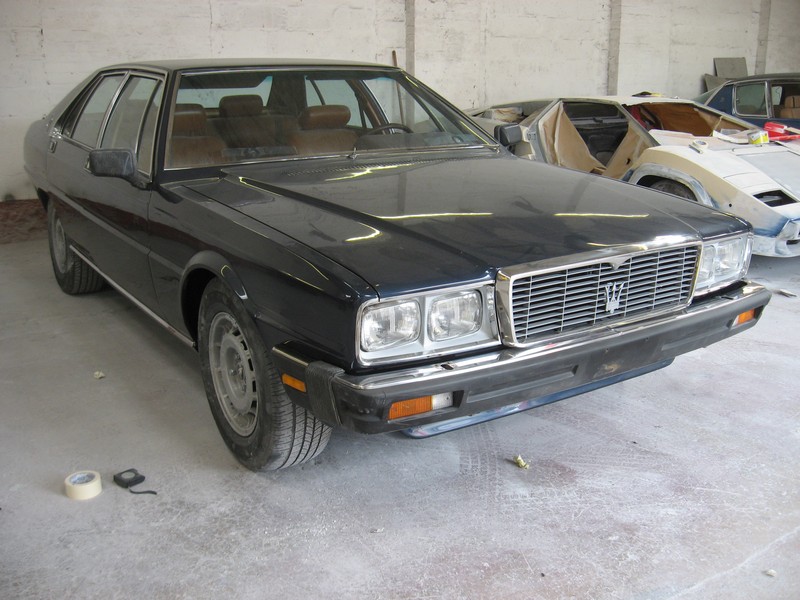
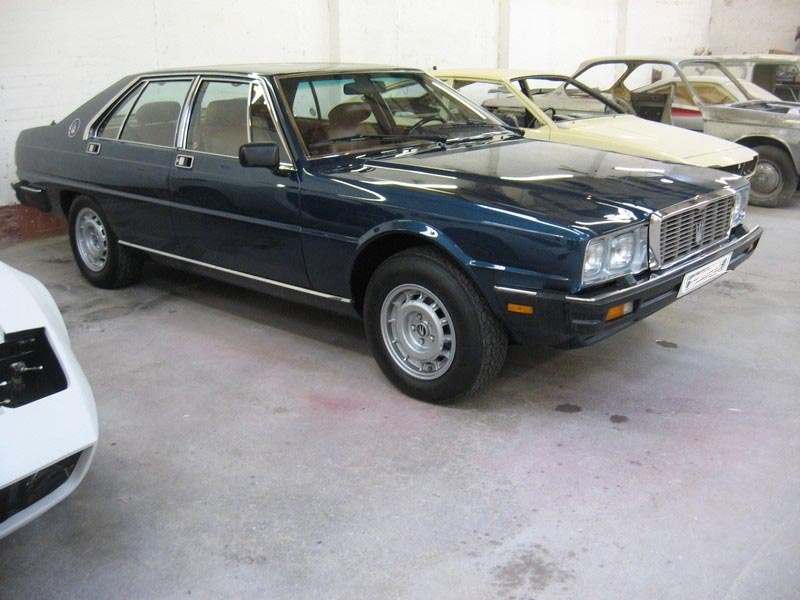
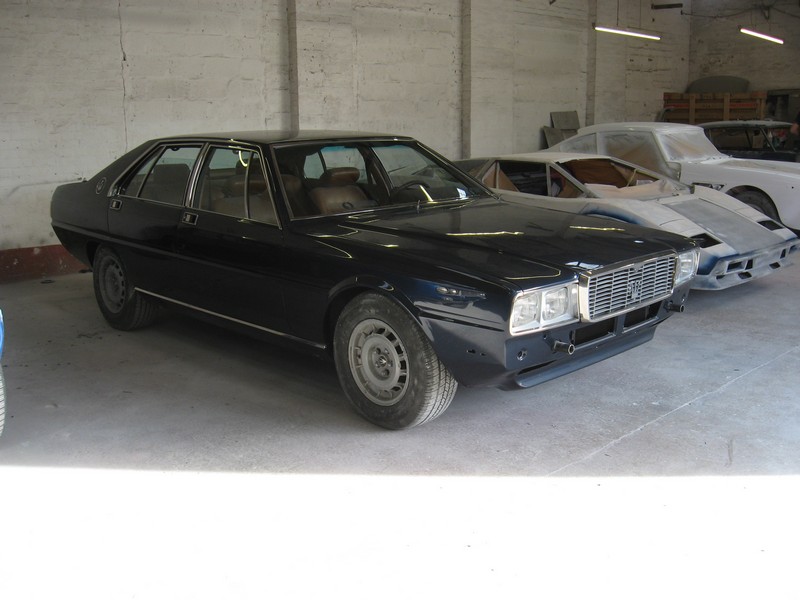
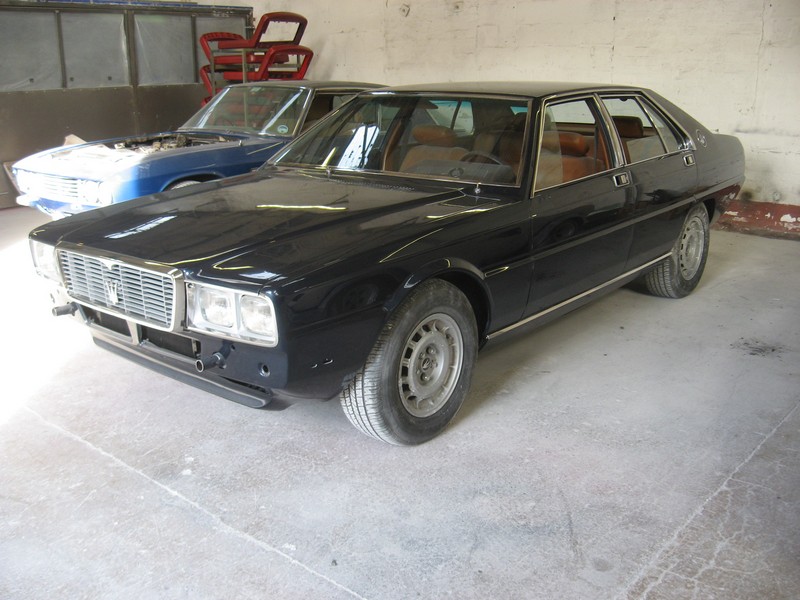
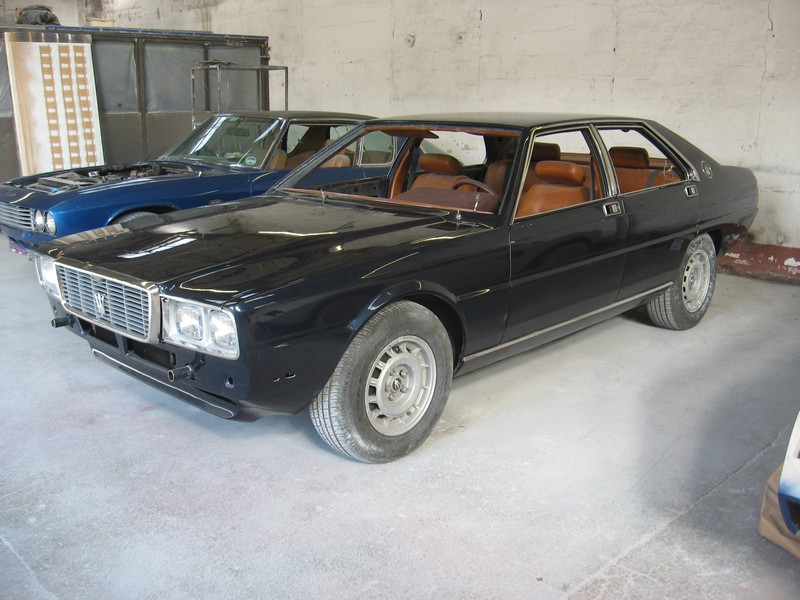
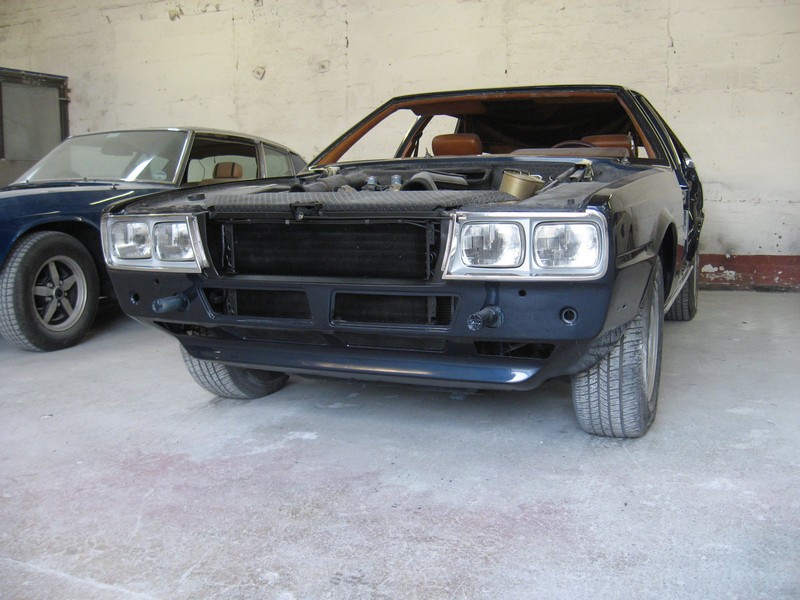
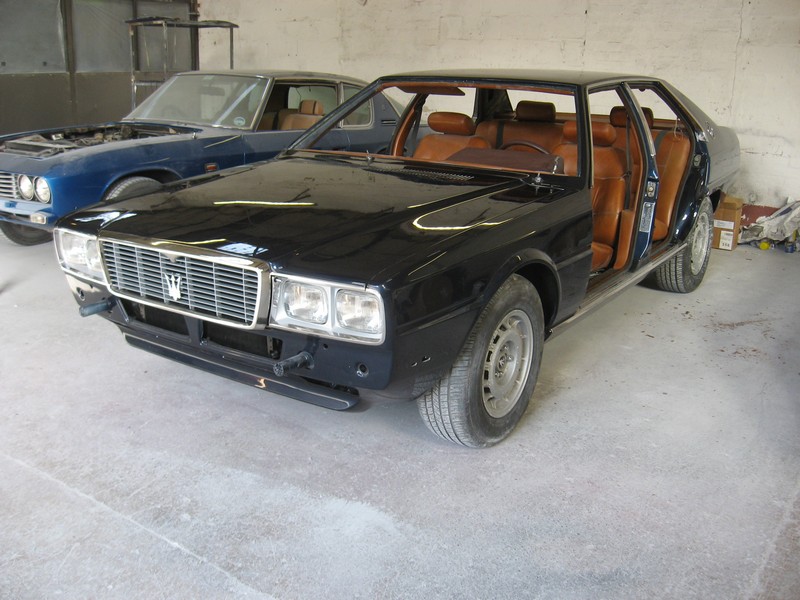
The shop and I both agree that the EU version looks much better than the US. While the differences are much more subtle than say on a Ghibli, Bora or Merak, the bumper placement and H4 lights does change the entire balance and feel of the car as a whole. All in all I’m glad we took the extra time and effort to complete the transformation.

(p.s. for those of you wondering if “Mr. X” is the same as “Racer X”, we can’t be 100% sure, but the fact that he drives a QP3 and not something more exotic and sporty would indicate that he probably isn’t the mysterious driver known only as Racer X)

“if at first you don’t succeed…”

we tried again. Looking better this time, but only measured and trial fitted so far.

side bumperette moved back closer to wheel arch
tucked in correctly, looks much better this way

The rear bumper finally looks like a bumper, integrated with the body, whereas before it was more like a shelf sticking far out from the rear. At least it was handy to sit on at picnics 😉

TL240QP_copy

Now to strip all the paint away, cut the mounts out and move them to the new positions, weld everything back up, prime, shape and prep the areas for paint.

…mistakes were made…

..and they were all mine.  This blog isn’t called “Automobiles for idiots” for nothing!

An old woodworking saying says “measure thrice, check twice, cut once”. There are wisdom in those words.

Much care was taken while doing the bodywork, tack welding in new sections temporarily to make sure everything fit correctly before committing the section to a permanent weld. Windows, doors, and other areas were all checked carefully. The front panel was also measured and checked carefully against a Euro model to ensure that the front lights and bezels would indeed fit with minimal modification. Looking at the bumper, it appeared that the two mounting posts projecting from the front and rear of the car ensured that the US spec cars’ bumpers stand further away from the body compared to the Euro spec version. Cutting them down to match the EU spec dimensions seemed the logical way to adjust the bumper for the Euro look, more integrated with the body.

What we didn’t realize until it was too late, was that the side bumperettes are also offset together with the main bumper by the same amount, approximately 25mm/1″. So cutting the mounting posts down to size brings the bumper 25mm closer to the car, but the side mounting brackets are 25mm further forward on the US version than the EU version, meaning that there isn’t room for the “accordion” covers that provide a unified look of a wrap-around bumper. The bumper and side bumpers simply won’t fit, they crash.

Oops.

US bumper. Note the distance from the car, and the distance between the side piece and the wheel well.
EU spec bumper. Note closer fit of bumper, and proximity of side bumper to wheel well. Bumper presents a more integrated appearance compared to the US spec model.
Shortened bumper posts, but side mounting holes need to move back correspondingly...
Shortened bumper posts, but side mounting holes need to move back correspondingly…
So close, and yet so far...
So close, and yet so far…

There are 2 options from here:

1. Fix the mounting posts so that they are as they were, i.e. the longer US version. Everything will fit. The car will have EU lights and front, but US bumper fit (further away from the body).

2. Strip the brand new paint and bodywork at each corner, cut out and move the new mounting brackets 25mm towards the rear of the car, fill the resulting holes, do body shaping, priming, guide coat, final shaping and repaint all over again. (and of course do the same thing for the rear mounting brackets as well, moving them forwards from the rear of the car by 25mm).

Should I do the right thing, or the easy thing, or are they the same thing? Thoughts?


Glass

Windscreen and rear window fitted, as well as most of the door glass, along with chrome trim surrounds.

Not sure which is shiniest, glass or paint
Only one window left to install
No visibility problems here!

While the doors were apart to install the glass, we went ahead and removed the old (and pretty far gone) insulation and installed new rubberized asphalt sound/vibration insulation. The old stuff had crumbled to a point beyond recognition, which has it’s advantages, as it’s hydrophilic and a common cause of serious rust in these cars. Due to the way the insulation is mounted, the doors or body could rust through from the inside without any warning to the owner until it’s too late!

The rubberized mats are completely waterproof and offer much better sound deadening properties than the original insulation used.

TL222QP

Body panel gaps

Doors now test fitted and adjusted for proper panel gaps all around.

TL220QP
Note the improved stance after installing custom made shock absorbers
TL218QP
TL219QP
TL221QP
She’s slowly beginning to come together, and is looking pretty good if I do say so myself. Looks a bit weird without the bumpers though.

“Quattroporte” = “4 doors”

A rather mundane, if not downright unimaginative name, although the first model was released as early as 1963 and was based on a custom bodied 5000GT built for Prince Karim Aga Khan by Frua. Hardly a mundane start.

Regardless, it sounds a lot better in Italian than in German. Can you imagine Mercedes presenting the “450 vier Türen” back in the day?

Anyway, back to business – the 4 doors of the 4 door Quattroporte have been painted. Being a Quattroporte III, only 3 of the doors are visible…

TL214QP

Interior and trim

Parcel shelf covered with new leather, matched for color and grain:

Restored parcel shelf
Back in car. But - where to mount the speakers..?!?
Back in car. But – where to mount the speakers..?!?

Whomever did the previous respray, which must be at least 20 years old, didn’t pay as much attention to masking off parts. Each part must be hand cleaned and polished before being put back on the car.

Rear light clusters - before and after
Rear light clusters – before and after
Side sill trim, before old overspray is removed
Polishing the trim
Polishing the trim

The lower front grilles had been painted the same color as the rest of the car, which meant stripping, priming and repainting in the correct color (black) before being put back on the car.

Stripped lower grilles
Correct satin black finish

Quite a lot of time was spent polishing and refinishing the headlamp surrounds and steel trim. The front of the car looks brand new (actually it is brand new)

New lights and trim. Note how straight the panels are
Major bling going on here

All the old foam and glue under the roof was removed and replaced before the headliner was remounted

TL202QP TL204QP

And tags and door strikers re-installed in the painted door aperture. What’s not clear from the pictures is that all seals and gaskets have been replaced with new ones, as will the doors for the window channels and water seals.

Built in 1980
Built in 1980

Lastly, fuel-filler cap and opposite side blanking plate have been repainted, polished and refitted to the car

TL200QP

TL212QP


And since we’re paying extra attention to detail, look at the care and effort that went into making the fuel filler area look brand new:

TL211QP

This is what it looked like when it left the factory, 33 years ago

Articles and reviews

There have been quite a few articles written about the Quattroporte III, I was sent a link to a brand new one just today, so let’s begin with it:

http://www.petrolicious.com/the-maserati-quattroporte-is-brutally-beautiful

The body, paint and interior all look sharp, with some minor issues that perhaps should be addressed, but the engine bay could really use tidying up. And someone should remove the faux “gills” behind the front wheel wells pronto!

They tested a 4.2 liter model, which is somewhat rarer than the 4.9l, and lacks some of the grunt of the larger engine.

I agree with the authors  take on the charisma of the car, it’s even more imposing in person than in photographs, and IMHO is a much more livable design than f.x. the Aston Martin Lagonda. The market has however clearly favored the Lagonda, as it’s risen in value almost fourfold the last few years, while the Quattroporte III has not quite doubled.

I’ll update this post with more articles in a bit. Drop me a link in the comments section if you know of a good one!

Deep Blue

Color on car. Bits and pieces being polished and added. Everything looking very good. I was looking for a deep color that would “pop” with the chrome and interior, I think I found it…

Pop!
Pop!
Nice contrast, crisp body lines
Chrome and lights finding their way back on to car
New Euro headlights (Bosch H4)
Warm yellow light. No blue Xenon here!

Blu sera metalizzato

The pictures speak for themselves. First the color itself:

TL132QP TL135QP TL140QP


After a few coats, a clear top coat is applied, rubbed down and polished:

Clear top coat applied
A Ghibli in the background
Wet sanding
Wet sanding
wet sanding
wet sanding
First polish
First polish
Looking good, and there are still 2 more polishing stages to go before she's done
Looking good, and there are still 2 more polishing stages to go before she’s done!

As is probably apparent from the pictures, the color is quite different from what she came in with, which was a purplish blue from a respray in the USA many years ago. This is the 1980 model year correct Maserati “Blu Sera metalizzato” that the car came with originally. It’s quite close to the 5000GT color, although the metallic flakes appear a bit larger, giving a livelier impression. On a car this size, that’s a good thing.

I’d love to hear what you think of the color – thumbs up? Thumbs down? What’s your opinion of the color? Does it suit the car? What color do you think works best on this car, and why? Comments are open!