Valve adjustment & cam timing

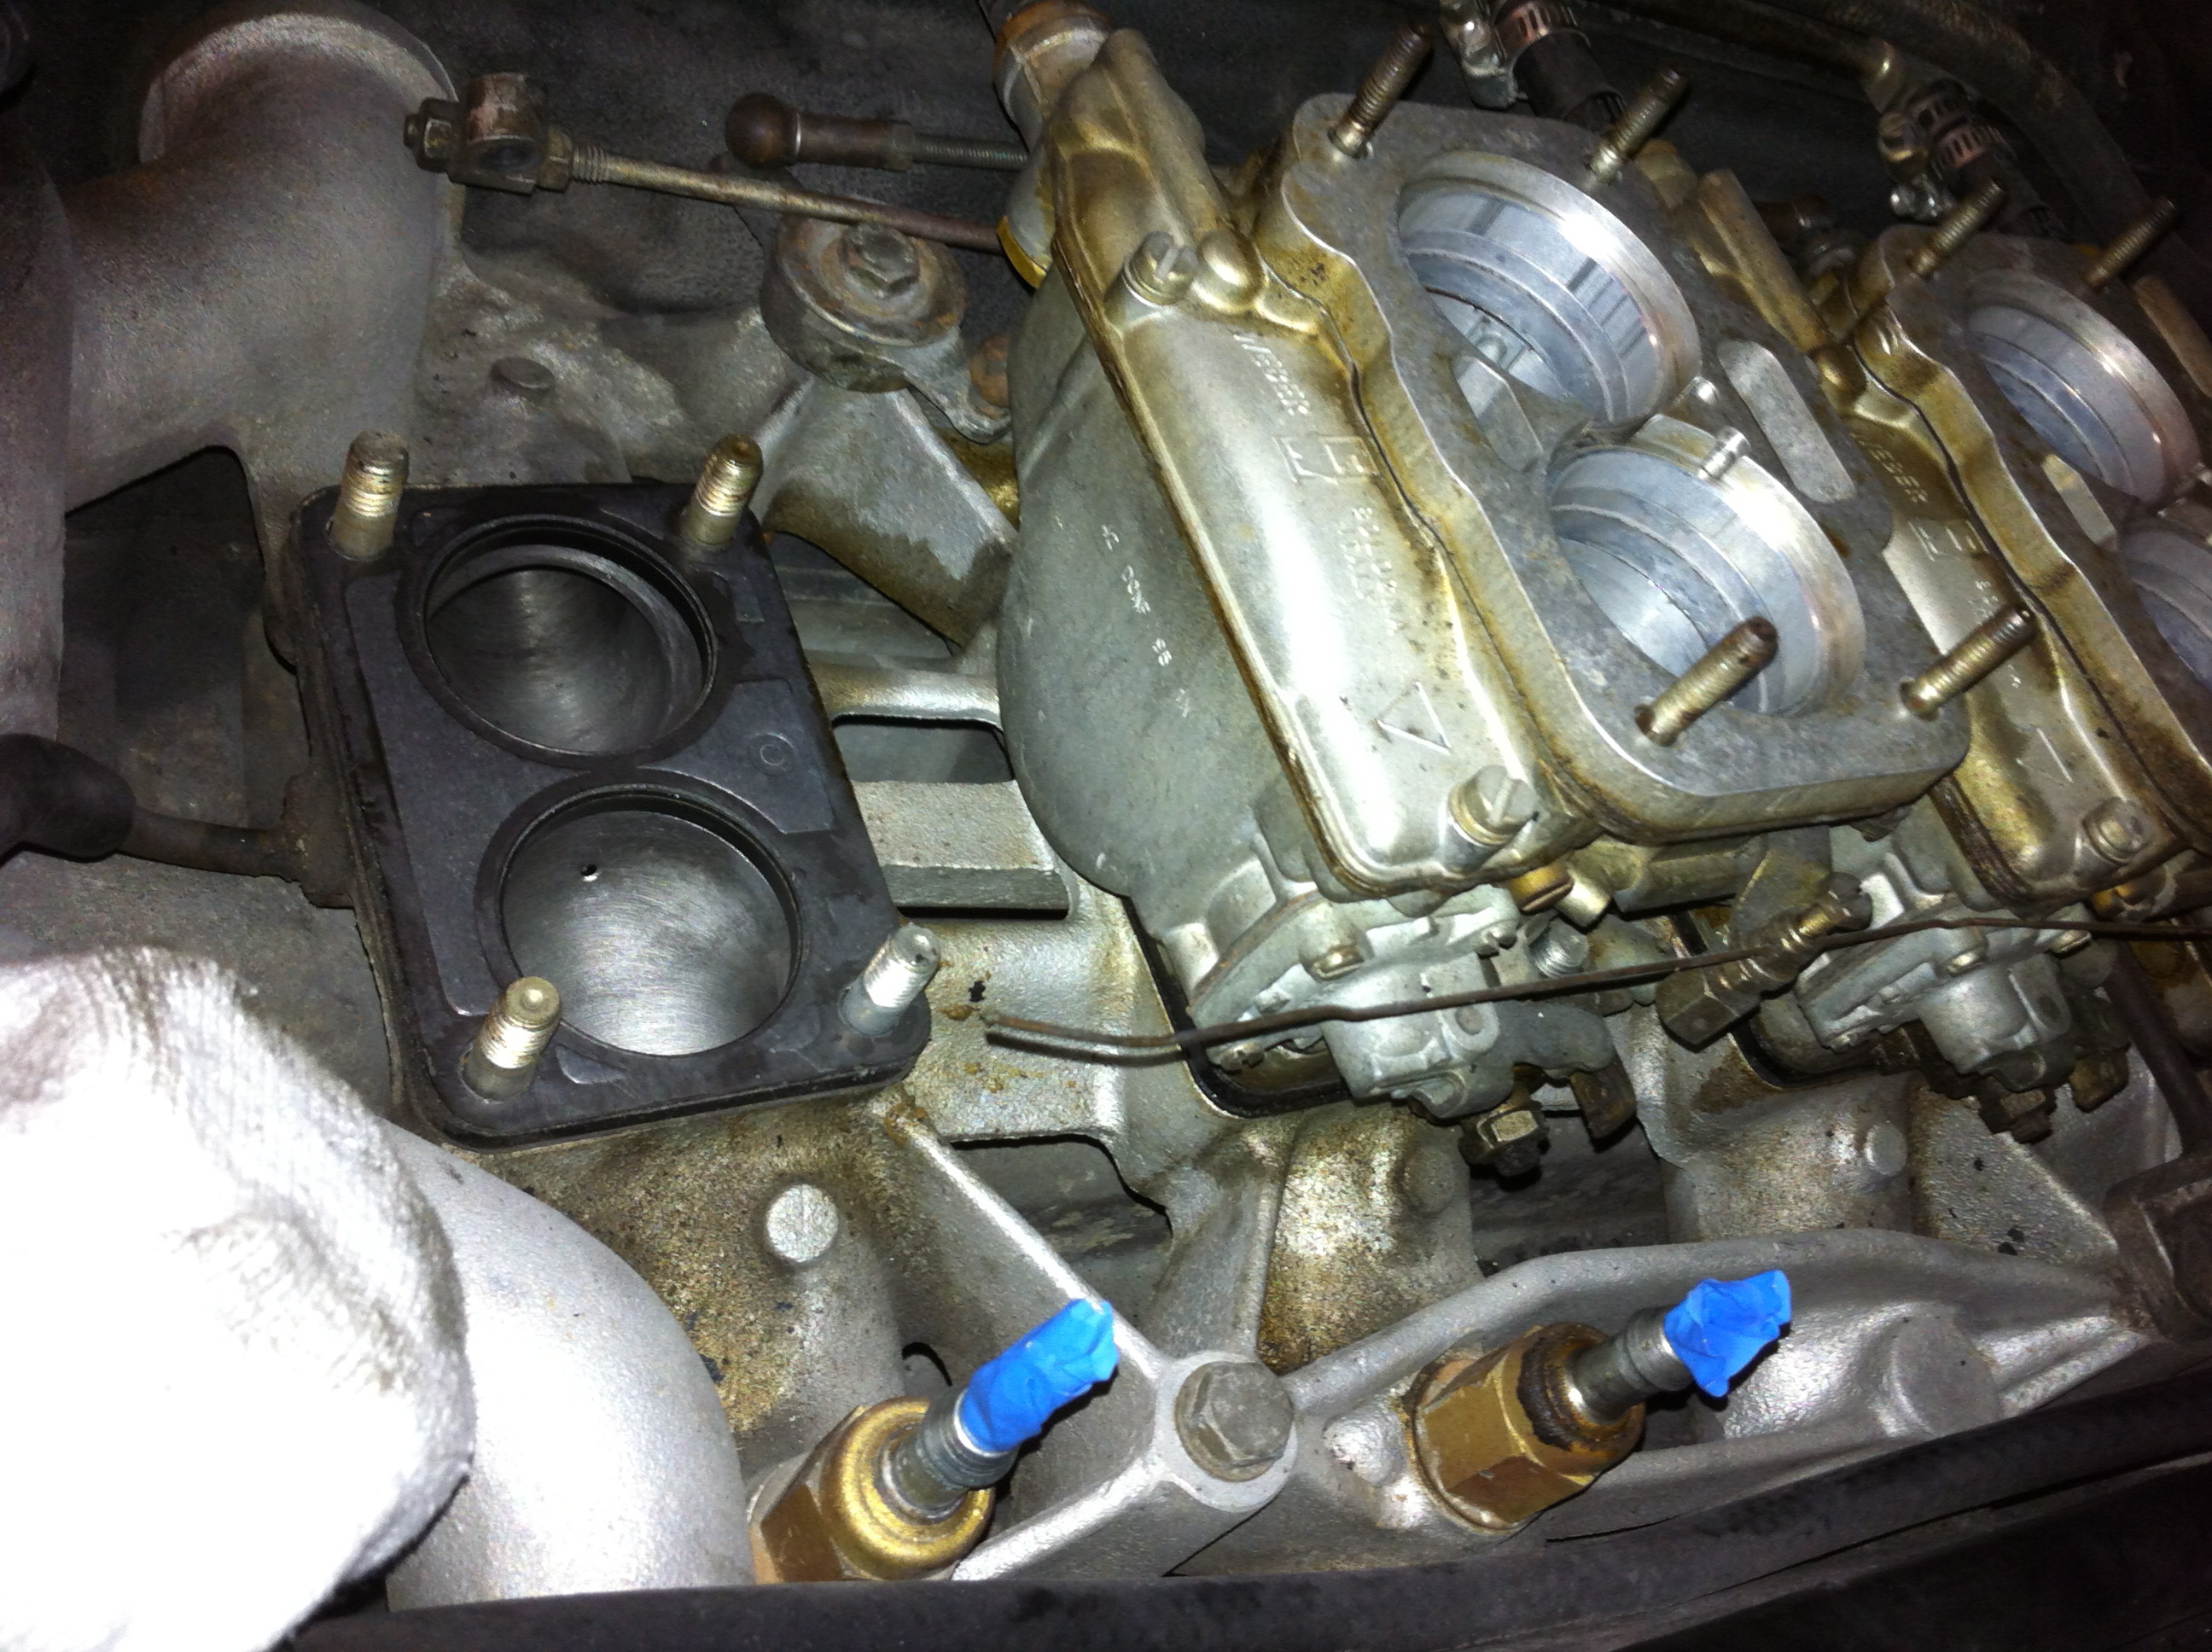
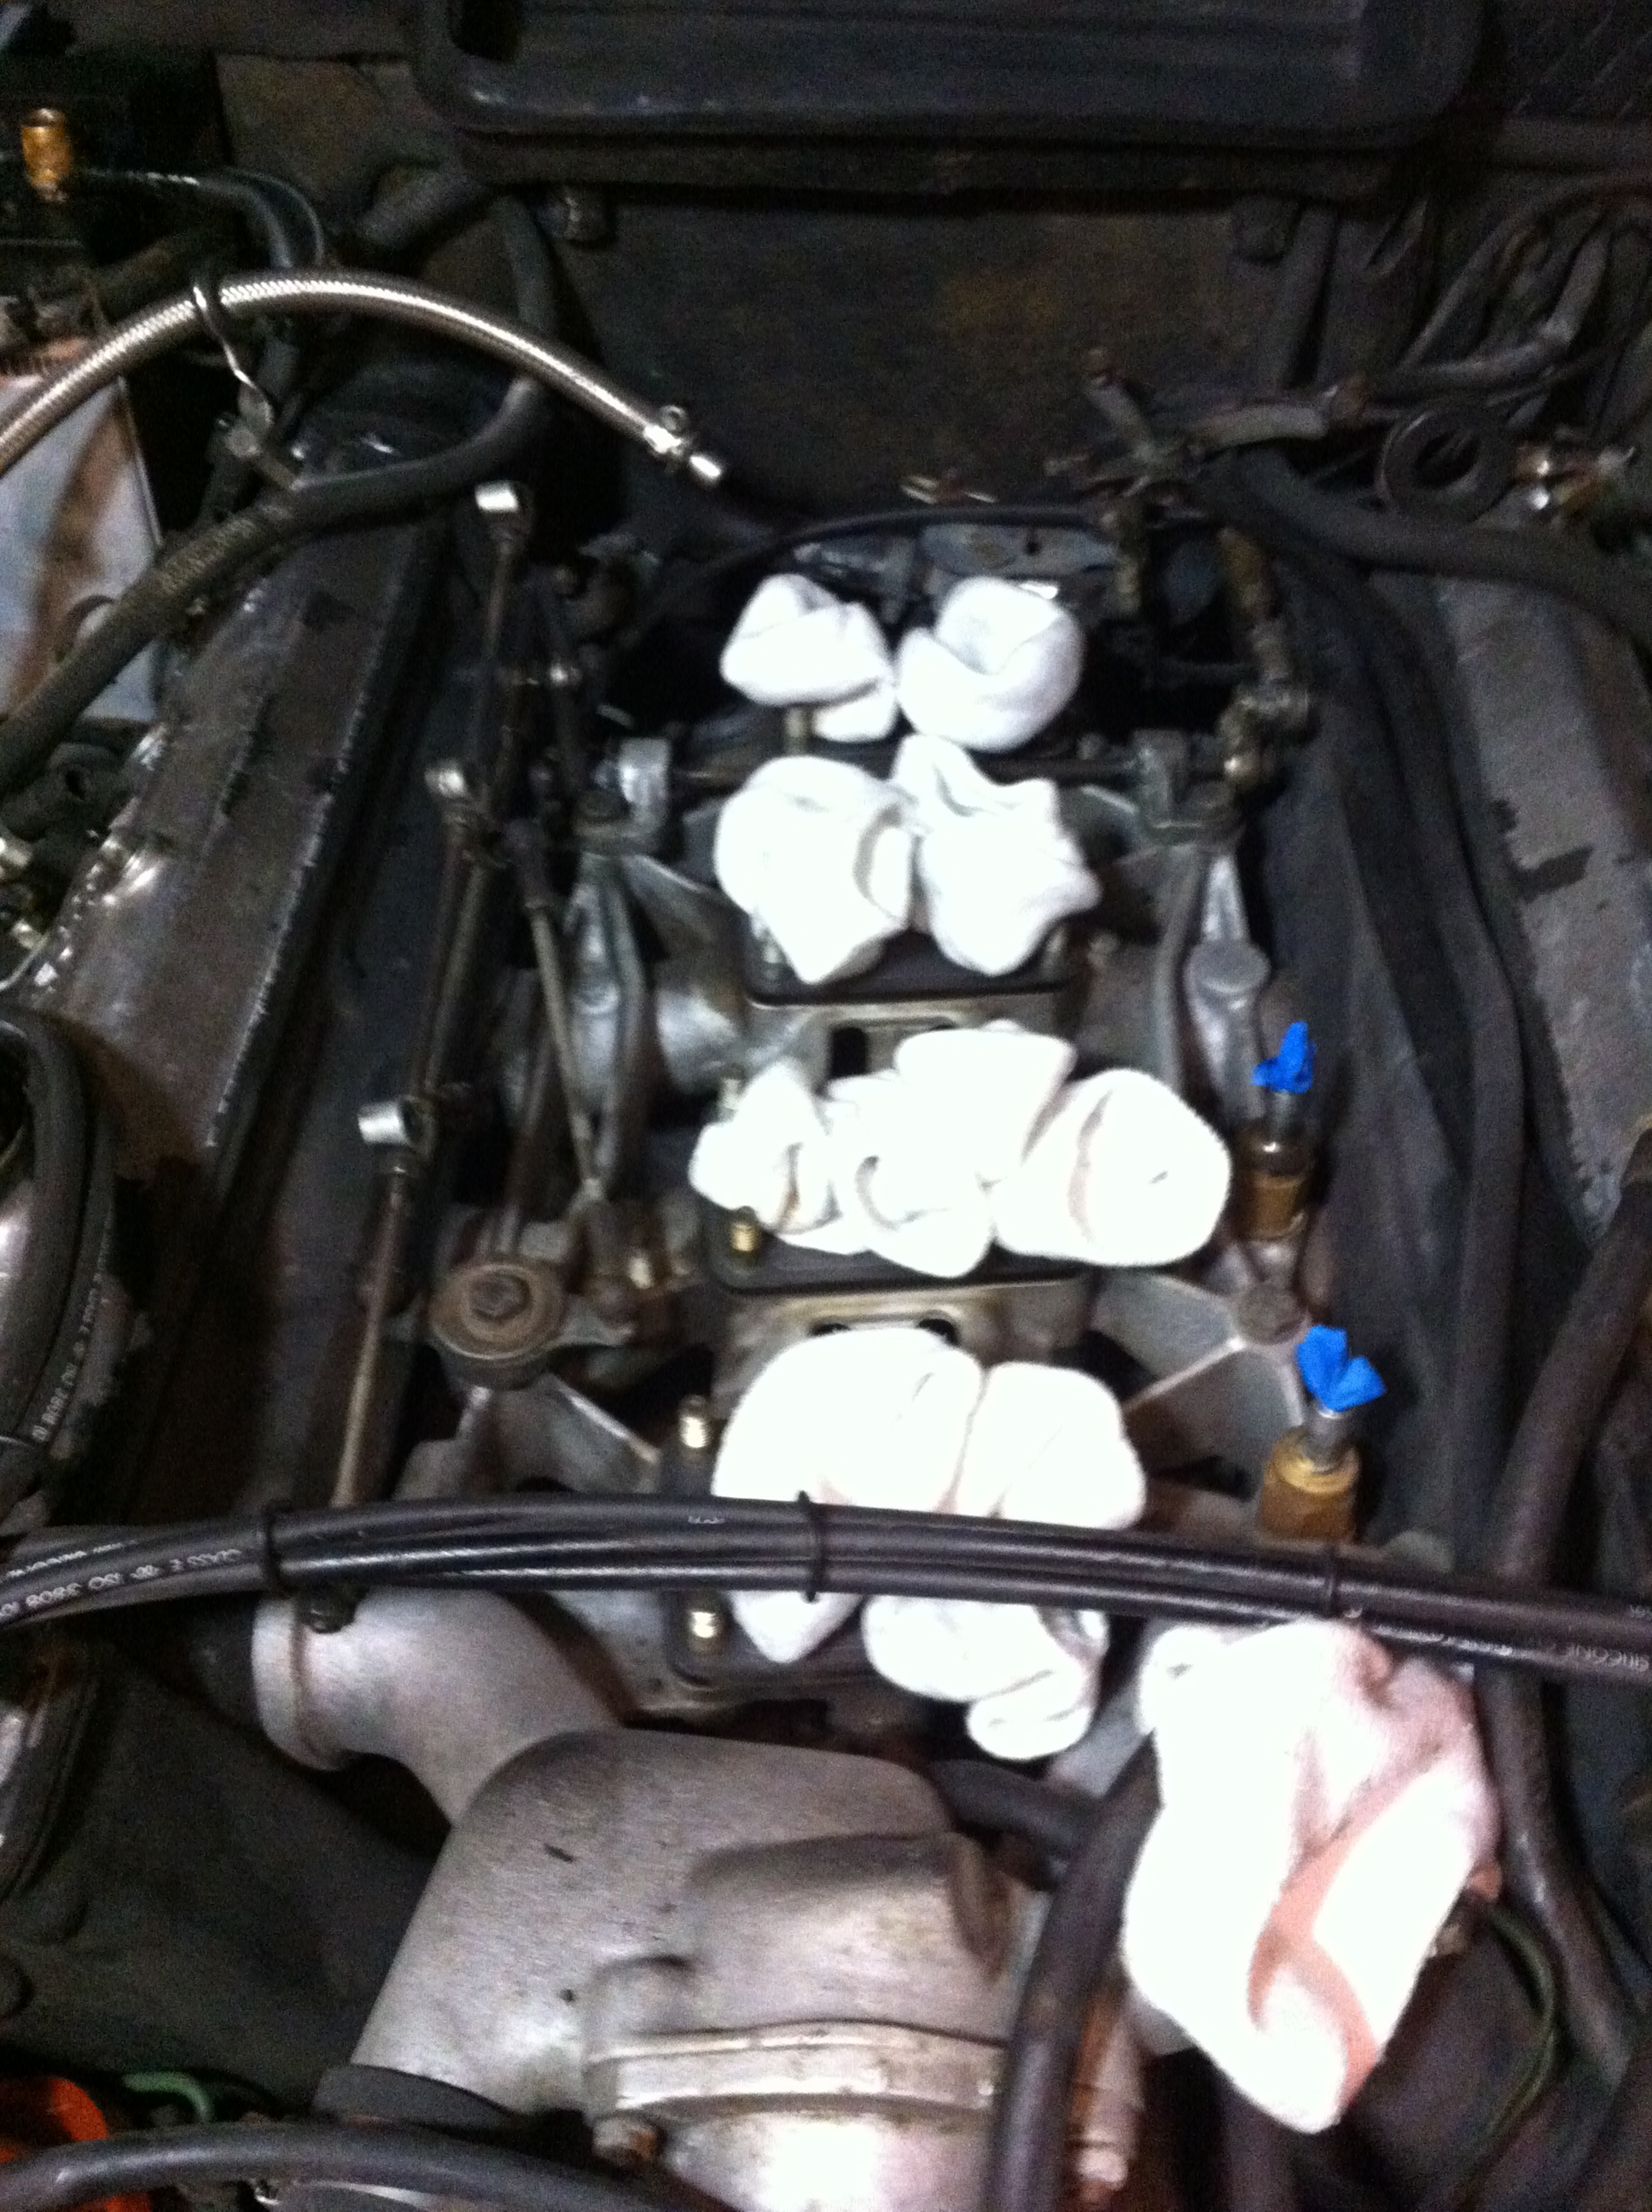
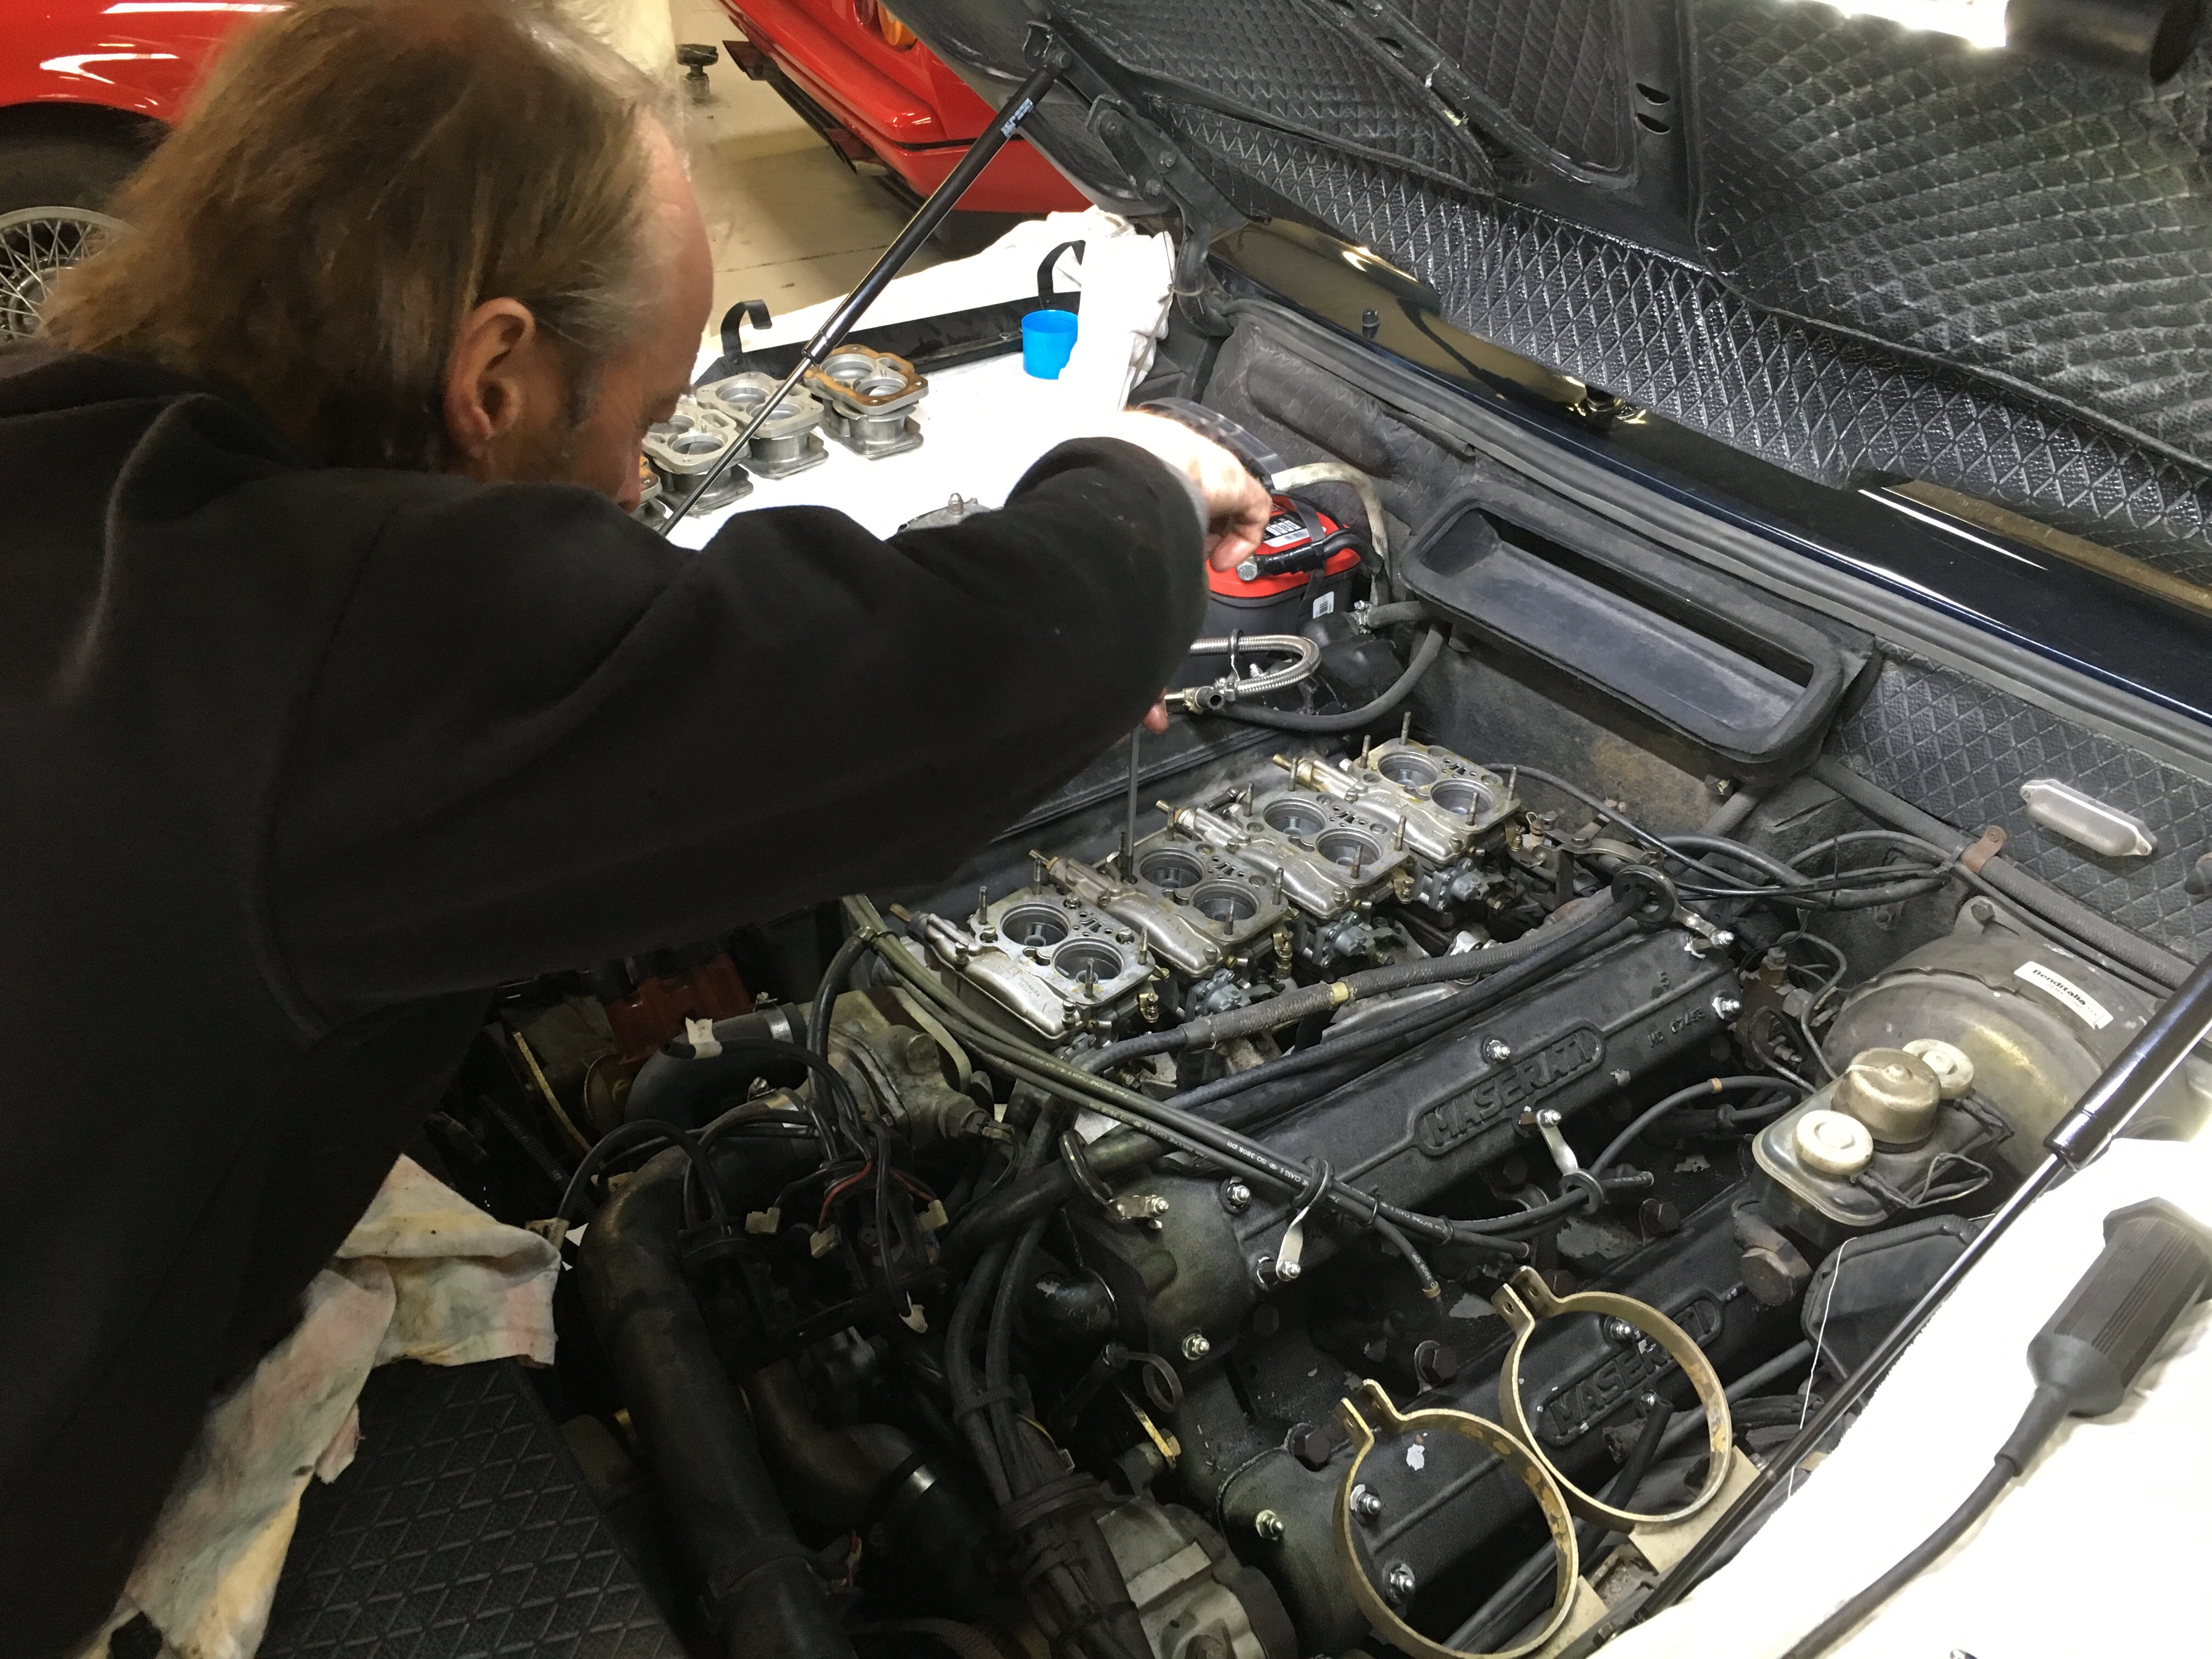
In an as-yet unposted blog entry, I’ll entertain you with my clumsiness and all thumbs dexterity during some wrenching I did last year (2015), and which resulted in an unplanned visit to the emergency ward (mechanics) to pull the cam covers. Nothing serious, thankfully, but immensely educational and slightly punishing to my wallet. 

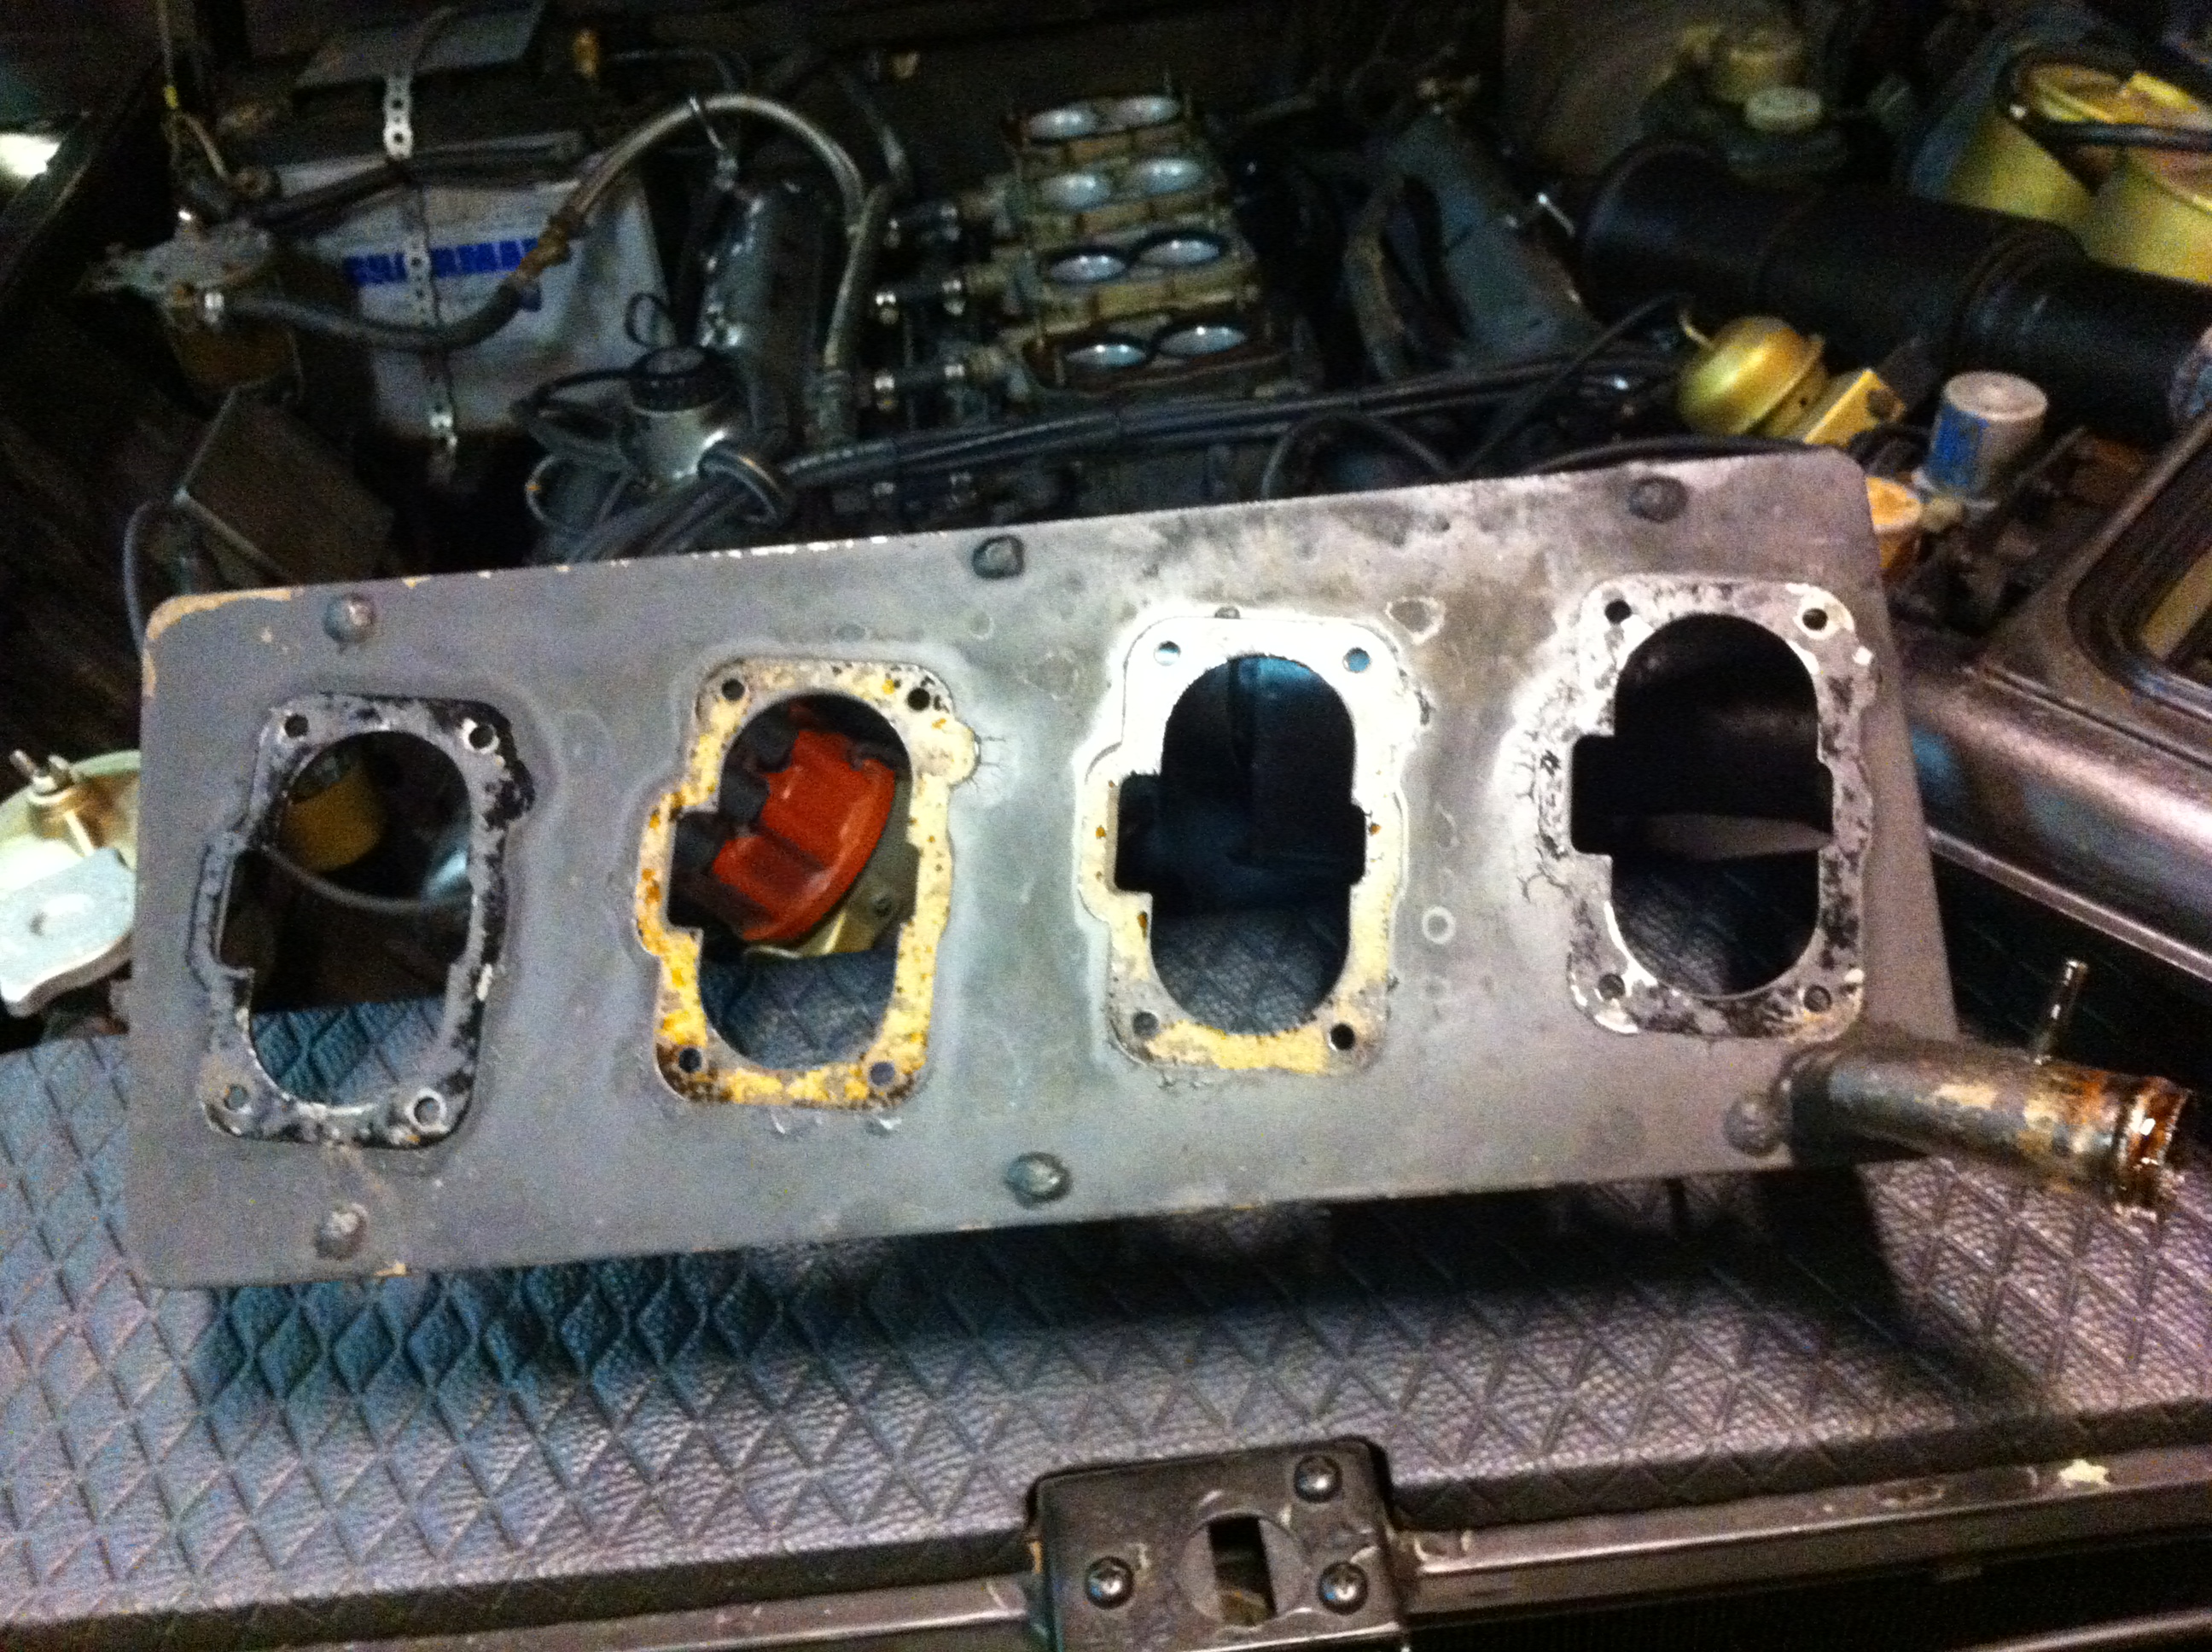
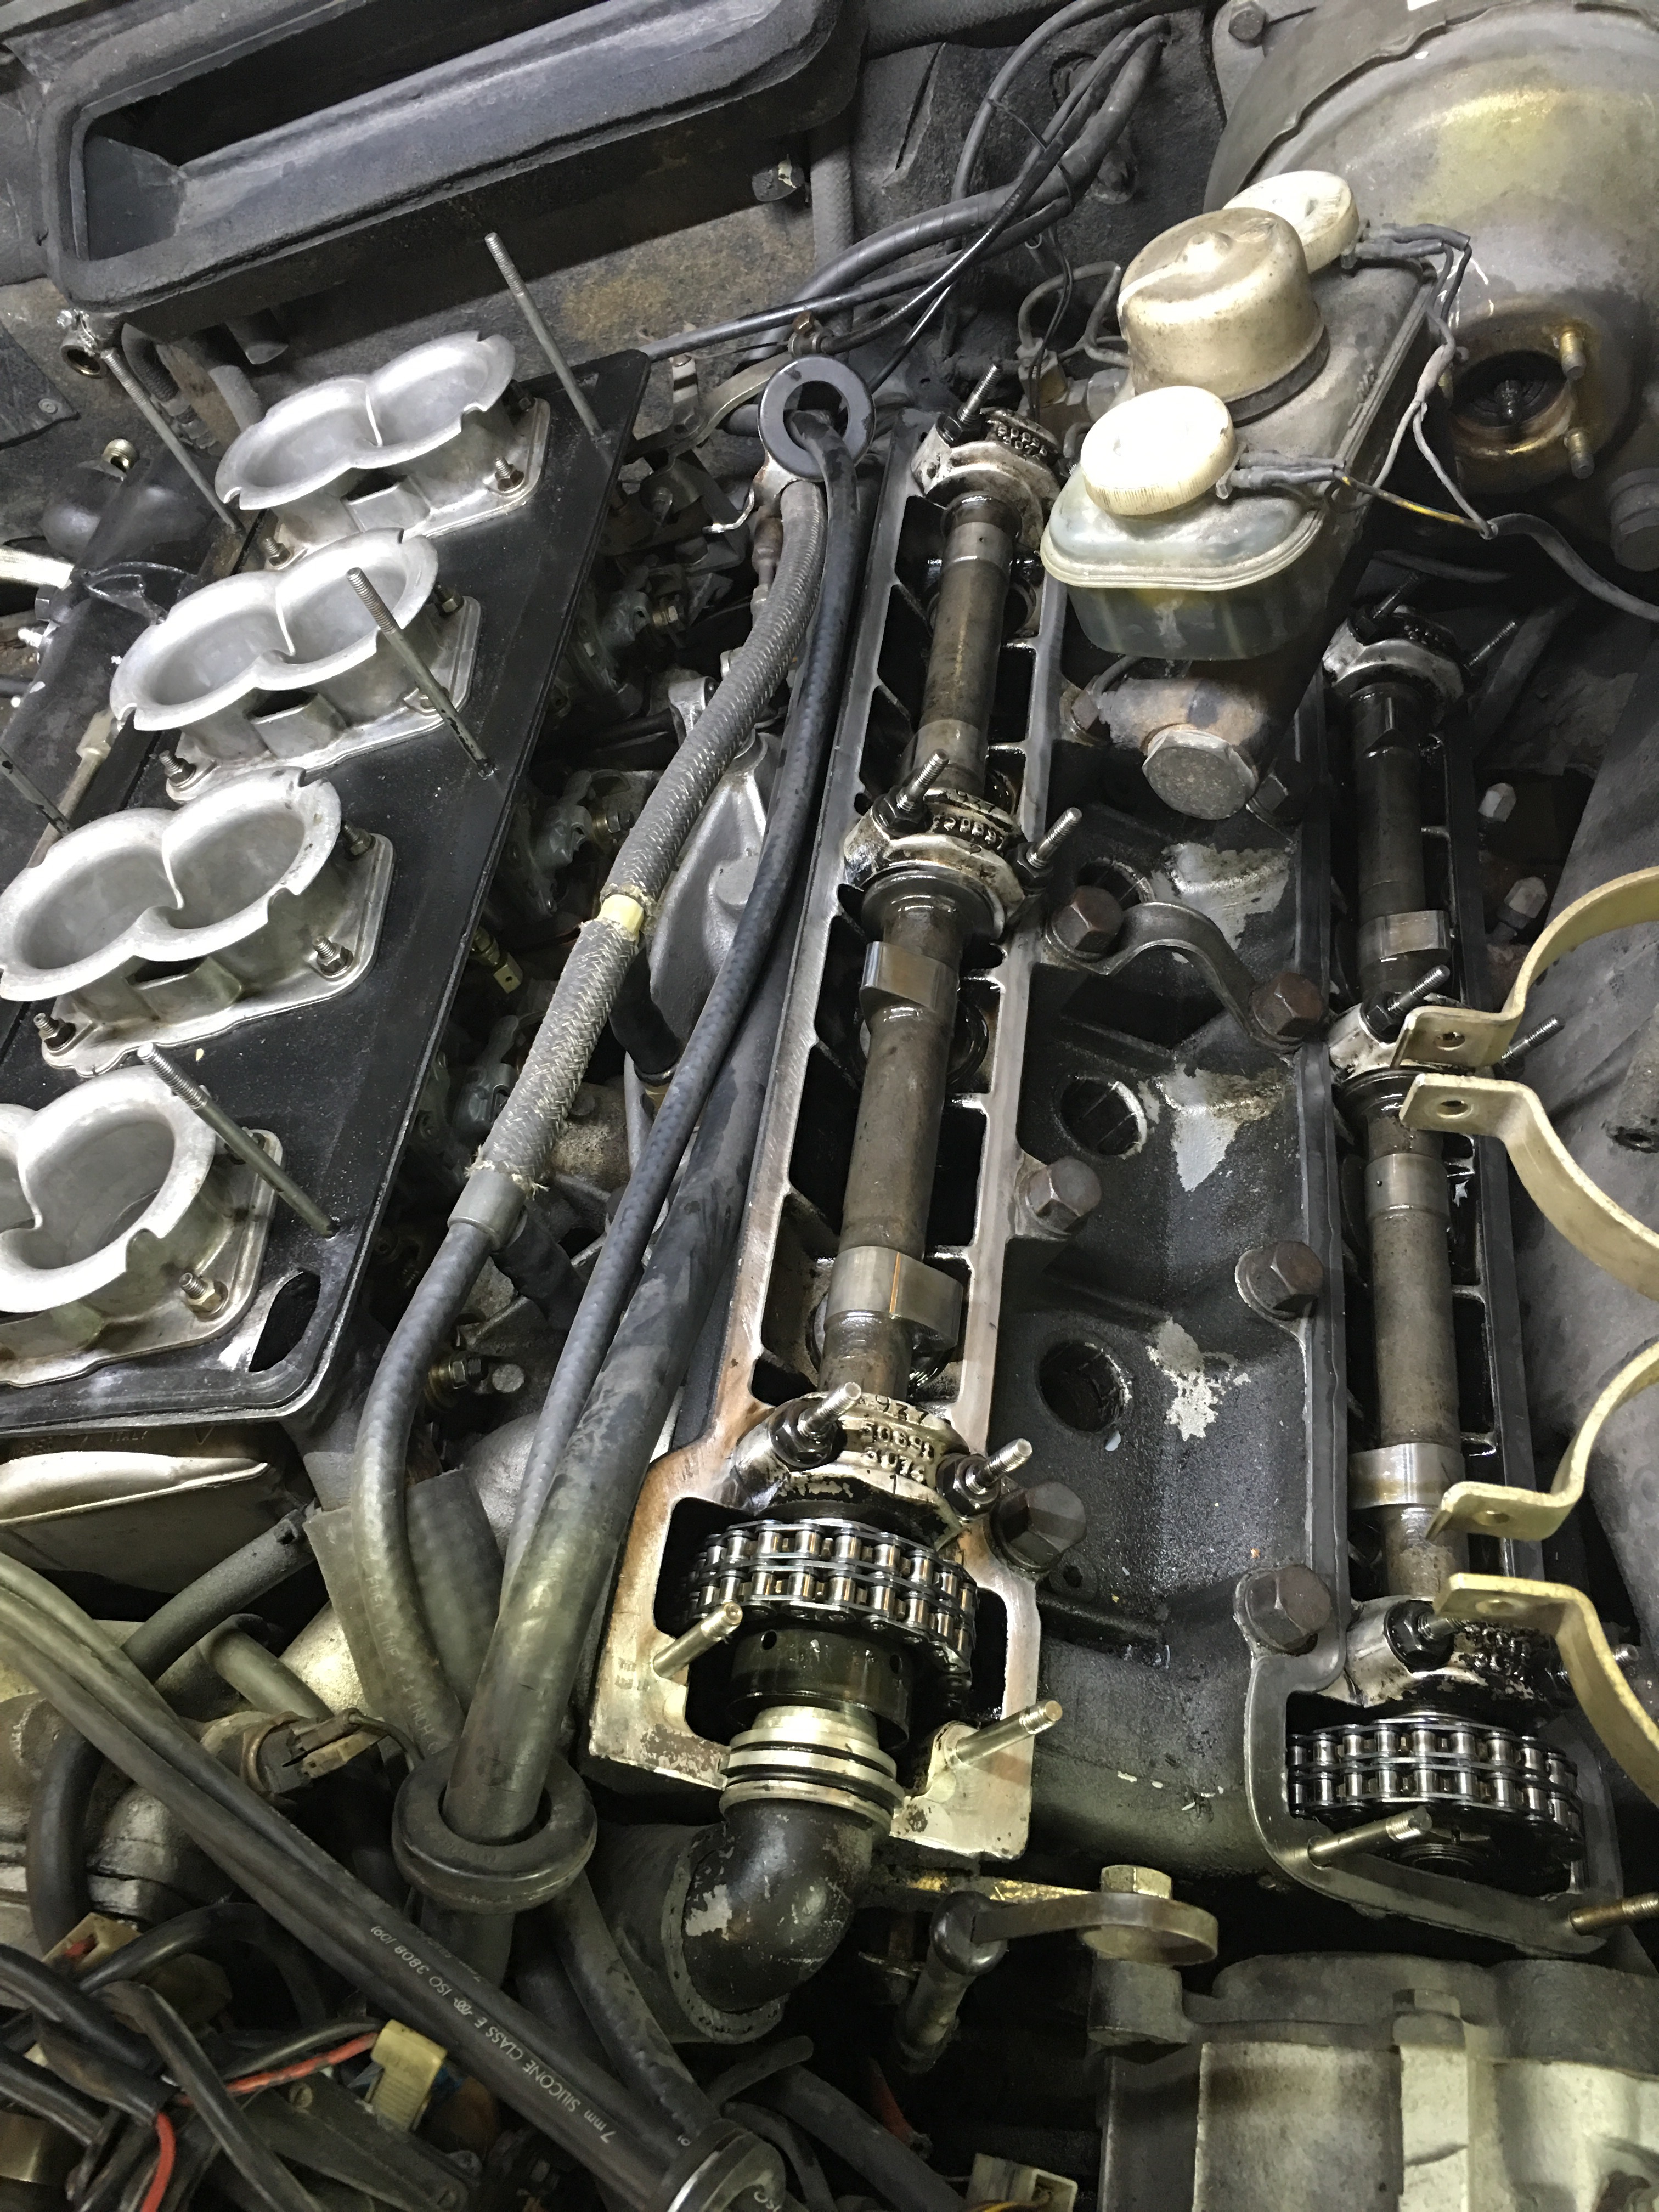
The mechanic was thoughtful enough while he was in there to measure the valve clearances (aka “lash”) as well as put a camera into each cylinder to see the condition of the pistons, valves and cylinder walls. The gods of metallurgy and chemistry have apparently smiled upon Sylvia, the cylinder walls showed no signs of wear or scoring, the pistons looked good and the valves as well. That would explain the excellent compression values and leak down results obtained earlier. 

There was however a problem with the valve clearances, several being far out of spec. He gave me a choice, he could do them (learning along the way, for Maserati has their own way of doing things which differs enough from his Ferrari experience that he can’t make any assumptions) or I could take a drive to a specialist on the continent to have a look at it. 

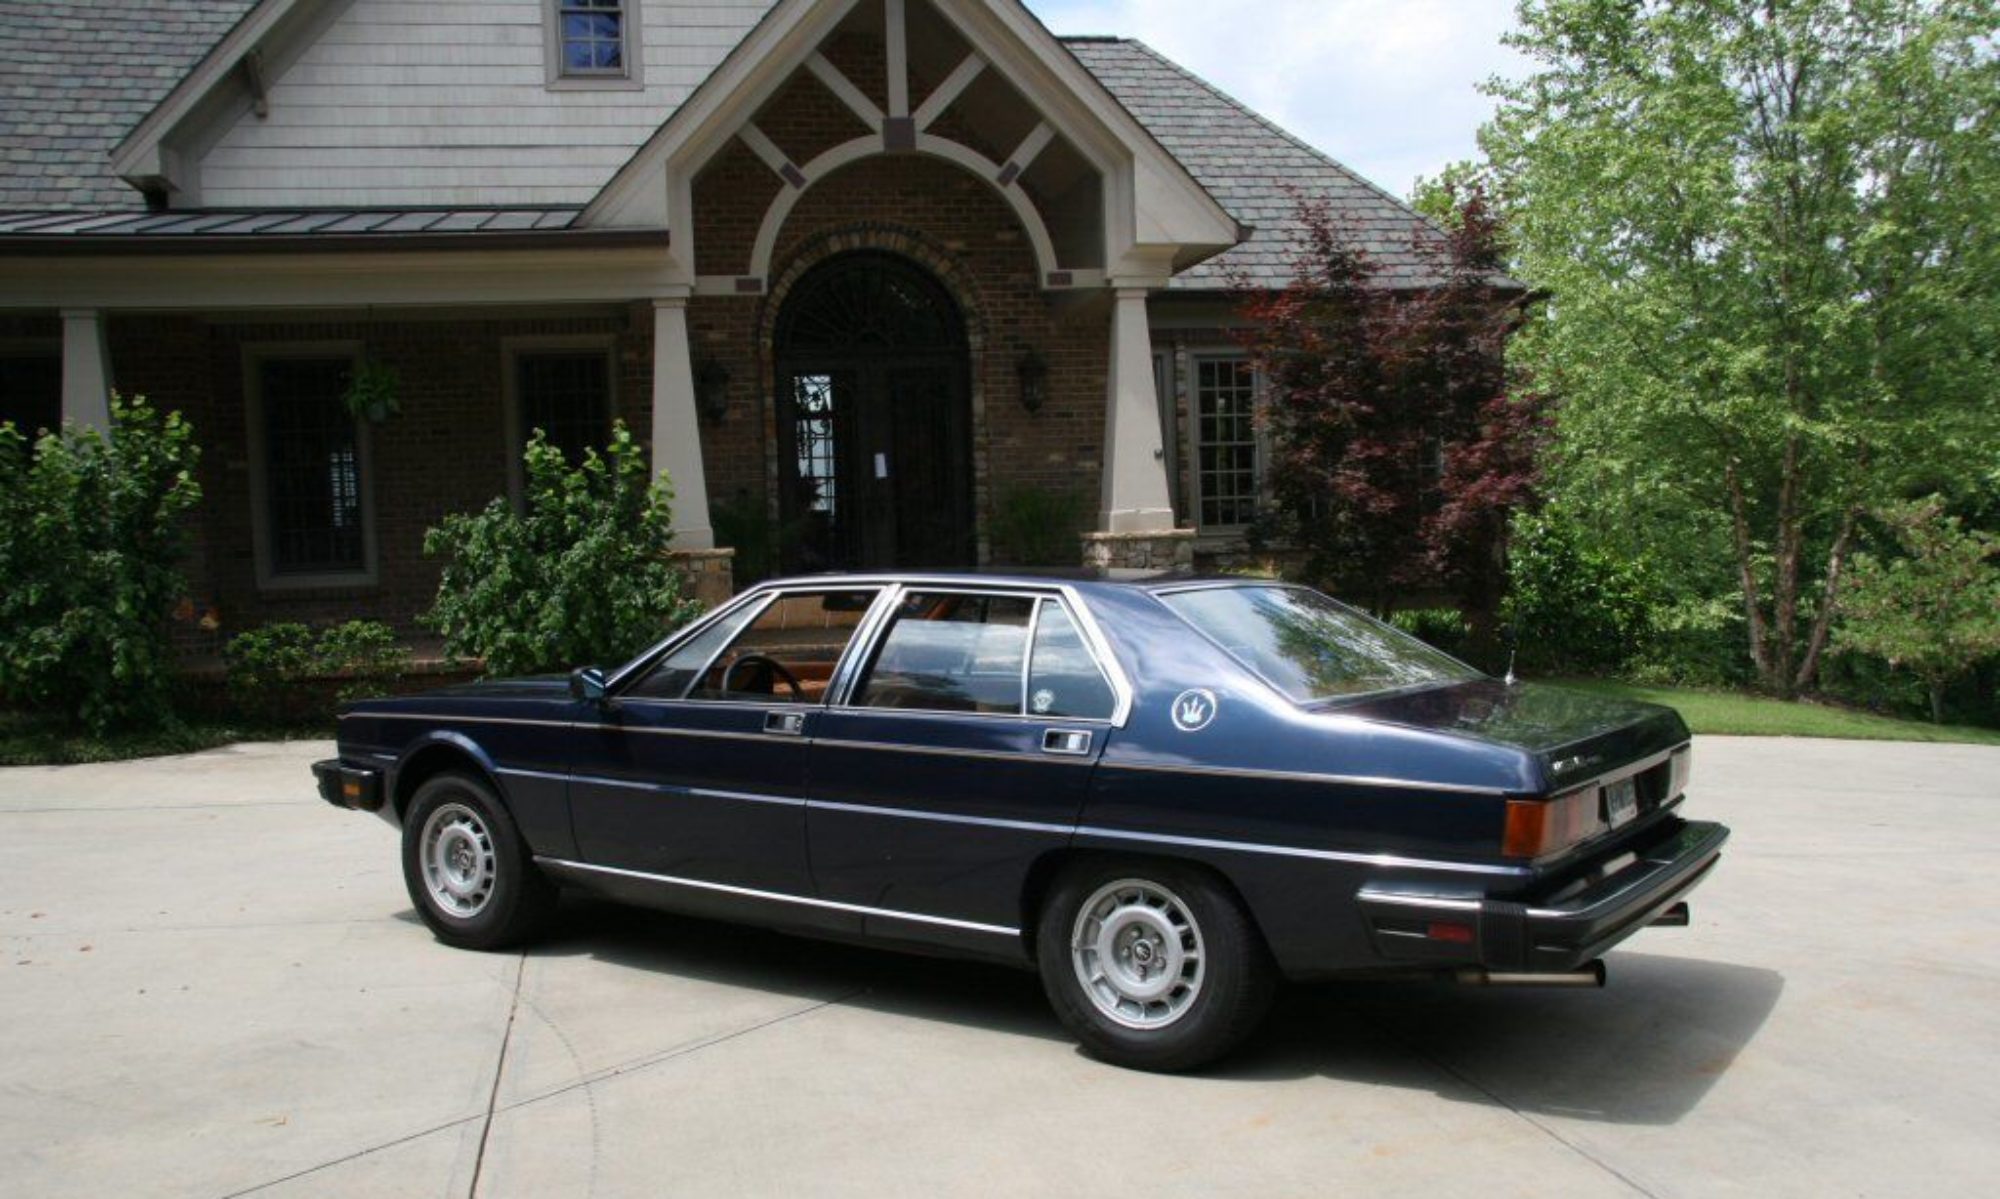
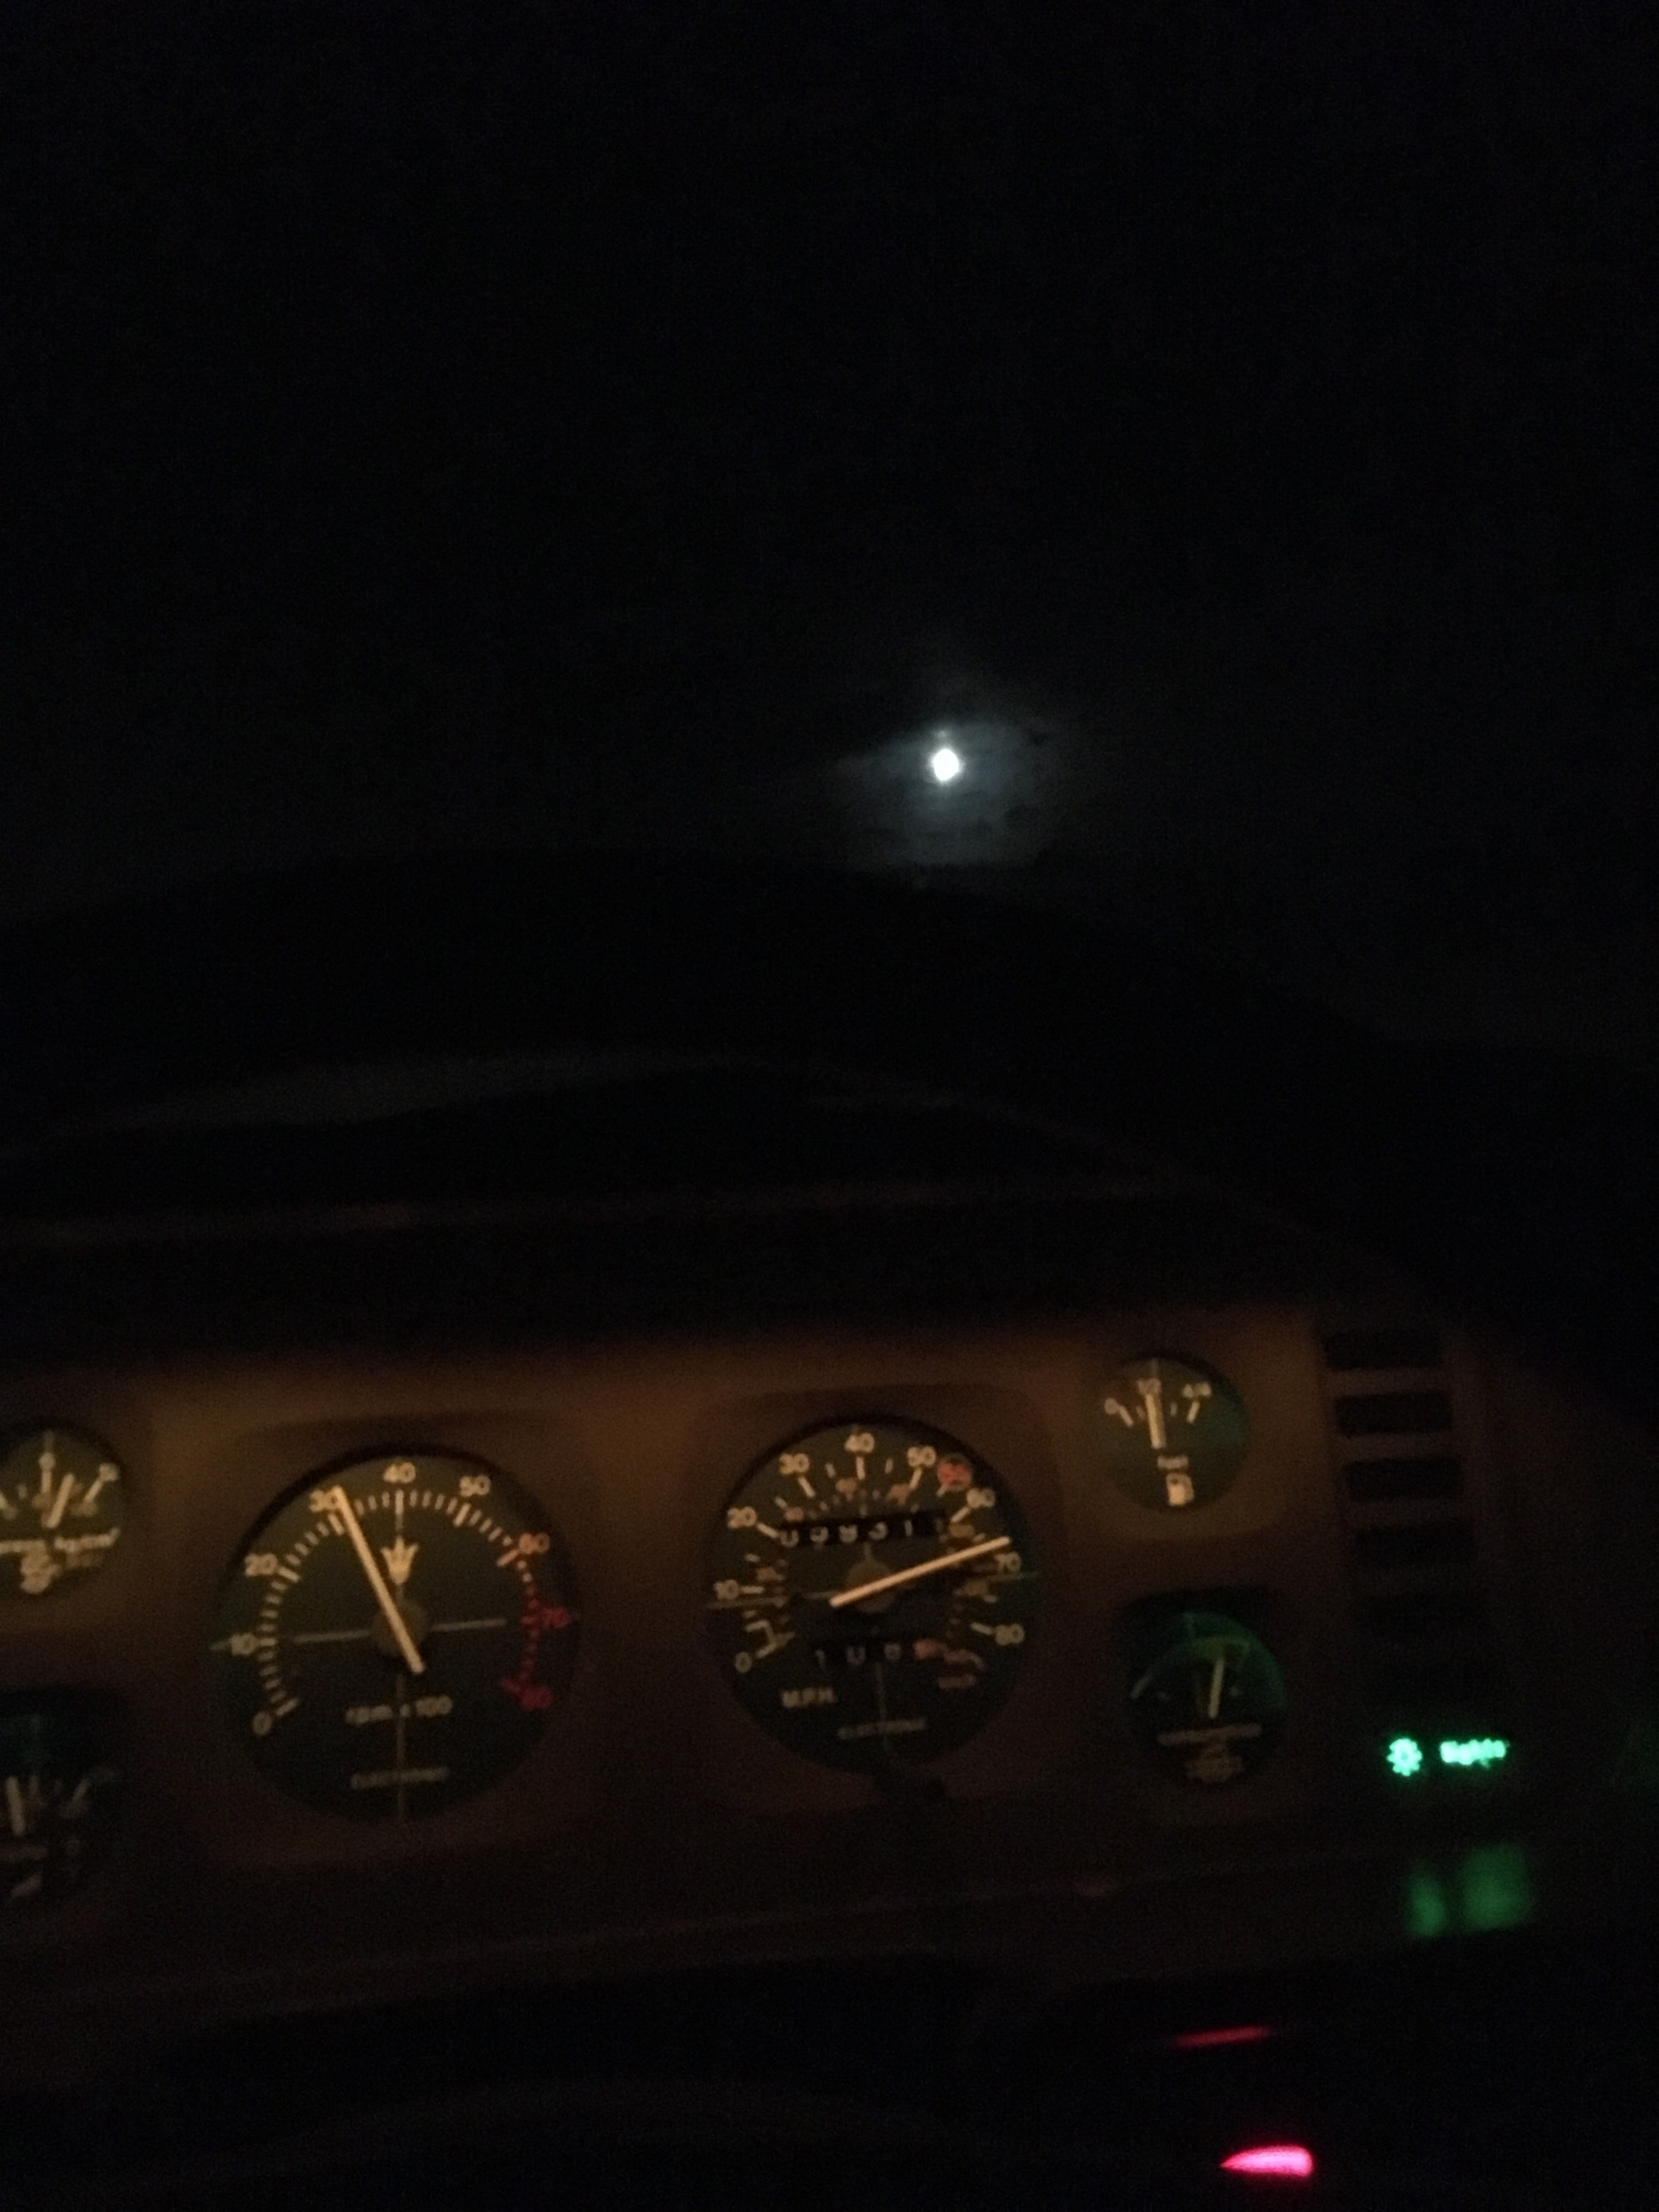
When one the choices includes a road trip, I’m pretty much sold already! So I packed a small bag, tossed my camera in the car and was on my way to Denmark to have the valves and cans adjusted. Coming off the ferry at night made for a beautiful “moon over Maserati” picture, as you can imagine. 

The mechanics in Denmark have been doing this, on these cars, for decades. They know their stuff. Sylvia turned out to be in good shape, but definitely in need of a valve adjustment, as well as tightening up the timing chain. After the job was done we fired her up and I can’t say I’ve ever heard her purr smoother or queiter than at that time. Beautiful! 

Even better was that due to the differences in labor costs, it was actually cheaper to drive to Denmark and have the job done than going local. Add to this the lack of local Maserati V8 specific knowledge and it’s a no-brainer. 

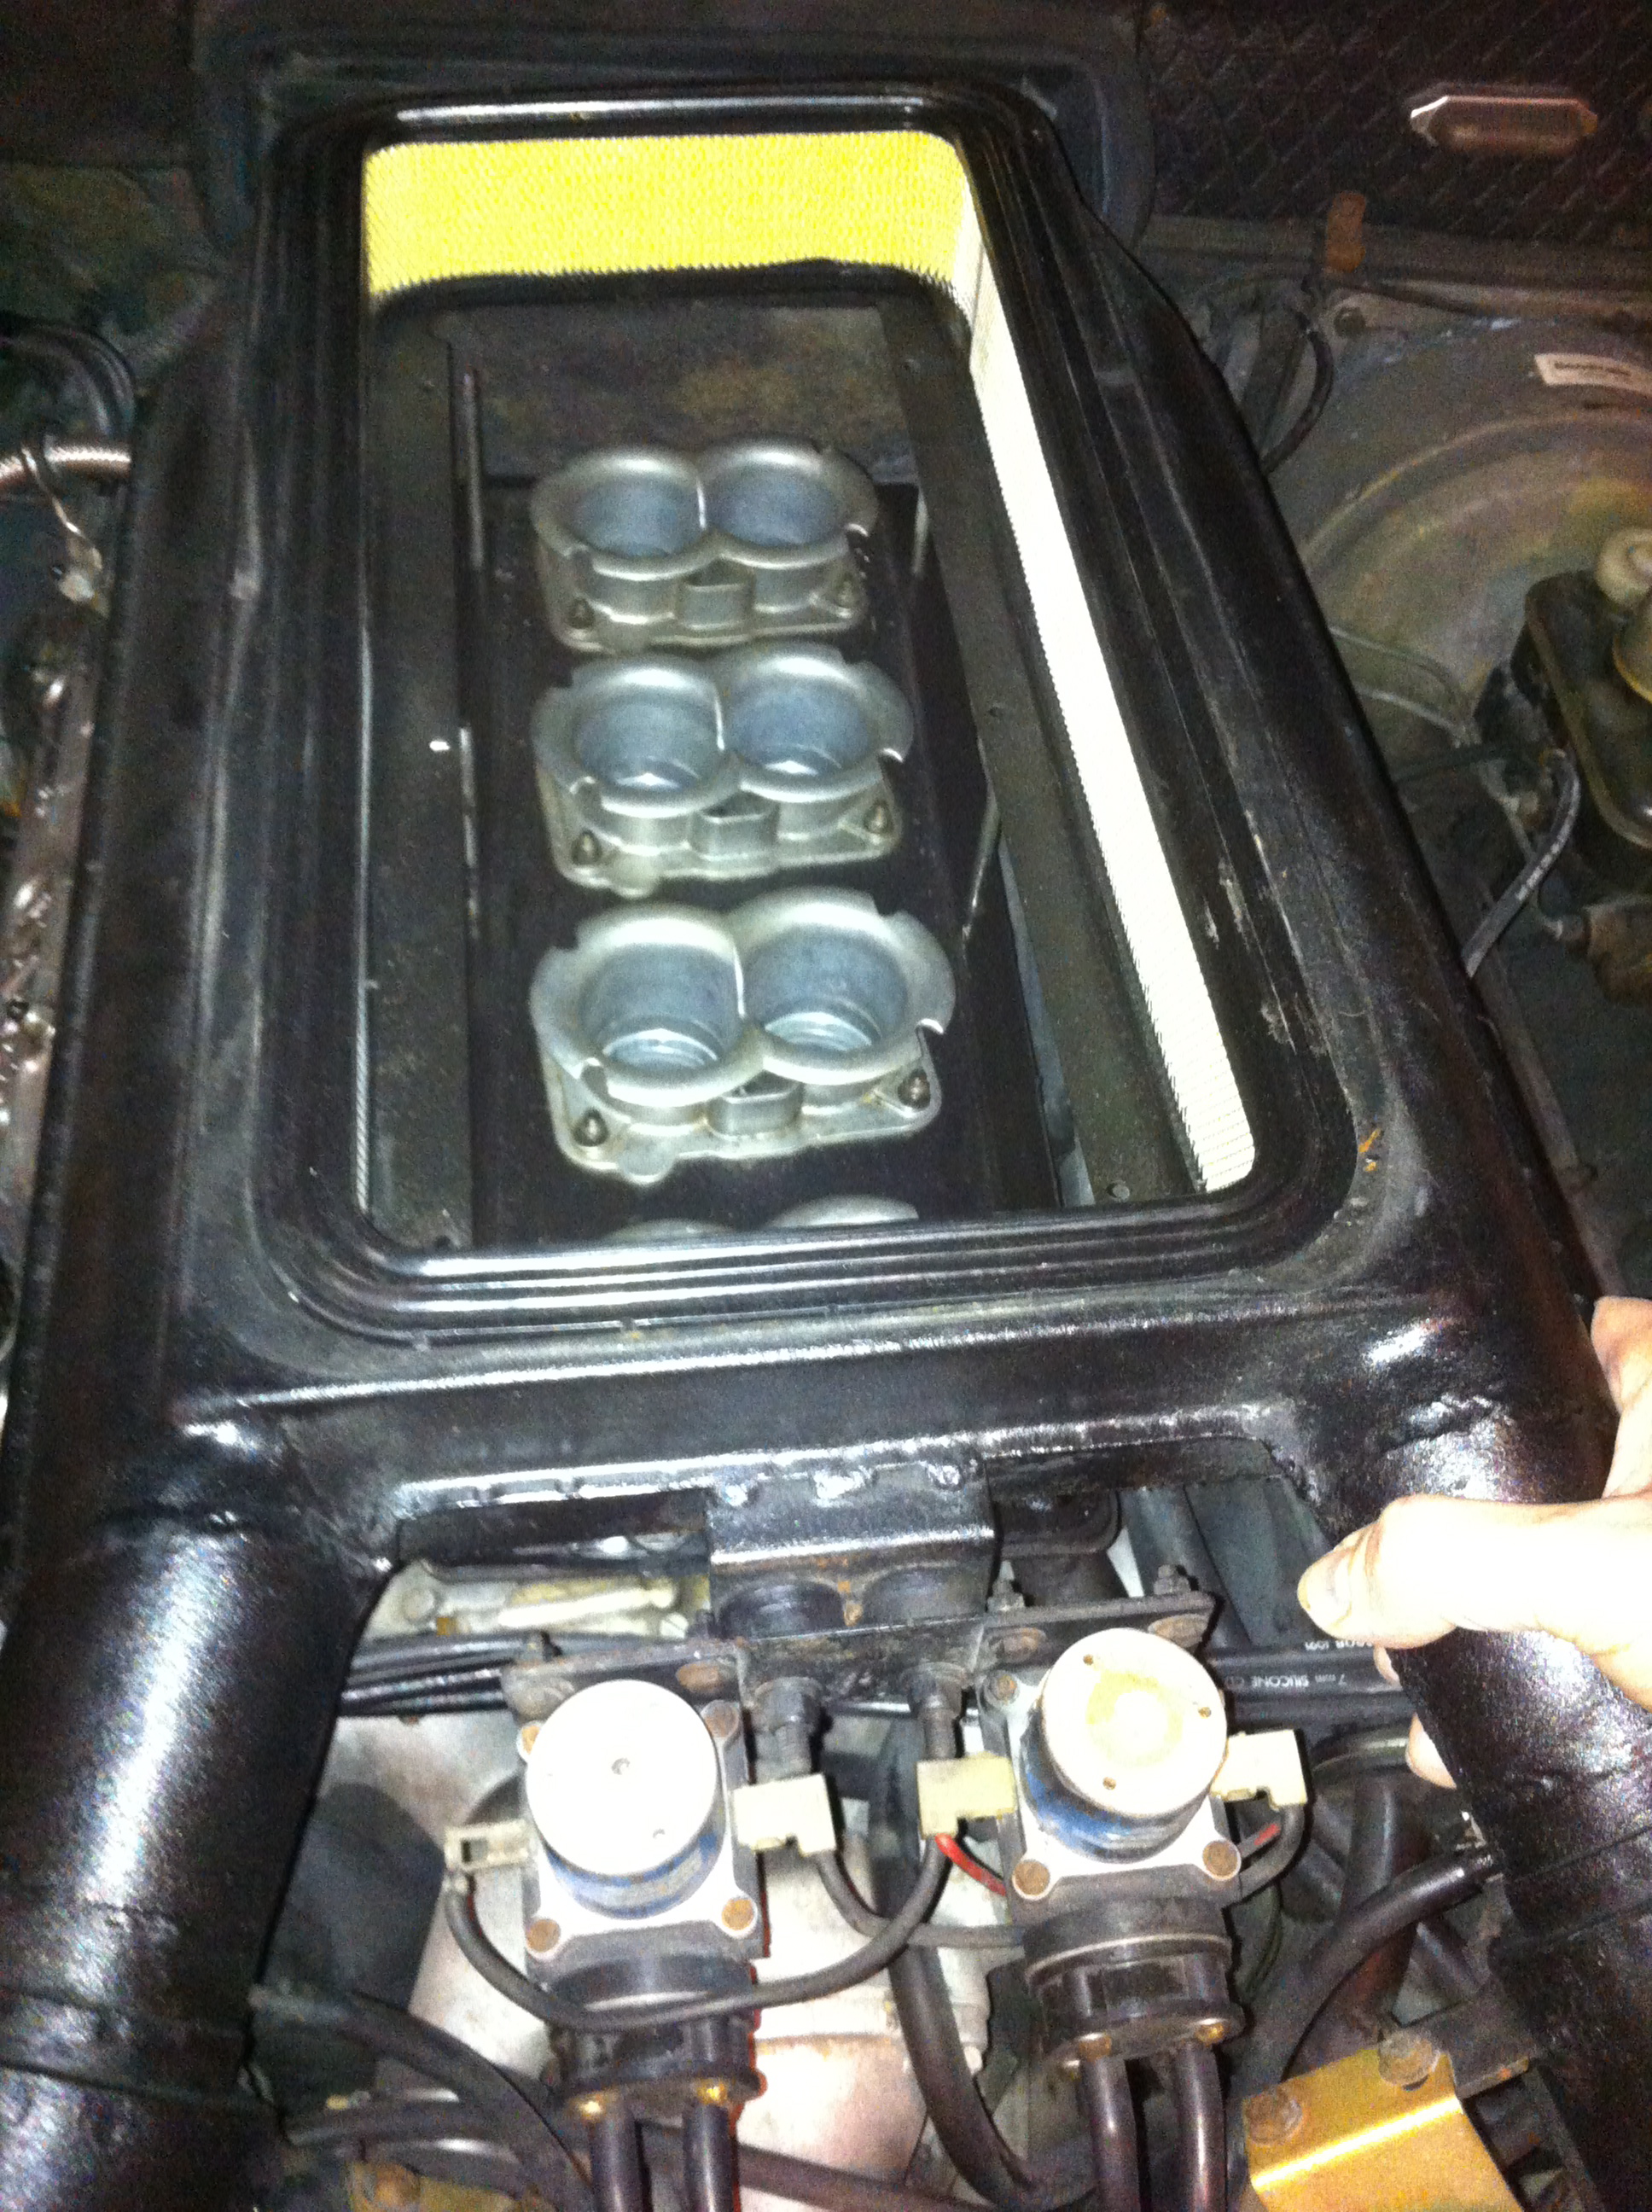
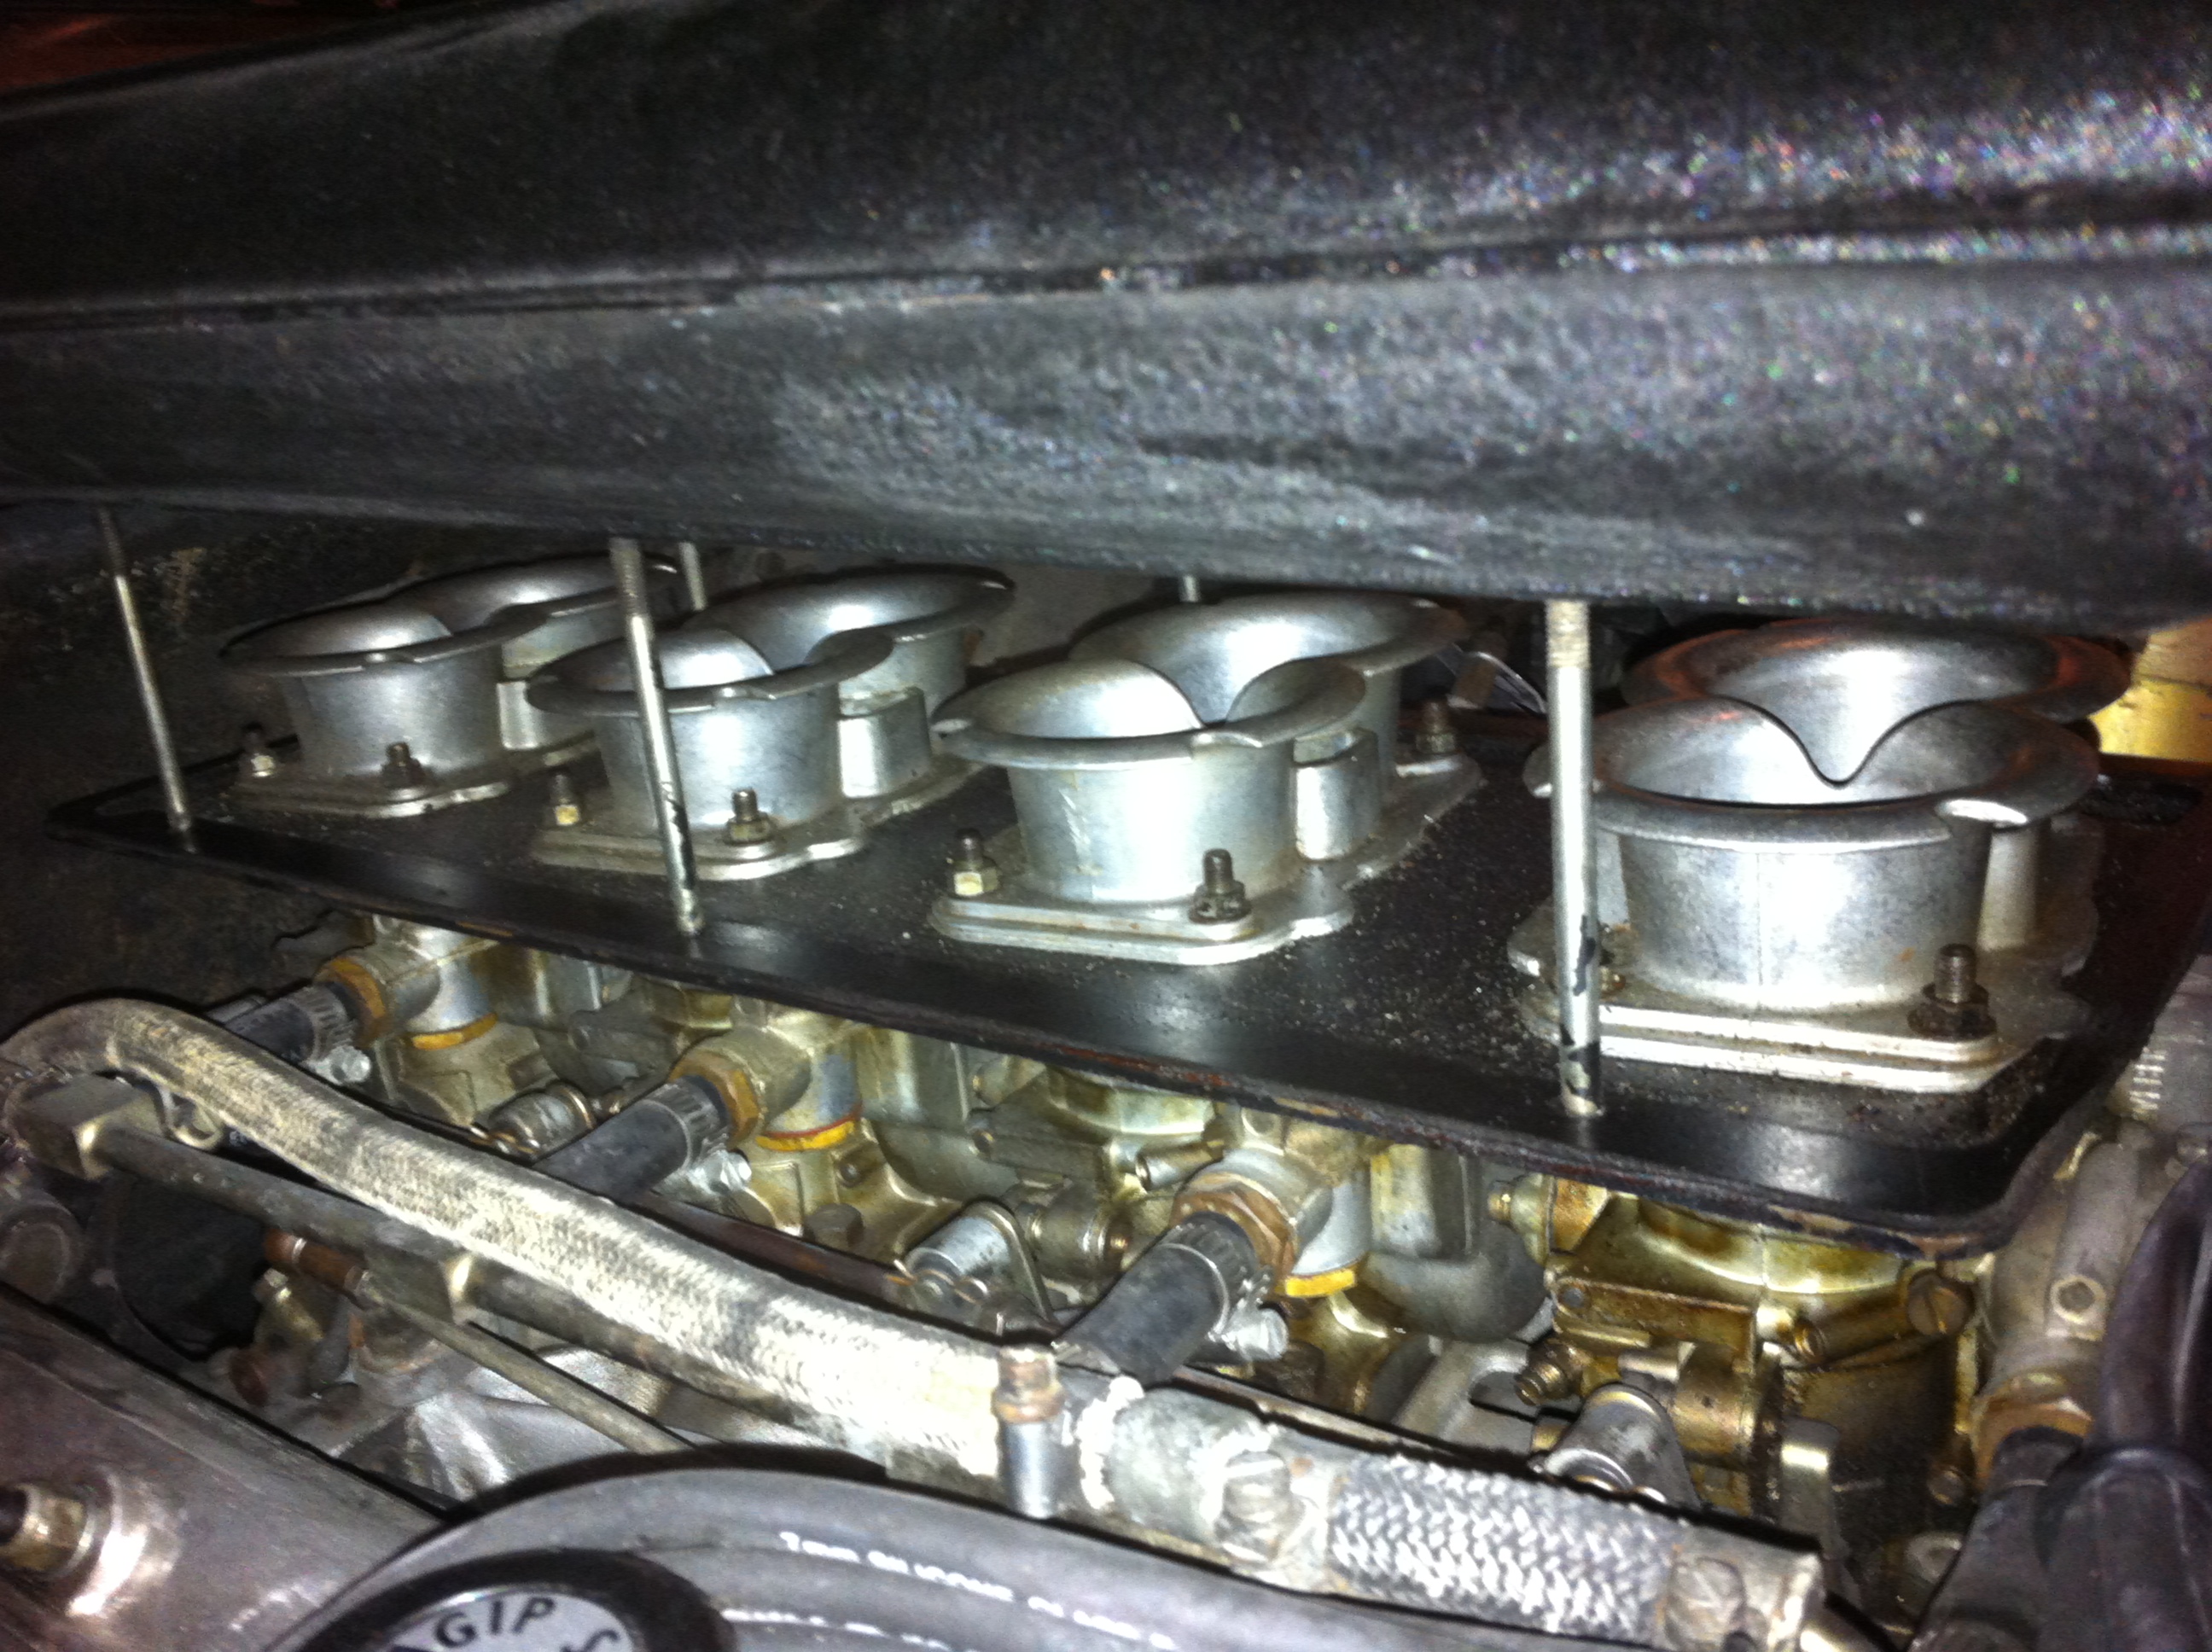
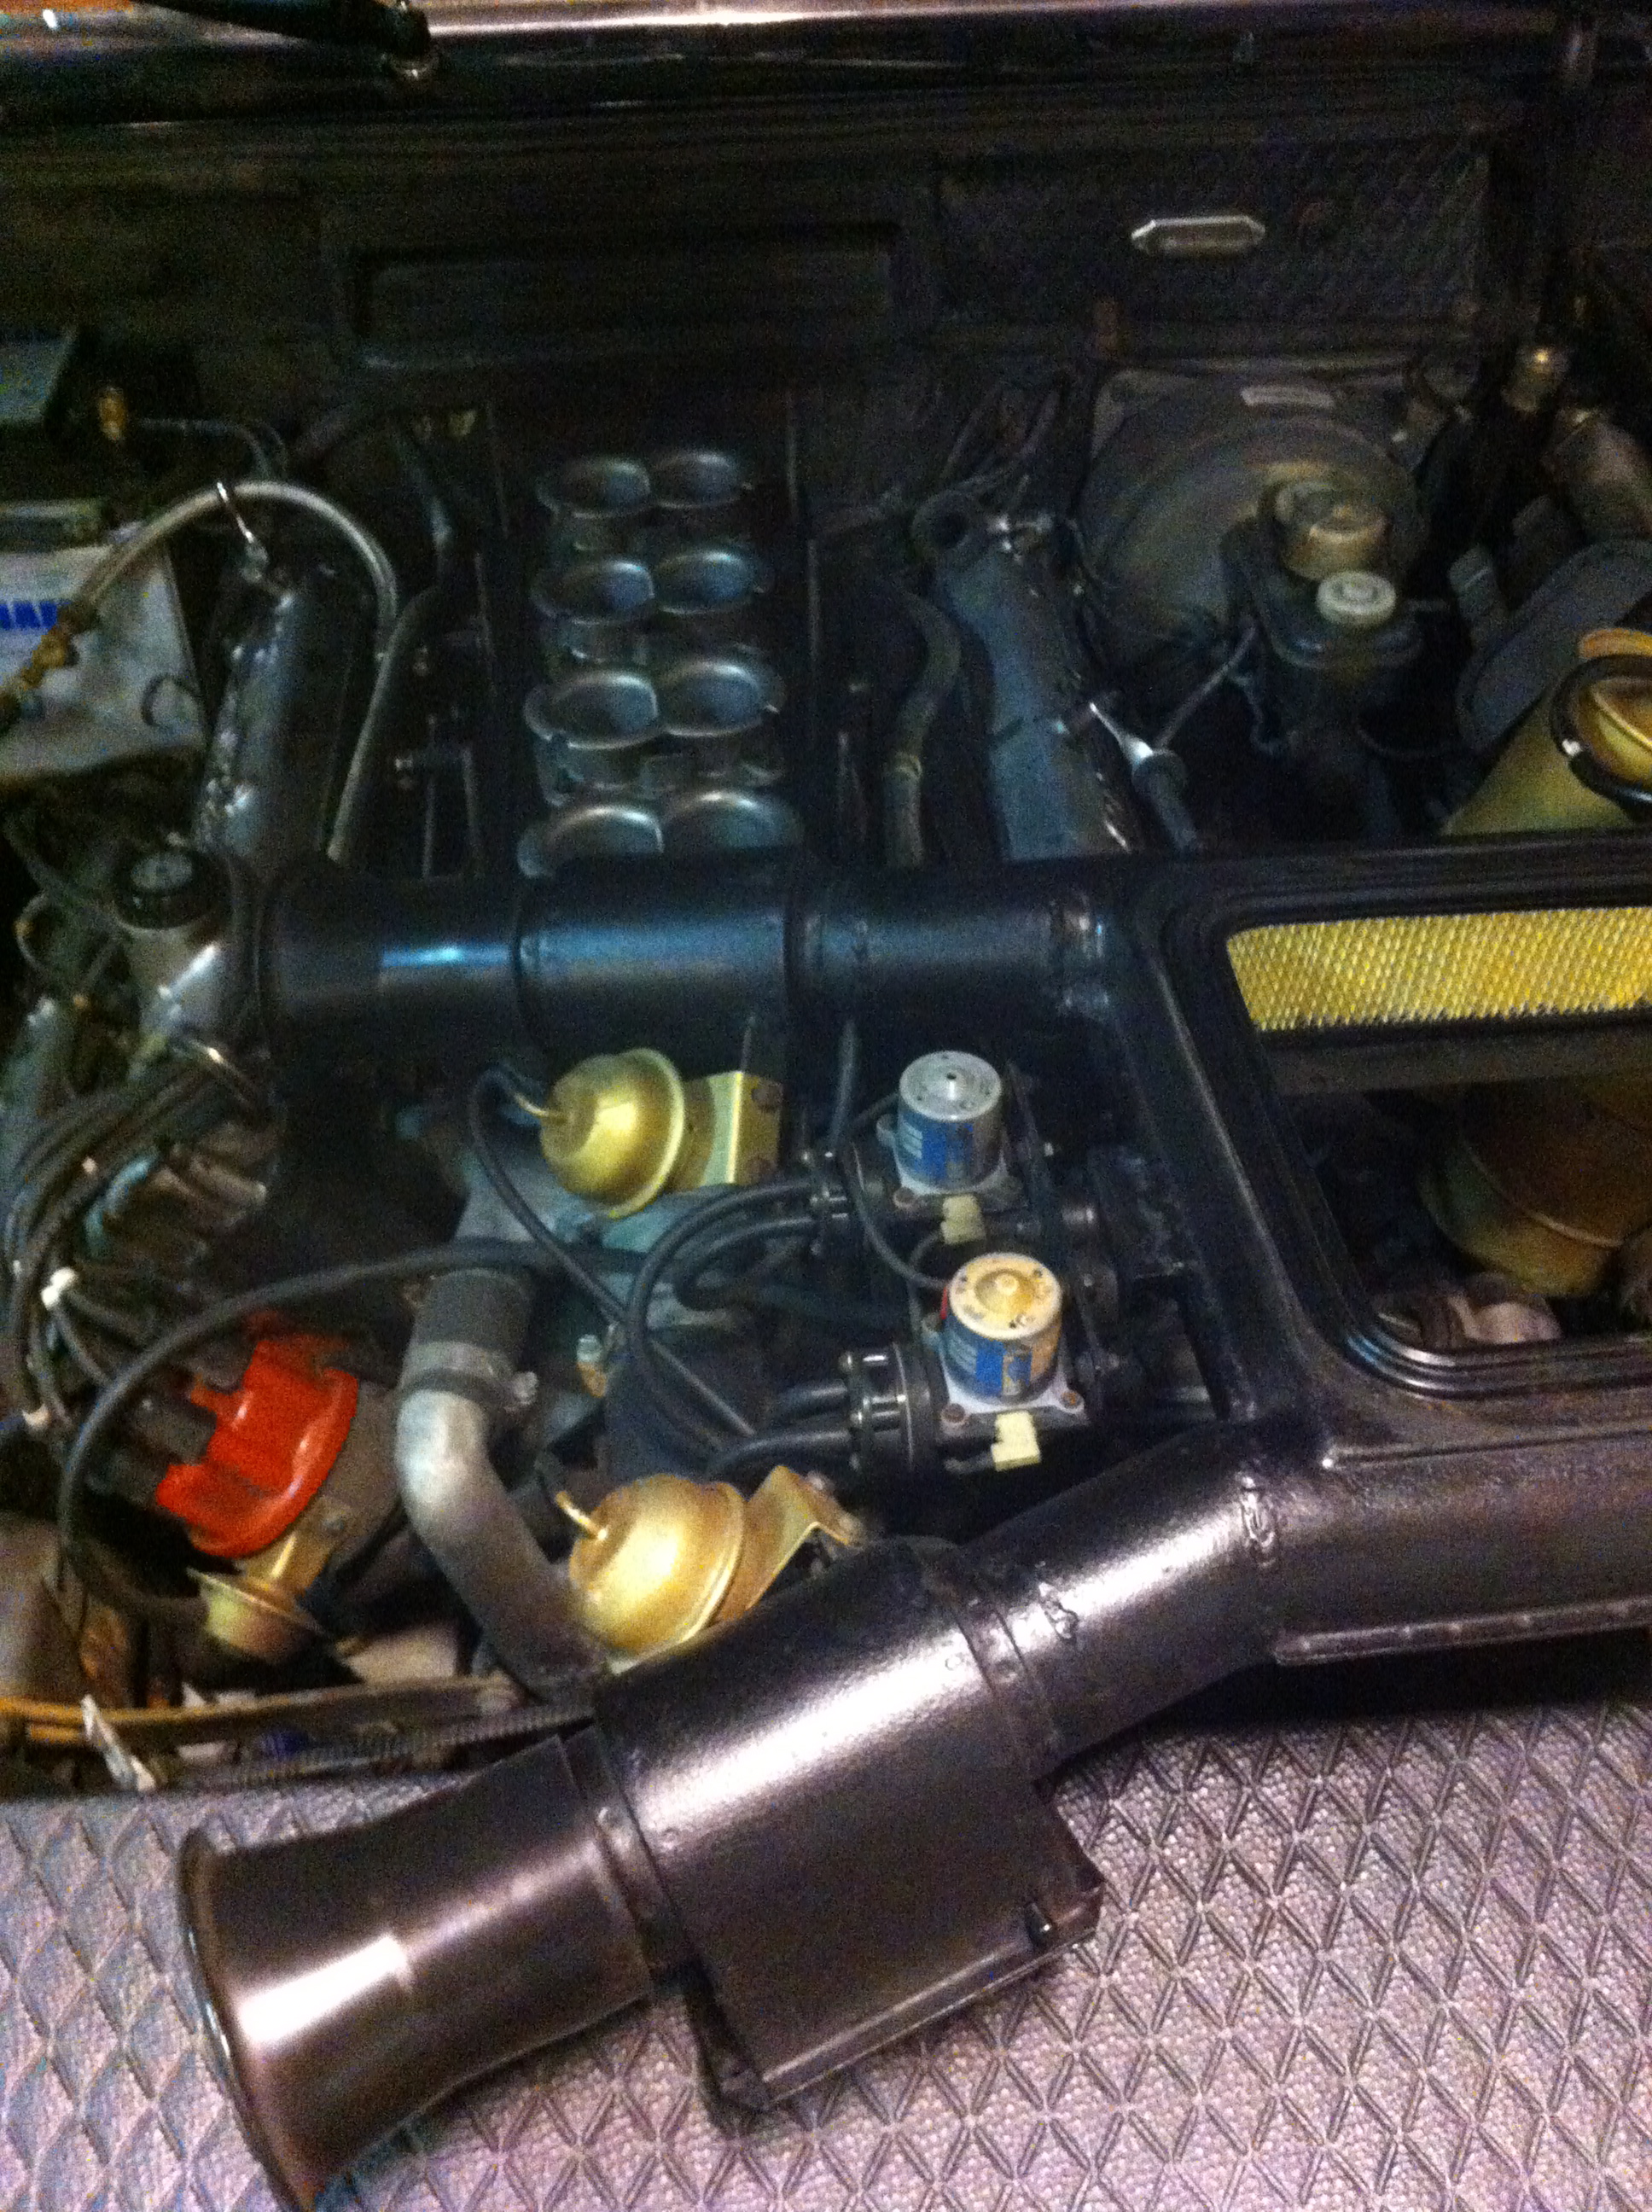
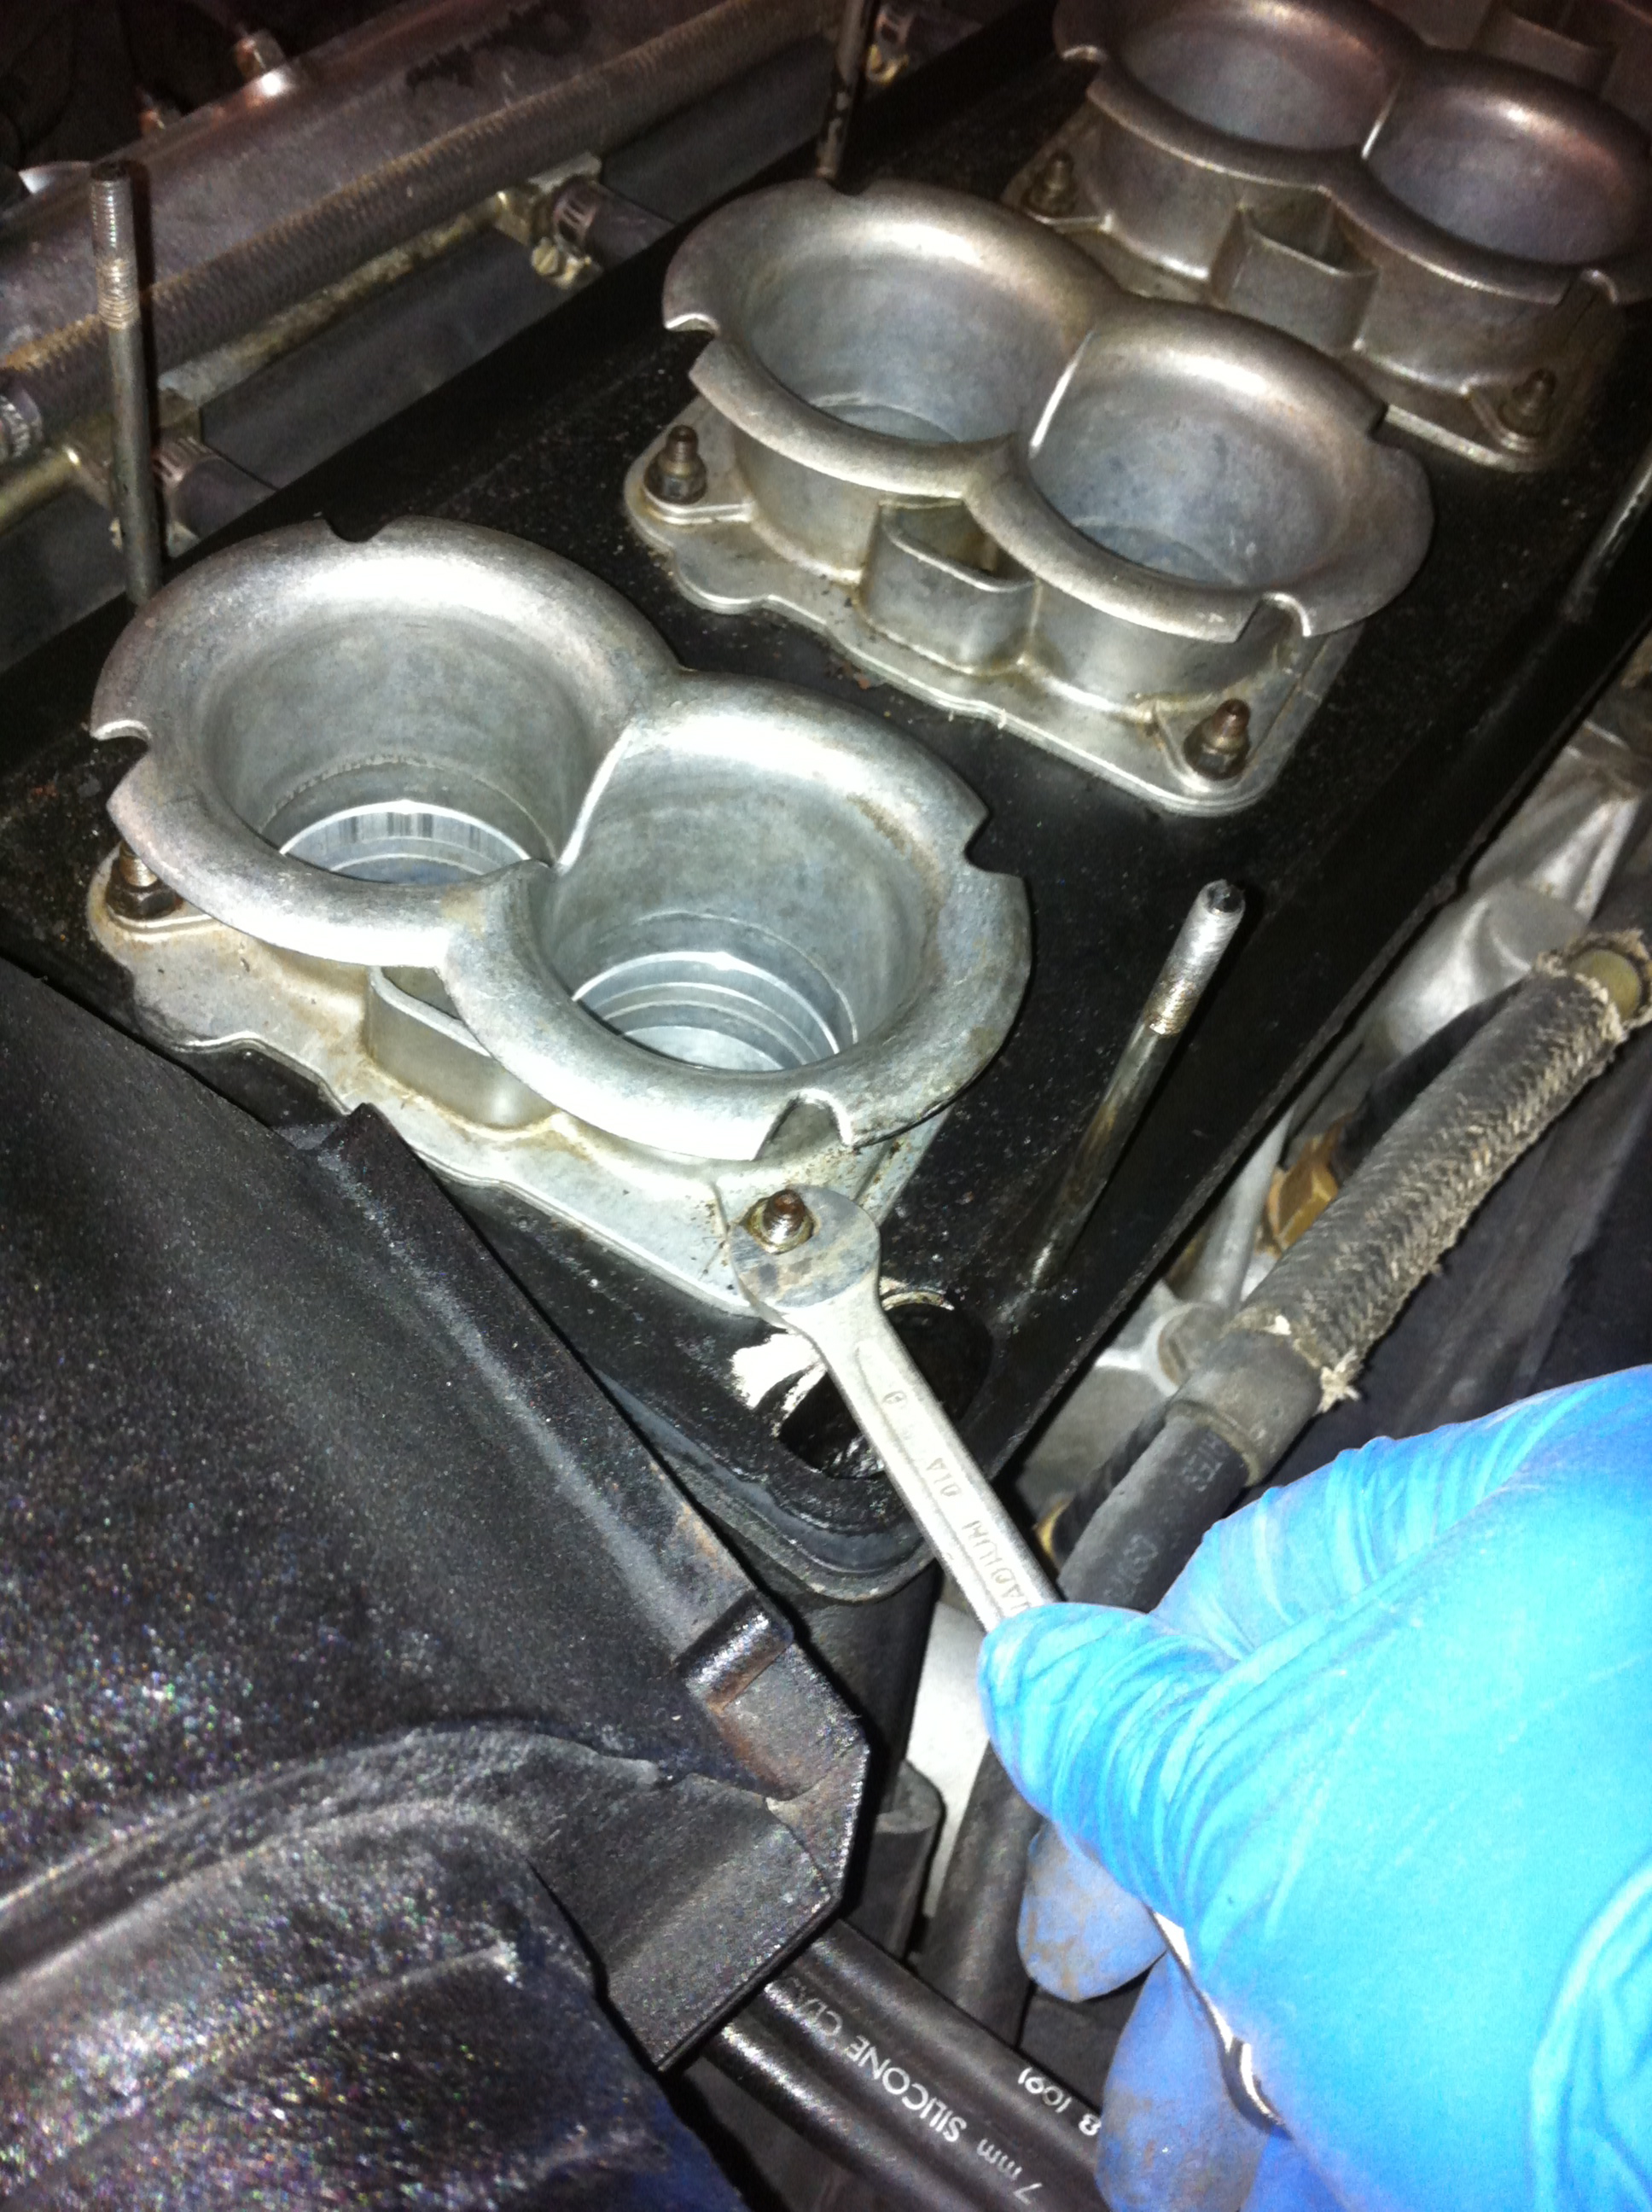
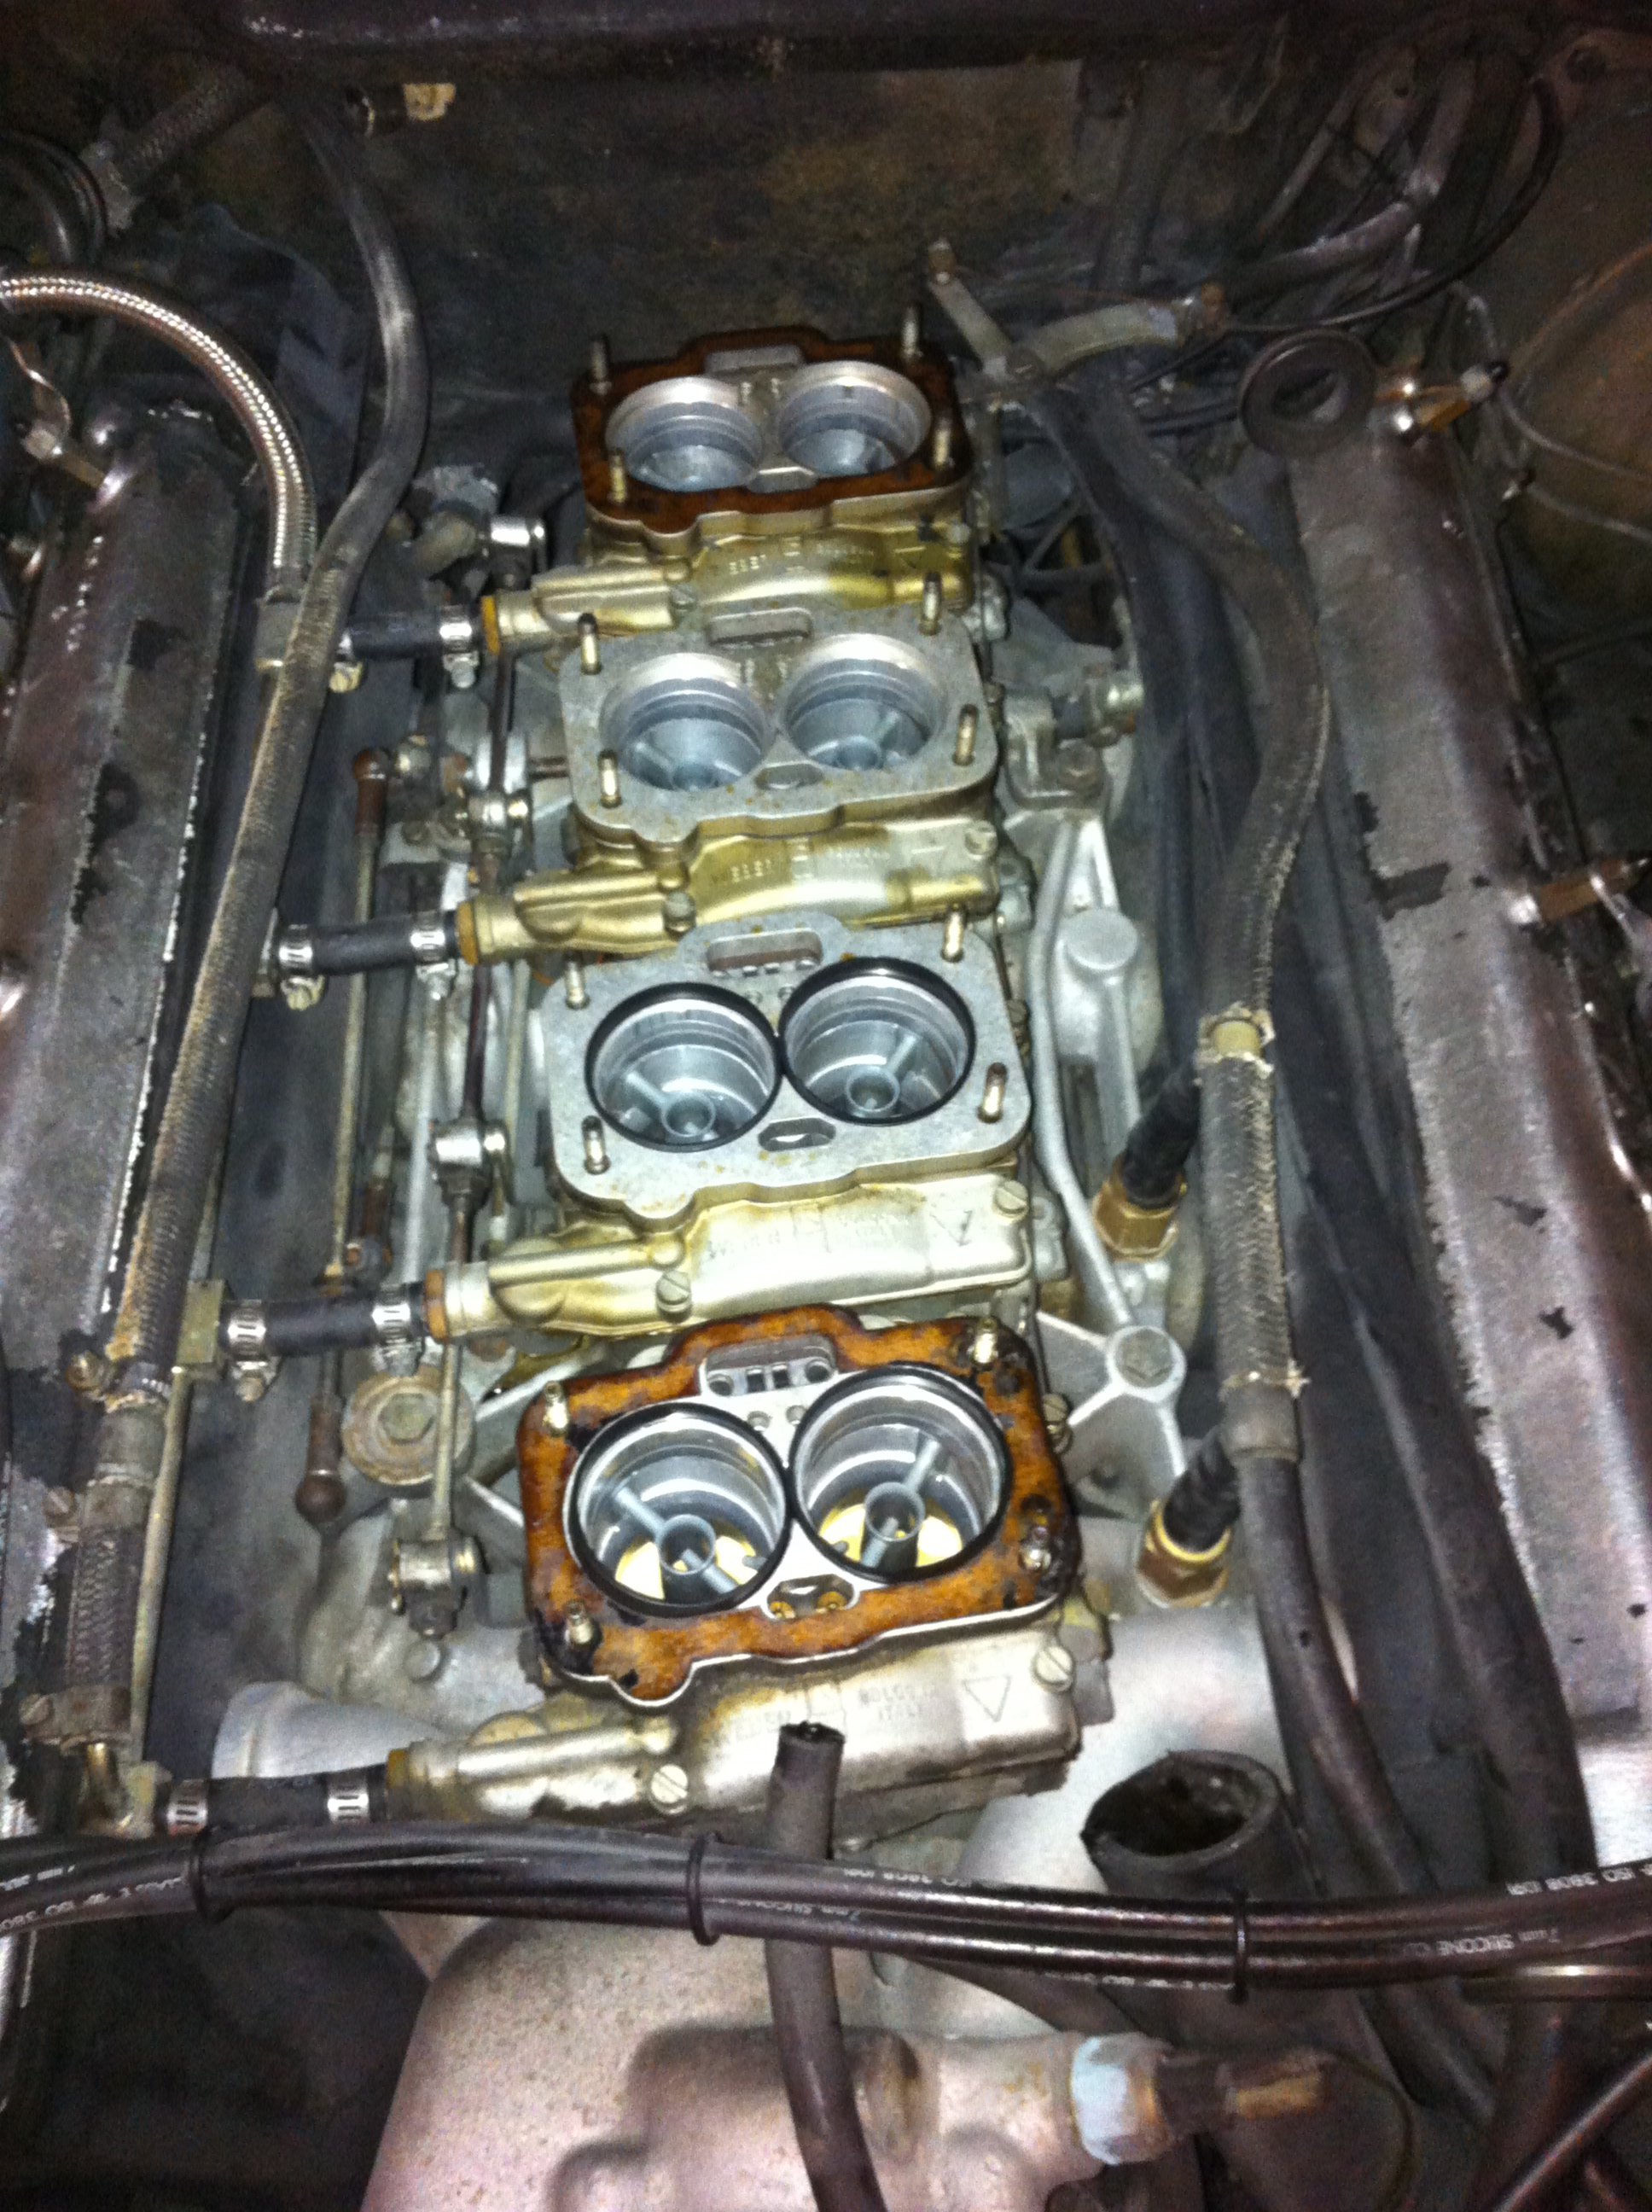
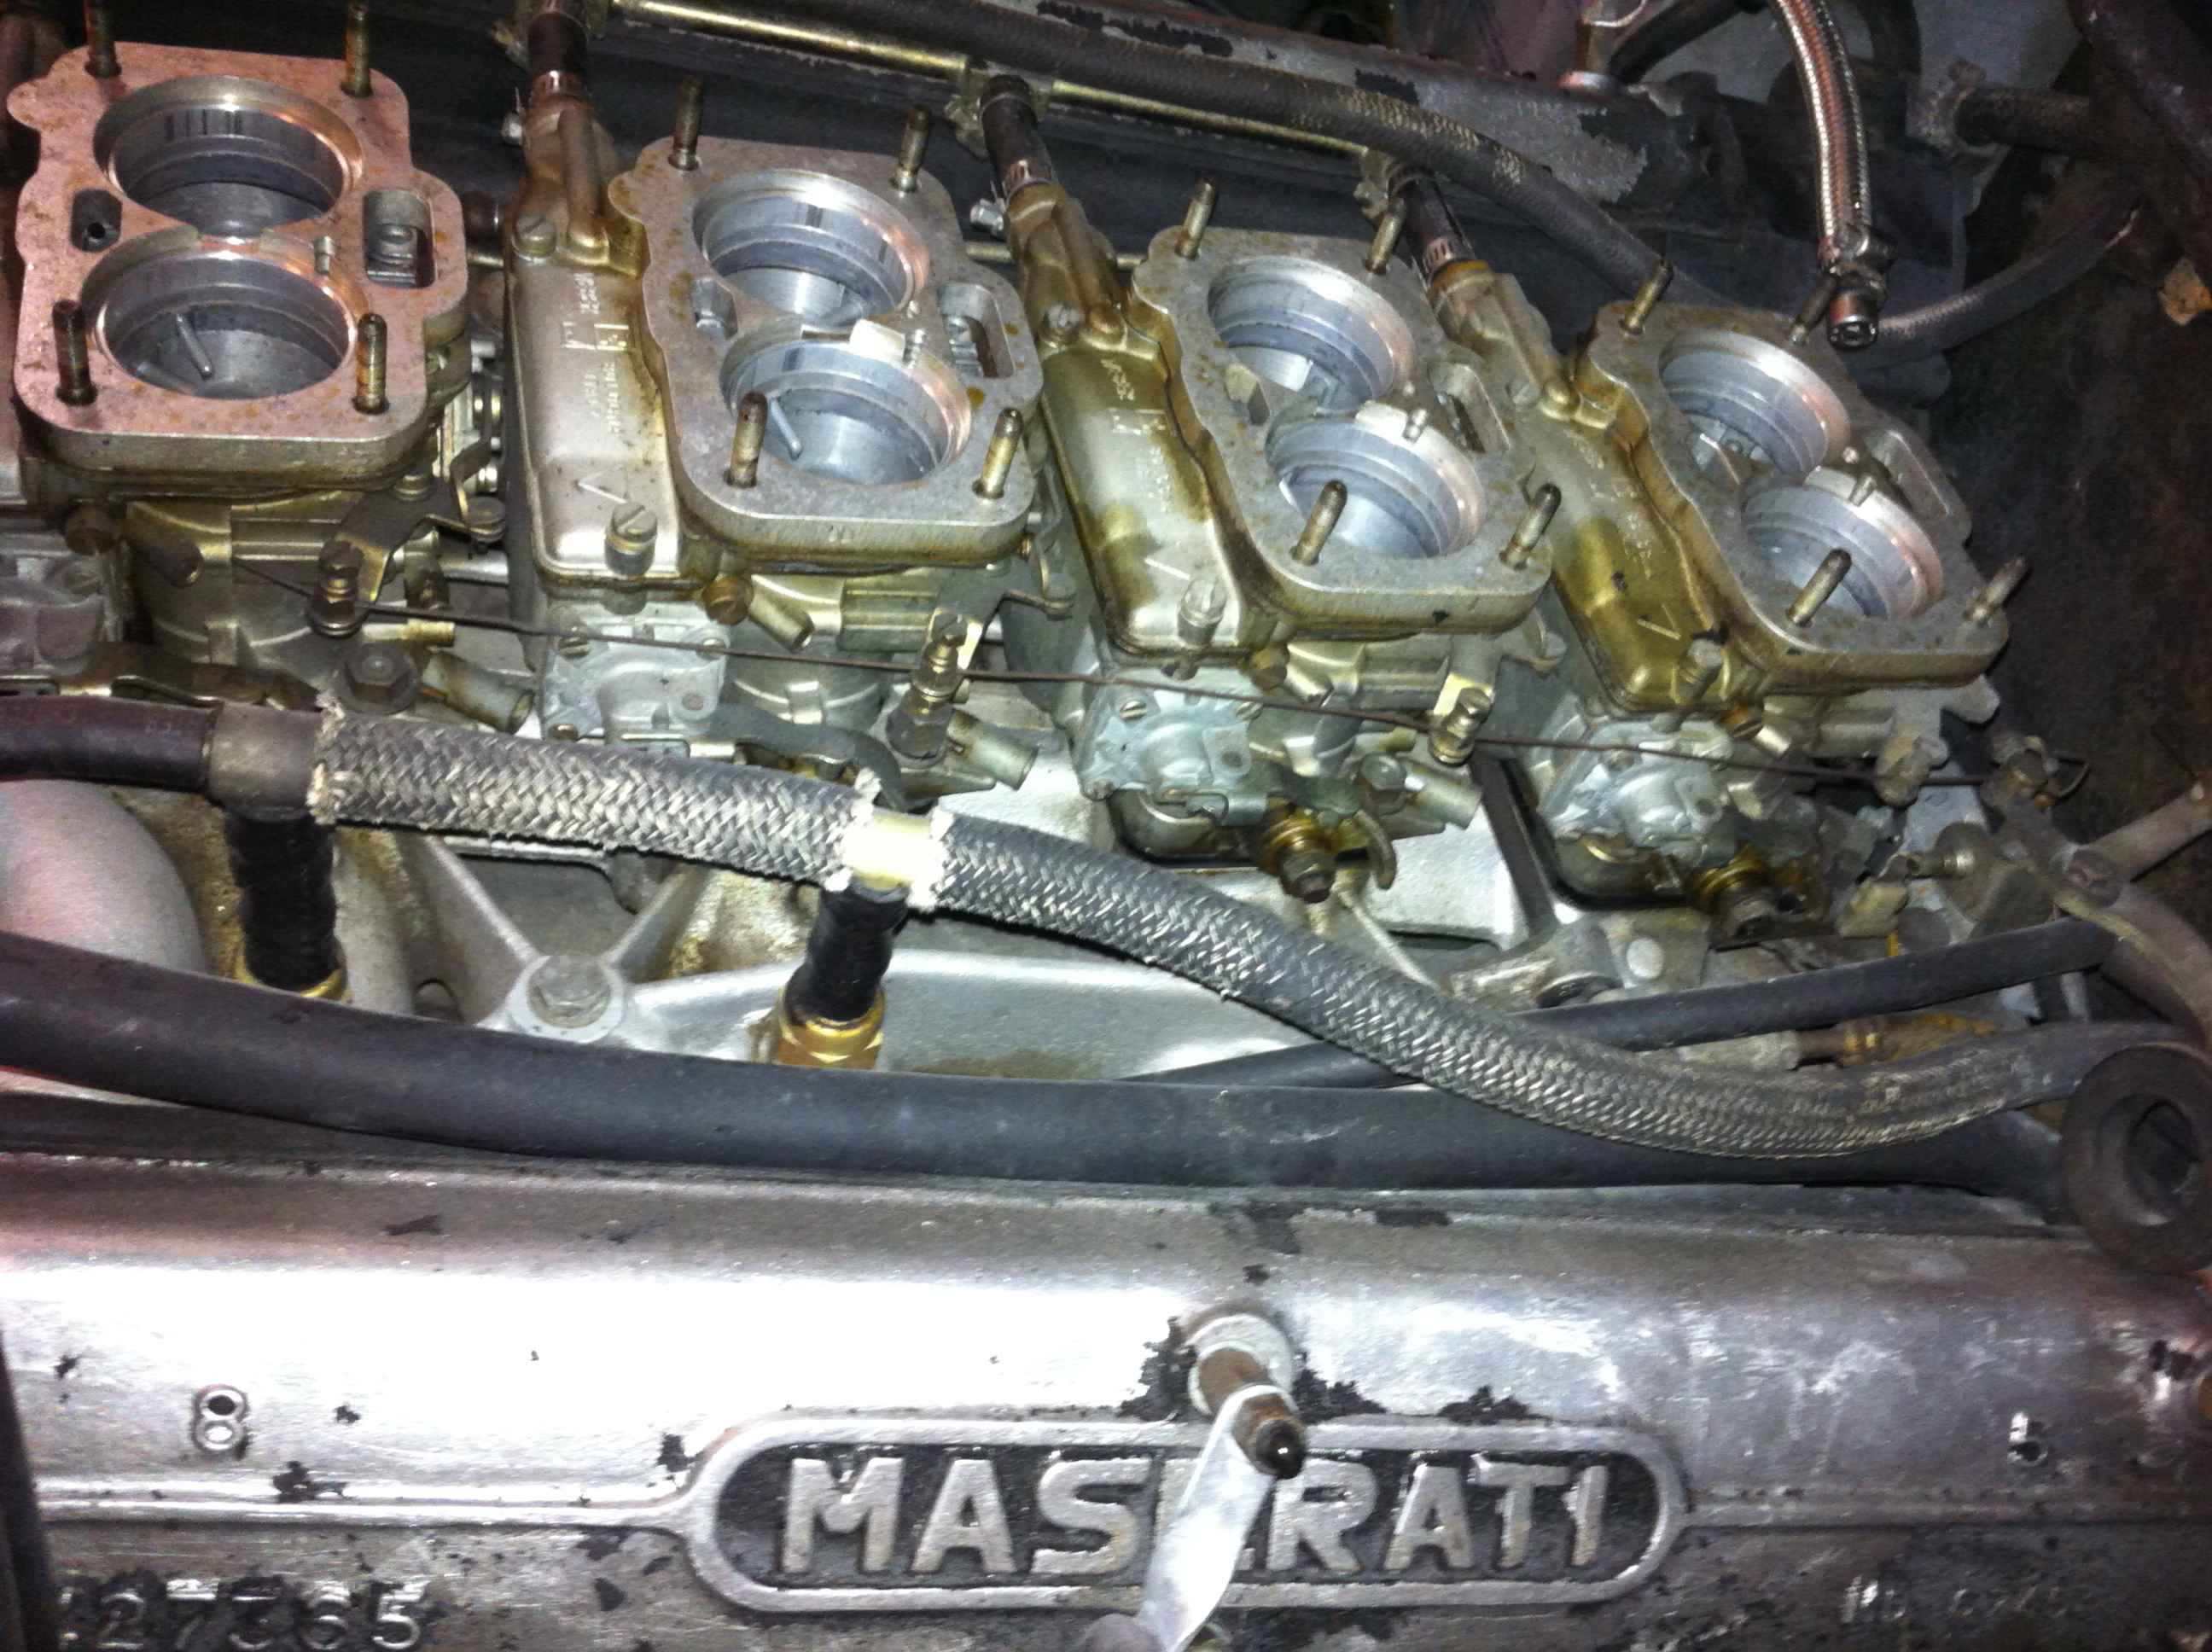
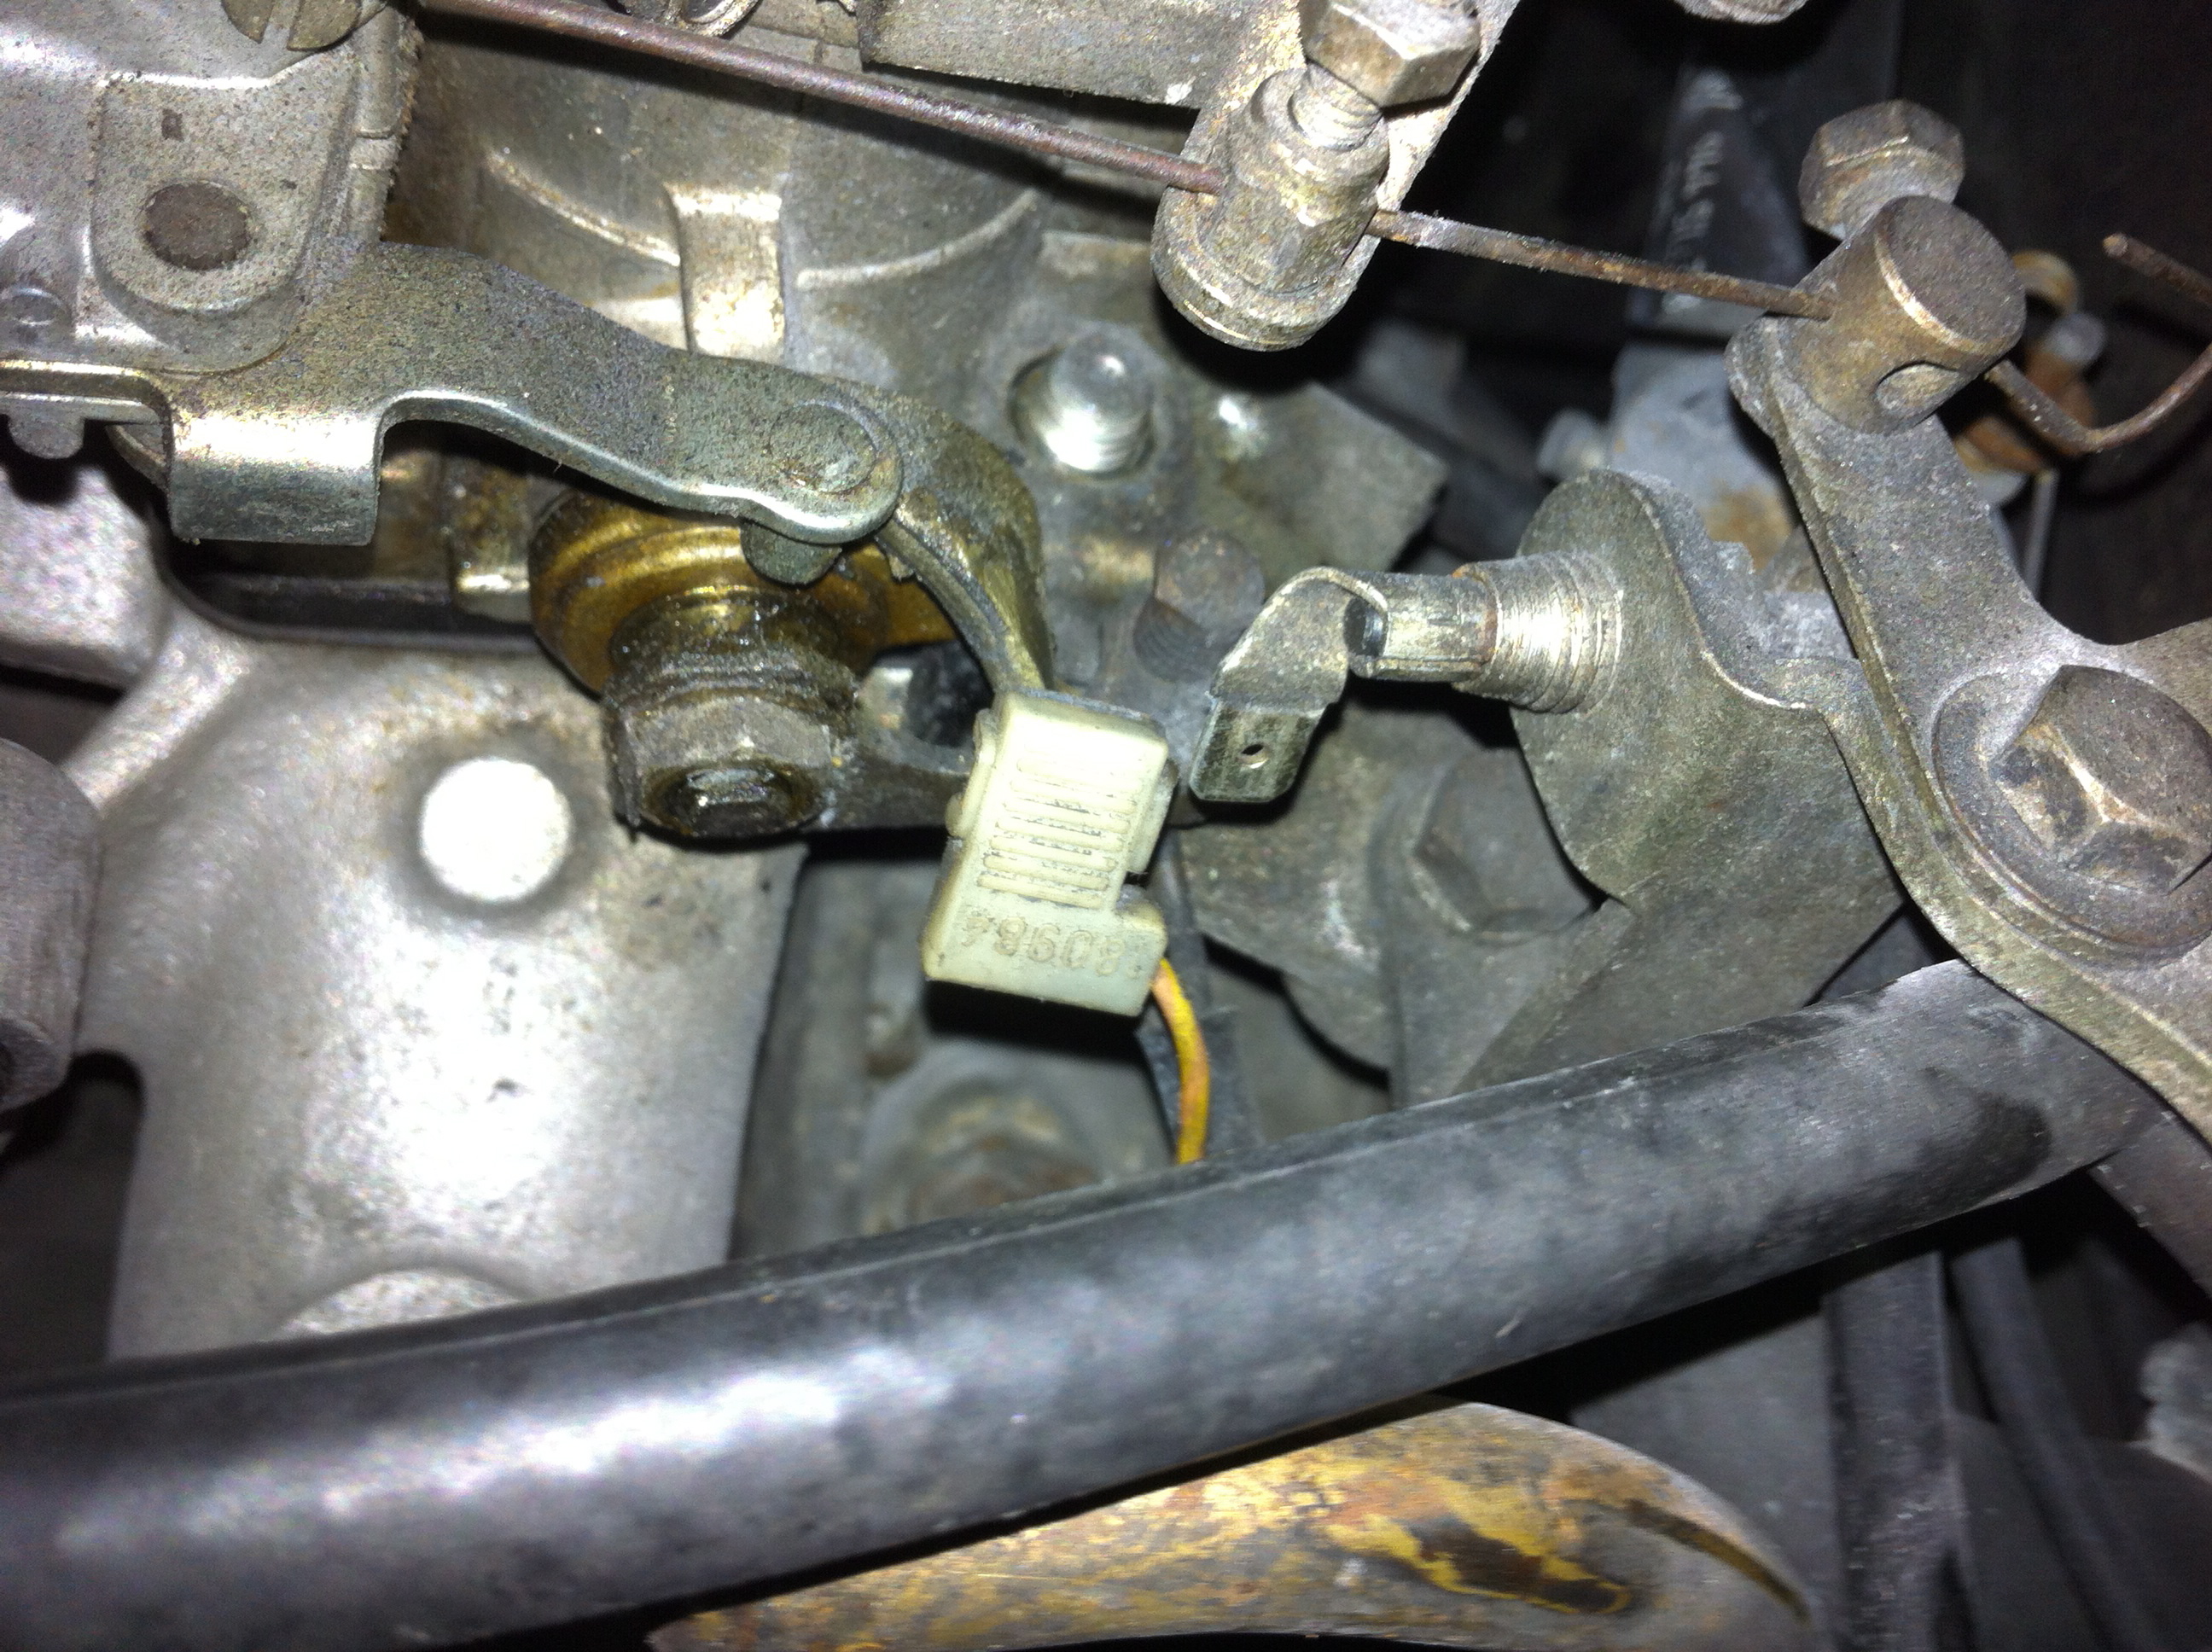
Now to tweak and adjust the carbs – again. I’m gradually becoming an expert at tuning webers. Not sure there’s much use for it, but it is a lot of fun!
Stay tuned. 

Starter motor

The car arrived when I bought it with an extra starter motor. Foresight?

I had both rebuilt shortly after rebuilding the transmission with original OEM parts. The shop didn’t comment on them when they did the job (in fact initially they couldn’t do the job at all because they didn’t know where to source the parts), and when I picked up the car she fired right up with the characteristic Mopar whine.

Only a day later, while picking up someone at the airport, the starter failed again and left us stranded. So we got a tow back to the shop who swapped starter motors, the original one going into the trunk for later analysis. The shop proceeded to blame the problem on crappy parts, the parts place claims they are US OEM and the best quality available.

That ‘later analysis’ took some time to perform, as since the car started (mostly) fine, there were other things to attend to, so it was put on the back burner until later.

After installing a new cable and still not starting (yes, I did use a booster since the battery was slowly being drained), I figured I could install the starter motor that had only been in the car for a day. Since both are identical and both were rebuilt at the same time with the same parts, it seemed reasonable to assume that it would work better than the one in the car, even if it still gave the occasional hiccup.

I like to try to learn from my mistakes (but by no means manage as often as I’d like), and figured that before jacking up and crawling under the car it would be a good idea to bench test the starter. So we clamped it in a vice and provided it with 12+ volts, shorted the terminals and got “click, click”.

Hmm. Spot a trend here?

Imagine my delight at having figured that out *before* installing it in the car!

It seems about time for that “later analysis”, so the starter went back to the shop for dissection. Two days later the verdict was ready – the solenoid was burned out. After only 1 day of use from new. I guess some things just aren’t made like the used to be.

Examining the options, it seems the Nippon Denso reduction starters are drop-in replacements for the original ones, weigh half as much, offer higher cranking power and require less juice. Sounds like a win-win situation all around.

Looked over the models available and narrowed my choices down to three units.

Tuff Stuff

prd_zm_8849

MSD DynaForce (it’s RED!, although on closer inspection looks an awful lot like the Tuff Stuff starter above, and it’s impossible to see once installed anyway)

5098_qtr_view

RobbMC Performance

3005_4x

As I wanted to stick to a budget for this restoration, I went with the most affordable option first, thinking I could always get one of the fancy ones later if it doesn’t work. Although I really have to admire RobbMC’s customer service and information along the way, even though I decided not to get their starter. I might get one anyway, they were really so helpful, and their starter seems really to be a cut above the others and offers flexibility in configuration that no one else does.

What a difference between old and new!

New starter on bottom

Still wanting to live a little dangerously, I installed it without bench testing it first. All of these after market starters have tried to improve on the original design and make things easier to access by mounting the terminals on the top when mounted in the ‘normal’ Mopar position. Since mine goes on the other side of the engine, the terminals are on the bottom, facing the pavement. Not a big deal, but not what I’d prefer.

It’s amazing how tiny and light it is in comparison with the original.

Anyway, I bolted it up, connected all the wiring and plunked myself down behind the wheel.

Turned key…..

“Clackety clickity k-k-k-k-k-k”
Sounds a lot like a ratcheting noise.

Tried again and the engine turned over!

But very slowly. Too slowly to be of any use.

Doh. Battery is dead. Too many tries previously, even the booster can’t provide enough juice to help.

So I’m off to buy a battery charger.

Stay tuned.

Running rough

After the carburetor rebuild, I had expected the engine to purr like a kitten and scream like a race car. This is a Maserati, after all.

Such was not to be the case.

Dialing in the correct air:fuel mixture with a Gunson Colortune seems straightforward enough, as well as mighty clever. You can actually see what’s going on in the combustion chamber while the motor runs. Pure genius. I first disconnected the air pump and vacuum system as per the service manual, but found it nearly impossible to find a good (and stable) idle speed as well as the proper light-blue flame in the cylinders.

One issue was that I was only seeing combustion every 1 or 2 seconds on average, the rest of the time all I could see was a spark. With the colortune it’s WYSIWYG, so something was wrong.

The other issue, which later revealed itself to be dependent on the first, was that several cylinders were impossible to get a nice bright blue flame by tweaking the idle mixture screws. I did as best I could and the car ran ok, just not as smoothly as I wanted.

At higher rpms I was able to observe continuous combustion and with an appropriate color. So it seemed that the acceleration circuit was working correctly.

Still, the car would at times idle a bit roughly and still felt a bit less powerful than expected, and the number one cause of carb problems and uneven running is air leaks. The timing had already been checked and set by a mechanic during one of the previous dyno runs.

My car is a US spec one, meaning it’s fitted with emissions equipment in a (futile) attempt to reduce its substantial contribution to global warming. I’d like to say I do my part, after all I did fit catalytic converters on the car.

A friend came by and we mapped out the vacuum system, tracing each hose and line in an effort to pinpoint any potential problem or leak.

There’s a diagram on the inner fender, passenger side, but basically there’s a  cam cover breather hose and recirculated fuel/air pipe off of cylinders 1 & 2, and there are hoses forming a loop off the front and rear of the intake manifold. These are controlled by 2 solenoids , the one closest to the firewall activates the vacuum advance on the distributor, the other appears to be connected to the charcoal canisters. There are butterfly plates to close the air input in trumpets of air box when cold, until the engine warms up, and charcoal vapor canisters to collect unburned vapors off the carbs and cam covers.

Following the vacuum lines with the engine running, we quickly discovered that the solenoid that controls vacuum advance wasn’t doing its job. It wasn’t clear if it had reached retirement age or was on strike, but by bypassing it (easy enough as there already was a tee there to connect from the solenoid to the hvac controls in the car) the idle smoothed out instantly. That one small adjustment, and suddenly Silvia sounded a lot more like a Maserati!

Smog system solenoids

Without the help of the vacuum advance, the mixture in the cylinders is ignited too late in the Otto cycle to make power, allowing for the speed of the engine. That explains why at higher rpms the engine was running better, as the mechanical advance takes over for the vacuum advance used at idle. When we bypassed the solenoid, effectively putting the vacuum advance “on” at all times, the idle smoothed out and we were able to tune the carburetors for ideal air/fuel mixture.

Our assumption received further confirmation when we hooked up the Colortune again and were easily able to dial in picture perfect blue-flame combustion on all cylinders. Some were easier than others, it might be that the adjustment screws need replacing.

With this taken care of, next up is to register consumption and power over the next few weeks and then revisit the timing to get it as optimal as possible.

Carburetor rebuild

After a day at the dyno shop, their recommendations were to fix the leaking exhaust and clean and rebuild the carbs. No. 2 carb was leaking, and they adjusted the others as best they could. The car felt peppier and had more power, but there’s always room for improvement.

I pulled the carbs off of the manifold, the job is pretty straightforward. Remove the air box and lay it off to the side, unbolt the trumpets from the air box baseplate, disconnect the vacuum & breather hoses at the same time.

IMG_7889 IMG_7890 IMG_7891 IMG_7895 IMG_7907


Remove the choke wire on the drivers side and disconnect the microswitch connector. Pull and plug the fuel line from the fuel rail input. Loosen the hose clamps on each fuel inlet line and remove the fuel rail. At this point you can loosen the nuts holding the carb baseplates down and remove the carbs. Note that carb 1 and 2 (counting forwards from the firewall) hold each other in place, meaning you may have to remove carb 1 before 2. I started with carb 4 and worked my way backwards when I discovered this the hard way.

IMG_7911

IMG_7916  IMG_7944 IMG_7938

Inspect the phenolic riser plates for wear and unevenness, anything that can let ‘unmetered*’ air through is a bad thing and will cause endless headaches, bad running and a general all around bad mood.

Plug the manifold openings to prevent unwanted objects from finding their way into the cylinders. That would really ruin your day.

IMG_8412

Coming up: carb teardown.

*unmetered – a carburetor is essentially a controlled air leak into the engine. It mixes a precise amount of fuel with the air that flows through the venturii to provide an optimal fuel:air mixture. Any air entering the system by other means, ie via a leak, will unbalance the ratio and render all tuning and tweaking moot.

2 C8H18 + 25 O2 → 16 CO2 + 18 H2O

Still working on going through and getting a good setting with the fuel system.

The fuel pump is sorted……..it was simply a blocked internal filter causing the problem. Have also fitted a new short fuel line between the pumps and 3-way-valve as it was beginning to crack.

A specialist has gone through the carburetors to make sure all settings are correct, or at least seem sane, before the car is put on a dynamometer in a few weeks to measure power output and fine tune the engine. The PPO (prior to previous owner) had overhauled and synced the carbs while he had the car, and Webers are usually set-and-forget, but I’ve learned that a whole lot of strangeness can happen when someone gets their hands on an unusual automobile, if even for only a few months…

He didn’t find anything obviously mis-matched in the carbs, or any serious imbalance, just way out of tune and general wear – not one specific thing. He says that a full setup is the only way to improve things and thinks that the poor running (ref. earlier posts here about the same issue) is a combination of numerous general wear items (carb jets etc) and no one big issue.

I had a suspicion she was running a bit rich, judging both from the two black spots on the rear wall of the garage as well as the amount of soot expelled from the exhaust. That would also affect acceleration and power in general. So the specialist’s findings match well with my own observations and thoughts. His adjustments did result in a nice improvement, but there’s still more to be done.

When we get her running according to spec, we should see somewhere in the neighborhood of 280hp when all is said and done. I’ve been considering removing all the US smog equipment, but that would mean new cams, which is more work than I’m prepared for at this point.

Right now I’m more interested in getting the repaint done and actually taking her out for a drive!

Dual Facet Fuel pumps. Originally Bendix.

Suck, squeeze, bang, blow

Sylvia is still at the mechanics getting her physical checkup, new belts, filters, tuning, etc. As part of her checkup, the shop tested cylinder compression and performed a leakdown test.

The results indicate that the compression is good to excellent and even on all cylinders.

#1 – 146
#2 – 149
#3 – 149
#4 – 148
#5 – 149
#6 – 147
#7 – 146
#8 – 149

No loss on the leakdown test.

The vacuum system is sound and leak free.

The ignition system/service items (distributor cap, leads etc) are all fine and all cylinders are firing.

Next week the carburetors and fuel system will be checked, hopefully that will prove to be as solid as the rest of the engine.

Maserati tipo 107 4.9l engine

Starter motor

Having replaced the starter motor in the car with the one thoughtfully provided by the PO when I overhauled the transmission, I was surprised to be getting the “click – nothing” sound after only 6 or so months.

It can mean many things, but seeing as how I was getting power, all instruments checked out, and I could hear the starter relay clicking, the finger seemed to be pointing at the starter. Sometimes she would start right up on the very first try, other times it took a few repeat attemps, and lately I had on occasion been spending 10 or 15 minutes before suddenly it would catch and the engine would roar to life.

I delivered the starter motor I had pulled from the car to a local shop. Thankfully Maserati did the same thing here that they had done with the transmission – sourced it from Chrysler. Turns out they’ve used the same basic design from the 60’s up to about the 90’s. Of course Maserati also managed to mount it in such a way (upside down and backwards) that any condensation, rain or other moisture collects inside the starter, guaranteeing it won’t last for too long before needing to be replaced or repaired.

For reference, it’s a 1.8HP Chrysler starter, part number 4091950, also used in the 1980 Dodge 1/2 pickup truck.

The parts shop was unable to find the rebuild kit needed (not a lot of American cars here), so I obliged and ordered 2 rebuild kits and 2 solenoids in order to repair them both. Found them at “Alternator & Starter Parts Wholesale” www.ASPWholesale.com, part no: 66-302 (solenoid) and CH-79-1100 (brush holder, rings, washers, brushes, the whole kit). Total price $71.82 plus shipping for all parts for both starters. Not a bad deal.

Got the car into the shop that had the extra starter, brought along the parts, and this afternoon was able to drive out with a decidedly easier-to-start car. And an extra rebuilt starter. Always nice to have a spare in reserve.

Getting another thing done on the car is always a reason to celebrate, that combined with the cold but dry weather brought us to a local establishment offering a good old fashioned by-hand car wash. Well, they use hoses and sprayers and all sorts of special products, but most importantly they all loved the car :-).

She’s clean, she starts, she’s garaged. Not a bad start for autumn.

To Do list

The car was sold as a “rolling restoration”, and had been extensively restored and cared for by the BPO (before previous owner). As far as I know the PO mainly just enjoyed the car (as have I, thus far).

It runs, in fact it started up on the very first attempt after 3 months of waiting at the docks, shipping to Europe and waiting to be picked up. As the seller quipped, “I don’t know of any other 30 year old Italian exotic that could manage to do that”. Good point.

That said, it does have some rough spots, and needs more than a little TLC to bring it back to looking and running its best. While the engine, suspension and parts of the drivetrain have all been carefully restored, the transmission hasn’t been touched. And the paint is showing it’s age, with a hint of a few small rust bubbles here and there on the wheel arches and lower door panels.

I went over the car when I received it and started making a list of things I wanted to address. After having had and used the car for a while now, I’m probably going to change this list somewhat, having learned to live with some things as idiosyncrasies and others as being more important to fix.

In no particular order:

  • transmission & torque converter rebuild
  • bare metal respray (eliminating rust spots, smoothing out the bodywork, remounting glass and chrome, polishing same)
  • fix radio and antenna (this is way up high on my list!)
  • fix sun visors (they sag)
  • restore/condition leather interior
  • restore/replace cracked wood veneer on dashboard shelf
  • check fuel pumps, change filters if necessary
  • replace fuel filter/regulator
  • replace spark plug wires
  • repaint cam covers
  • go through wiring to get all courtesy lights and stuff working correctly
  • fix speedometer (probably pulse send unit or toothed gear on sender)
  • buy a scissors jack that will support the car and fit in the trunk
  • possibly, maybe, remove US emissions stuff from the engine
  • rebuild/lubricate windshield wiper motors
  • rebuild/lubricate electric window motors
  • replace rubber sealant around trunk
  • remove all sound isolation material, replace with non-flammable and non-hygroscopic alternative
  • re-fabricate rear trunk panel, the one that hides the gas tank
There’s more, this is just off the top of my head.
Any help or advice that can be offered on any of the above points is greatly appreciated!