…mistakes were made…

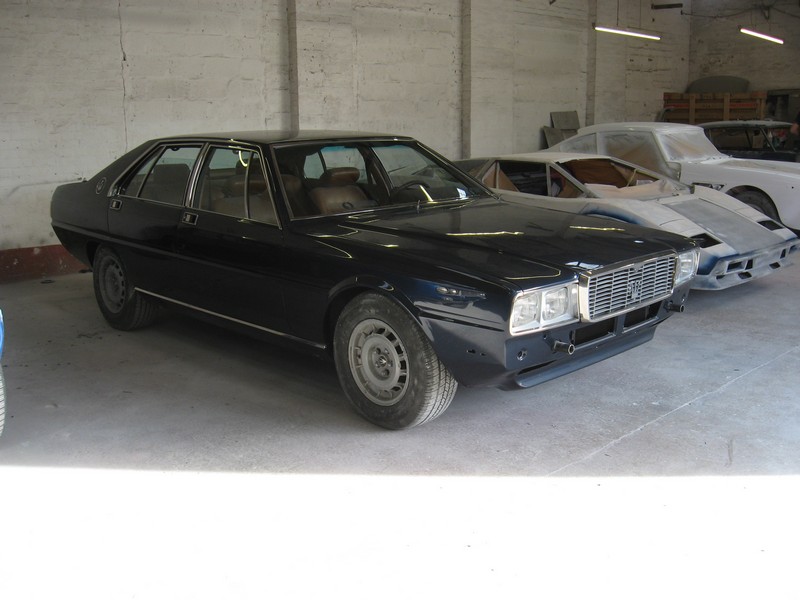
..and they were all mine.  This blog isn’t called “Automobiles for idiots” for nothing!

An old woodworking saying says “measure thrice, check twice, cut once”. There are wisdom in those words.

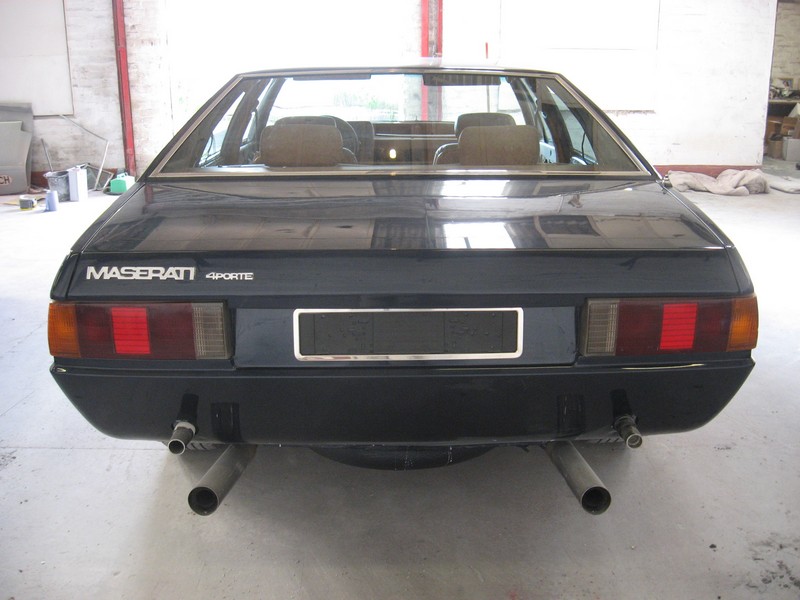
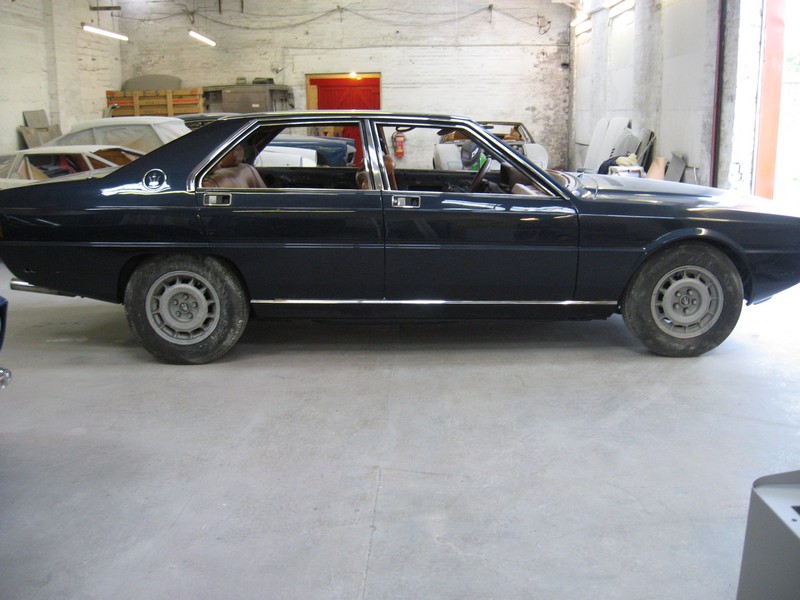
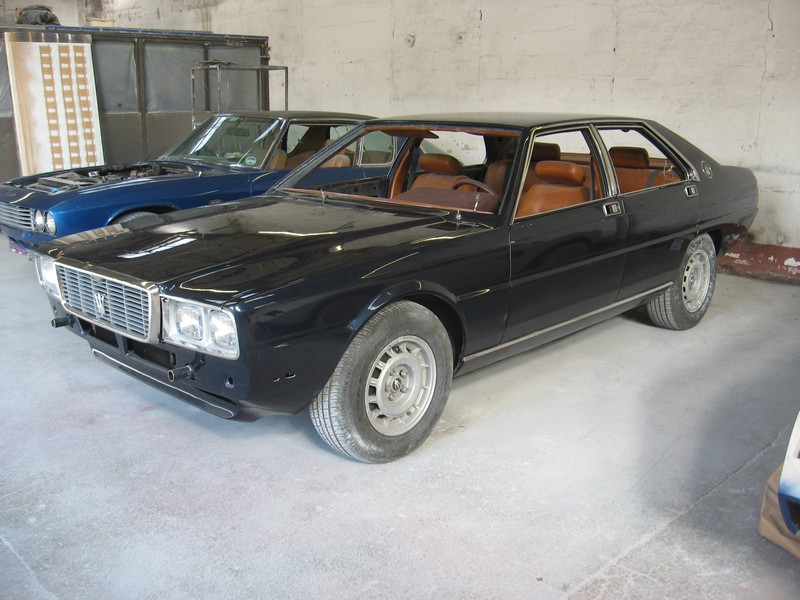
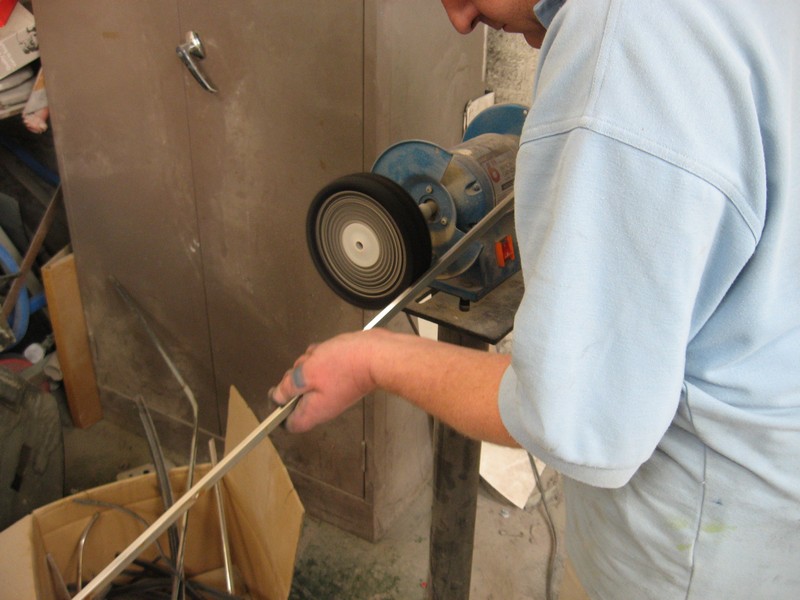
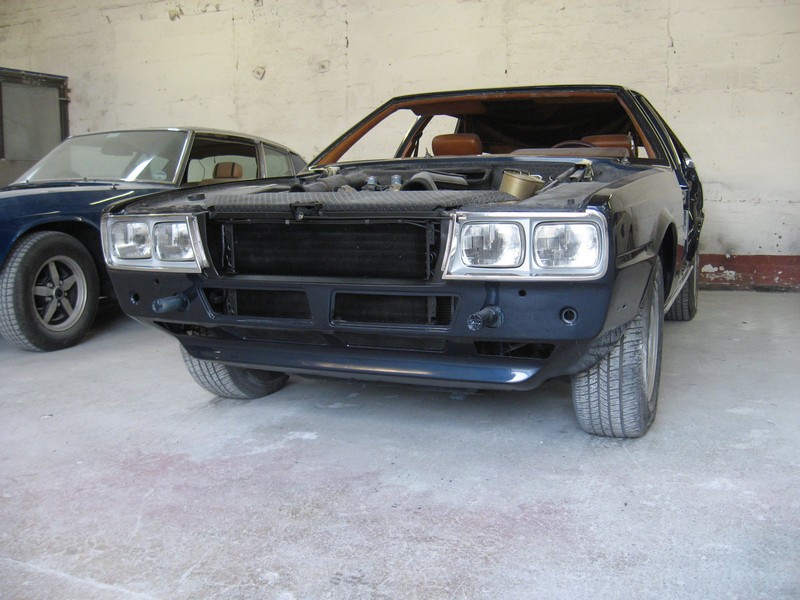
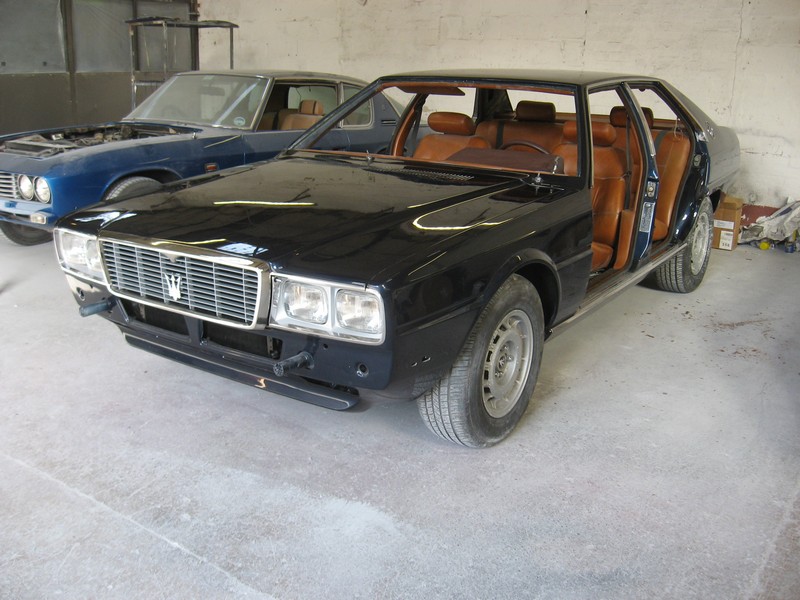
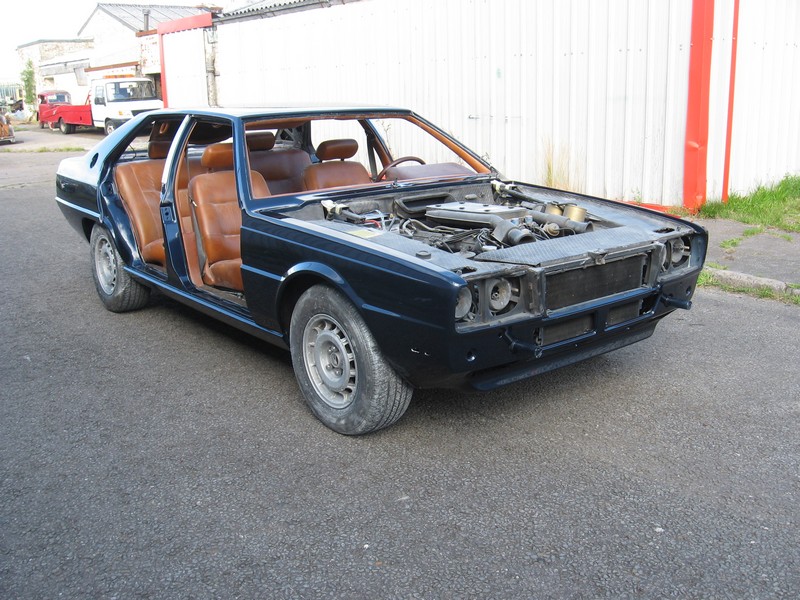
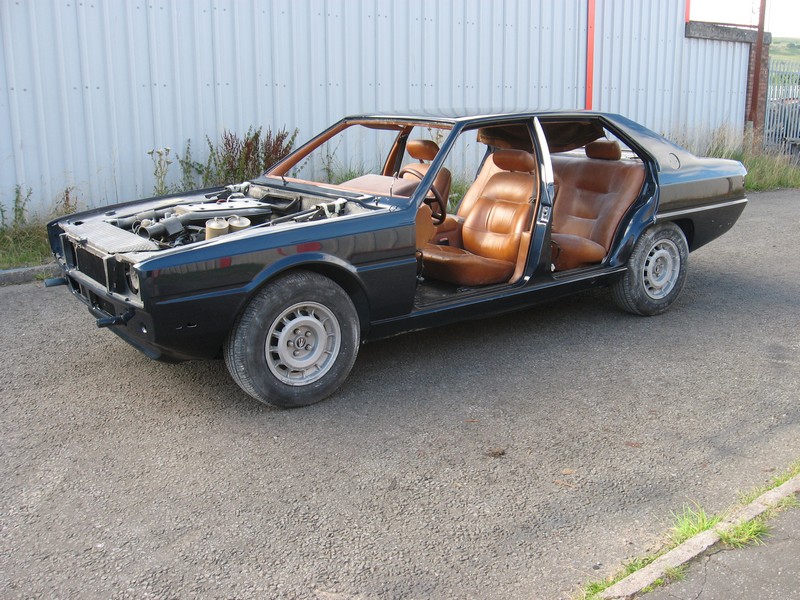
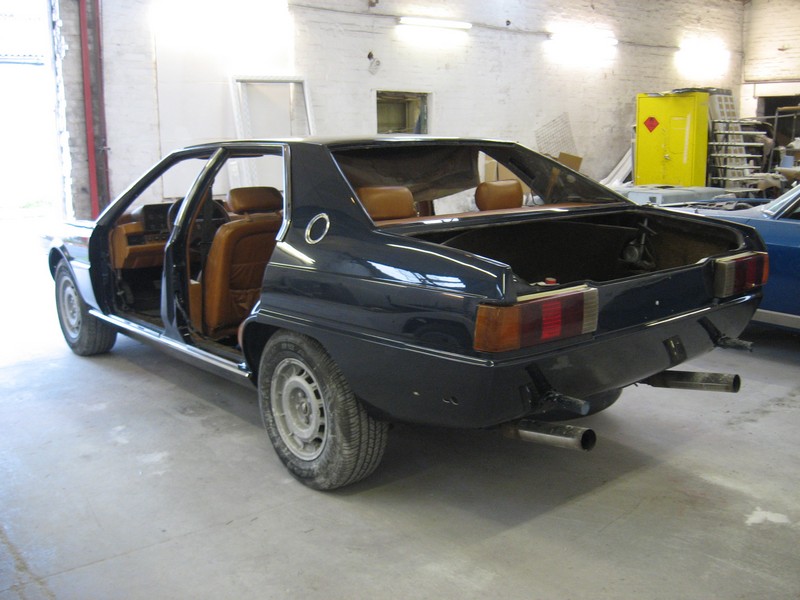
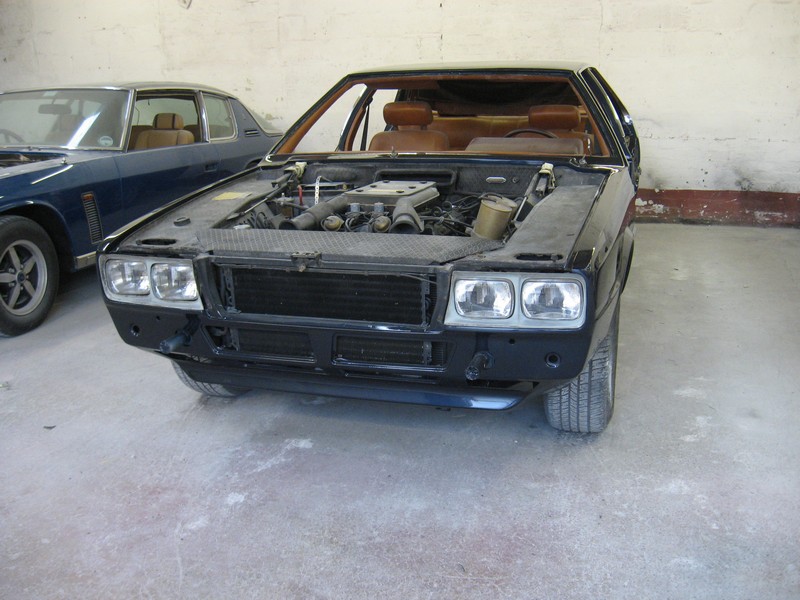
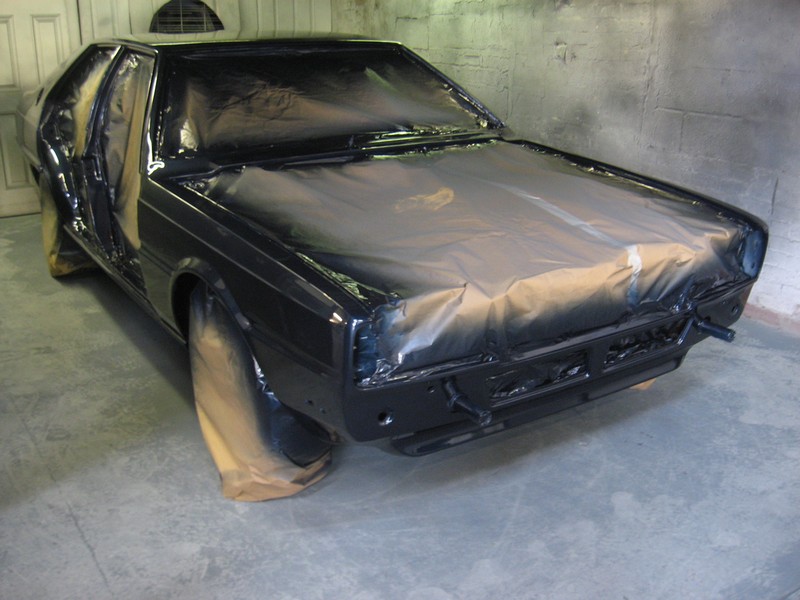
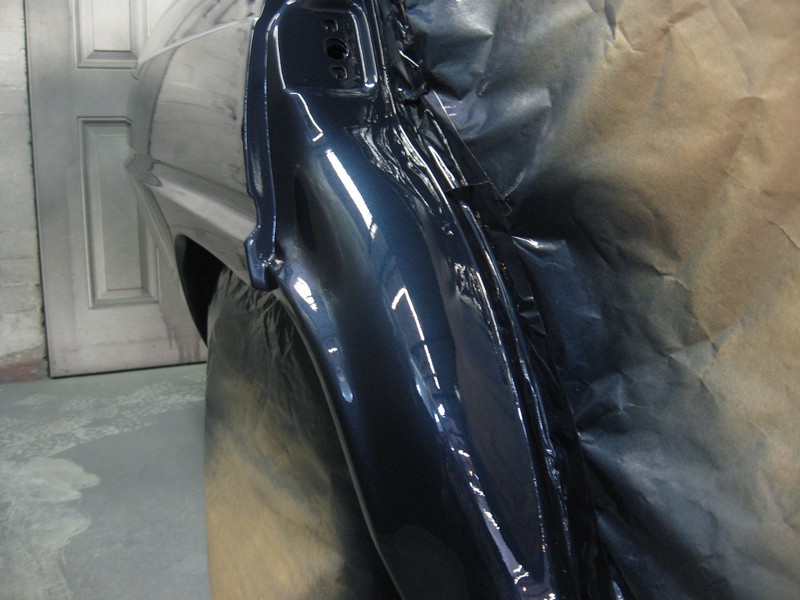
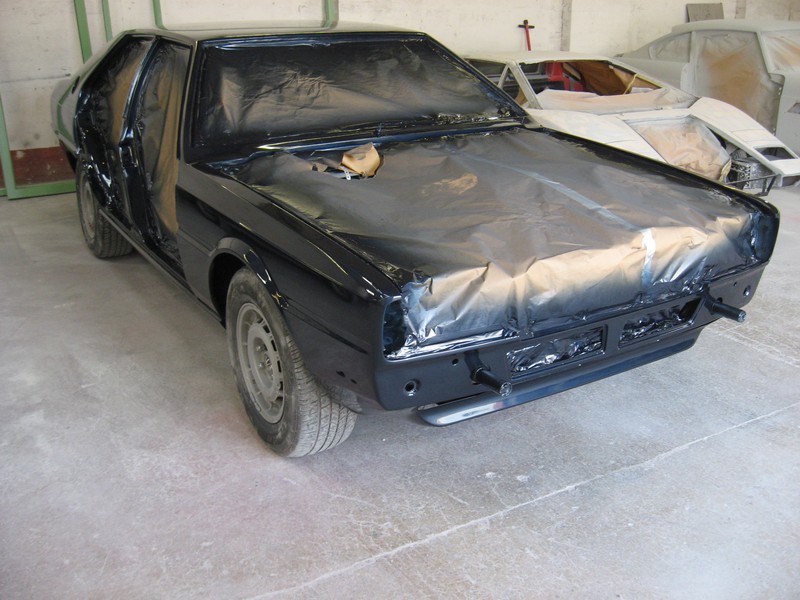
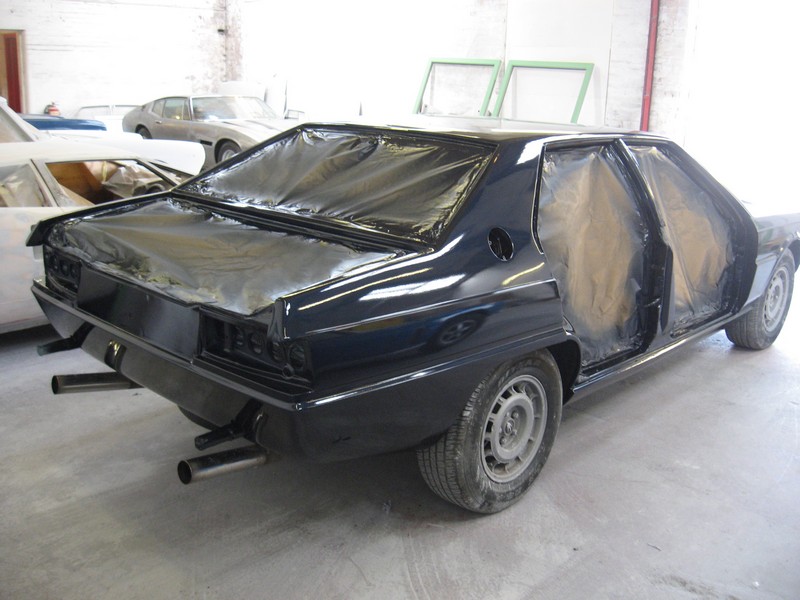
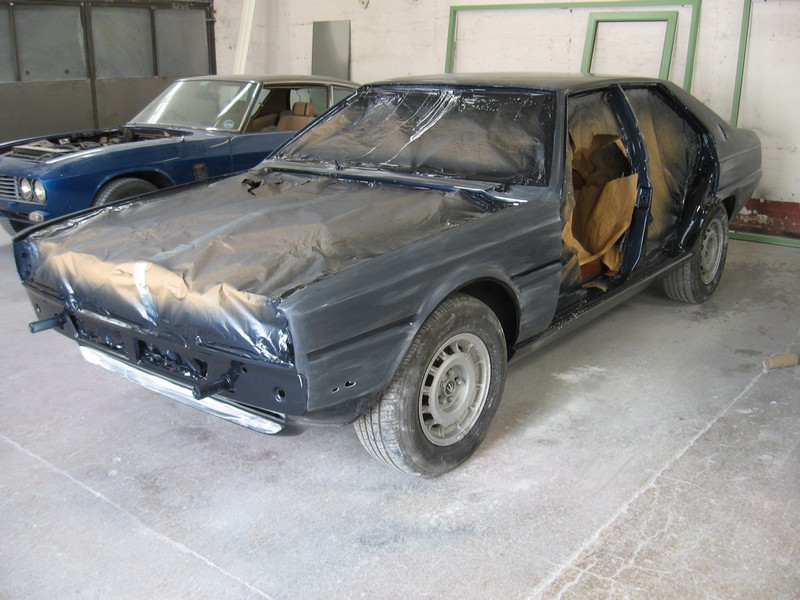
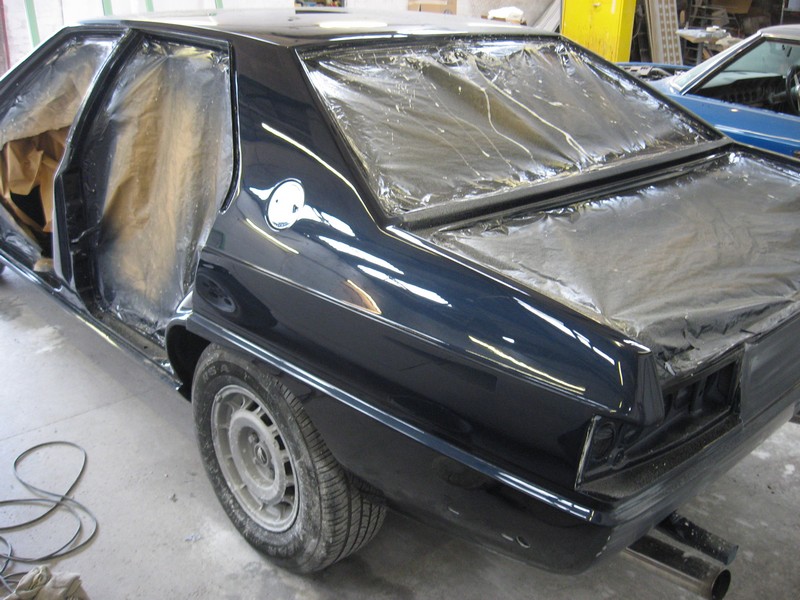
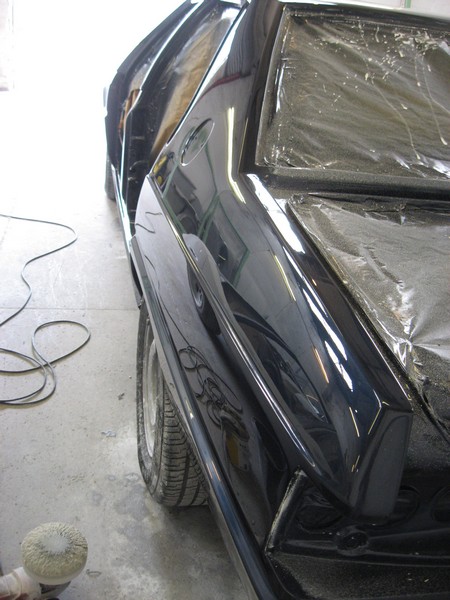
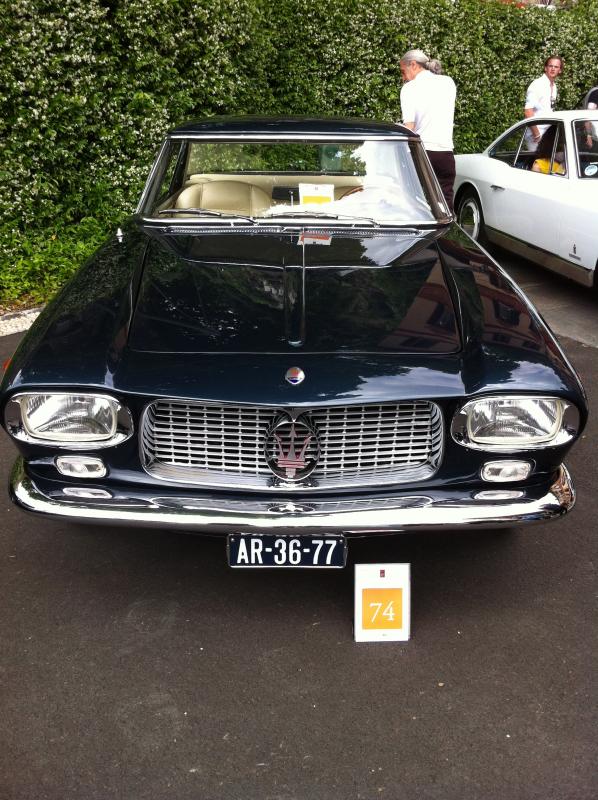
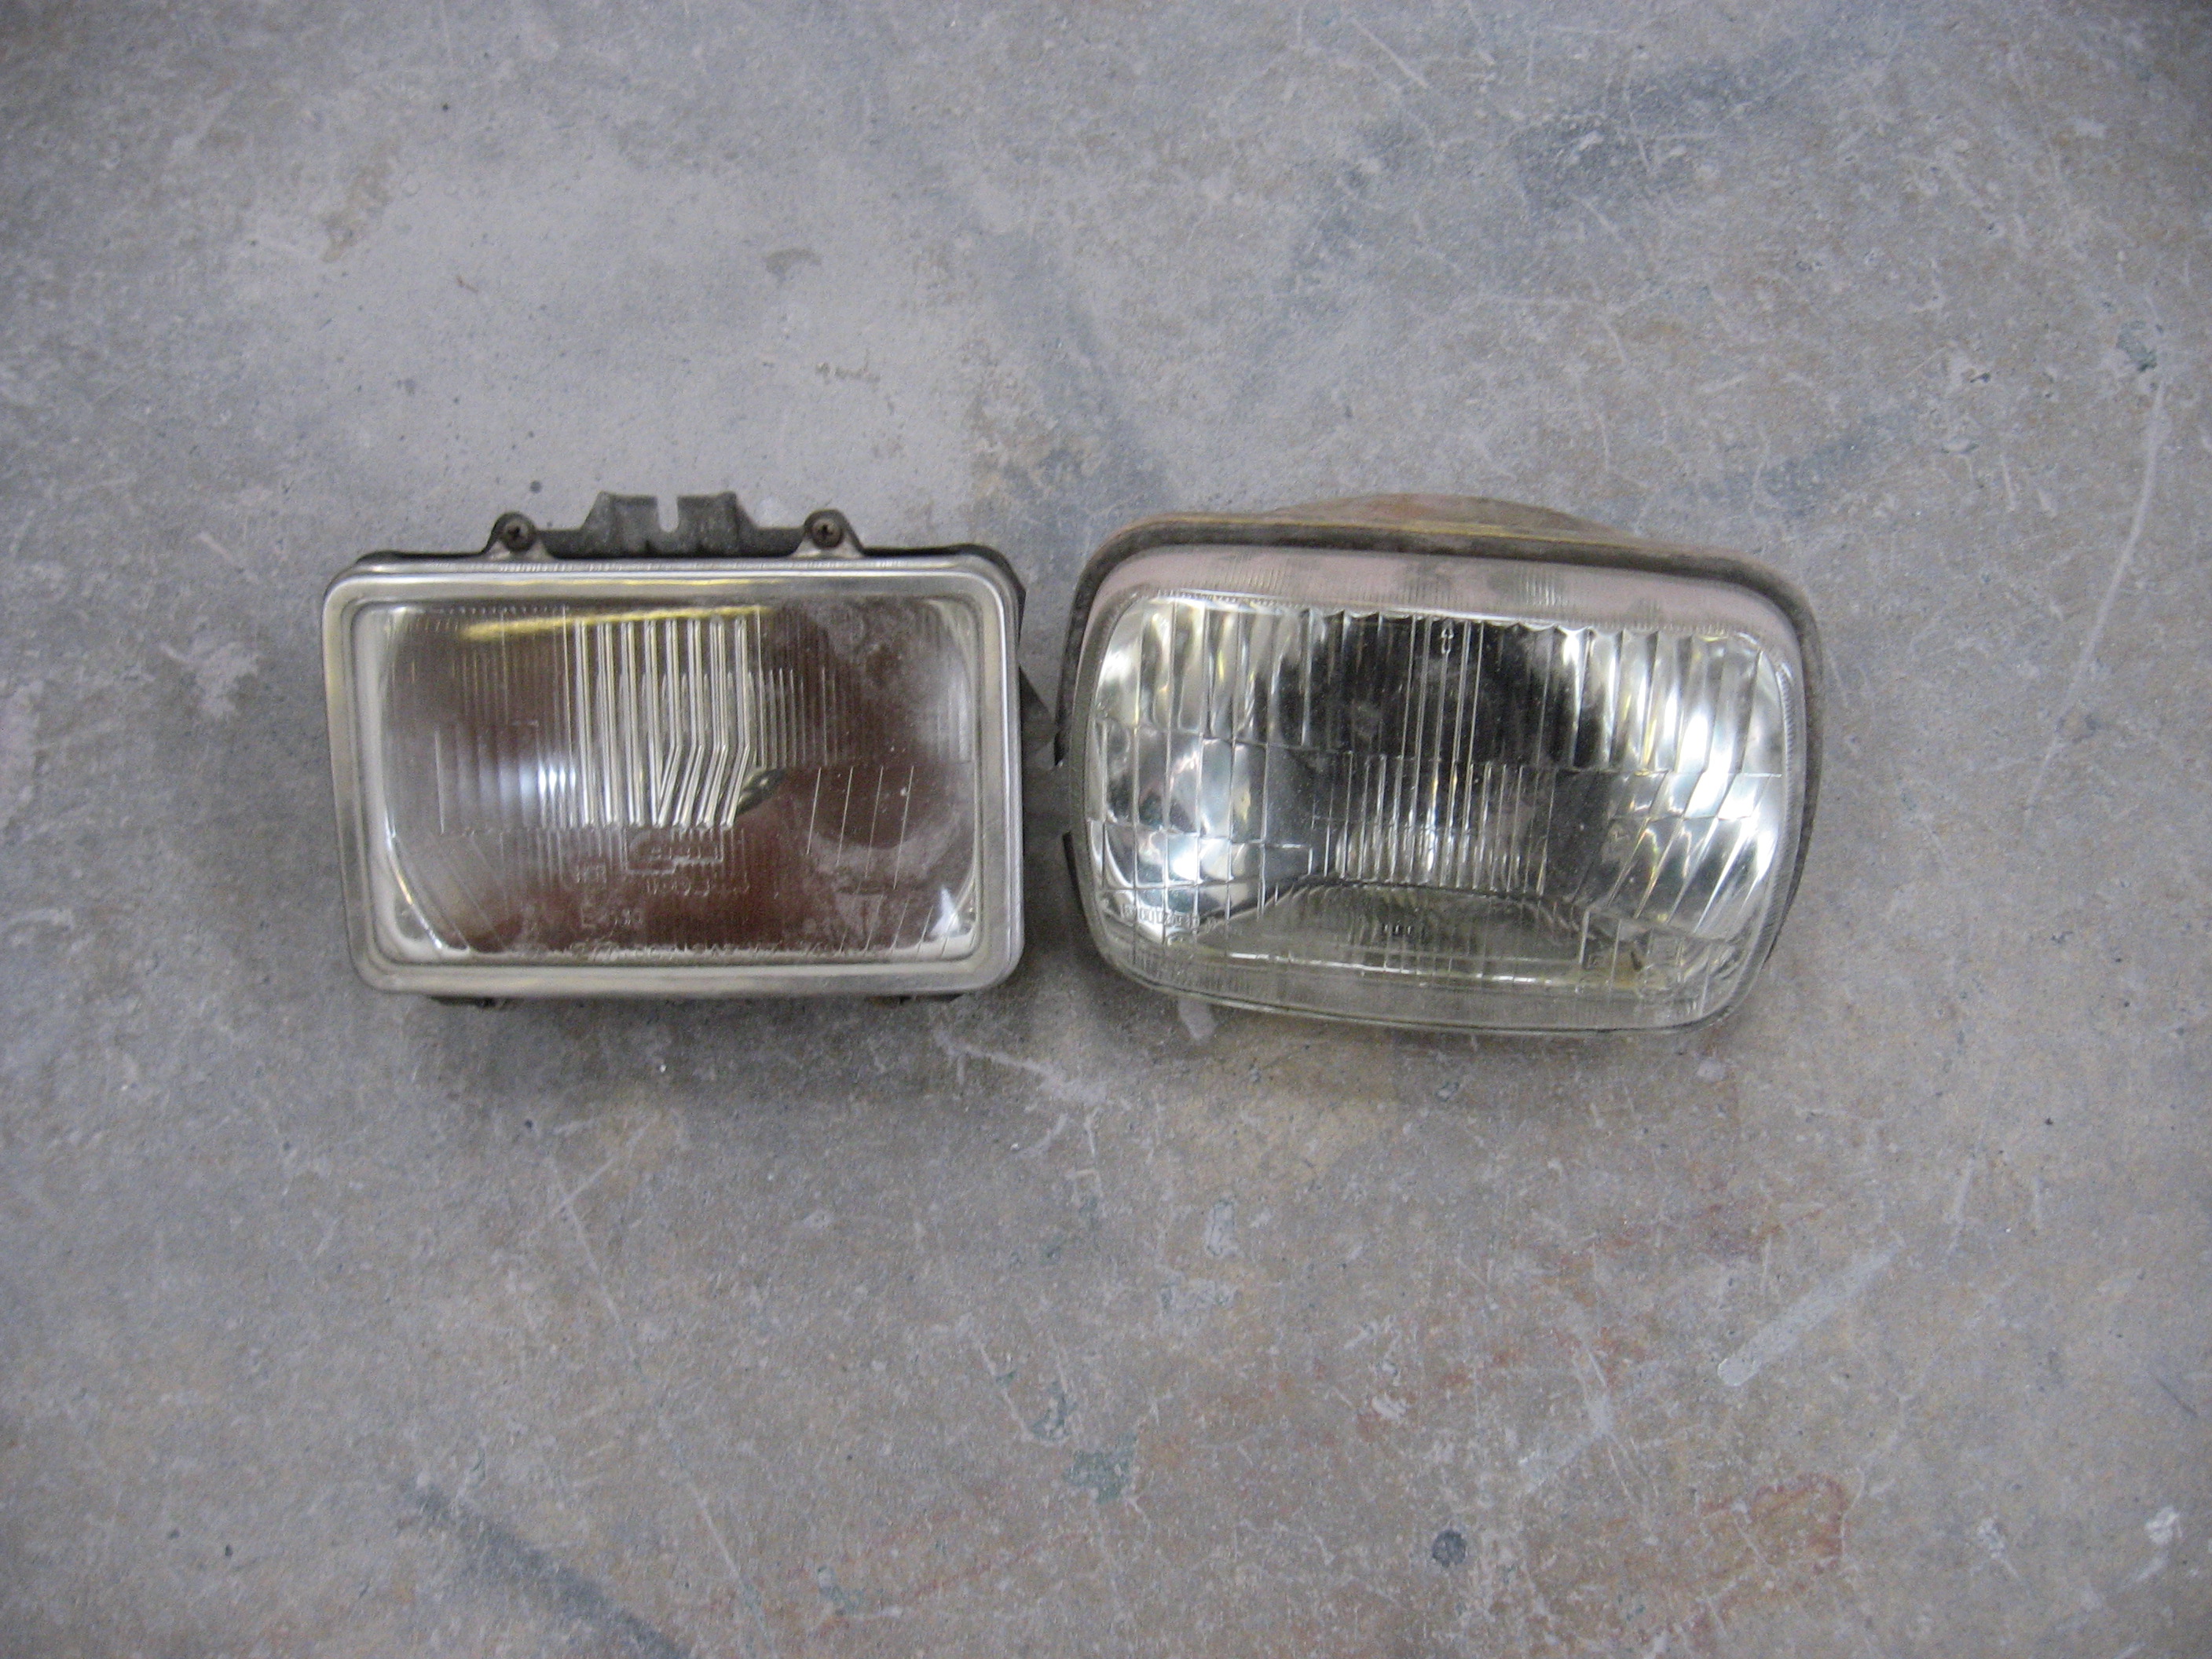
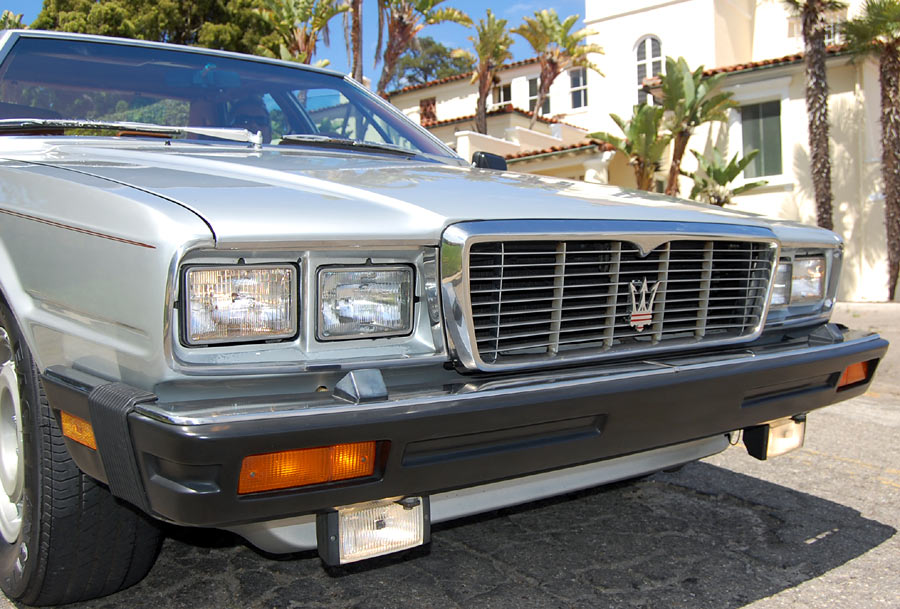
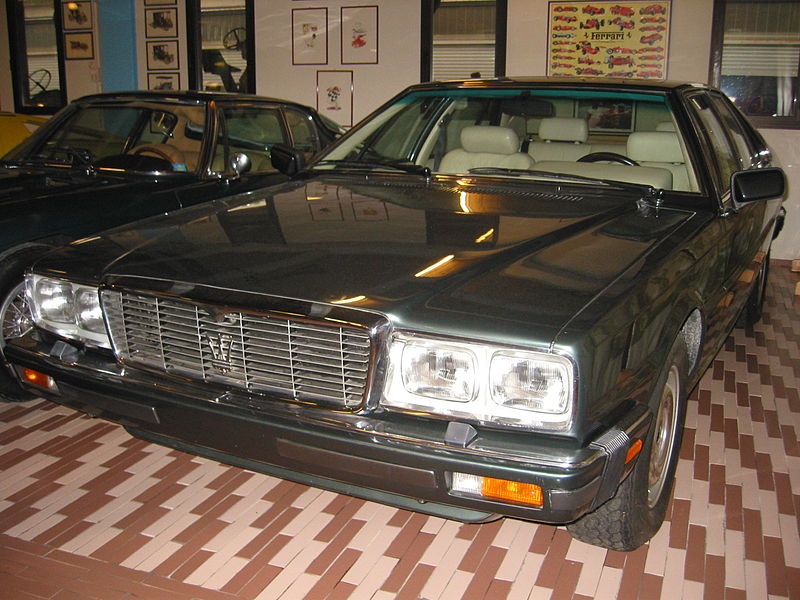
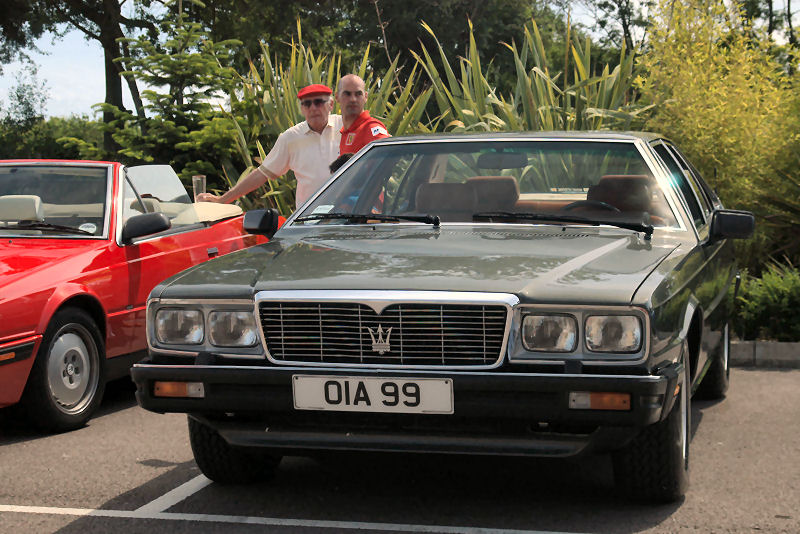
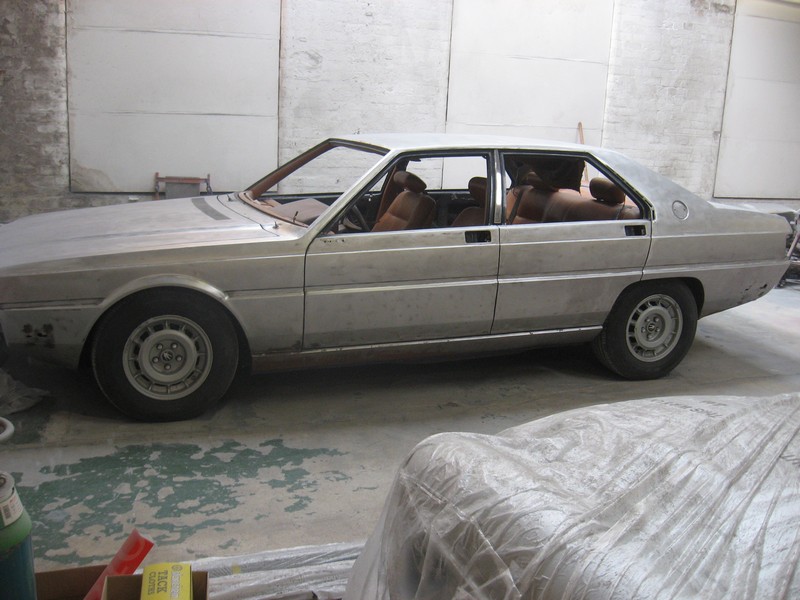
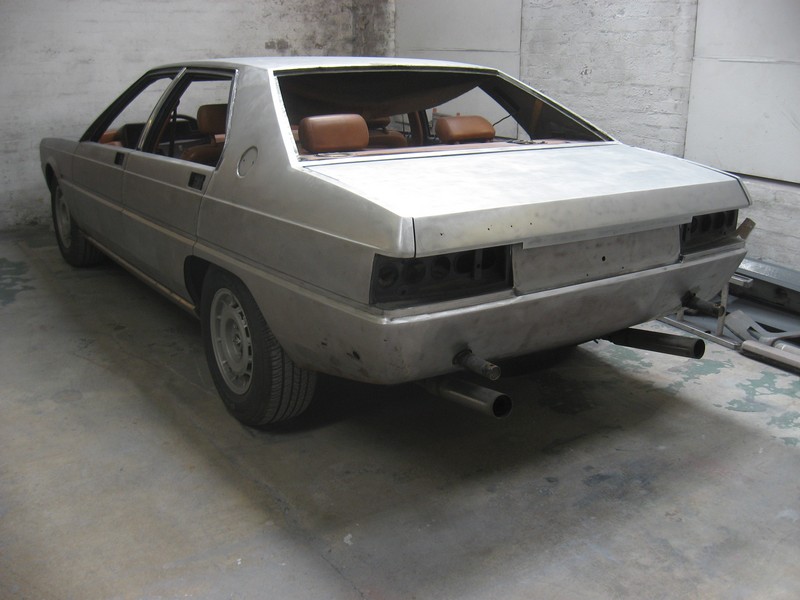
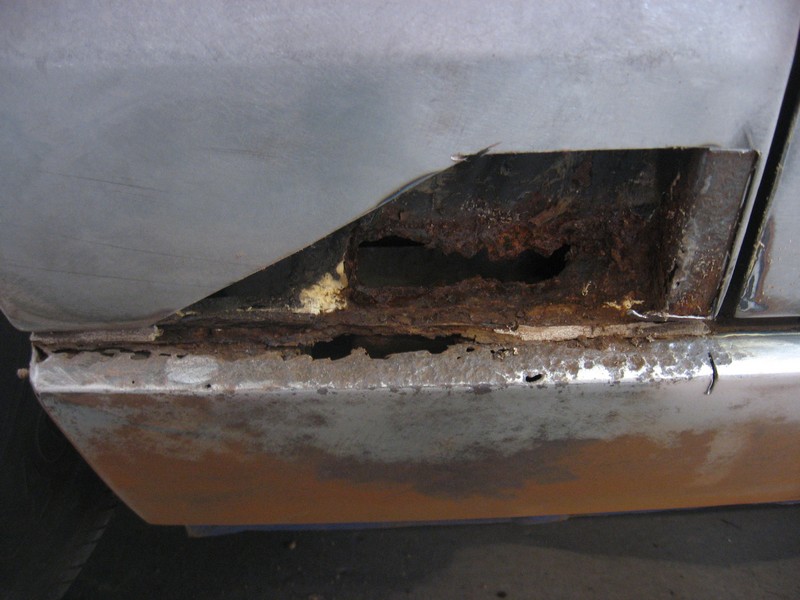
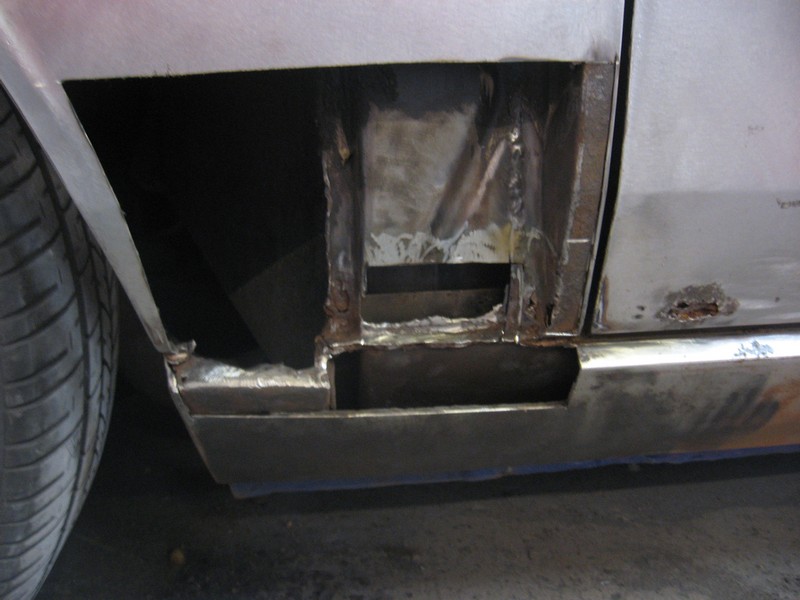
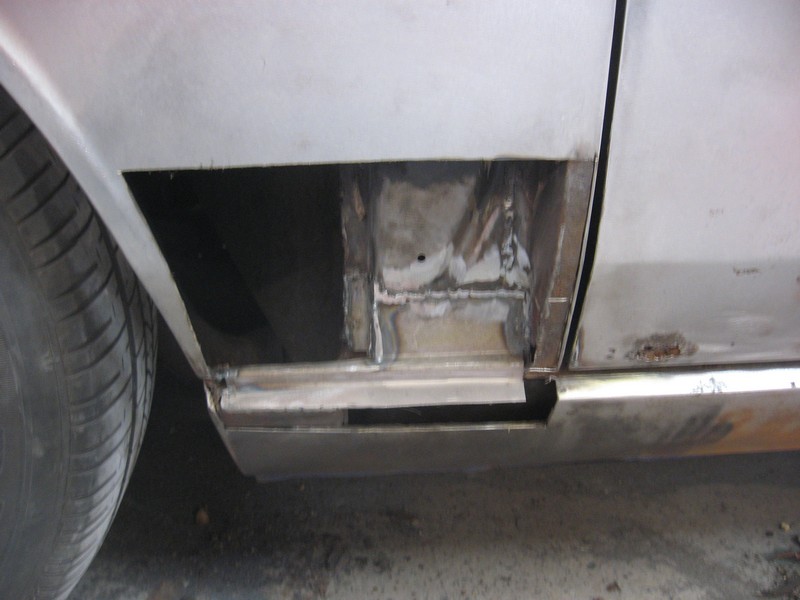
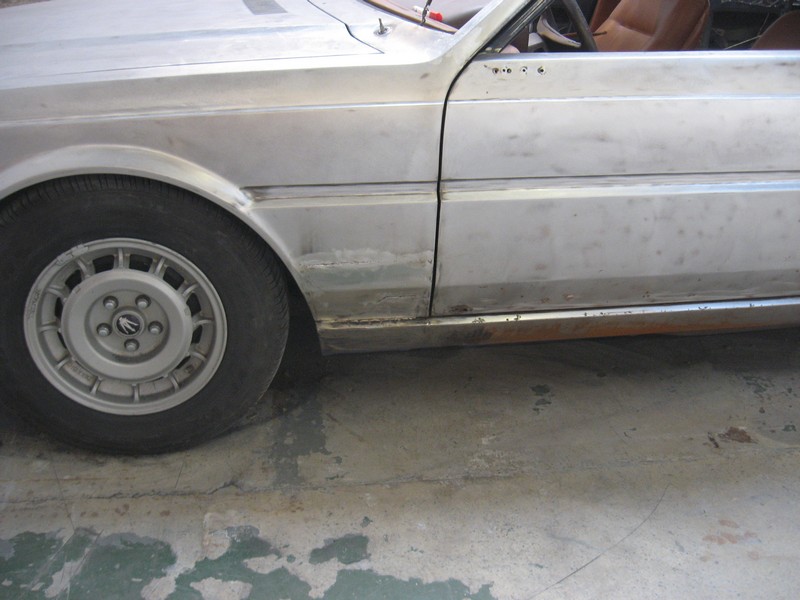
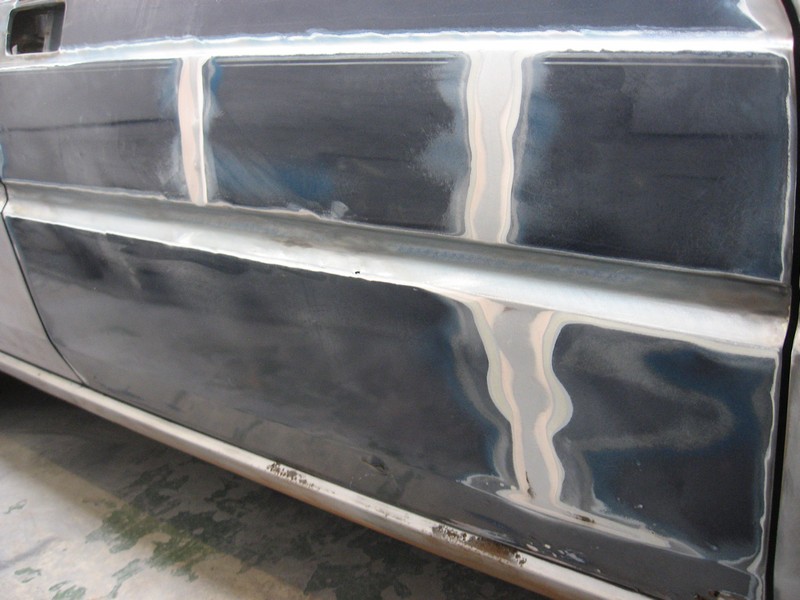
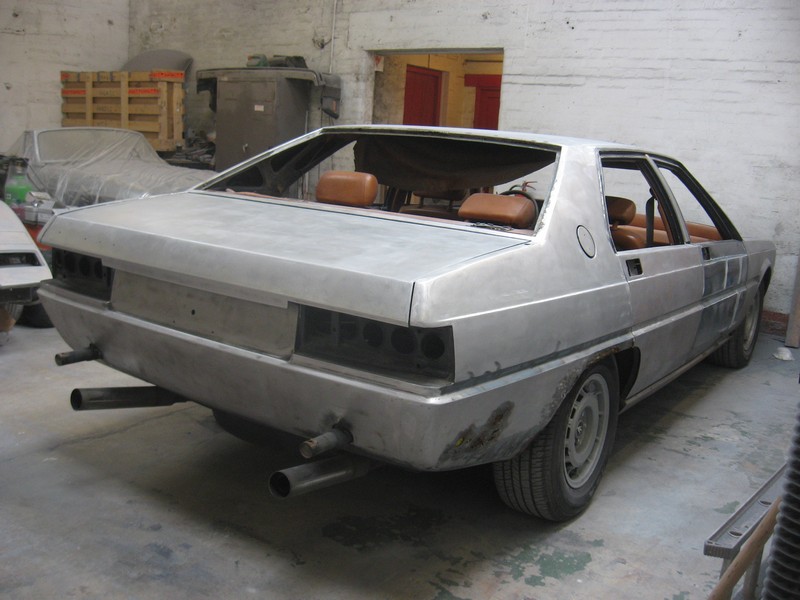
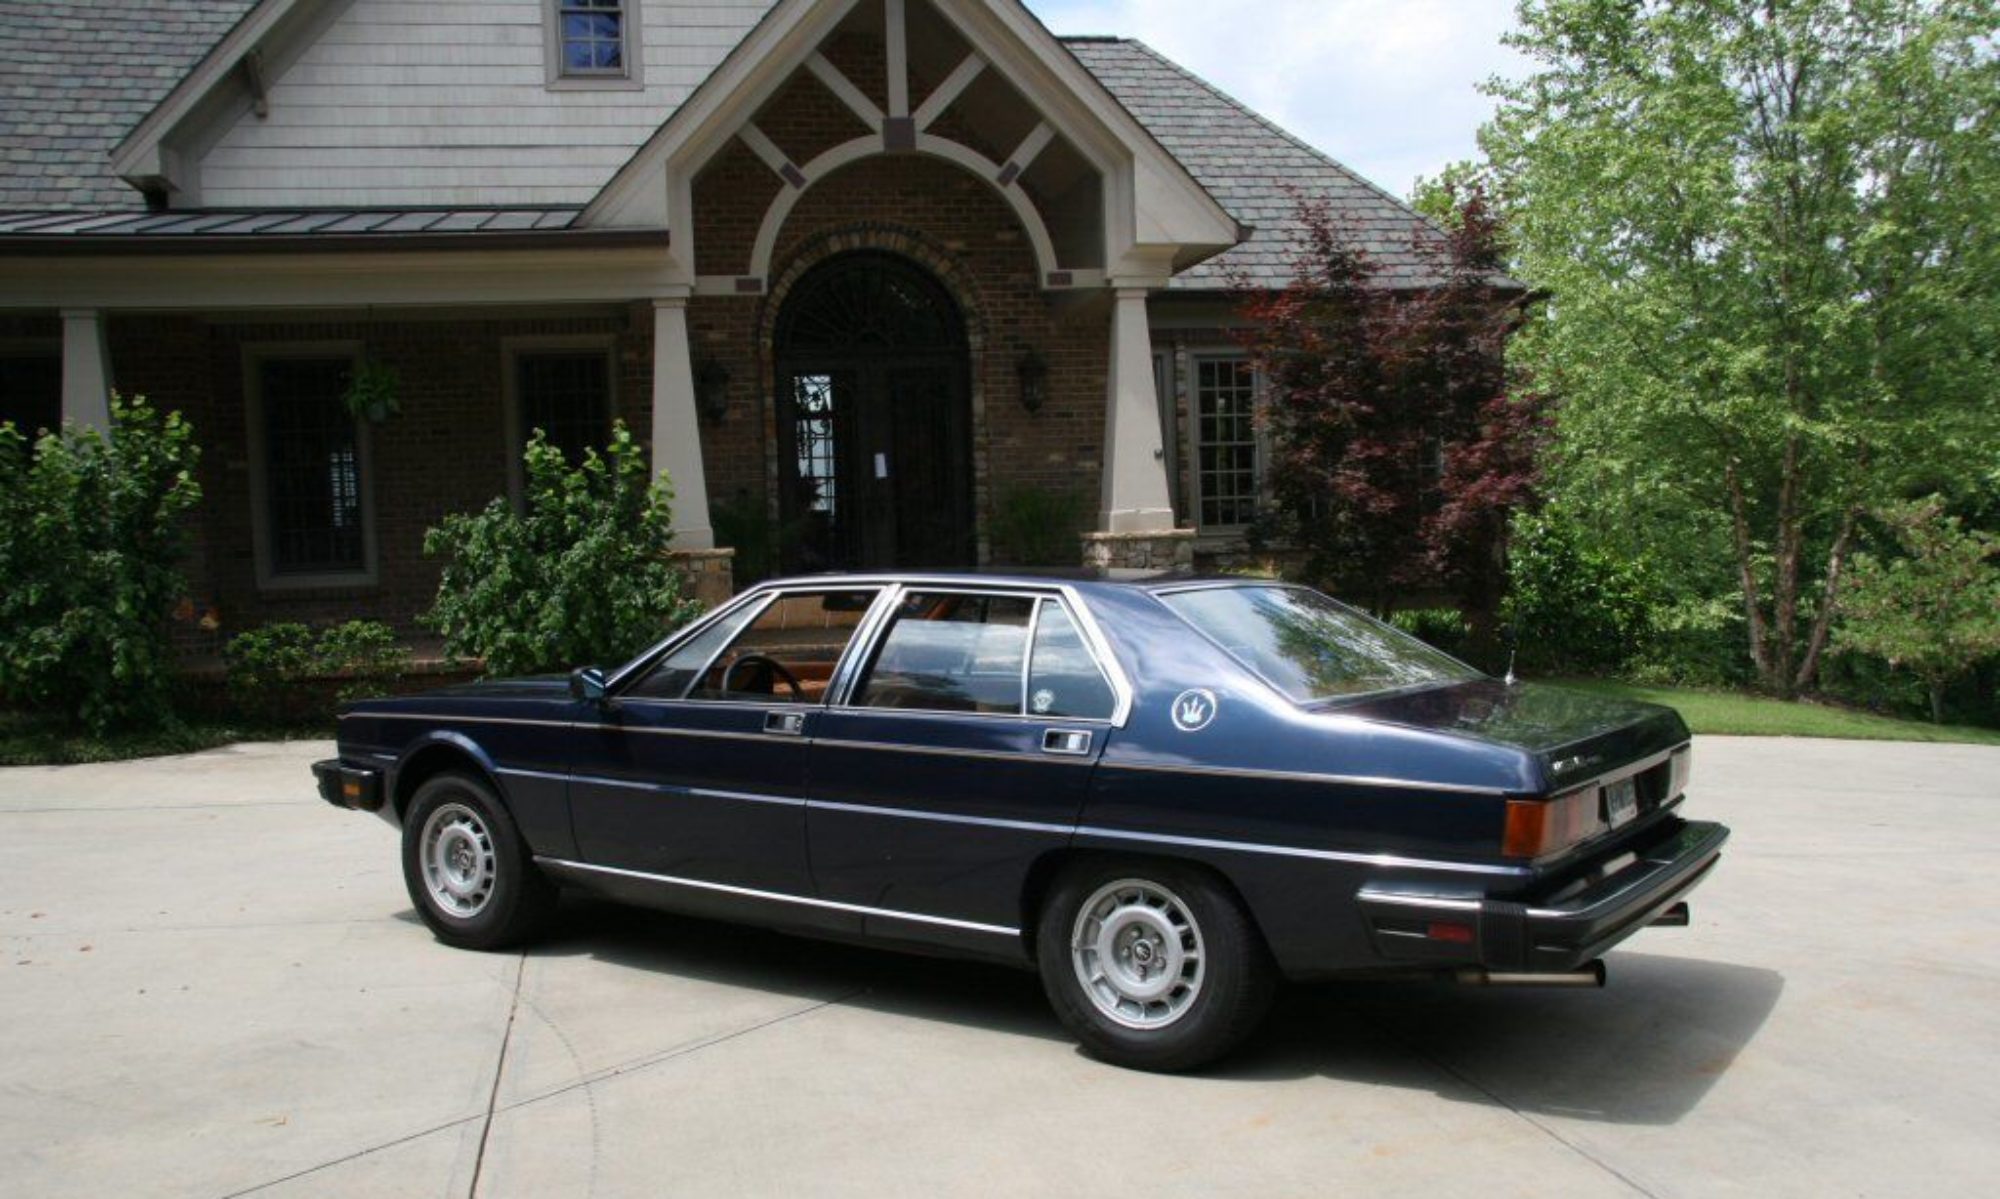
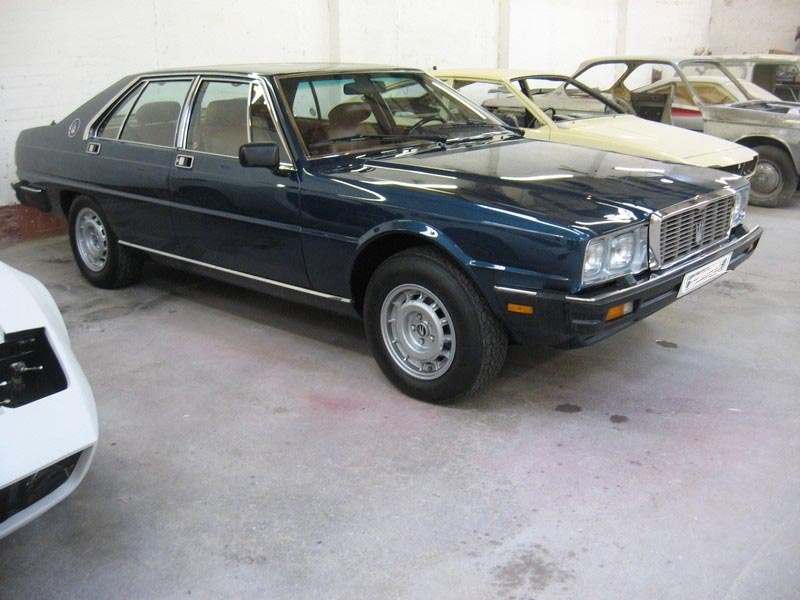
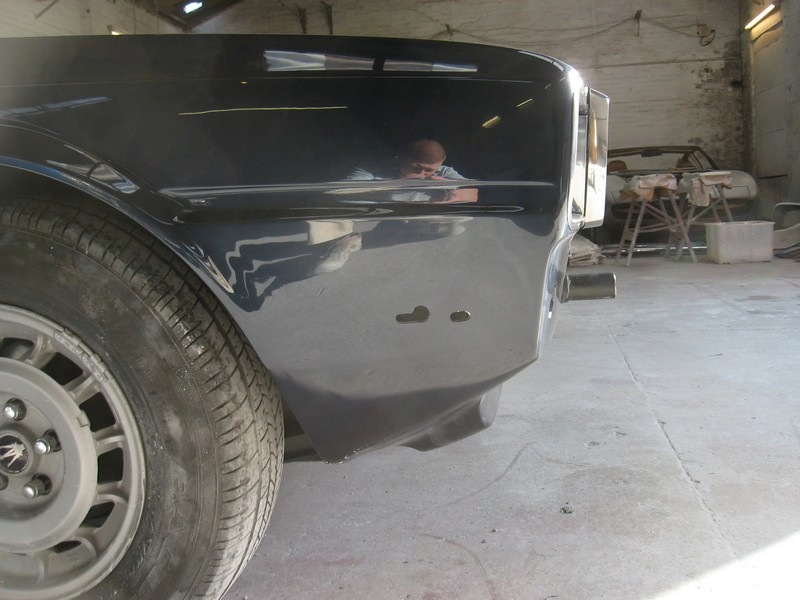
Much care was taken while doing the bodywork, tack welding in new sections temporarily to make sure everything fit correctly before committing the section to a permanent weld. Windows, doors, and other areas were all checked carefully. The front panel was also measured and checked carefully against a Euro model to ensure that the front lights and bezels would indeed fit with minimal modification. Looking at the bumper, it appeared that the two mounting posts projecting from the front and rear of the car ensured that the US spec cars’ bumpers stand further away from the body compared to the Euro spec version. Cutting them down to match the EU spec dimensions seemed the logical way to adjust the bumper for the Euro look, more integrated with the body.

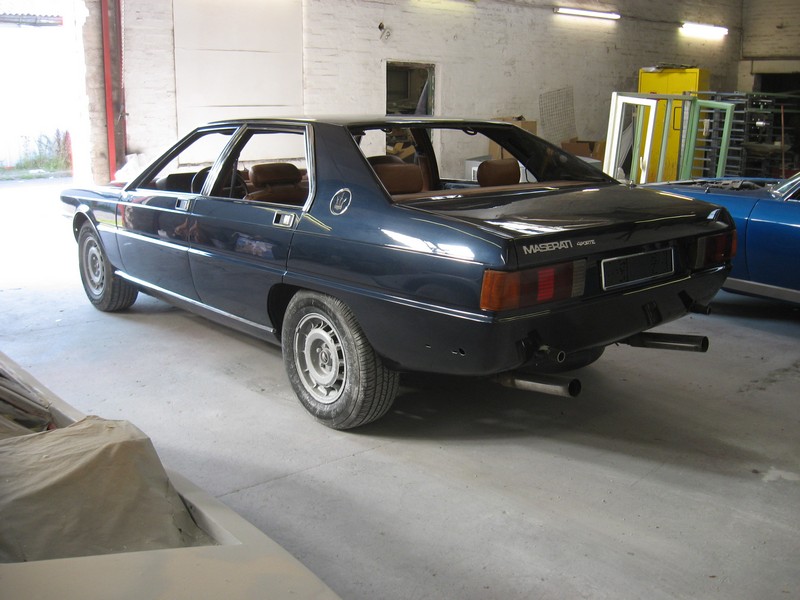
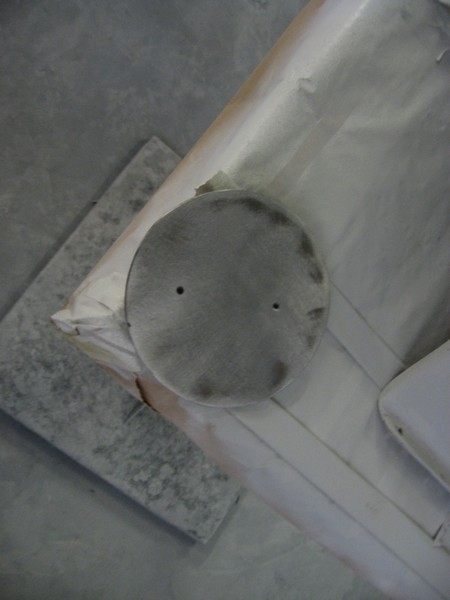
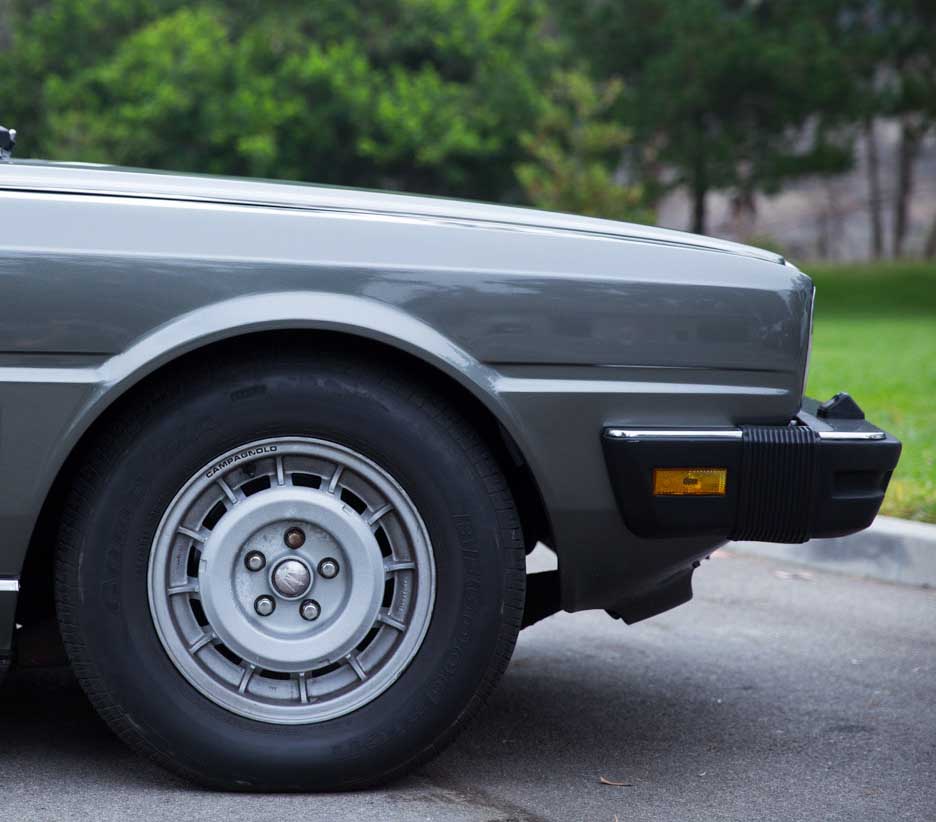
What we didn’t realize until it was too late, was that the side bumperettes are also offset together with the main bumper by the same amount, approximately 25mm/1″. So cutting the mounting posts down to size brings the bumper 25mm closer to the car, but the side mounting brackets are 25mm further forward on the US version than the EU version, meaning that there isn’t room for the “accordion” covers that provide a unified look of a wrap-around bumper. The bumper and side bumpers simply won’t fit, they crash.

Oops.

US bumper. Note the distance from the car, and the distance between the side piece and the wheel well.
EU spec bumper. Note closer fit of bumper, and proximity of side bumper to wheel well. Bumper presents a more integrated appearance compared to the US spec model.
Shortened bumper posts, but side mounting holes need to move back correspondingly...
Shortened bumper posts, but side mounting holes need to move back correspondingly…
So close, and yet so far...
So close, and yet so far…

There are 2 options from here:

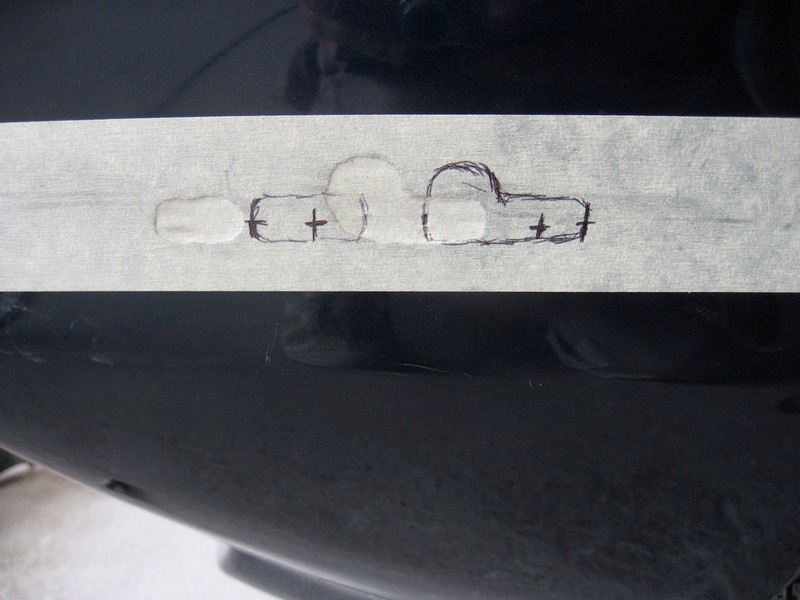
1. Fix the mounting posts so that they are as they were, i.e. the longer US version. Everything will fit. The car will have EU lights and front, but US bumper fit (further away from the body).

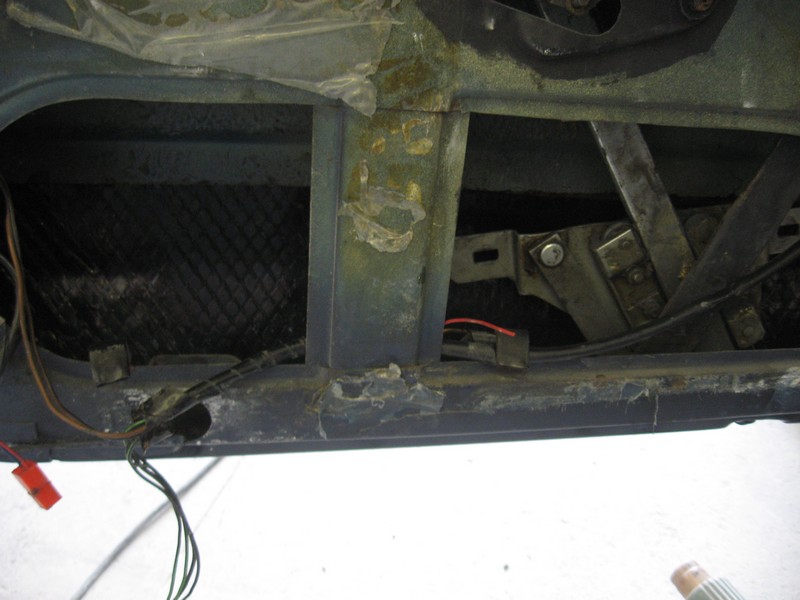
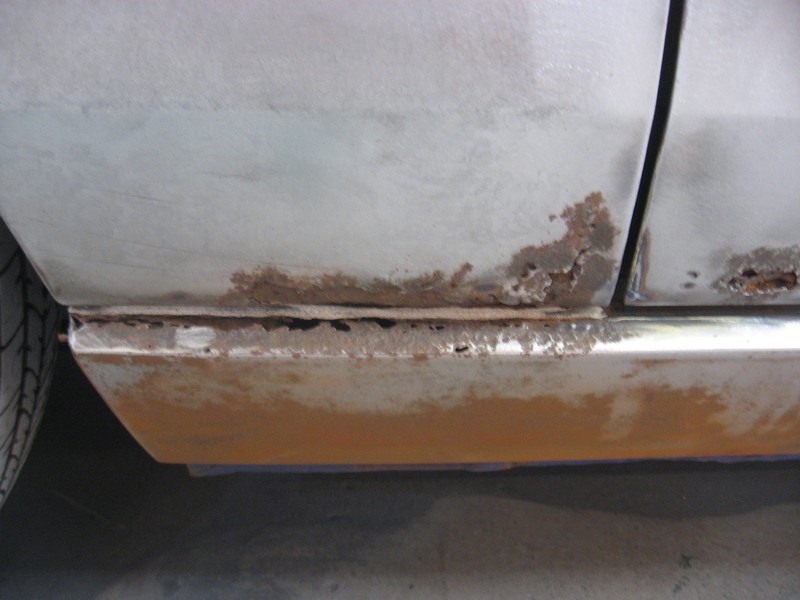
2. Strip the brand new paint and bodywork at each corner, cut out and move the new mounting brackets 25mm towards the rear of the car, fill the resulting holes, do body shaping, priming, guide coat, final shaping and repaint all over again. (and of course do the same thing for the rear mounting brackets as well, moving them forwards from the rear of the car by 25mm).

Should I do the right thing, or the easy thing, or are they the same thing? Thoughts?


Glass

Windscreen and rear window fitted, as well as most of the door glass, along with chrome trim surrounds.

Not sure which is shiniest, glass or paint
Only one window left to install
No visibility problems here!

While the doors were apart to install the glass, we went ahead and removed the old (and pretty far gone) insulation and installed new rubberized asphalt sound/vibration insulation. The old stuff had crumbled to a point beyond recognition, which has it’s advantages, as it’s hydrophilic and a common cause of serious rust in these cars. Due to the way the insulation is mounted, the doors or body could rust through from the inside without any warning to the owner until it’s too late!

The rubberized mats are completely waterproof and offer much better sound deadening properties than the original insulation used.

TL222QP

Body panel gaps

Doors now test fitted and adjusted for proper panel gaps all around.

TL220QP
Note the improved stance after installing custom made shock absorbers
TL218QP
TL219QP
TL221QP
She’s slowly beginning to come together, and is looking pretty good if I do say so myself. Looks a bit weird without the bumpers though.

Interior and trim

Parcel shelf covered with new leather, matched for color and grain:

Restored parcel shelf
Back in car. But - where to mount the speakers..?!?
Back in car. But – where to mount the speakers..?!?

Whomever did the previous respray, which must be at least 20 years old, didn’t pay as much attention to masking off parts. Each part must be hand cleaned and polished before being put back on the car.

Rear light clusters - before and after
Rear light clusters – before and after
Side sill trim, before old overspray is removed
Polishing the trim
Polishing the trim

The lower front grilles had been painted the same color as the rest of the car, which meant stripping, priming and repainting in the correct color (black) before being put back on the car.

Stripped lower grilles
Correct satin black finish

Quite a lot of time was spent polishing and refinishing the headlamp surrounds and steel trim. The front of the car looks brand new (actually it is brand new)

New lights and trim. Note how straight the panels are
Major bling going on here

All the old foam and glue under the roof was removed and replaced before the headliner was remounted

TL202QP TL204QP

And tags and door strikers re-installed in the painted door aperture. What’s not clear from the pictures is that all seals and gaskets have been replaced with new ones, as will the doors for the window channels and water seals.

Built in 1980
Built in 1980

Lastly, fuel-filler cap and opposite side blanking plate have been repainted, polished and refitted to the car

TL200QP

TL212QP


And since we’re paying extra attention to detail, look at the care and effort that went into making the fuel filler area look brand new:

TL211QP

This is what it looked like when it left the factory, 33 years ago

Deep Blue

Color on car. Bits and pieces being polished and added. Everything looking very good. I was looking for a deep color that would “pop” with the chrome and interior, I think I found it…

Pop!
Pop!
Nice contrast, crisp body lines
Chrome and lights finding their way back on to car
New Euro headlights (Bosch H4)
Warm yellow light. No blue Xenon here!

Blu sera metalizzato

The pictures speak for themselves. First the color itself:

TL132QP TL135QP TL140QP


After a few coats, a clear top coat is applied, rubbed down and polished:

Clear top coat applied
A Ghibli in the background
Wet sanding
Wet sanding
wet sanding
wet sanding
First polish
First polish
Looking good, and there are still 2 more polishing stages to go before she's done
Looking good, and there are still 2 more polishing stages to go before she’s done!

As is probably apparent from the pictures, the color is quite different from what she came in with, which was a purplish blue from a respray in the USA many years ago. This is the 1980 model year correct Maserati “Blu Sera metalizzato” that the car came with originally. It’s quite close to the 5000GT color, although the metallic flakes appear a bit larger, giving a livelier impression. On a car this size, that’s a good thing.

I’d love to hear what you think of the color – thumbs up? Thumbs down? What’s your opinion of the color? Does it suit the car? What color do you think works best on this car, and why? Comments are open!


The BIG decision

What color to paint the car?

I’ve been leaning towards the original “blu sera met.”, a metallic midnight blue. Personally I think the car suits slightly darker colors to lighter ones, although I must admit it looks really nice in silver. Dark grey, metallic burgundy, even the metallic bronze all compliment the car nicely.

The older 60’s blu sera is even deeper and richer, with finer metallic flakes than the 80’s vintage, as technology changed (improved?), flakes became larger. Here’s an example of a Maserati 5000GT painted in a mid-60’s blu sera:

Image
Maserati 5000GT, ©the internet

Here are a few paint chips. Ferrari blu sera top, my original blanking panel left middle (not sure if you can see the difference between the color where the trident was and the rest, but it’s there), and the model year-appropriate Maserati blu sera on the bottom:

Paint chips
Paint chips

There’s still time to consider other colors before paint hits body.

What color would you think shows off the car best? Comments are open!

Euro vs US front end/lights

Overall, the QP3 was pretty much the same car regardless of where it was delivered. Besides the obvious changes for specific markets (e.g. right hand drive in the UK, Australia, Japan, South Africa), there were also subtle differences between the US and EU market.

The US required ‘more bumper’ due to their safety regulations compared to the EU, resulting in bumpers that stick a bit out from the body front and rear. The US lights are 165mm x 100mm sealed beams as found in a wide range of US cars of the same era, while the Euro models used slightly larger Bosch and Marchal H2/H4 lights with replaceable bulbs.

US (left) & EU QP3 headlights

US front end:

US spec QP3 front end

Euro front:

800px-Maserati_Quattroporte_III_Royale_1987-1990

Thanks to Roger, whomever he is, for the pic, found on  Enrico's Maserati website
Thanks to Roger, whomever he is, for the pic, found on Enrico’s Maserati website

It may not be obvious from the pictures, but the Euro headlights are larger and with rounded edges. The bumper sits almost flush to the front of the car, whereas the US version sticks out a few inches in the front, and enough in the back to provide a convenient ledge to sit on.

Not a big deal, but one that subtly changes the overall “look” the car has and results in a different overall impression.

Which do you prefer, and why? Leave a comment and let me know!

The usual suspects (rust)

Rumor has it that the communist government in Italy during the 70’s – 80’s made a deal with the USSR for steel to supply their automobile production, resulting in cars that rust more readily than their competitors. Hopefully any historians in the audience will be able to verify or refute the accuracy of the rumor, but as anyone who’s ever owned an Italian car knows, they rust like no others. I don’t even think that a Jag could rust faster, and that’s saying something.

Meaning that 33 years on, mother nature has had her say in the matter, and the results aren’t pretty. The expert’s assessment is that this is no big deal and pretty common and far from the worse they’ve seen, and I’m comforted by the fact that they know their way around a pair of tin snips and welding machines. Blindfolded.

E.g. “The car is pretty well as I expected, PLEASE don’t feel in any way downhearted at the seeming extent of the metal repair work………….this is very much the norm.”

“First few pics show the stripping completed (including the ‘detail’ stripping of the body suages, glass reveals, rain gutters and all of the other difficult areas).”

TL37QP TL36QP


“As you can see I have begun the metalwork on the most complicated areas…….the lower front wing/sill structure and having cut away the corrosion on the left side we found the lower A panel support had rusted out also, so removed a larger section of the front wing to enable access to cut the rust out and repair properly. I have also drilled a hole in the support panel so that we can fully protect it with a cavity wax at the end of the job. Finally new sections made for the outer panelwork (sill and lower front wing) and welded in.
Next stage is to do the same on the right side.”


TL43QP TL44QP TL45QP TL46QP TL47QP


Excellent work. I’m looking forward to seeing how this continues.

Problems

Most of the body stripping went without incident and didn’t take long at all. Until the shop got to the front passenger door…

“We have come across an issue with the front right door……..it’s had some significant damage in the past and I wondered if it might be worth you asking Mr NNN what his plans are with the spare doors he has stored with me – the front right is straight and sound, though does require a small amount of welding to the outer skin (in rust terms it is much the same as yours); I’m not terribly happy with re-repairing your existing door as it has a considerable depth of filler (bondo) in it at the moment – see pics – and although we do use shaping filler I really don’t like using it in that sort of quantity. Let me know your thoughts.”

TL39QP

TL38QP


Thankfully, Mr. NNN was very generous and offered to sell me his door at a mutually agreeable price.

Thus the work continues.