First drive

I’m not going to quote the Joe Walsh song, we all know it and it’s horribly cliché. But it’s the only song I know about a Maserati (if you happen to know of another one, leave a comment!).

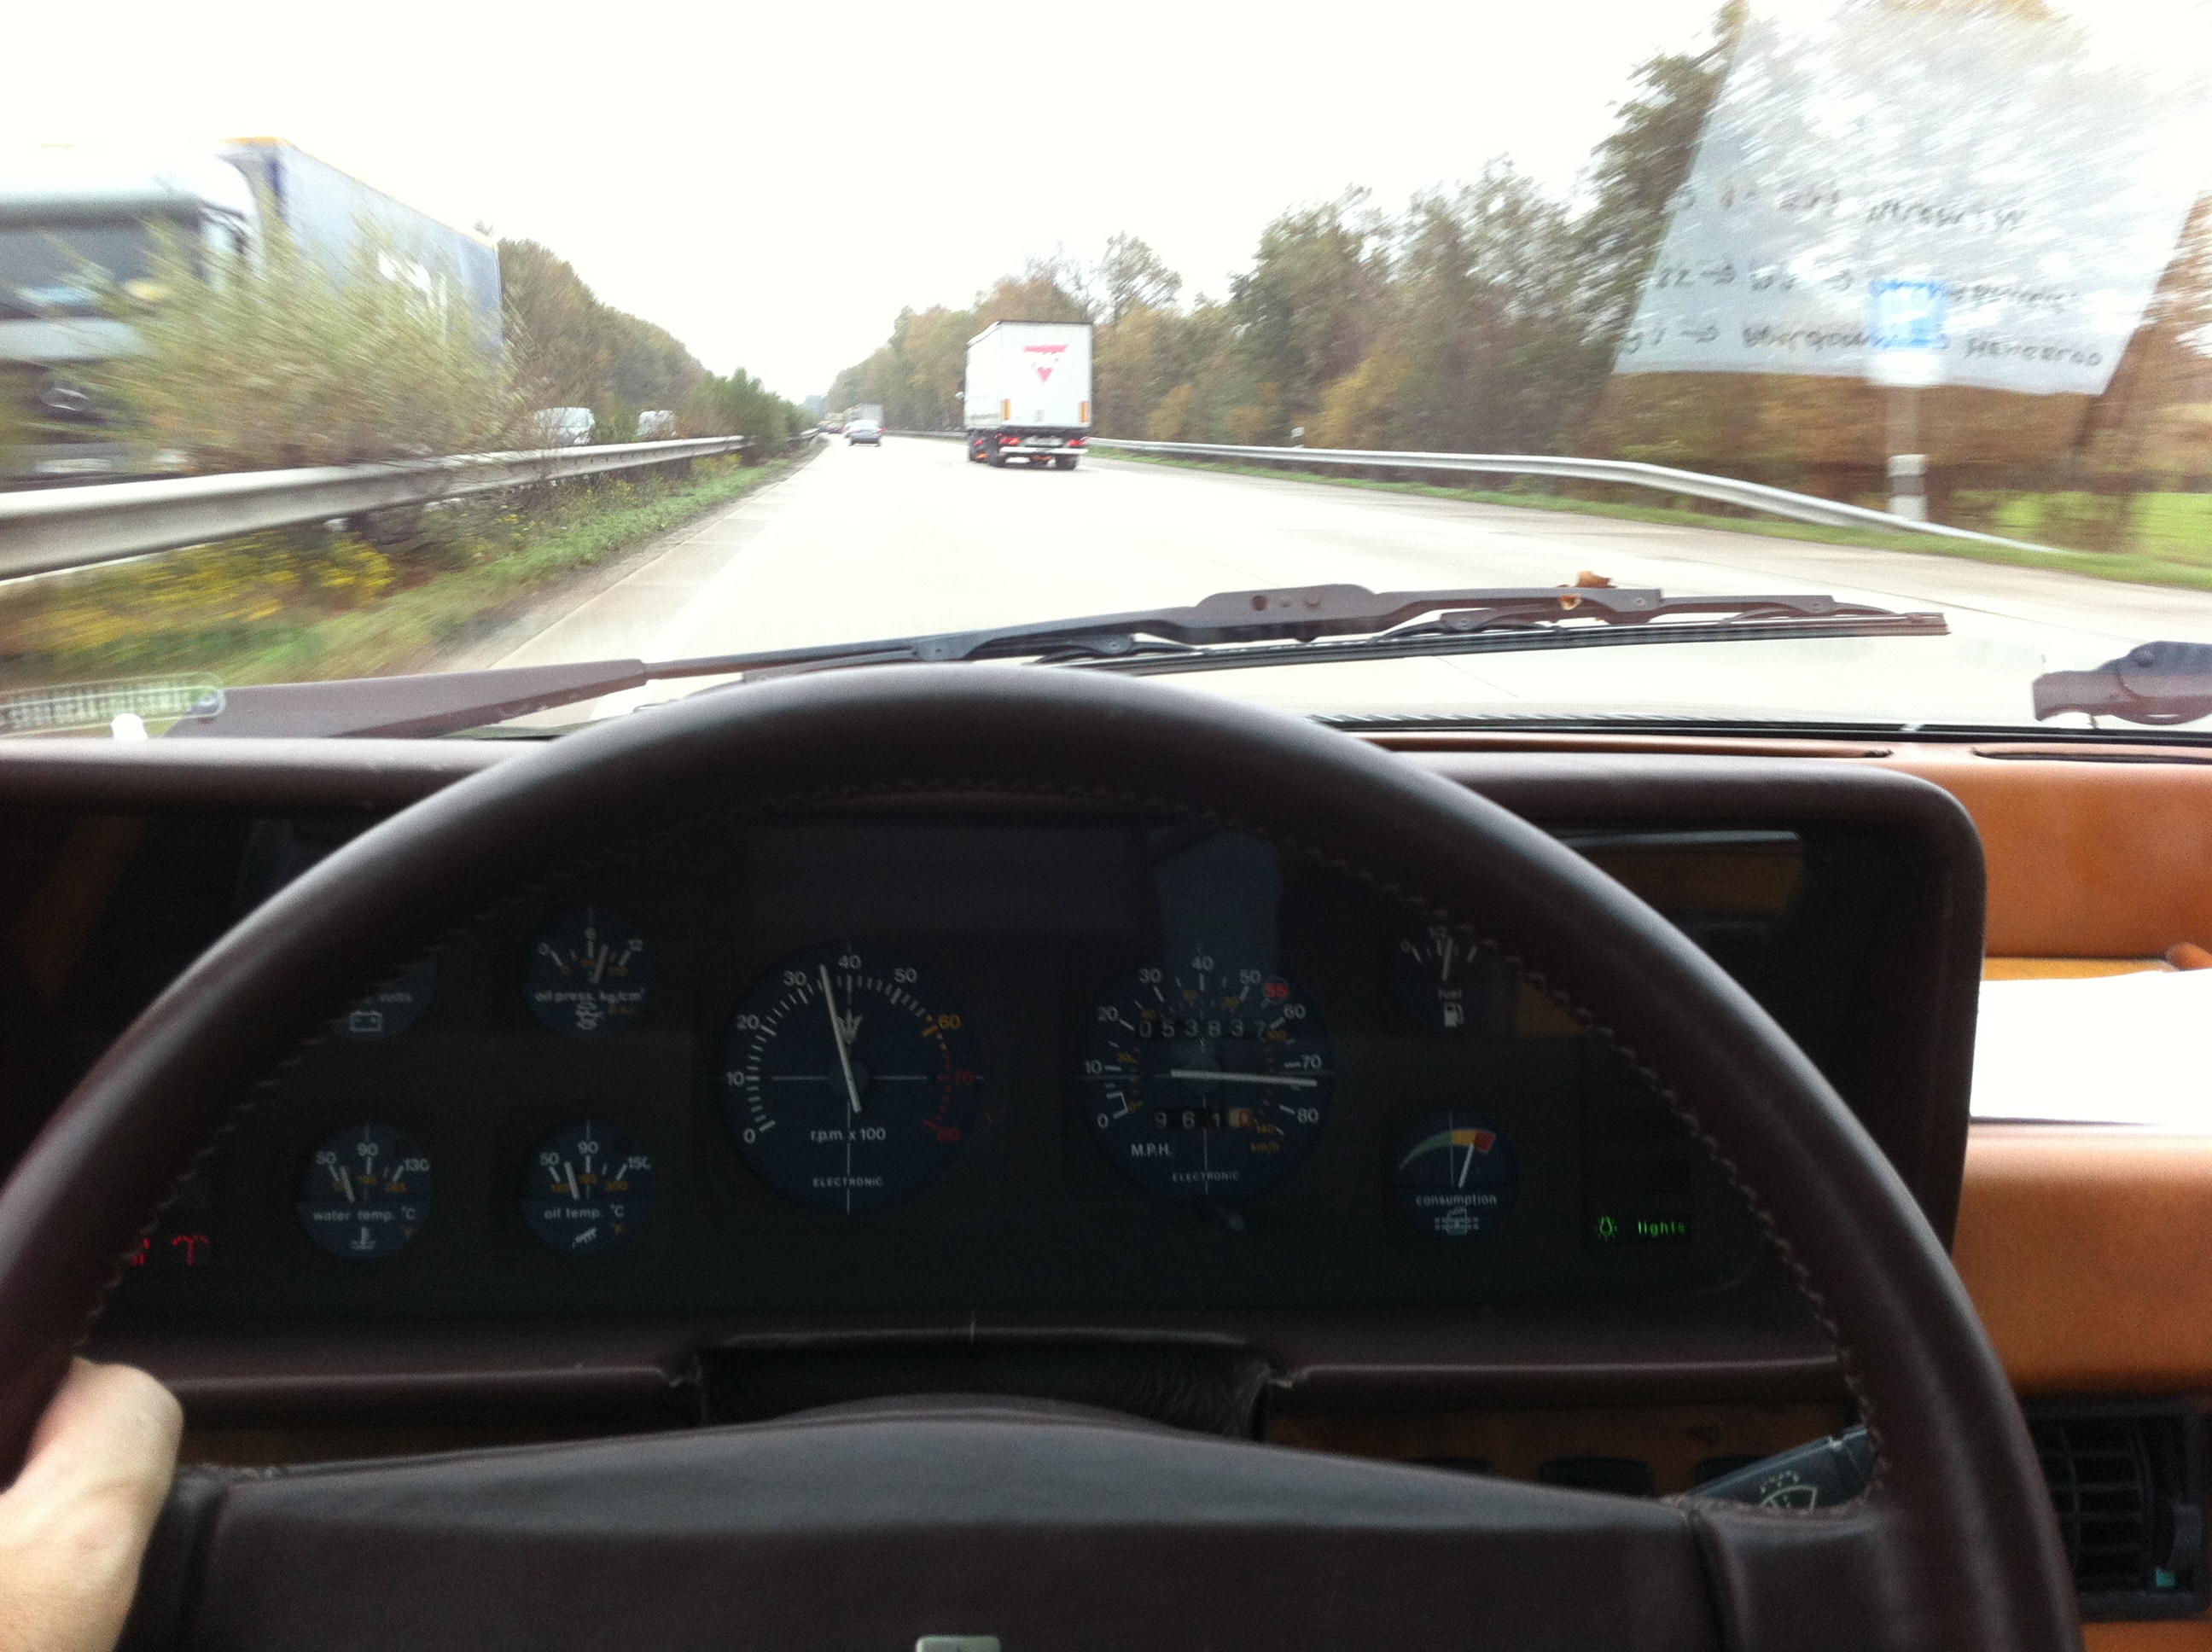
No, I didn’t make it up to 185, have to keep things real, as well as within local speed limits.

"...does 185", but *we're* not doing 185. Not today.
“…does 185”, but *we’re* not doing 185. Not today.

Sylvia performed marvelously, aside from a temperamental starter – I thought that was fixed?!? I noticed at the start of my drive that there were a lot of rattles, creaks and noises in general. After a while everything seemed to settle down, and even later things were perfect, the only noise coming from the shifter badge that rattles once in a while. I notice that the asphalt quality has a lot to say as far as noise levels in the cabin go, and taking a few really nice long drives helped shake things down and allowed everything to settle in.

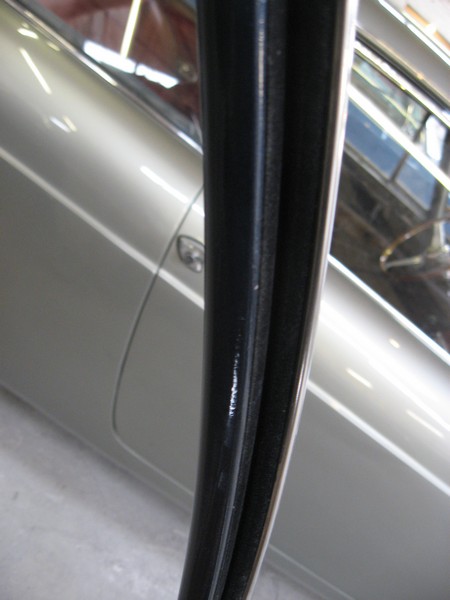
The first drive was in a downpour, and I was happy to note that not a single drop of water entered the cabin anywhere. Dry as a bone. The new seals perform perfectly, and also help to keep noise out.

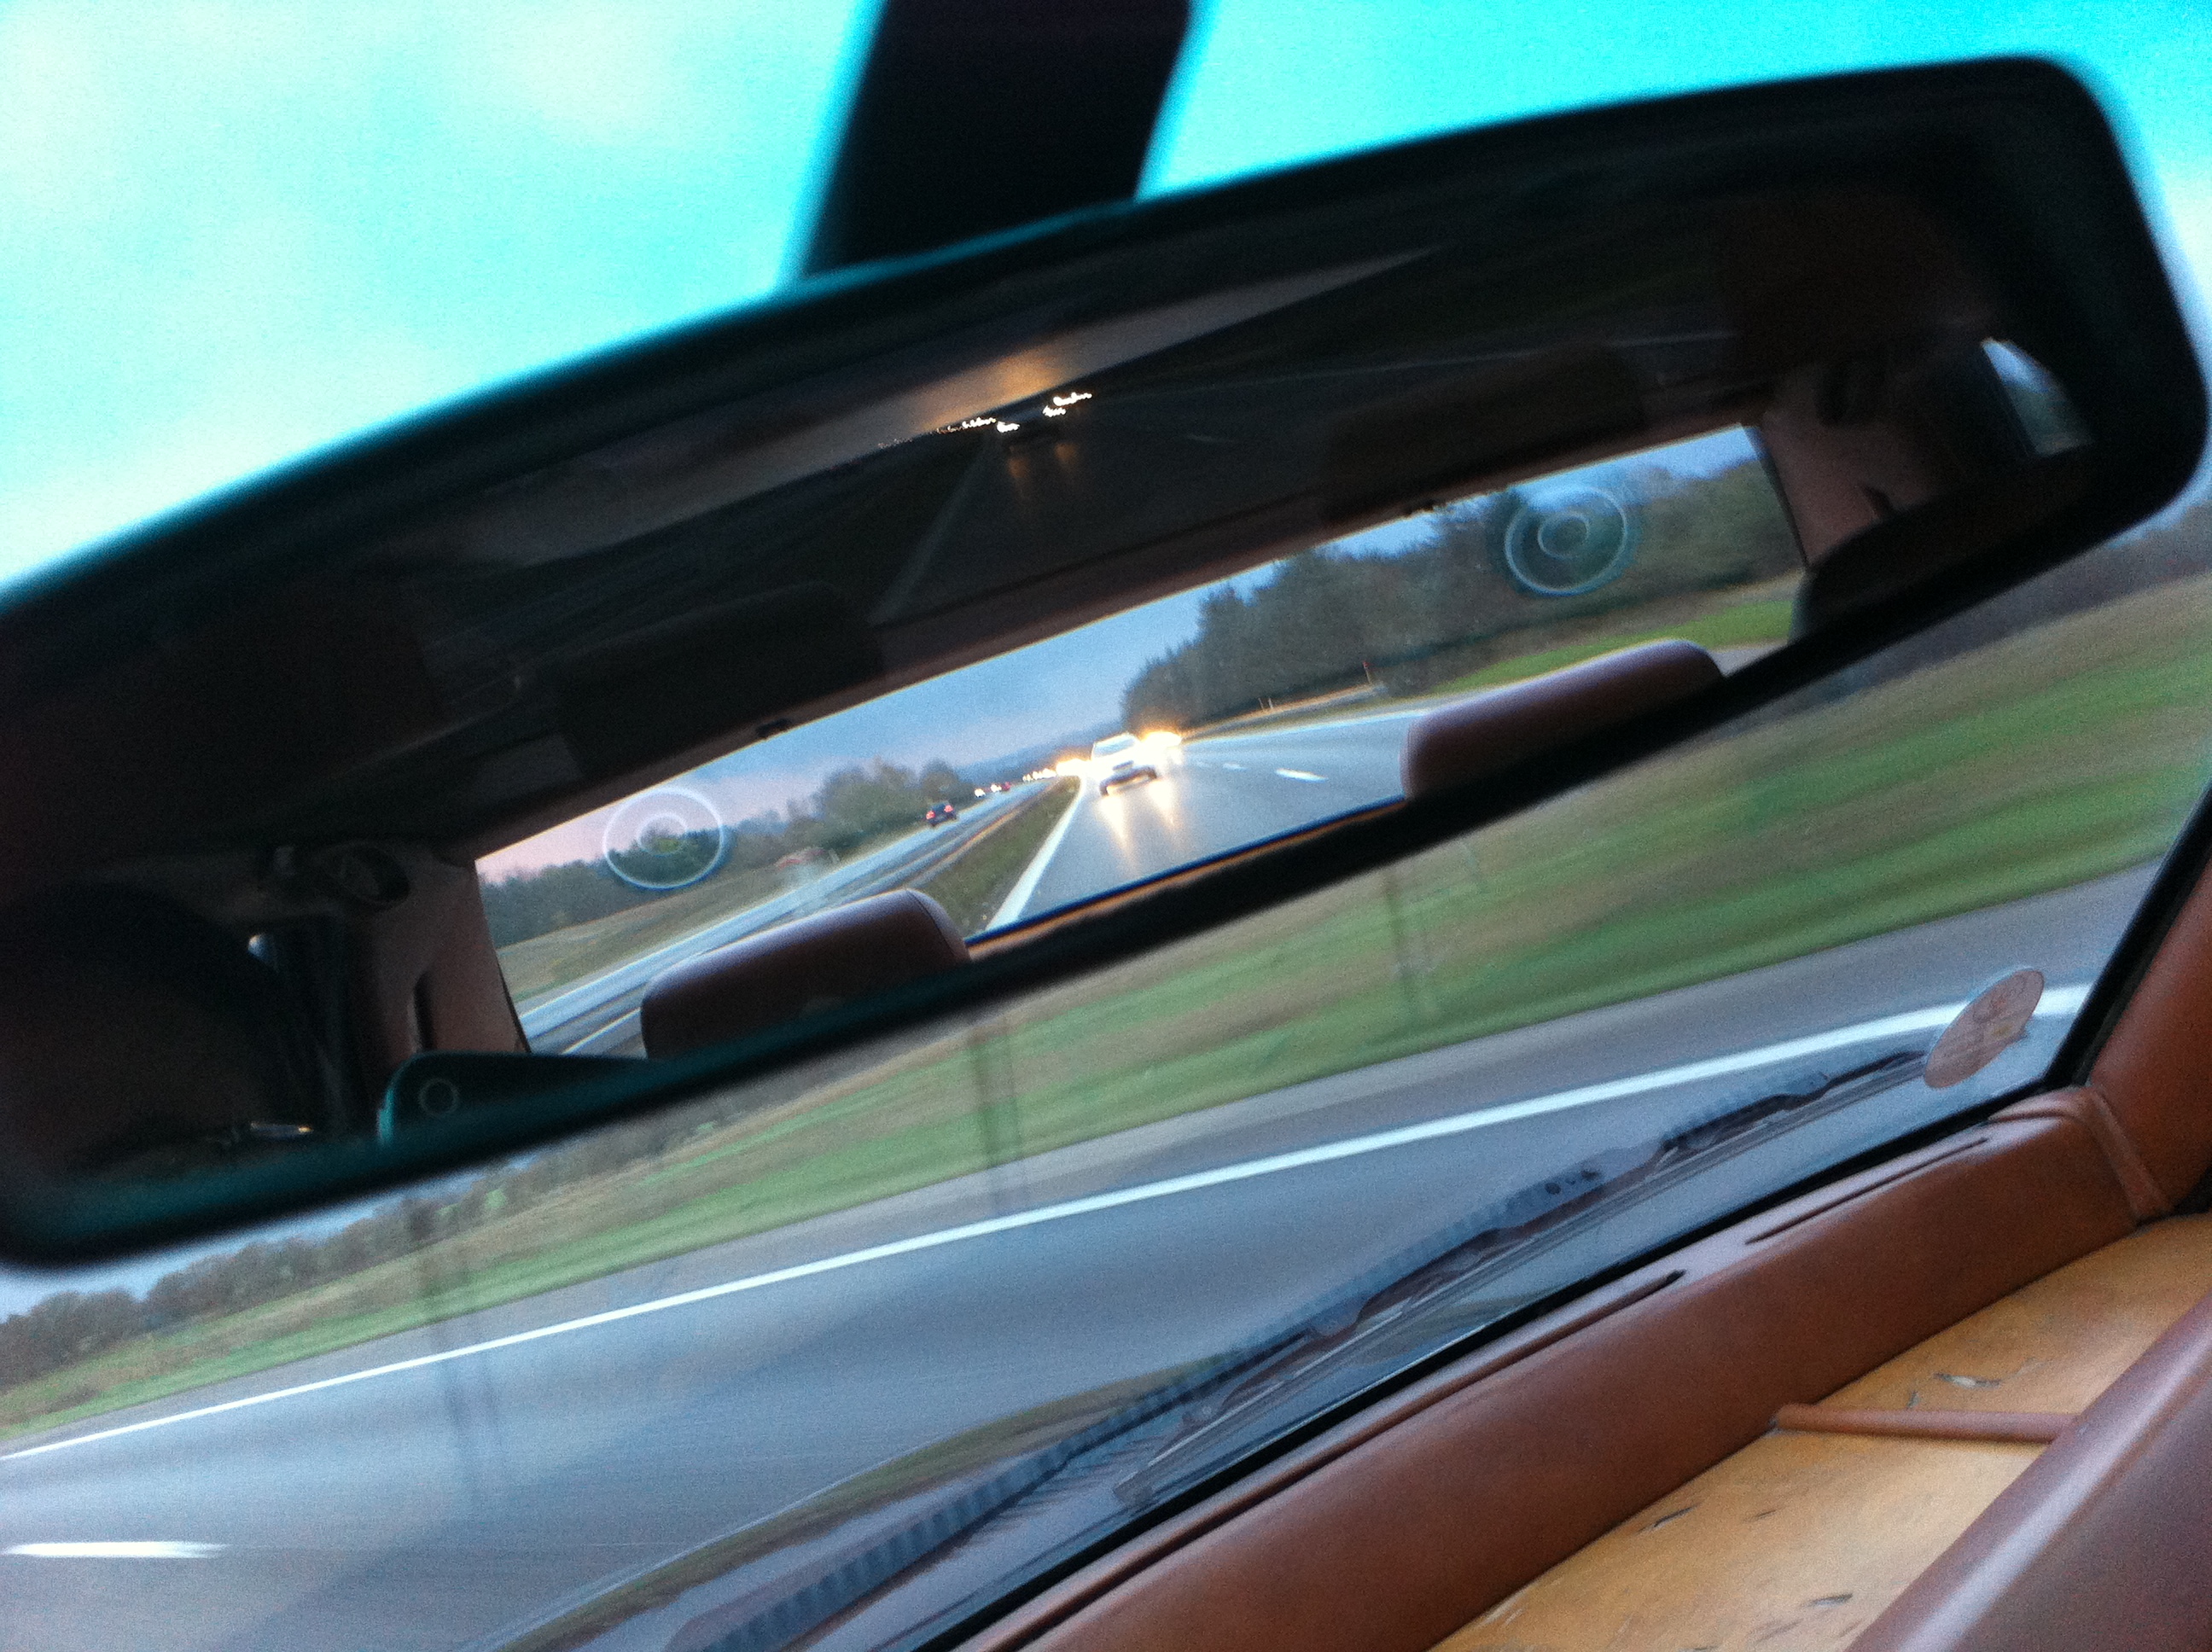
A long drive on the freeway was uneventful, the car performing admirably, cruising along smoothly and rapidly for hours on end. Because of the comfort of the interior, you don’t really notice the acceleration or the true speed you’re traveling. 80mph feels more like 50. Hit the gas and you can see the speedometer gain rapidly, but the acceleration feels effortless. It’s very refined.

IMG_7516

There’s still a bit of vibration between 2200 – 2800 rpm in 3rd gear. One guy I spoke with said he suspects it’s the prop shaft and commented it immediately when we went for a drive. He thinks it probably happens in 1st and 2nd as well, but isn’t as noticeable at lower speeds. It’s not a huge deal, and the prop shaft went back into the car in the exact same orientation as when we took it out to overhaul the transmission (we marked it), but it is something I’d like to have checked and make sure it’s correctly balanced.

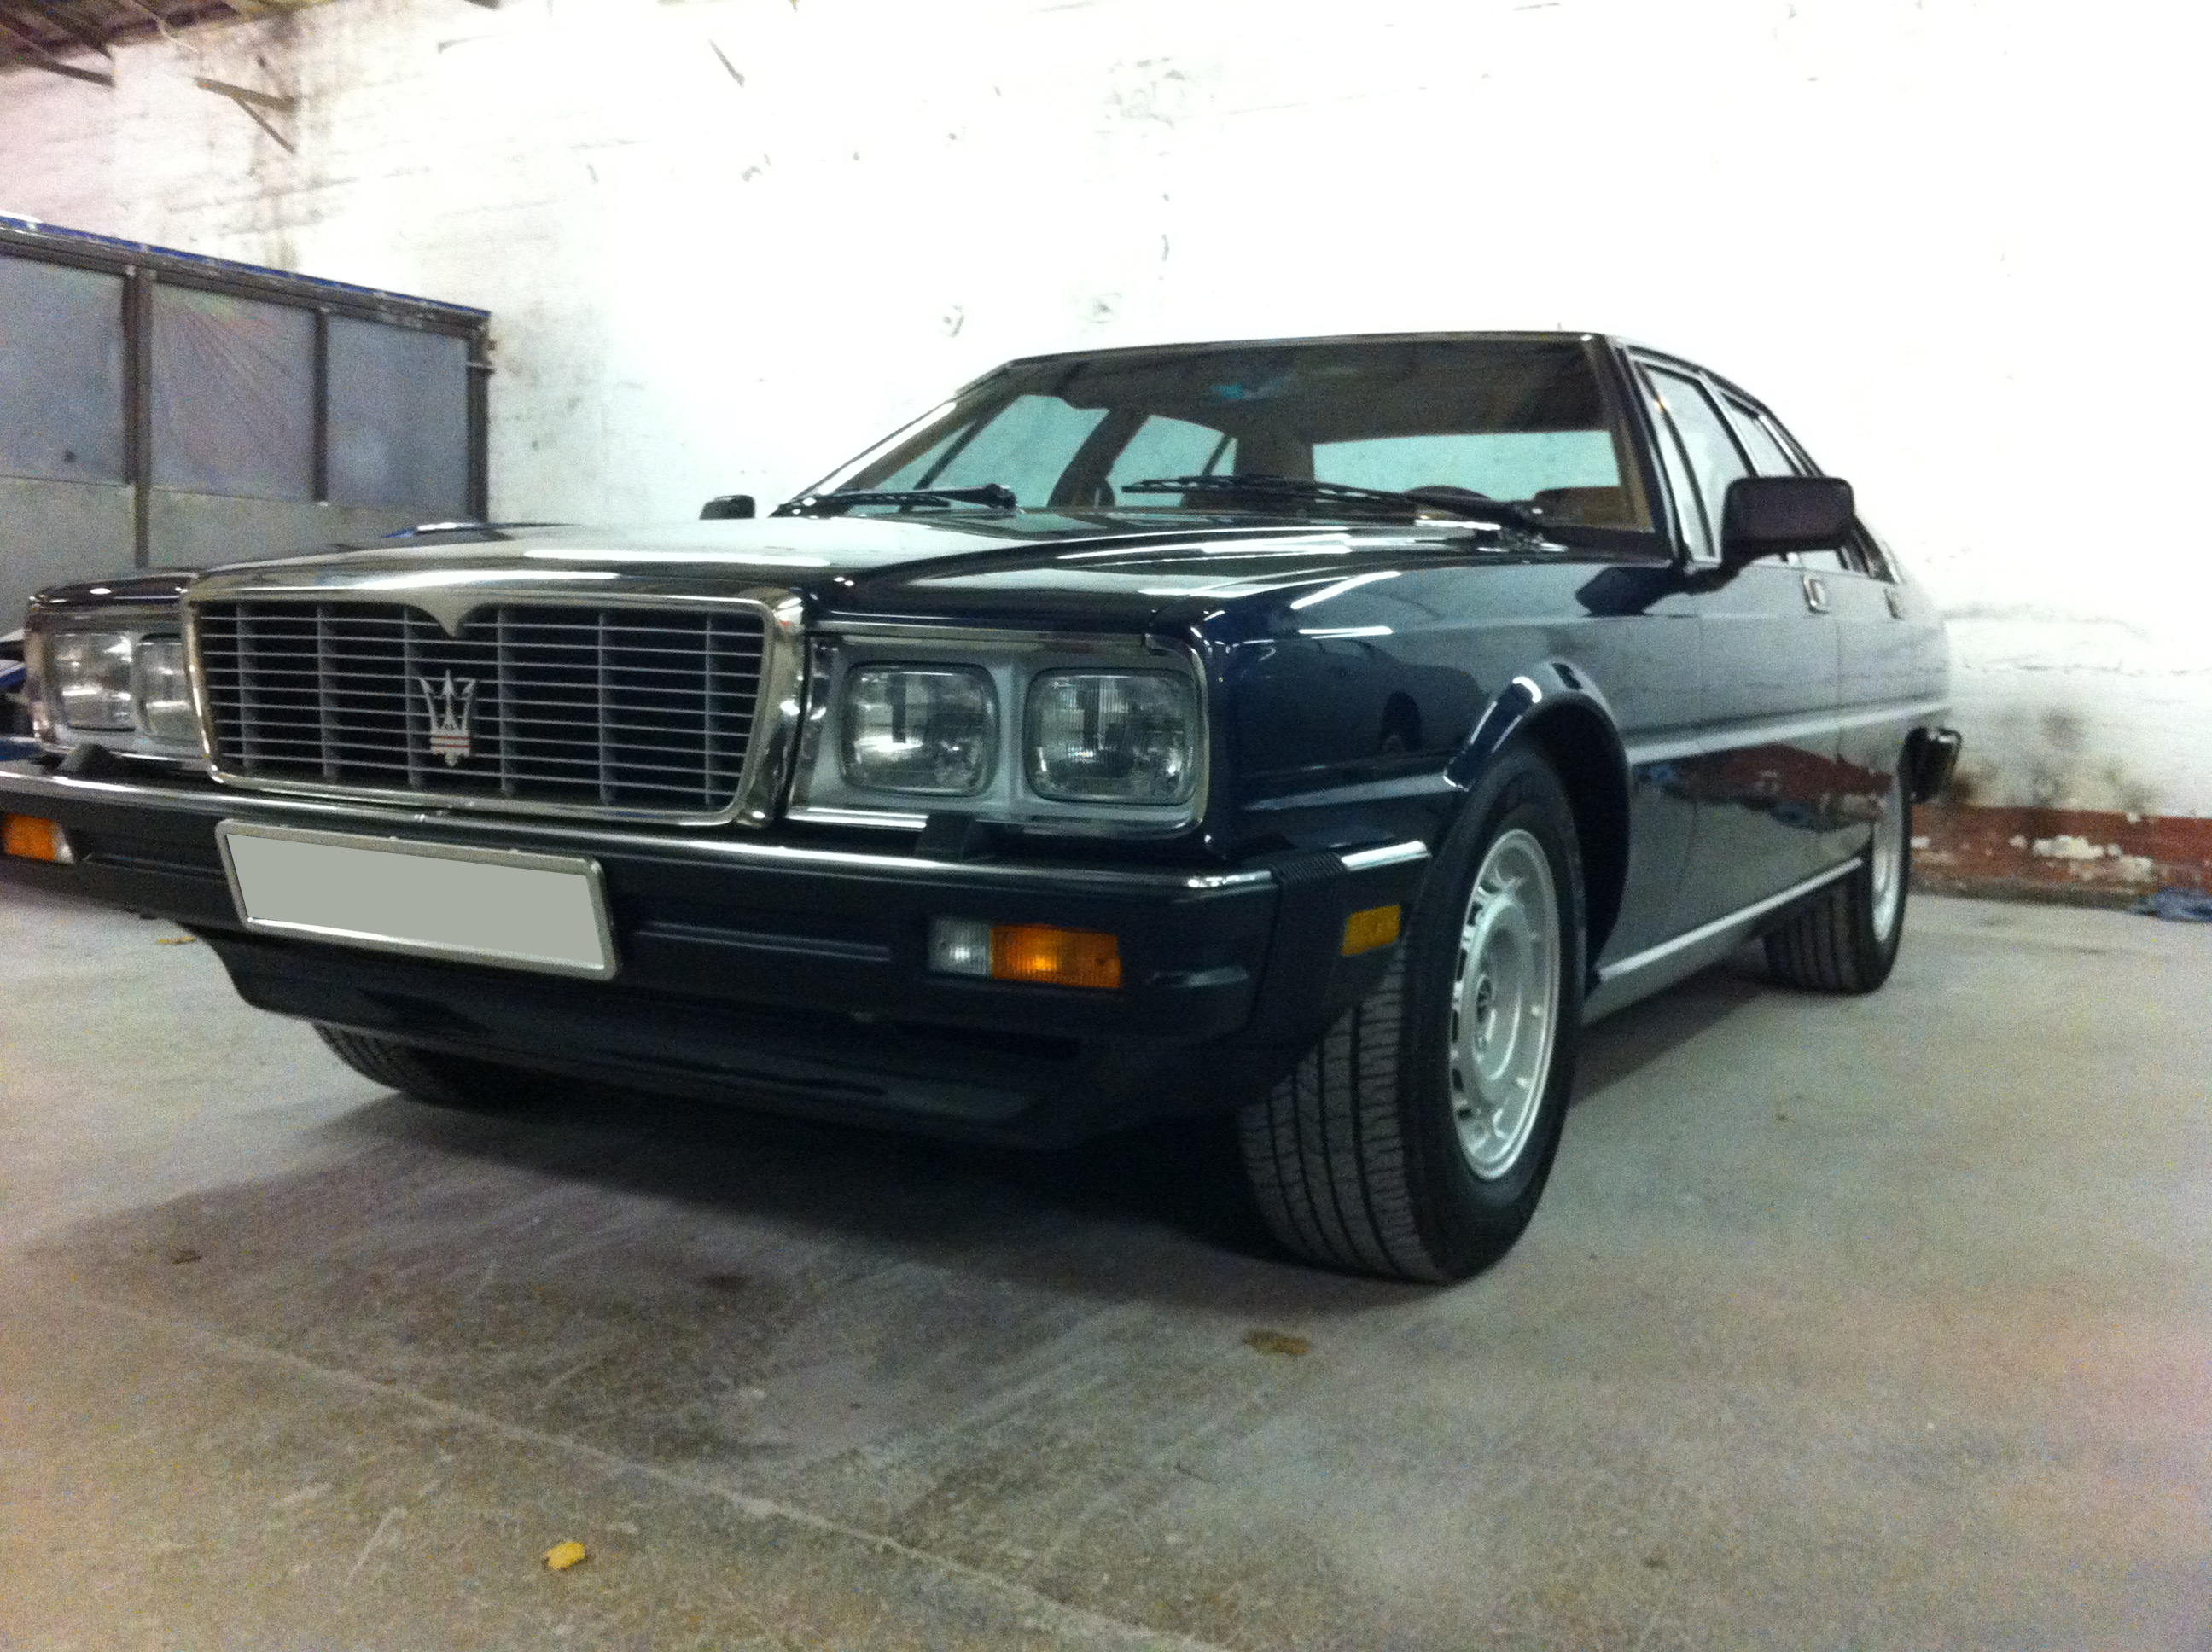
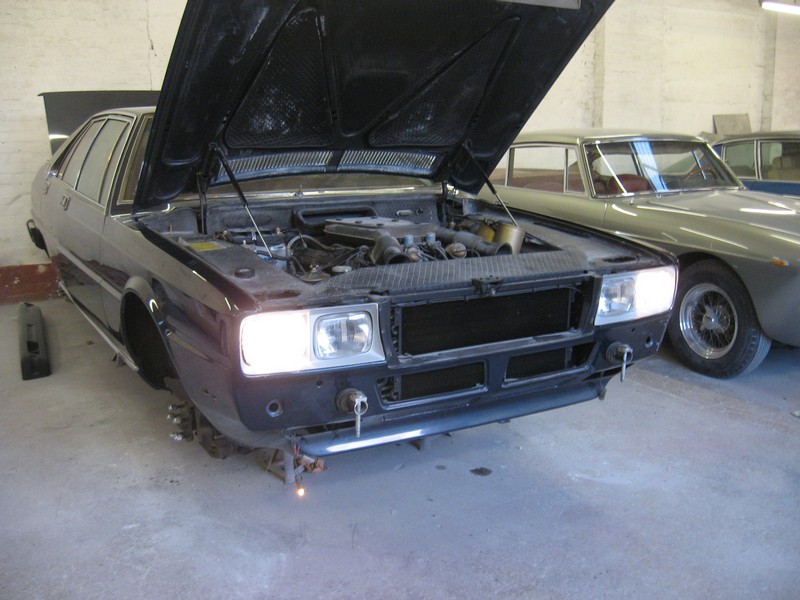
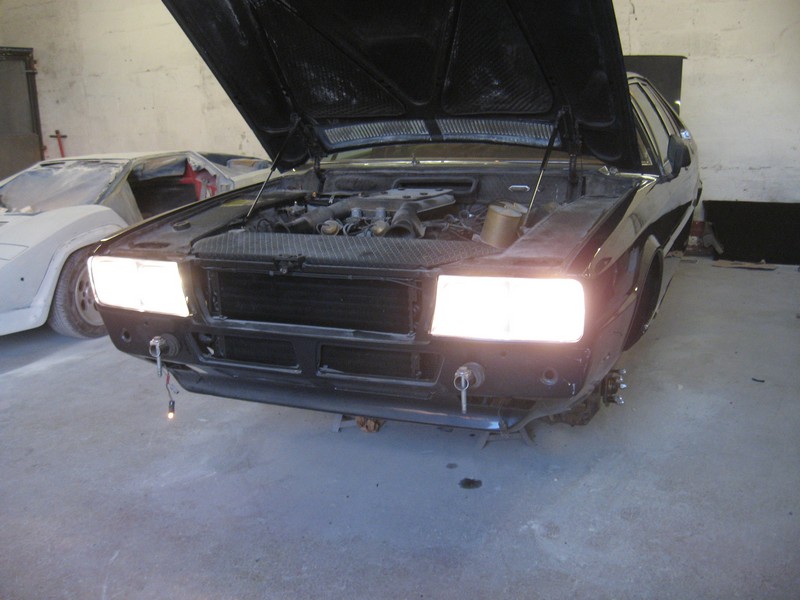
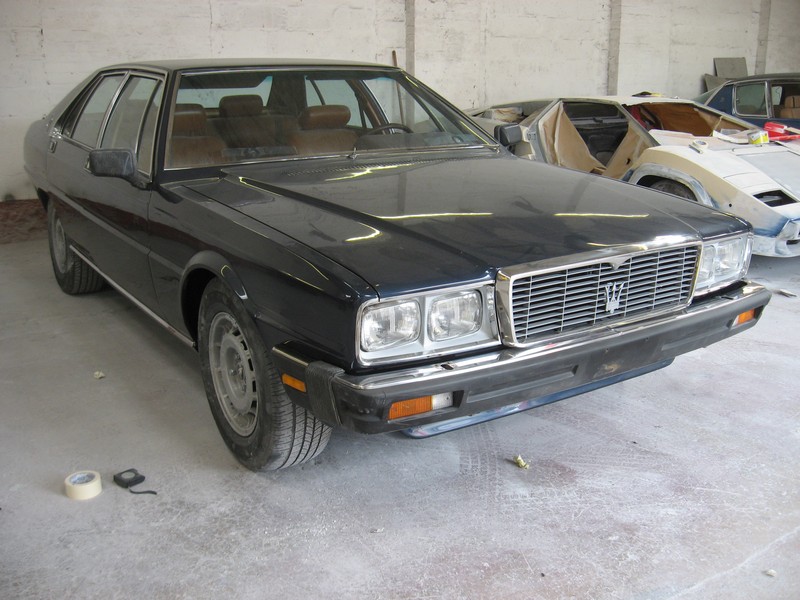
The new front headlights are brilliant! Literally. They light up the road so much better and are extremely precise in their throw, you can see exactly what area they cover perfectly, and it’s exactly the area needed to drive at night. The high beams only increase the reach and are nicely constrained to the road and shoulder. Kudos again to Daniel Stern, this is one of the best improvements I’ve made to the car.

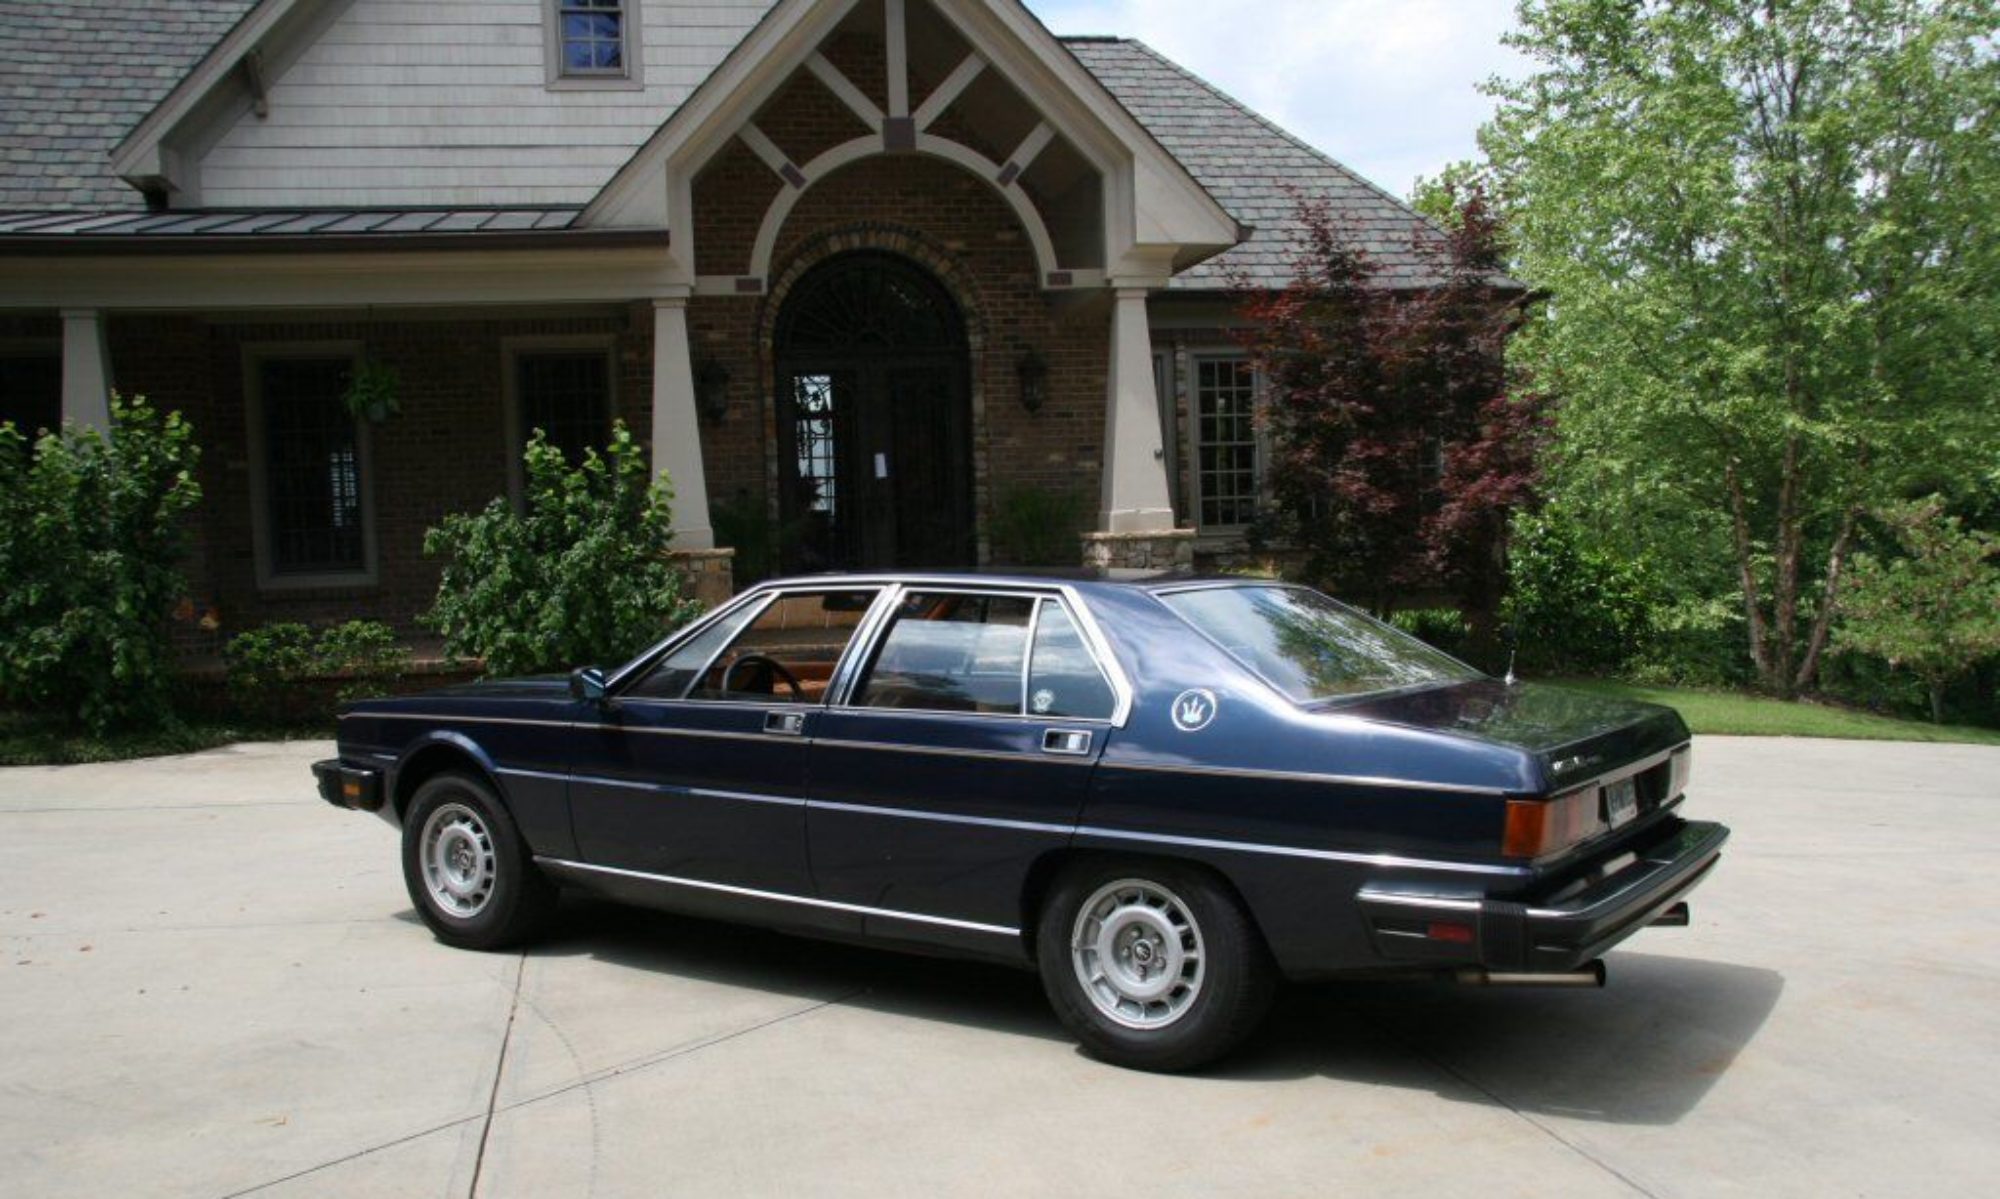
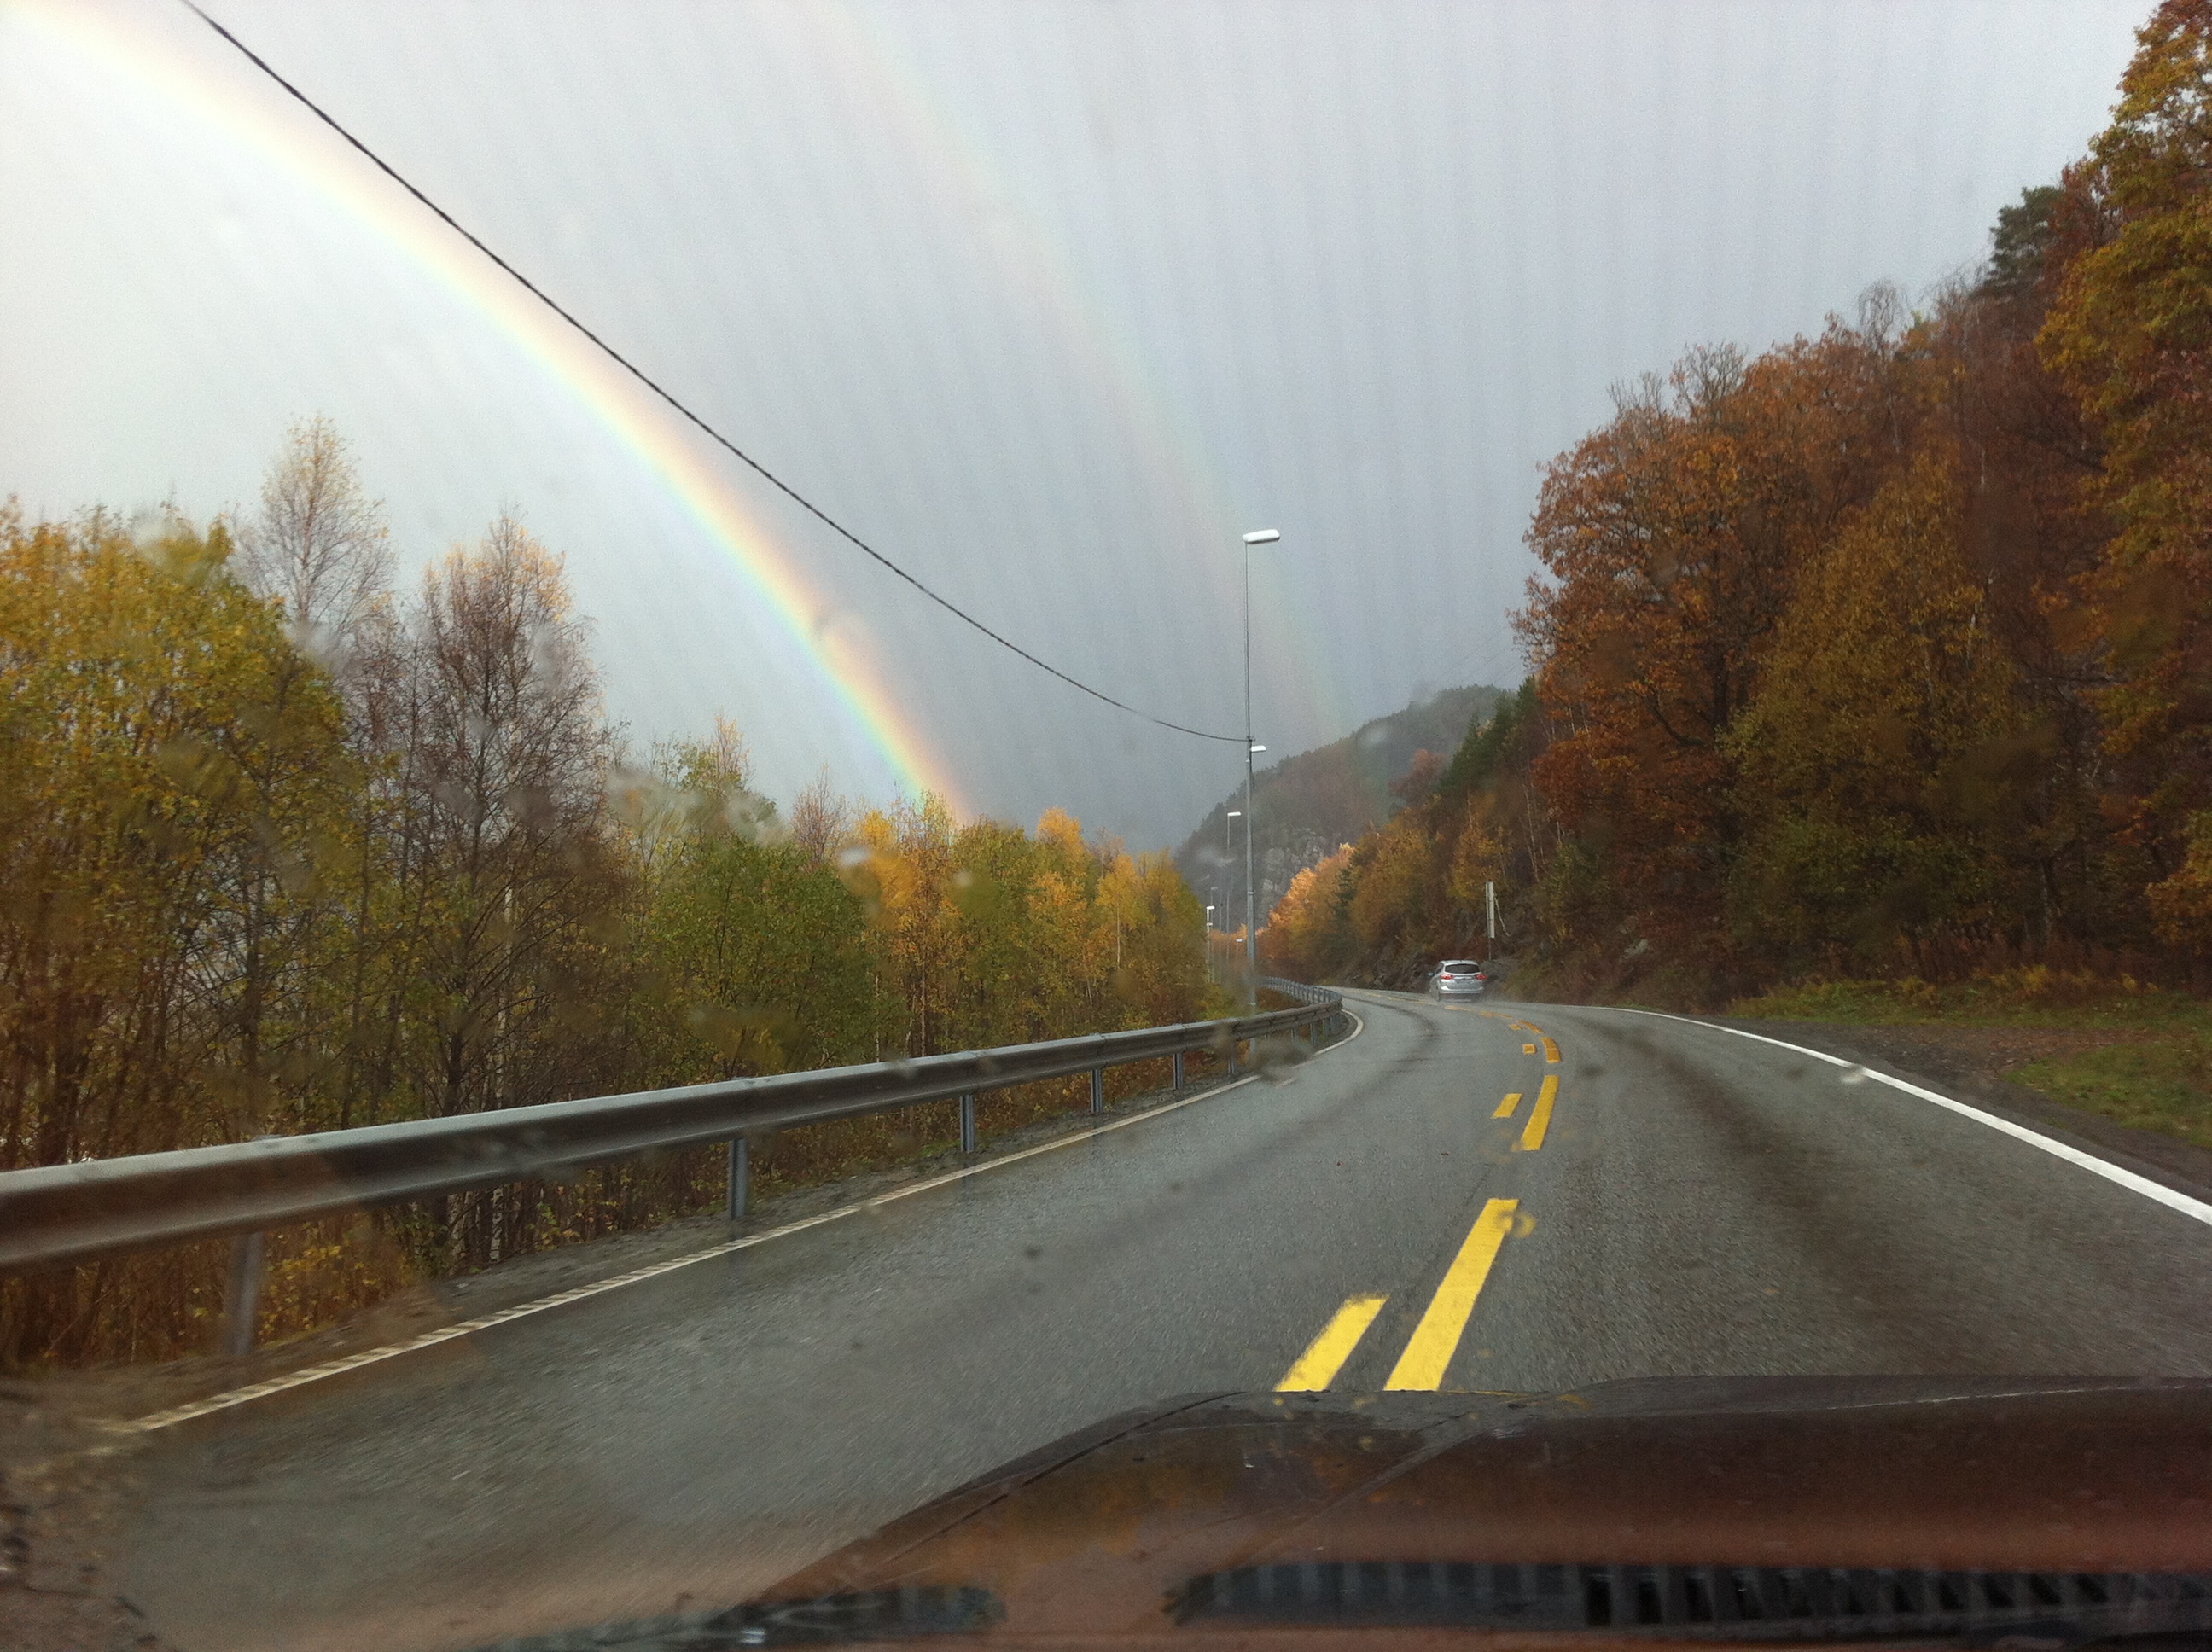
Hit a double rainbow on the last drive, don’t know if you can see it. It’s lovely how the water beads on the car and simply rolls off.

Double rainbow over  autumn colors
Double rainbow over autumn colors

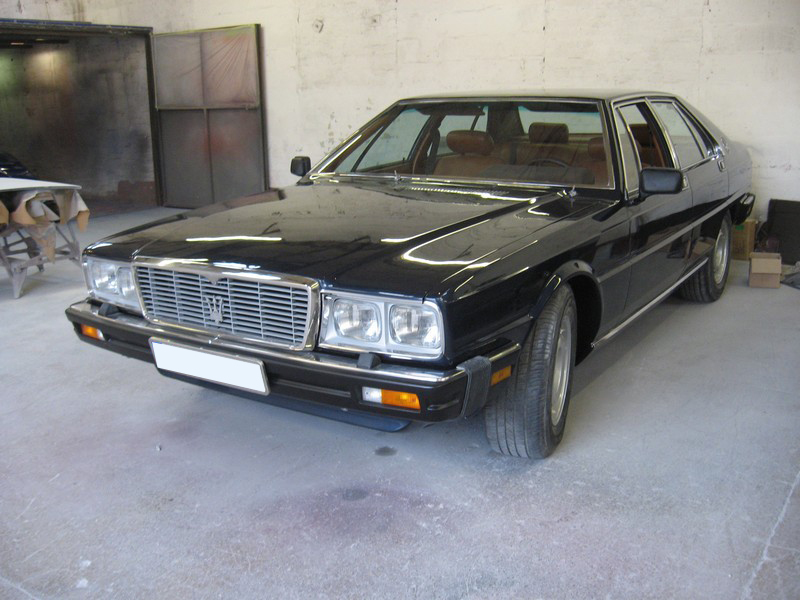
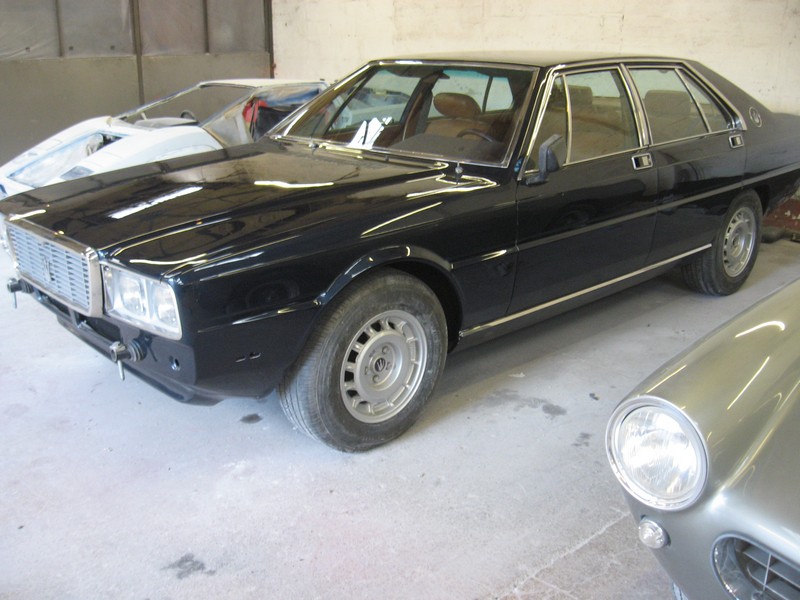
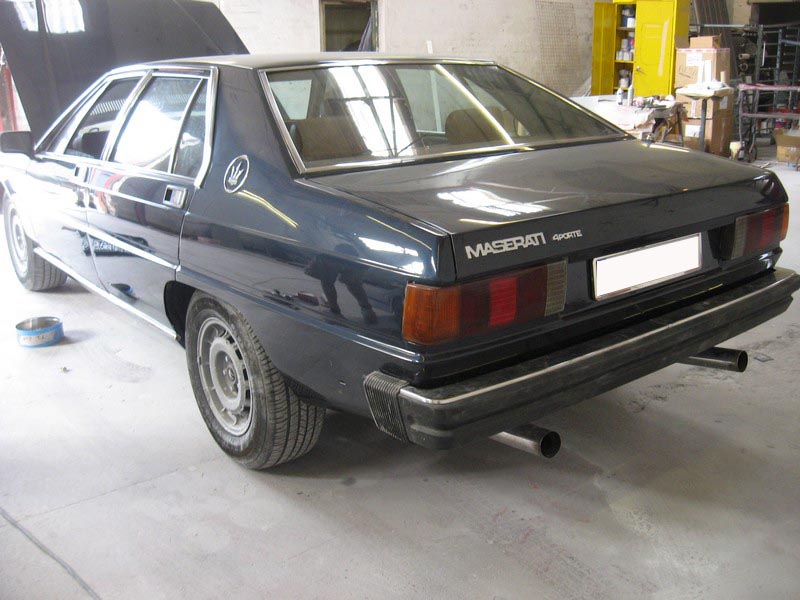
I’m very pleased with the color, it suits the car so much better than the purplish blue it was painted in before, and the depth and richness of the Blu Sera is truly striking.

All in all I’m extremely satisfied, and really happy to have the car back on the road.

Please don’t be tempted to think that this is the end of this blog – this is after all a 33 year old car! Next up is to put her on the dyno and see how many horses have escaped over the years, and if we can get them all back in the corral…

Comments are open!

The final result

is stunning…..

Factory fresh
Factory fresh
In good company
In good company
ready for business
ready for business

Lots of time spent getting all the last loose ends taken care of.  Headlamp washer jets fitted, mirrors painted and mounted, correct lenses fitted to front blinkers, and much more.

I’m ready for a drive!

Bumpers back

in place, EU spec. Note how the front and rear end look so much tidier and more integrated with the body. It changes the overall stance and look of the car, even though the difference is more subtle than say on the Bora, Merak, or Khamsin.

Forgot to put the EU spec front park/turn light lenses on, the US spec all-amber ones are still in place in the picture.

Great stance
Great stance
looking a lot more businesslike now

We’re rapidly approaching completion!

Come together

right now. Great tune, regardless of who really sang the backing vocals.

Sylvia’s slowly coming back together, it’s really good to see.

The front windscreen wiring is run and connected (and working!), both bumper beams and the four bumper corners painted/refreshed, under arch areas all cleaned off and re-stone chip protected with wax injection done, tires back on wheels and wheels back on car!

I had an auto electrician re-run the main battery leads as well, the way the connections were before left a lot to be desired.

Looking more and more like a car
Ride height corrected, new windshield in place and wired up, approaching completion

Fiat lux!

and there was neither Fiat, nor Lexus. I count one Maserati, one Jensen, a Lamborghini and a Ferrari.

But thanks to the extremely knowledgable people at Daniel Stern Lighting (Daniel Stern), Sylvia now has a new wiring system and high output bulbs in place of the old, barely-visible-in-the-dark headlights. So light – there was indeed light, and plenty of it.

The difference is striking.

Clear and bright
Clear and bright
double trouble
double trouble

Daniel knows his stuff, and also had recommendations for replacement bulbs to provide better output and longer life for other areas of the car: blinkers, brakes, tail lights and more. Highly recommended!


Wheel repair

The QP3 comes from the factory with magnesium-alloy rims. Lightweight, strong and an understated yet sporty design that matches the car nicely.

Some people have tried to weld in new metal, or powder coat magnesium alloy wheels. Please don’t. While not an expert myself, those I’ve spoken with have informed me that incorrect treatment of mag-alloy (especially applying heat – while welding, powder coating, etc) will ruin them, making them brittle and prone to shattering.

There are a few online guides that explain how to do it, step by step. For example a fellow WordPress blogger: http://stevekouracos.wordpress.com/restoration/tips-and-tricks/aluminum-magnesium-wheel-restoration/

Here’s what proper restoration can do:

TL262QP
cleaned, stripped and filler applied
Primed and ready to go
painted and clear coated

Seals, gaskets and felts

All apertures on the car have received new gaskets and seals, windows, doors, trunk, etc.

I’m not sure if you can see in the photos, but the doors are now nearly air tight. Driving through a deluge results in not a single drop anywhere in the car, and the road noise is substantially less due to both the better seals and the renewed insulating material in the doors.

TL255QP

new felt and guides
new felt and guides
new guide lips for each window

More bumper work

Front side bumperette mounts primed and ready for paint.

Hope it's invisible when done
Hope it’s invisible when done

Lots of freshening up done on the bumpers themselves, and a largish chunk that had broken off is reattached and “welded” in, with all seams filled up. When done, there will be no trace at all.

TL265QP
Big honking’ chunk had broken off – no idea how, I received the car like that
TL266QP
Glued in and with rubber “welding compound” applied


TL274QP
Sanded down, ready for a new coat and polish until like new


Magic rubber rejuvenator applied - like brand new!
Magic rubber rejuvenator applied – like brand new!

Back on track

Been a while since I’ve posted anything, but a lot has happened. Will do my best to fill in patient readers and followers of this humble blog.

I decided we needed to do the bumpers right, which meant re-doing some work.

“front bumper mounts re-drilled/cut, new metal sections welded in to ‘fill’ the gaps and filled/shaped smooth ready for priming.”

Stripped and extended
Same on other end
Same on other end

“A little good news on the rear bumper corners – the holes in the body were the same measurements on Mr X’s car as yours which completely confused me for some time until I compared the rear bumper corners from your car with his, all of the rear bumper corners have provision for THREE mounting holes, even though only two are used and have threads fitted, this allows the bumper corners to be interchangeable and no need for different spaced holes from Euro to USA spec. Whilst the holes are there though, there is no thread for the bolt so we have spoken to the engineering company a few workshops down from us and they are going to fit thread inserts in both rear bumper corners to align with the existing holes in the rear of the body.”

Mounting system for rear side bumper bits.
Primed and ready
Primed and ready
Waiting for paint
Waiting for paint

The shop and I both agree that the EU version looks much better than the US. While the differences are much more subtle than say on a Ghibli, Bora or Merak, the bumper placement and H4 lights does change the entire balance and feel of the car as a whole. All in all I’m glad we took the extra time and effort to complete the transformation.

(p.s. for those of you wondering if “Mr. X” is the same as “Racer X”, we can’t be 100% sure, but the fact that he drives a QP3 and not something more exotic and sporty would indicate that he probably isn’t the mysterious driver known only as Racer X)

“if at first you don’t succeed…”

we tried again. Looking better this time, but only measured and trial fitted so far.

side bumperette moved back closer to wheel arch
tucked in correctly, looks much better this way

The rear bumper finally looks like a bumper, integrated with the body, whereas before it was more like a shelf sticking far out from the rear. At least it was handy to sit on at picnics 😉

TL240QP_copy

Now to strip all the paint away, cut the mounts out and move them to the new positions, weld everything back up, prime, shape and prep the areas for paint.