
After a day at the dyno shop, their recommendations were to fix the leaking exhaust and clean and rebuild the carbs. No. 2 carb was leaking, and they adjusted the others as best they could. The car felt peppier and had more power, but there’s always room for improvement.
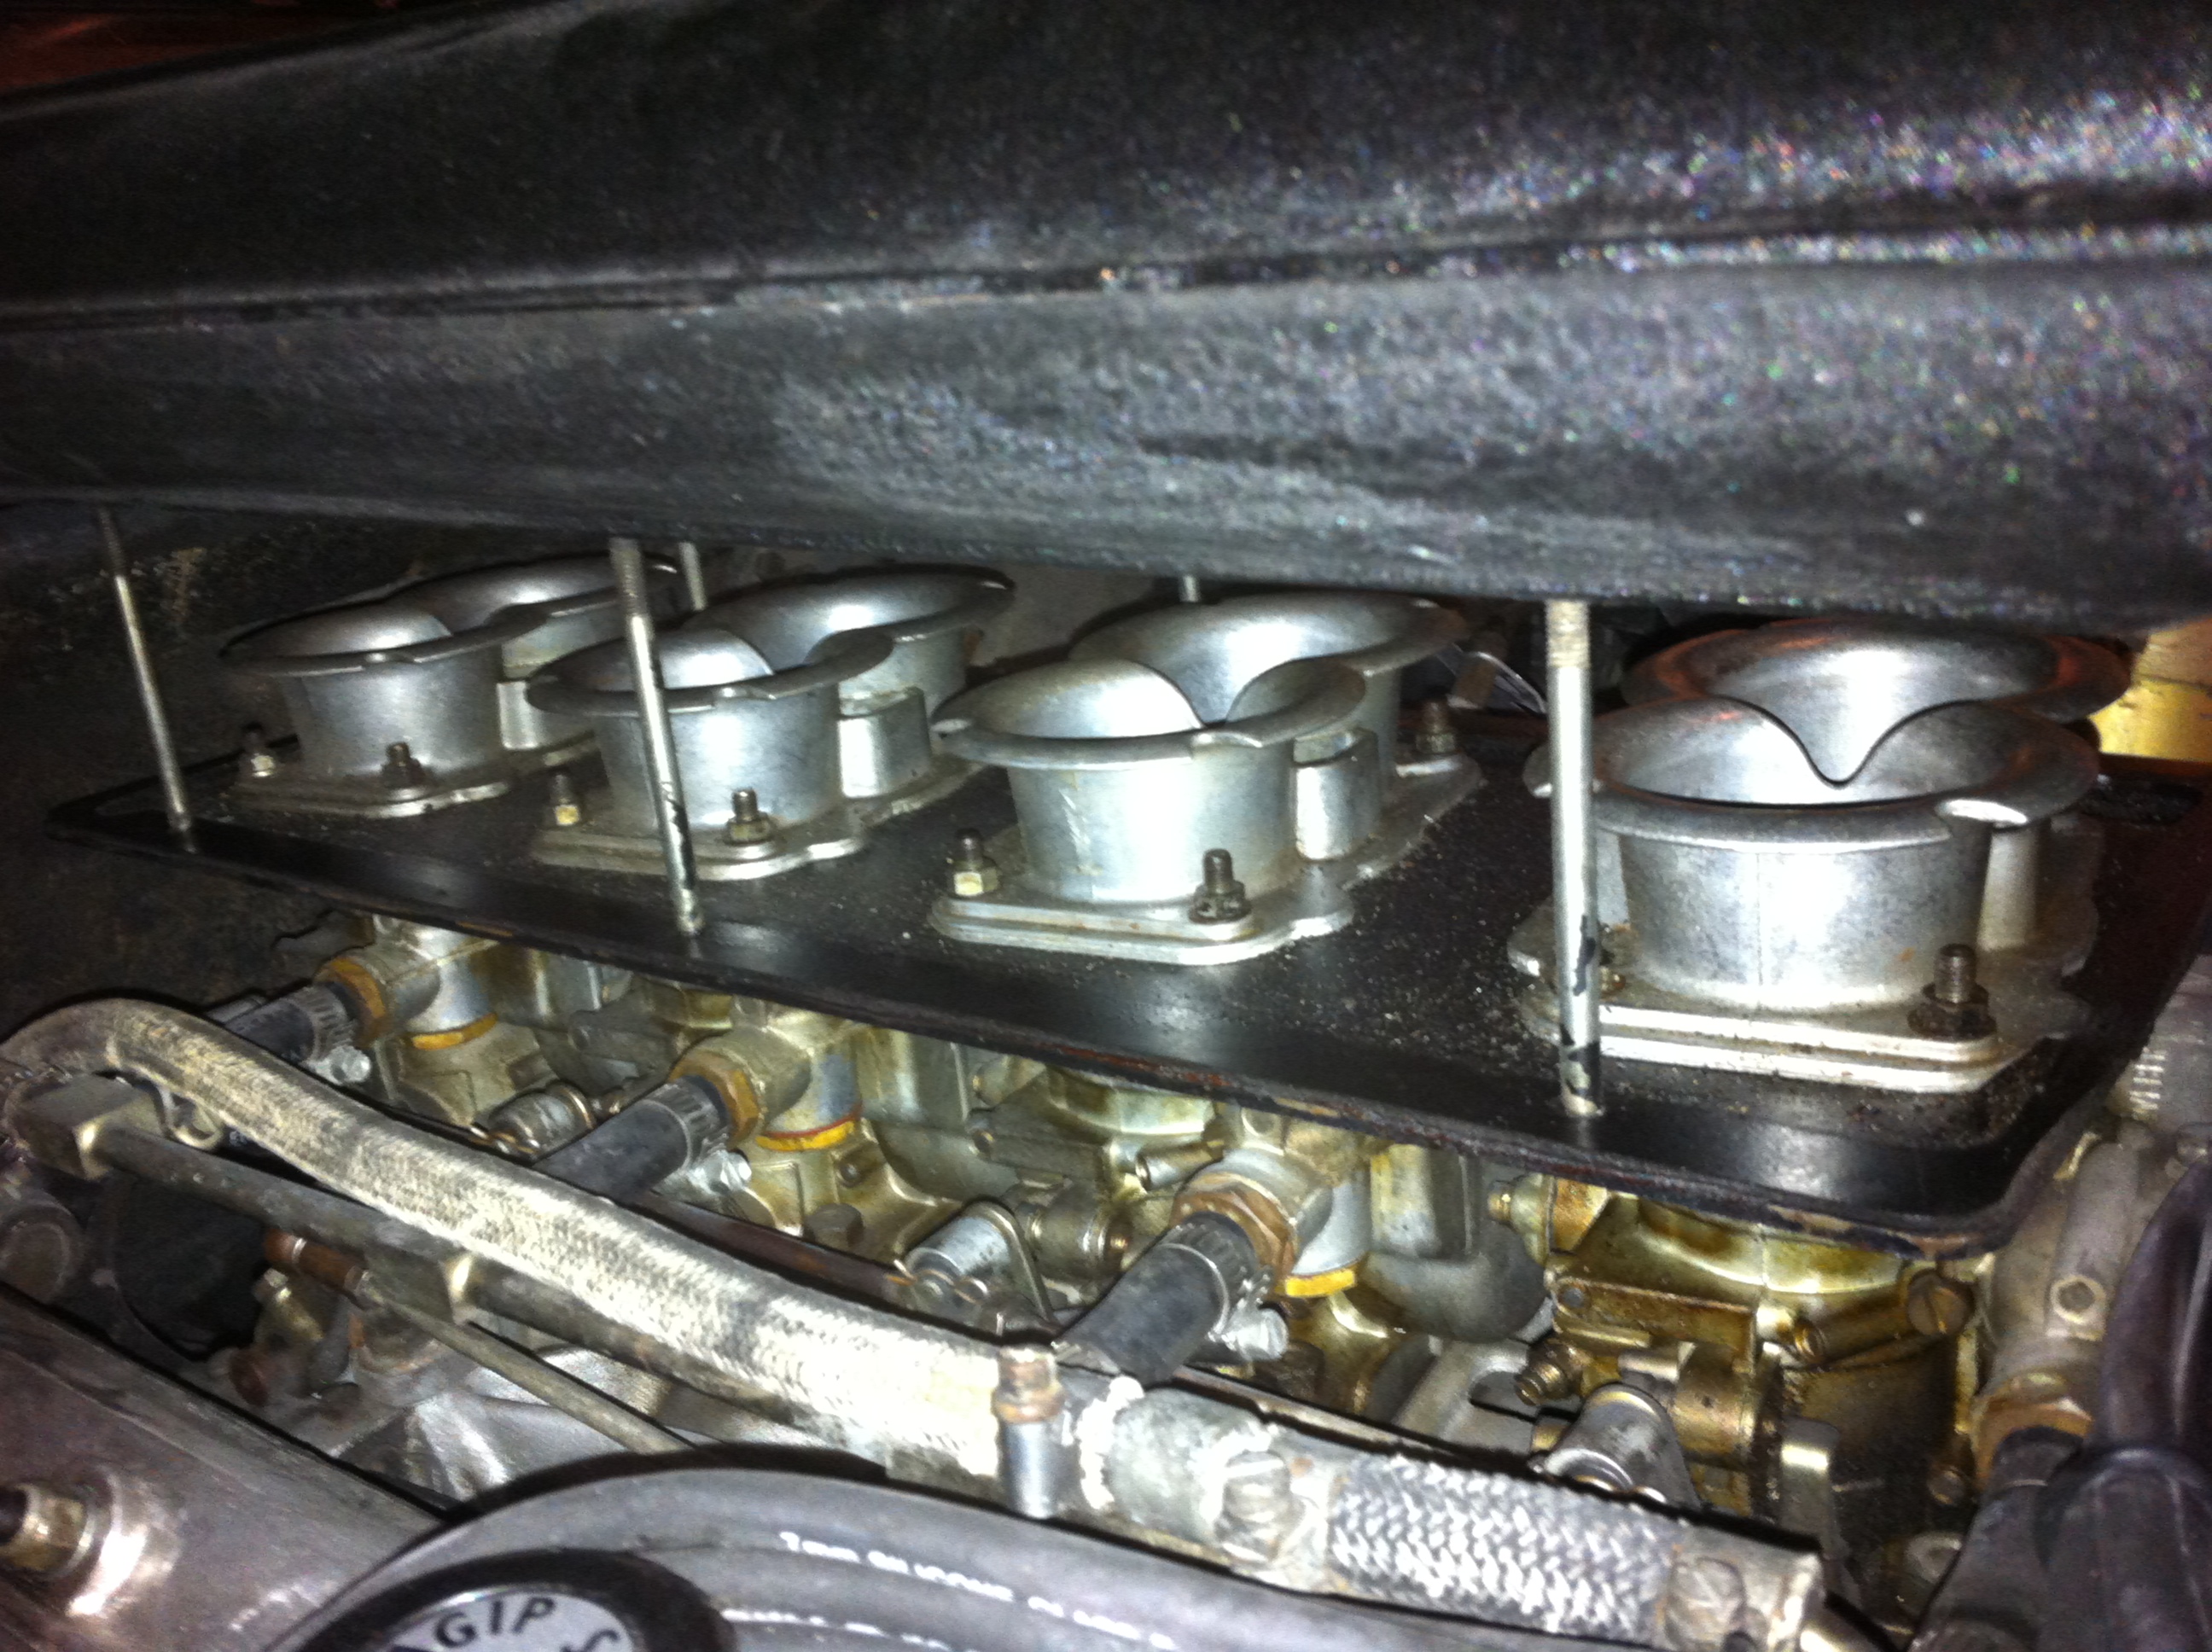
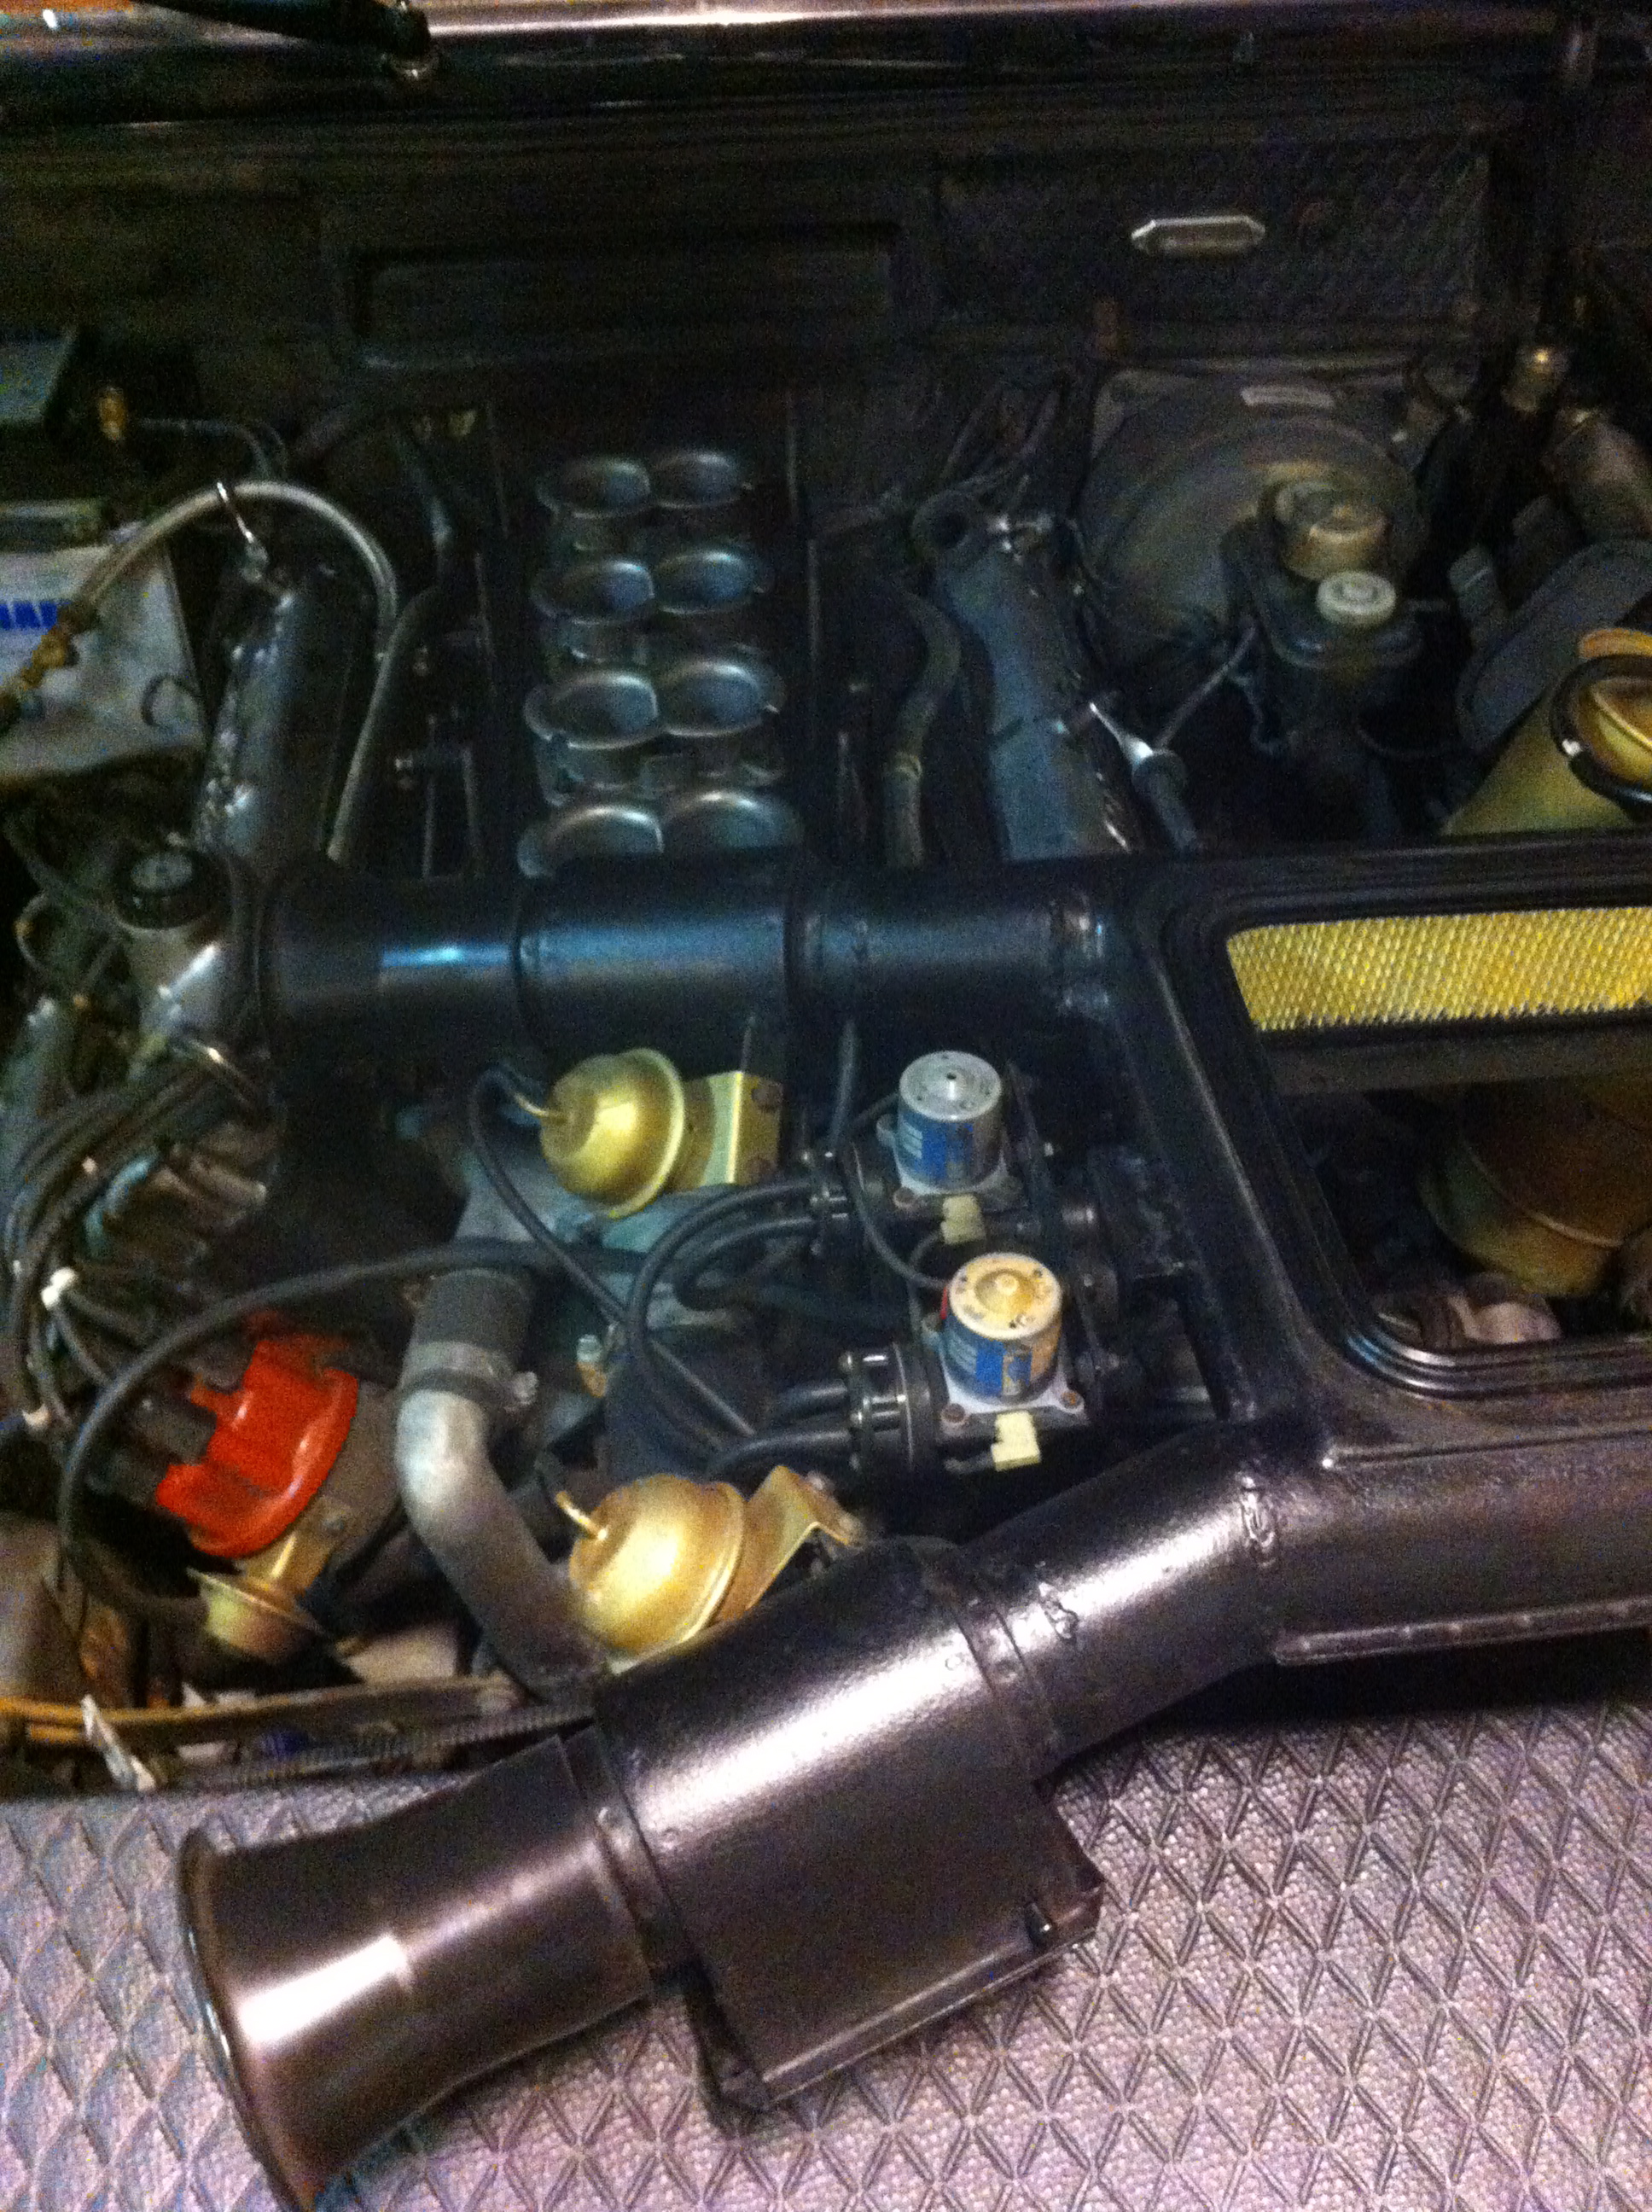
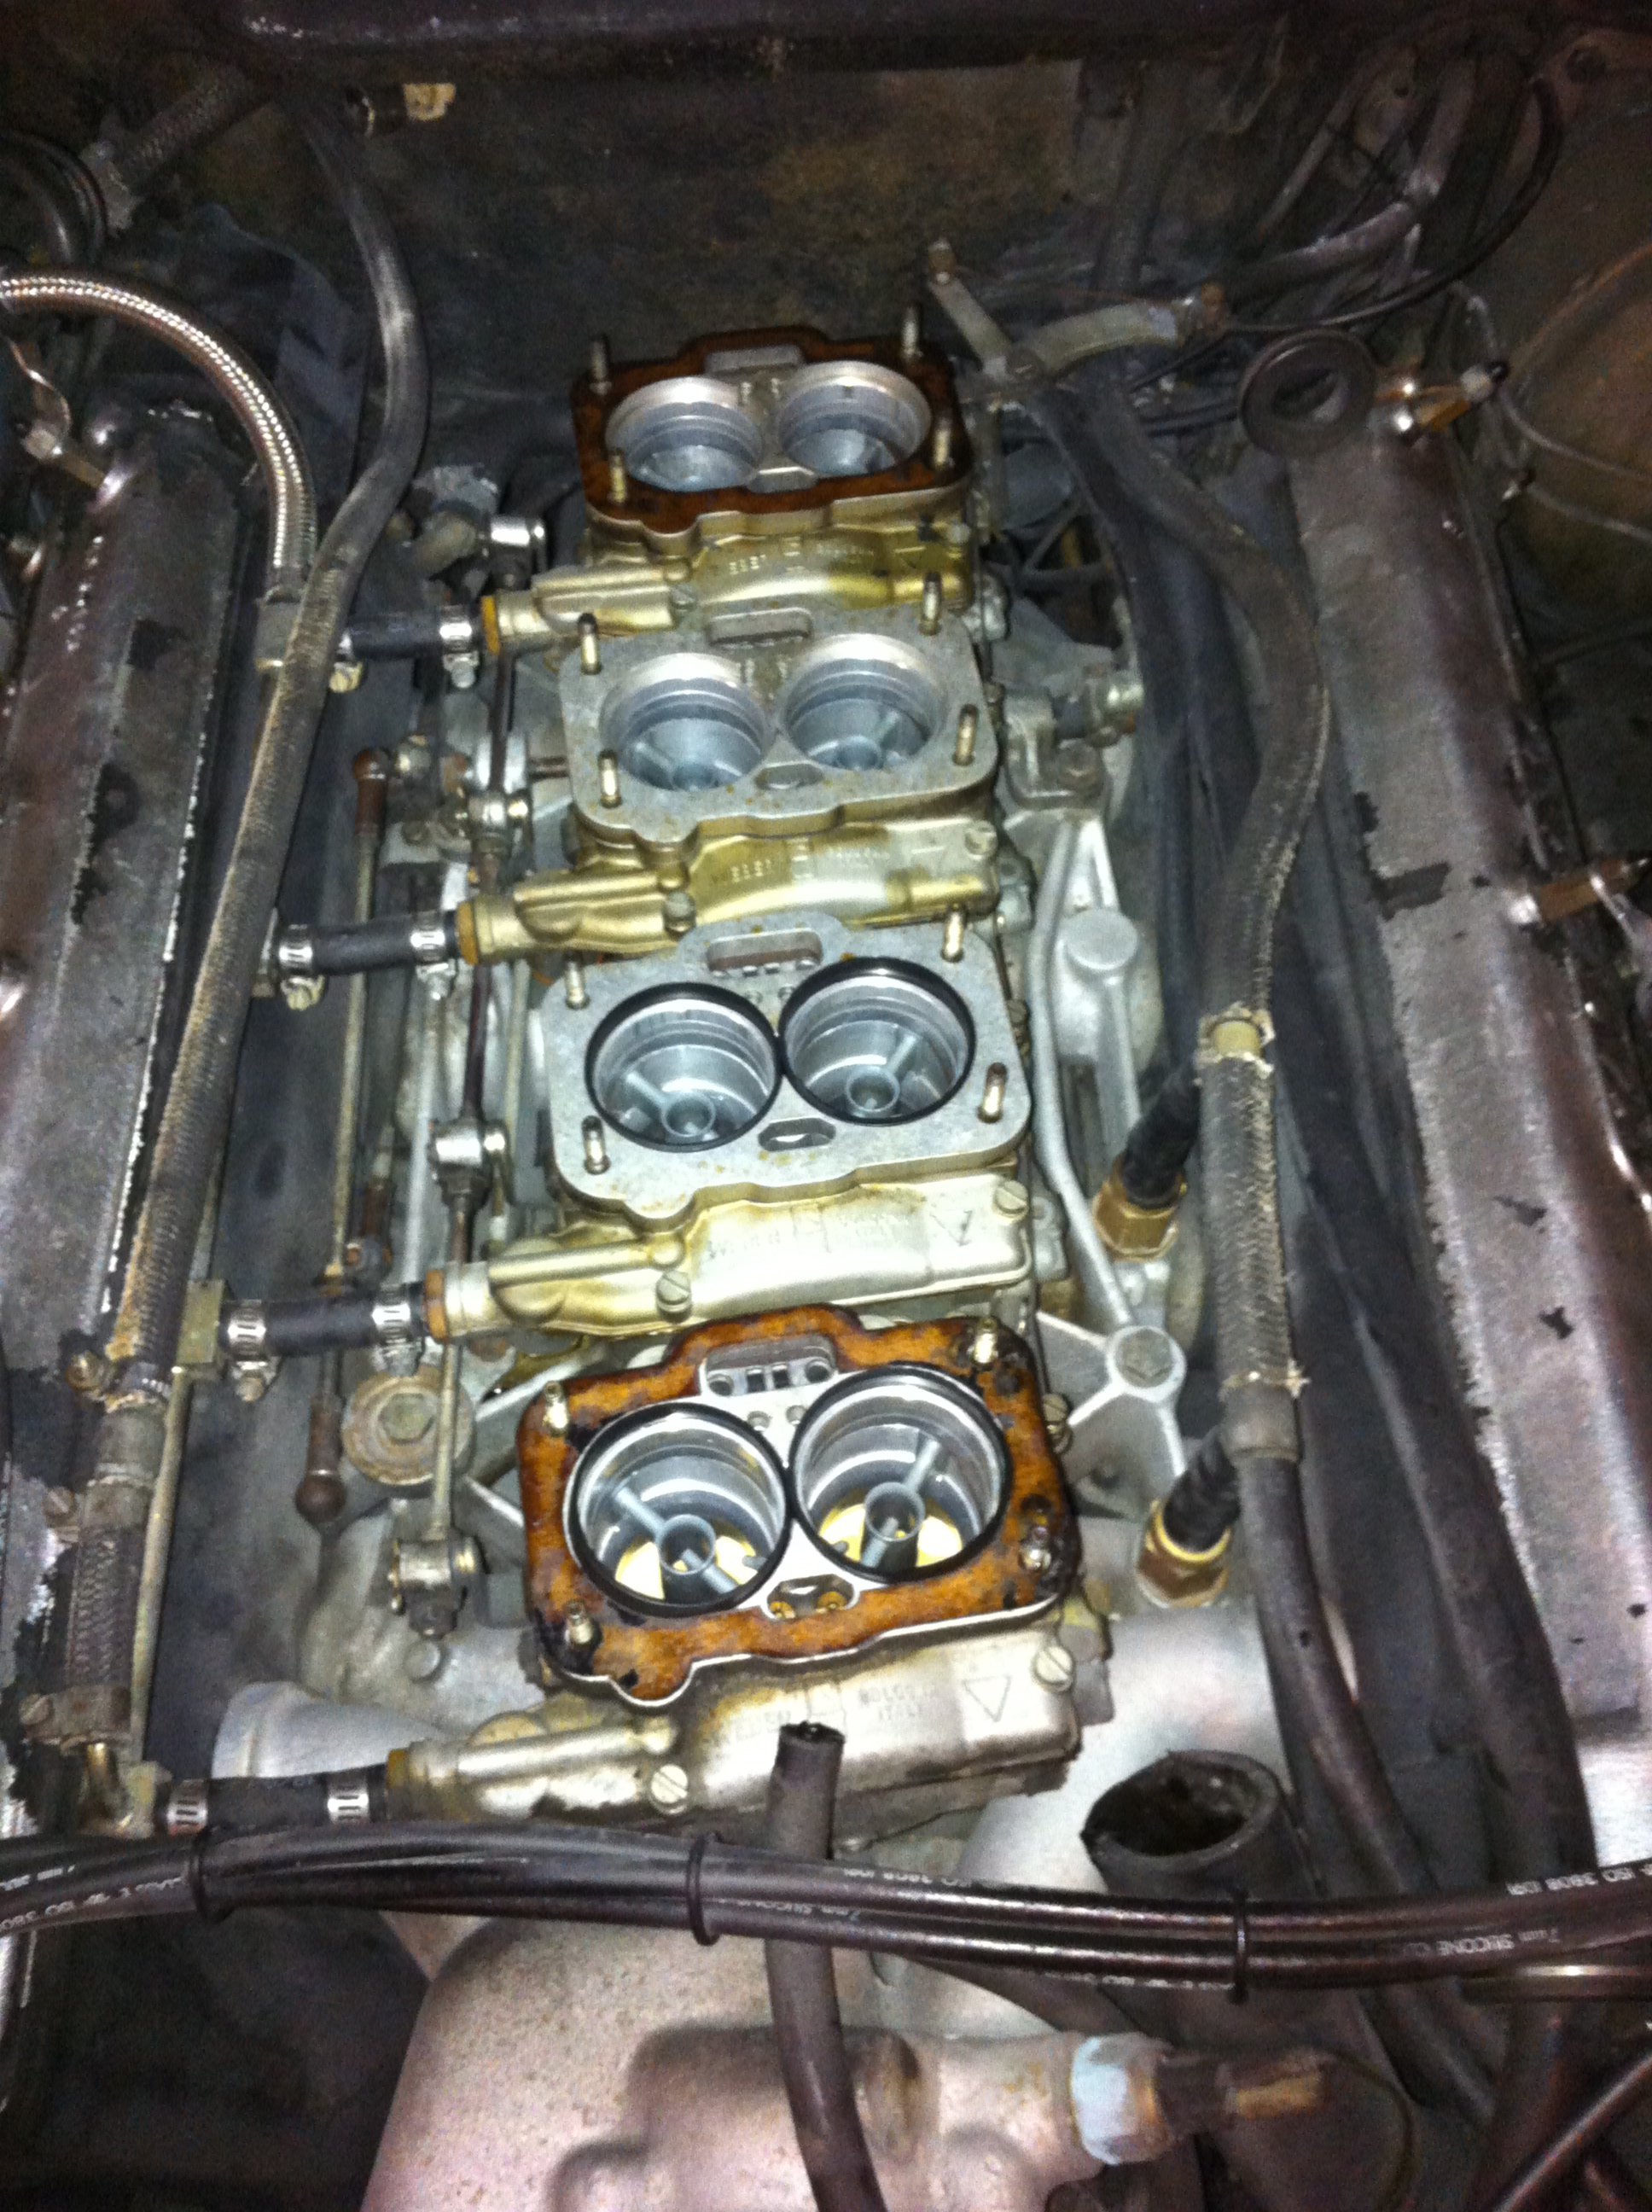
I pulled the carbs off of the manifold, the job is pretty straightforward. Remove the air box and lay it off to the side, unbolt the trumpets from the air box baseplate, disconnect the vacuum & breather hoses at the same time.
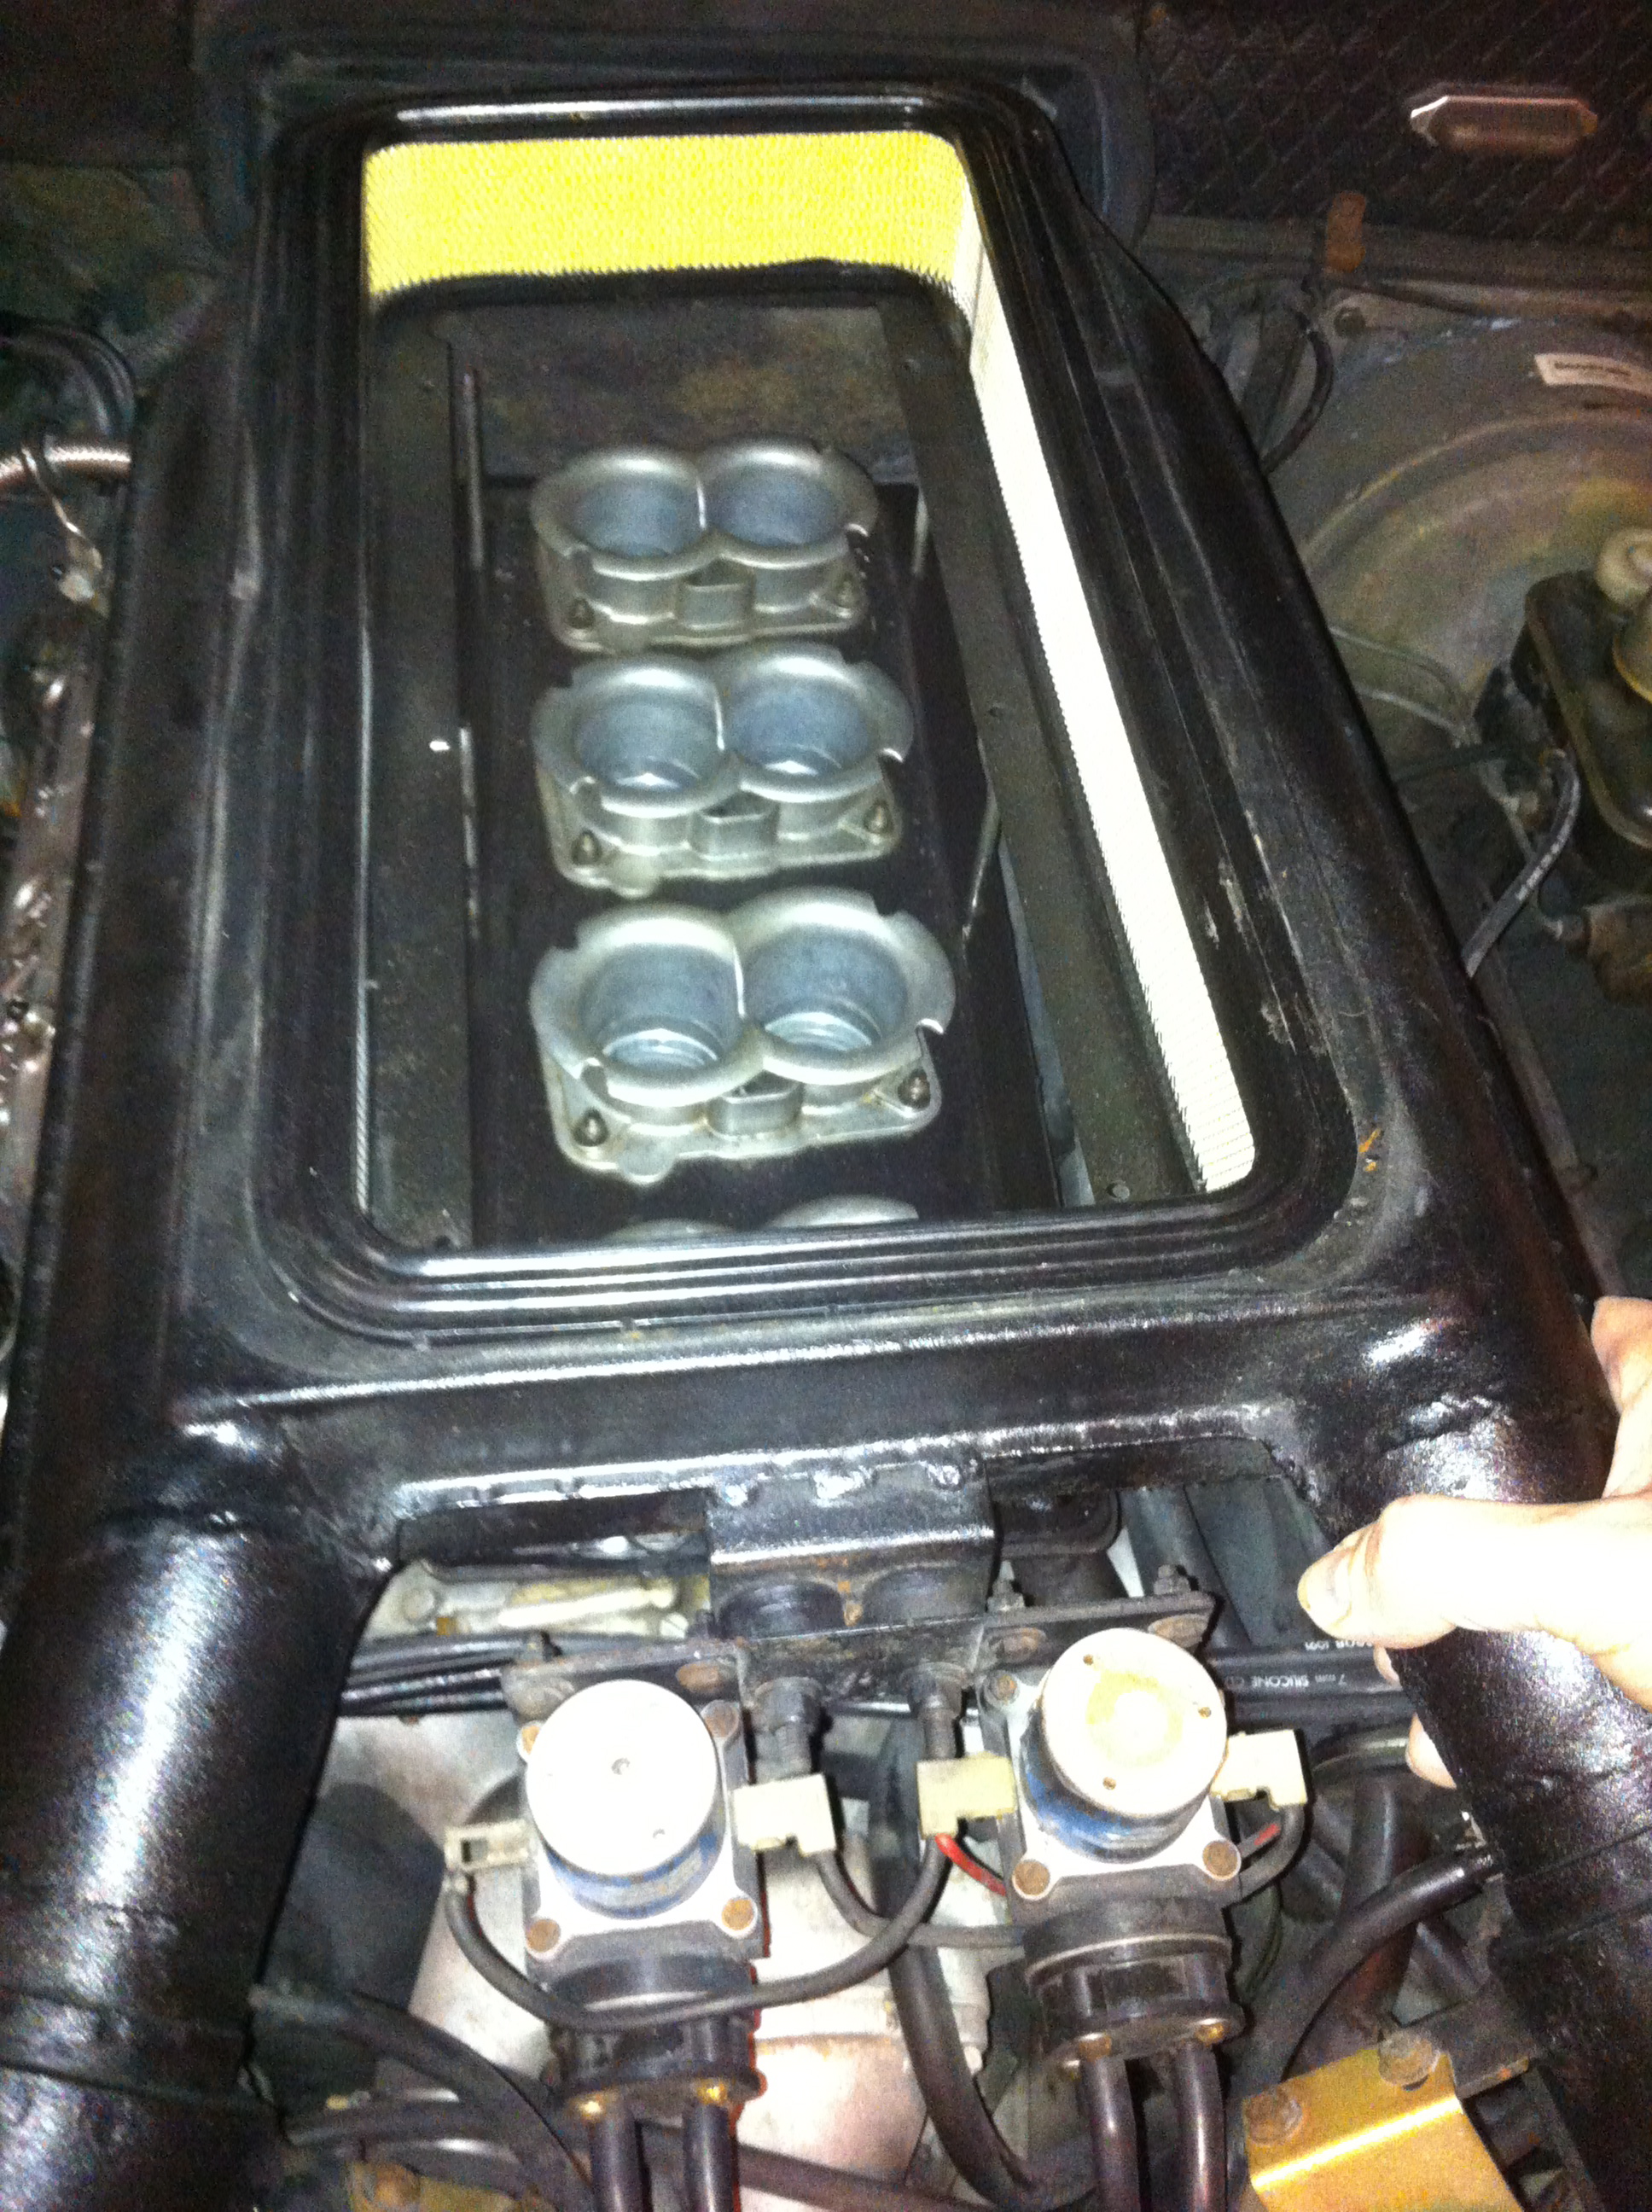
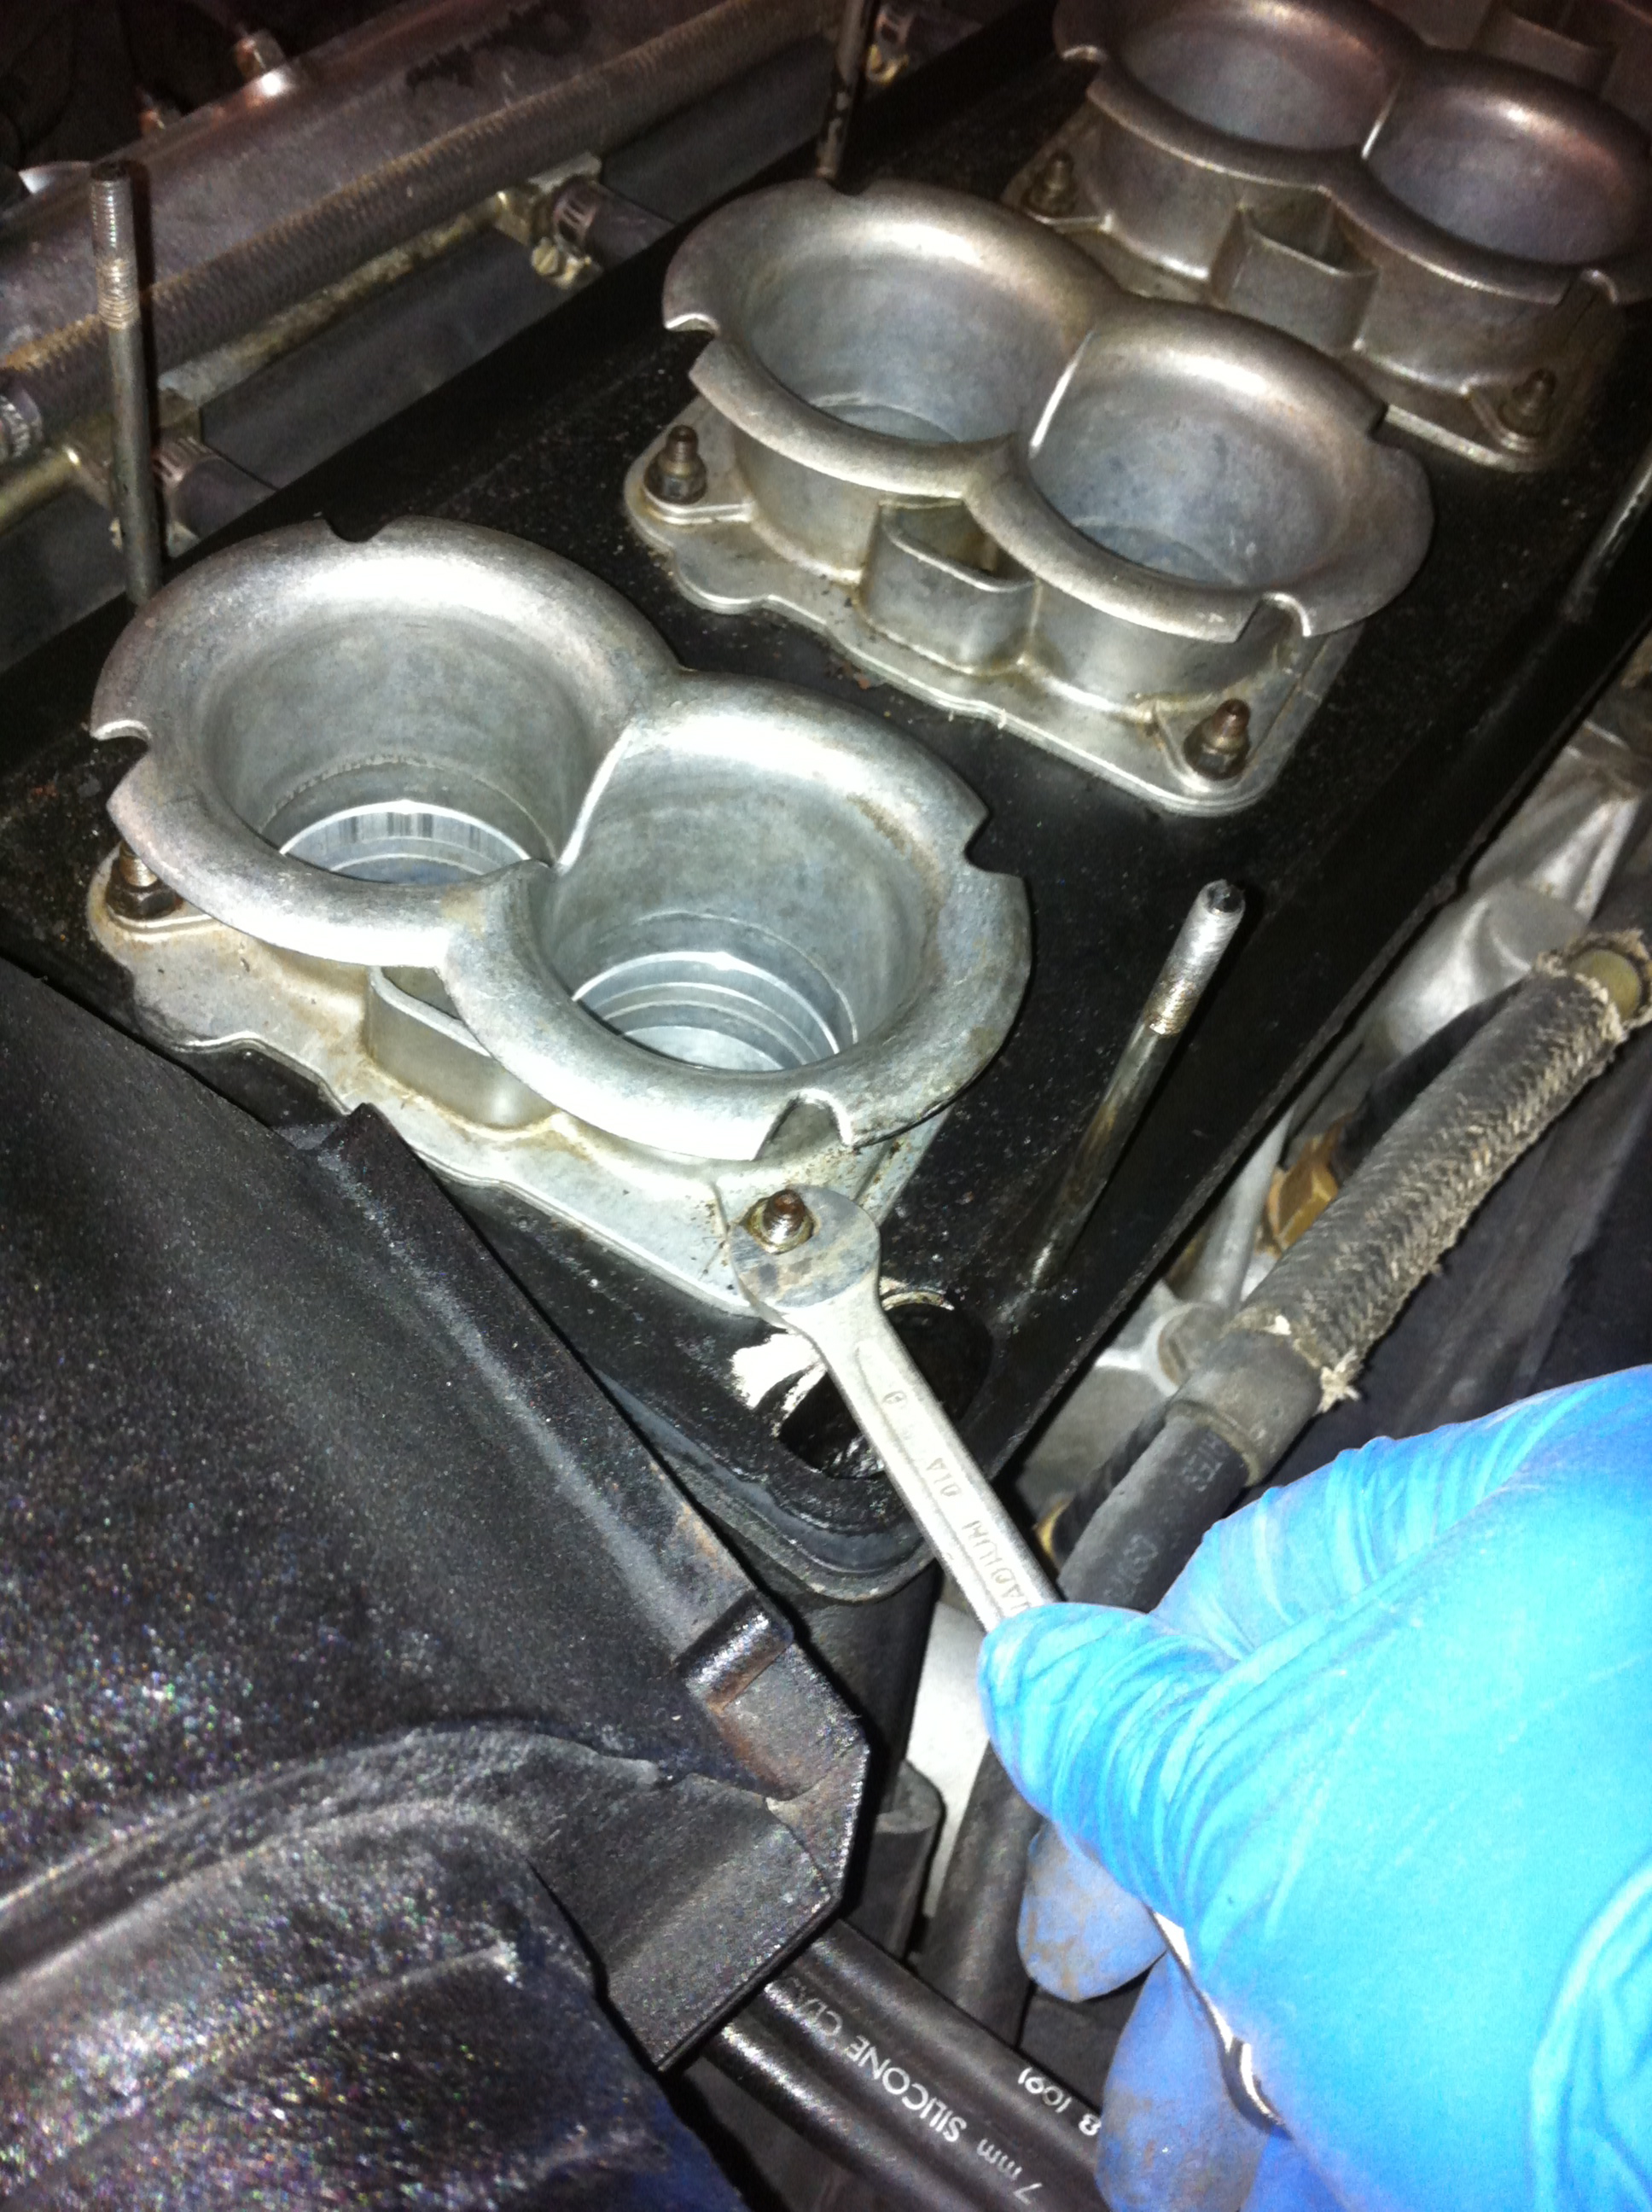
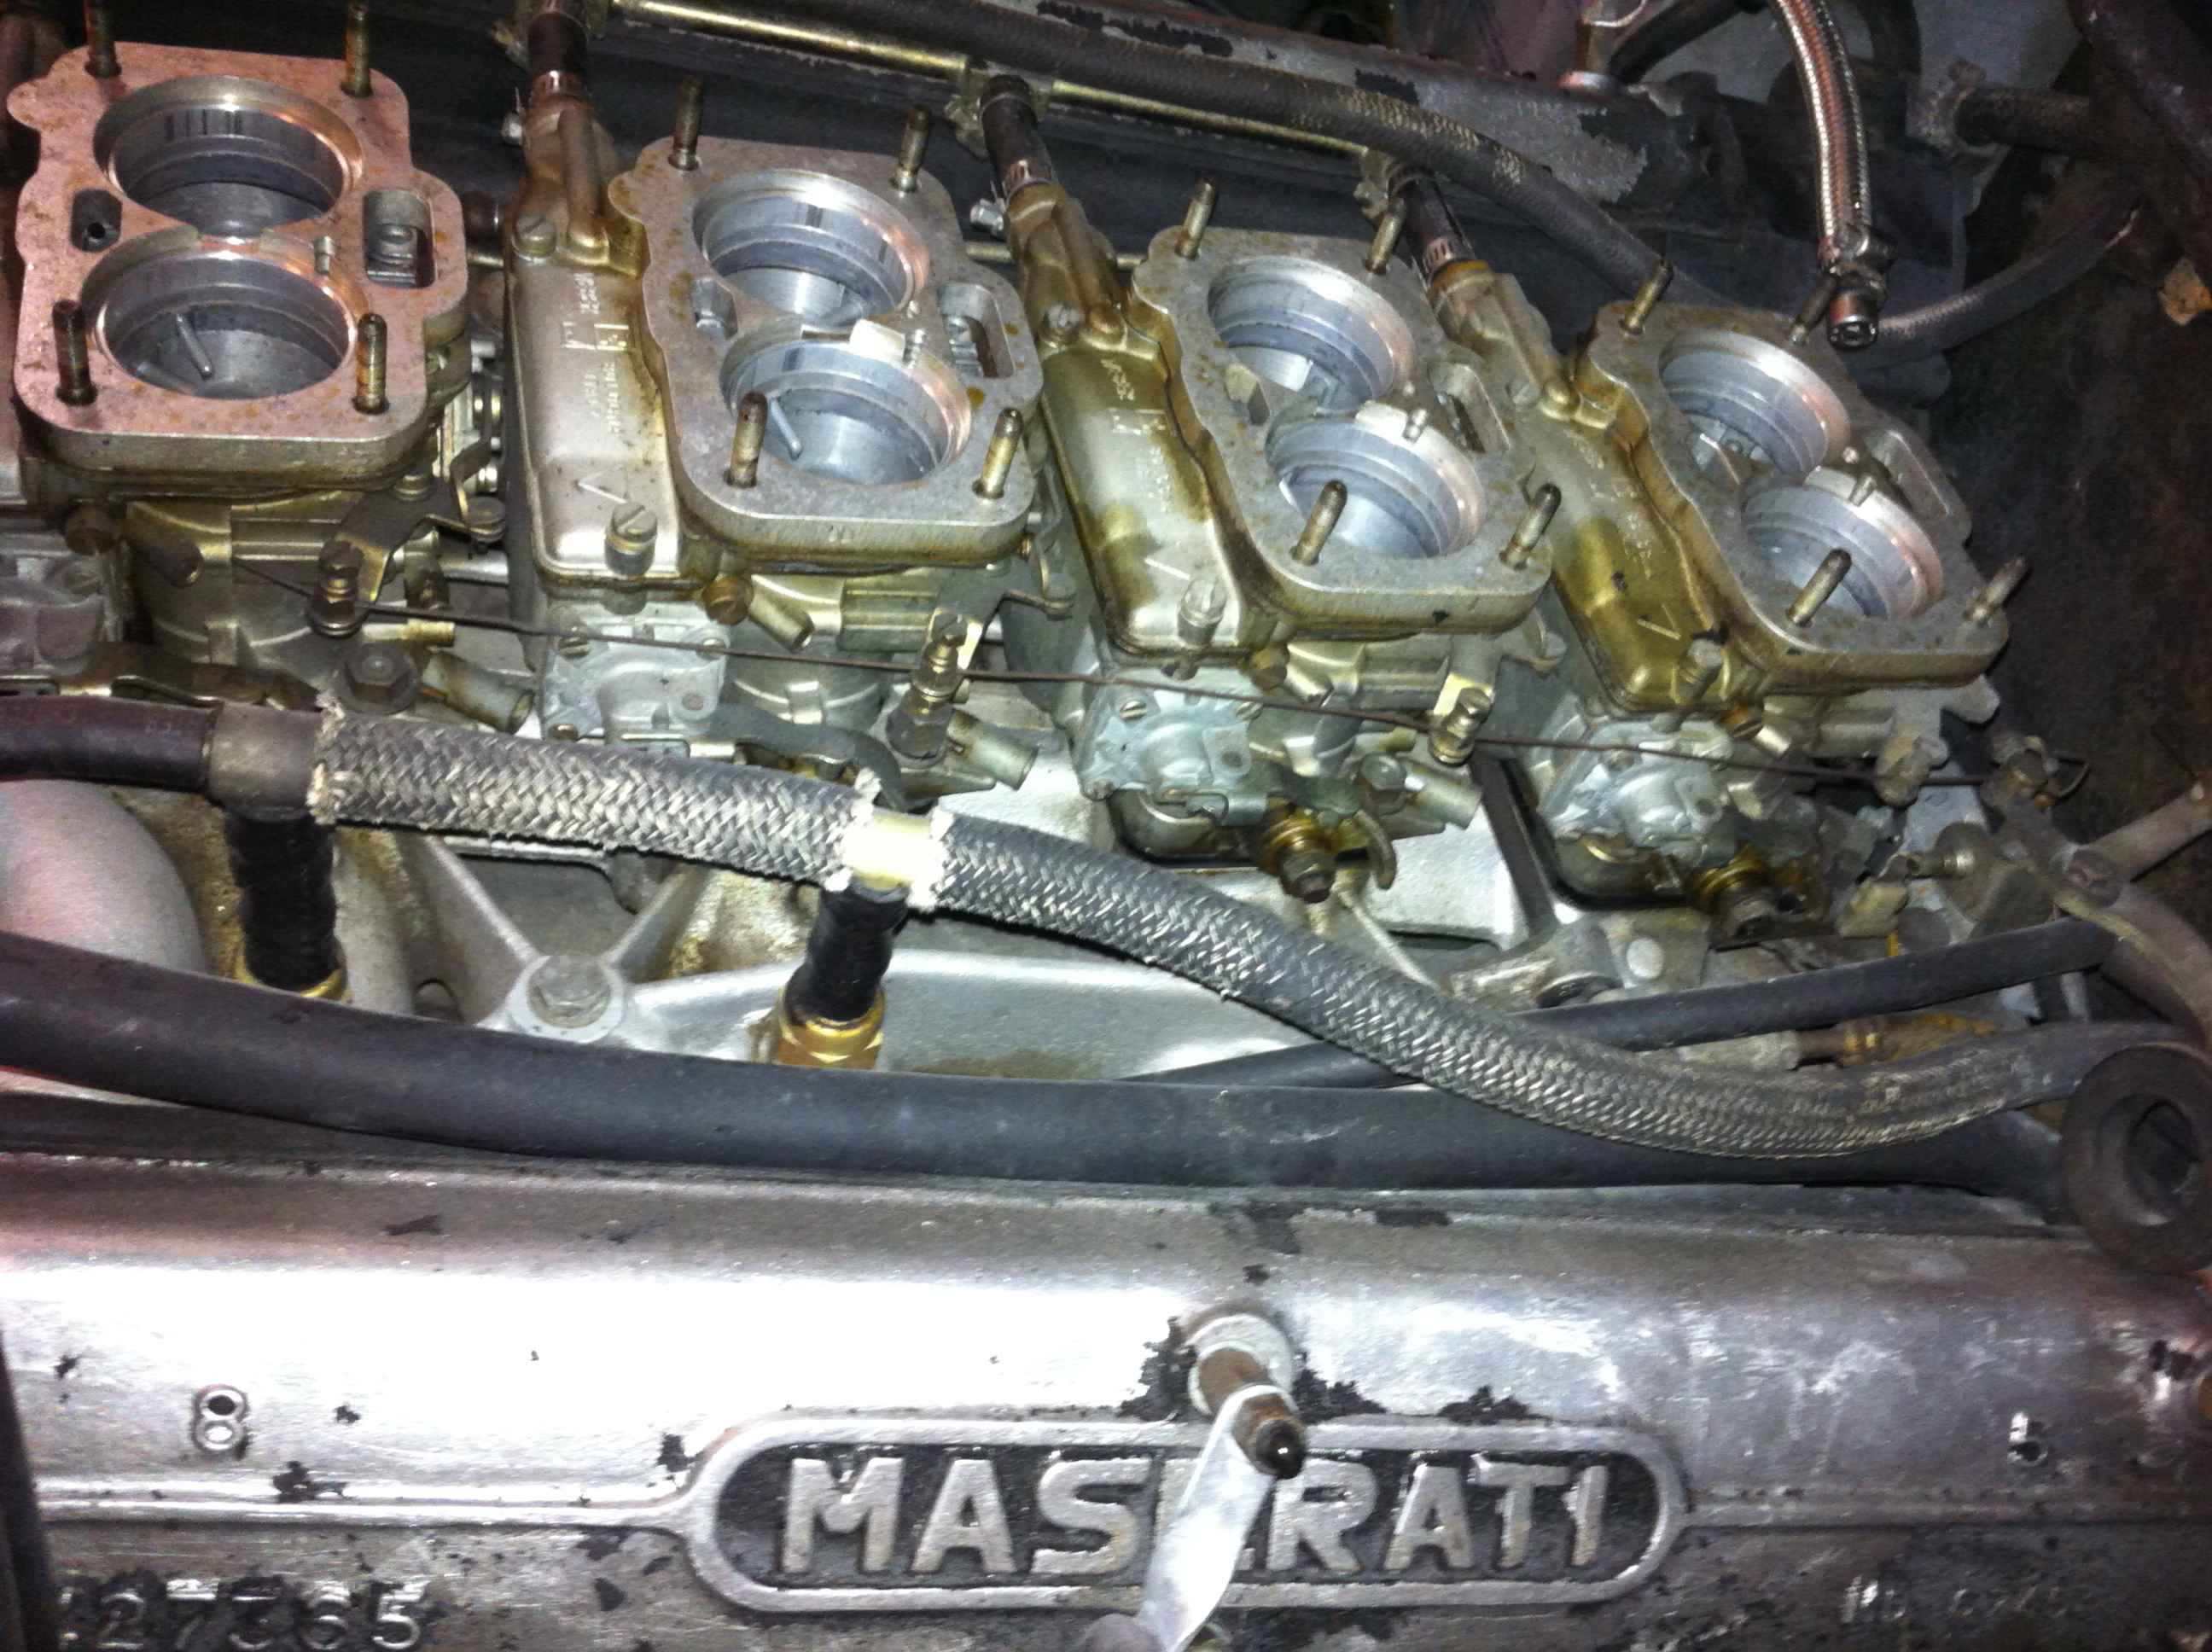
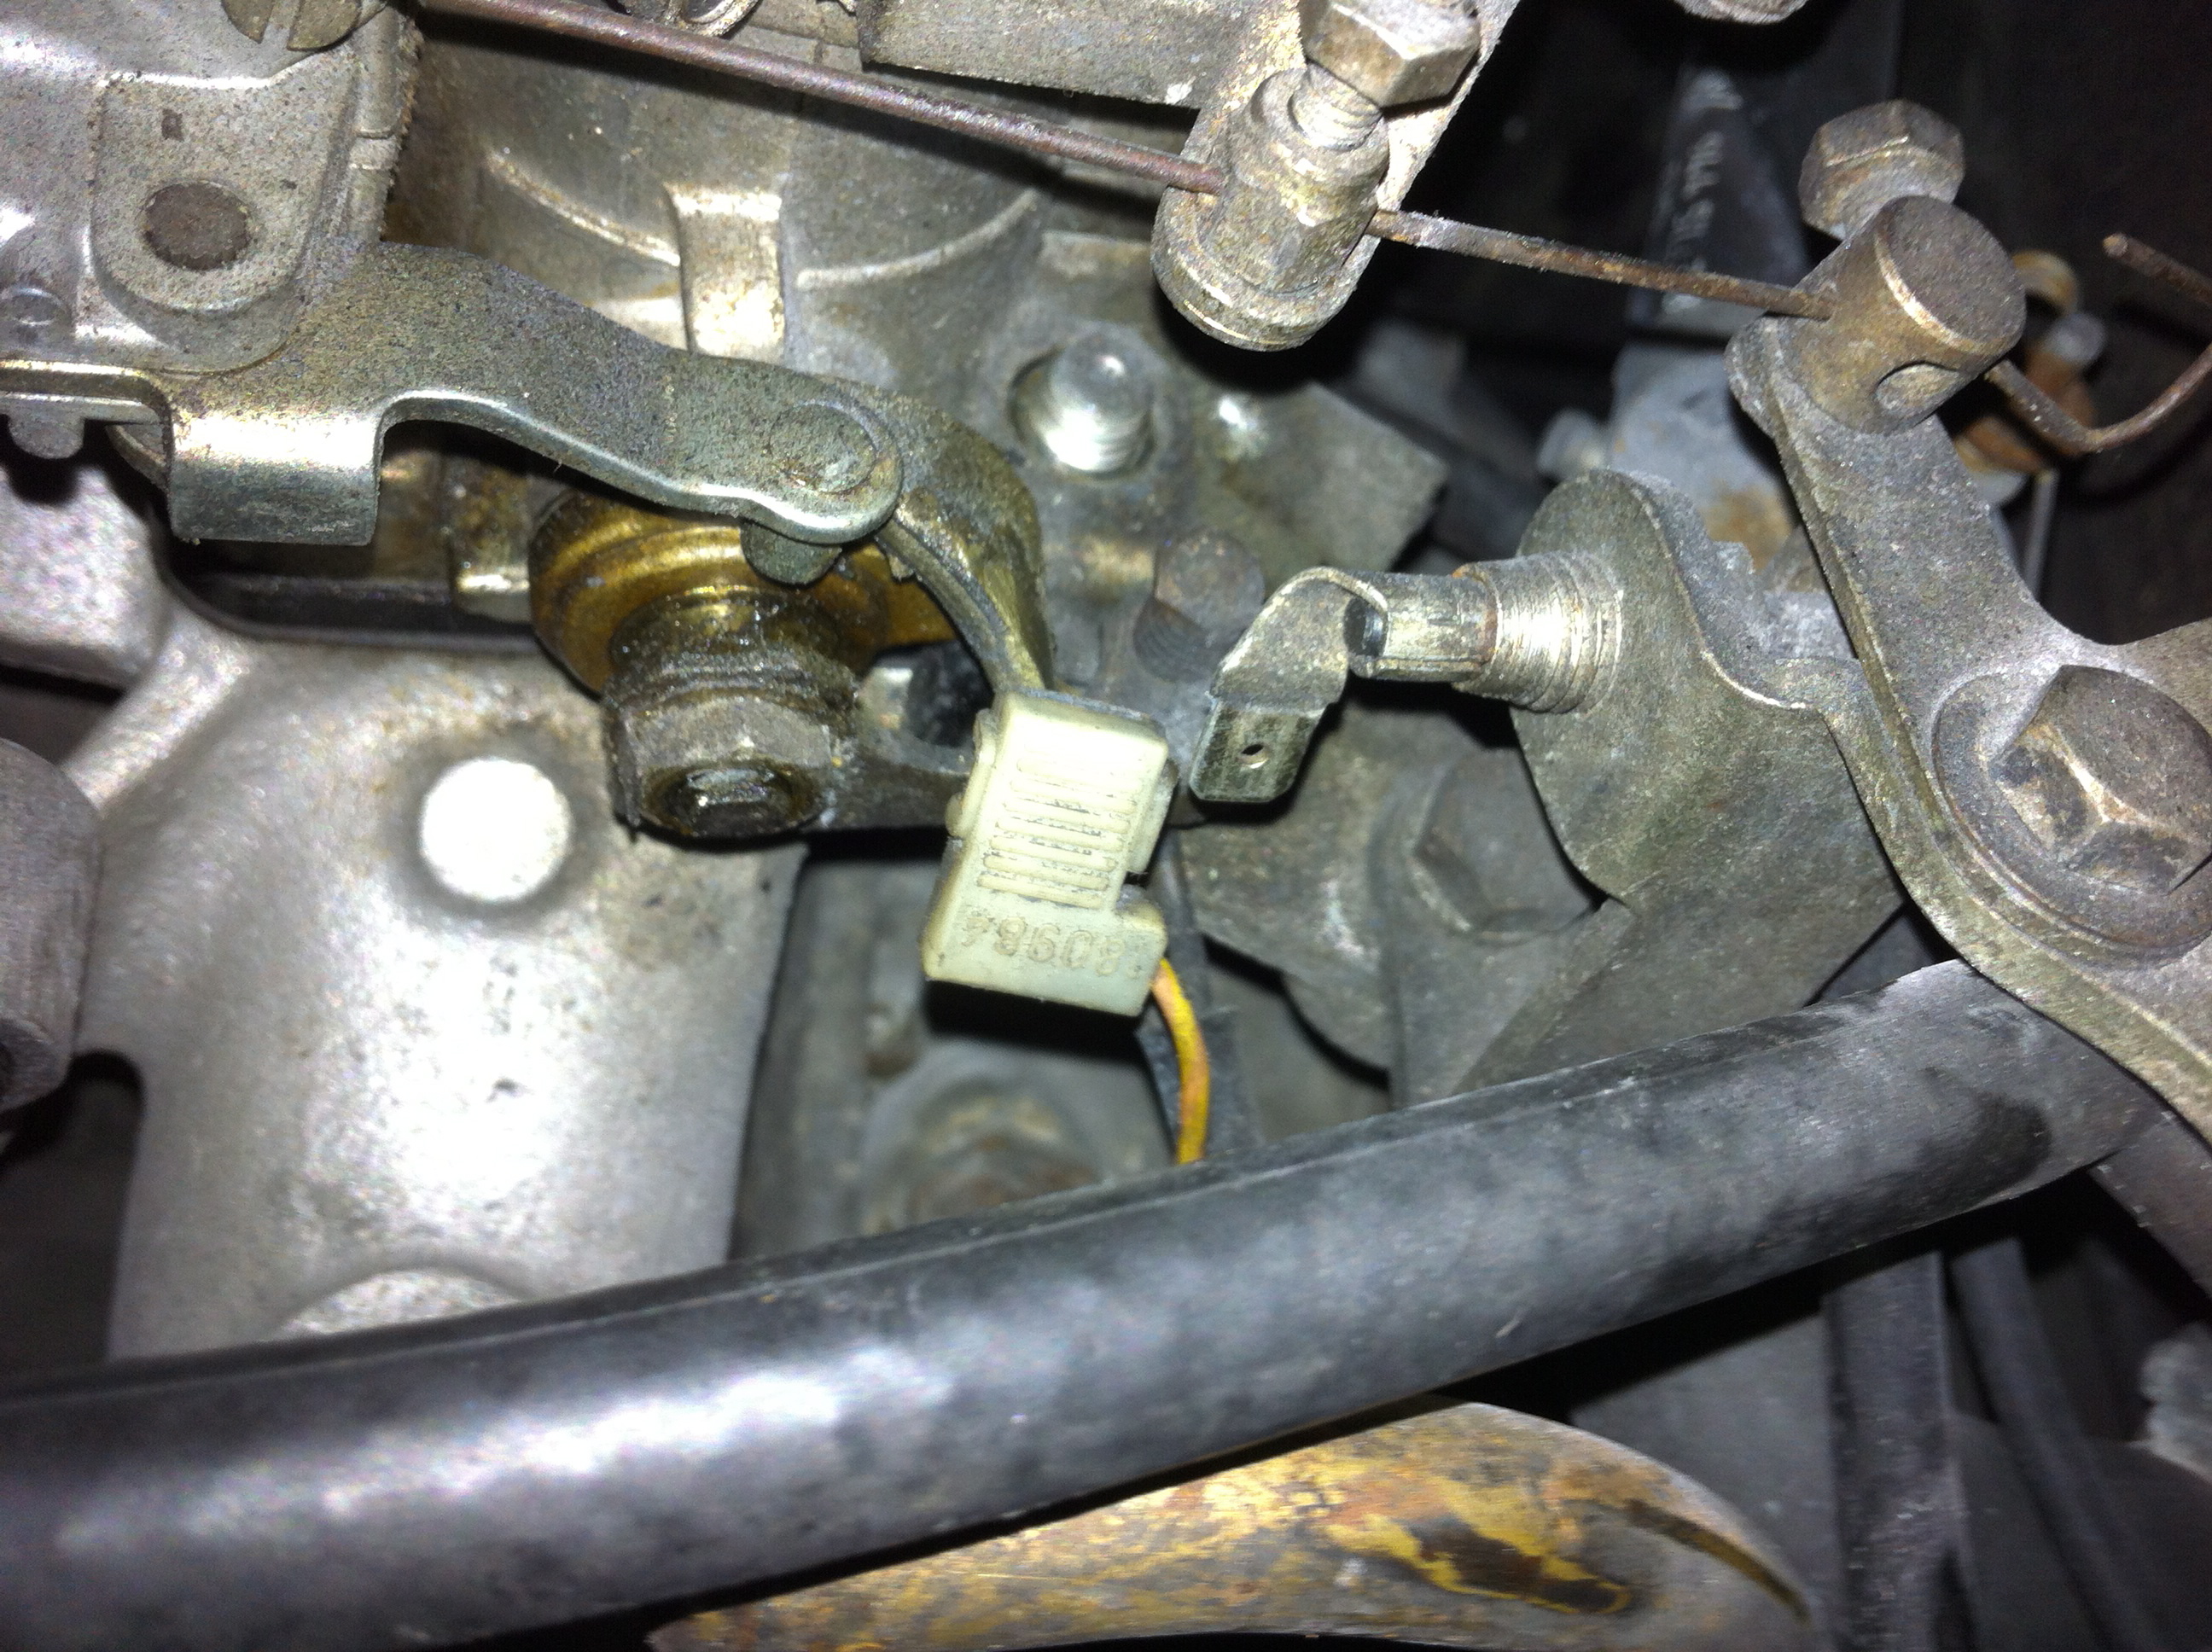
Remove the choke wire on the drivers side and disconnect the microswitch connector. Pull and plug the fuel line from the fuel rail input. Loosen the hose clamps on each fuel inlet line and remove the fuel rail. At this point you can loosen the nuts holding the carb baseplates down and remove the carbs. Note that carb 1 and 2 (counting forwards from the firewall) hold each other in place, meaning you may have to remove carb 1 before 2. I started with carb 4 and worked my way backwards when I discovered this the hard way.
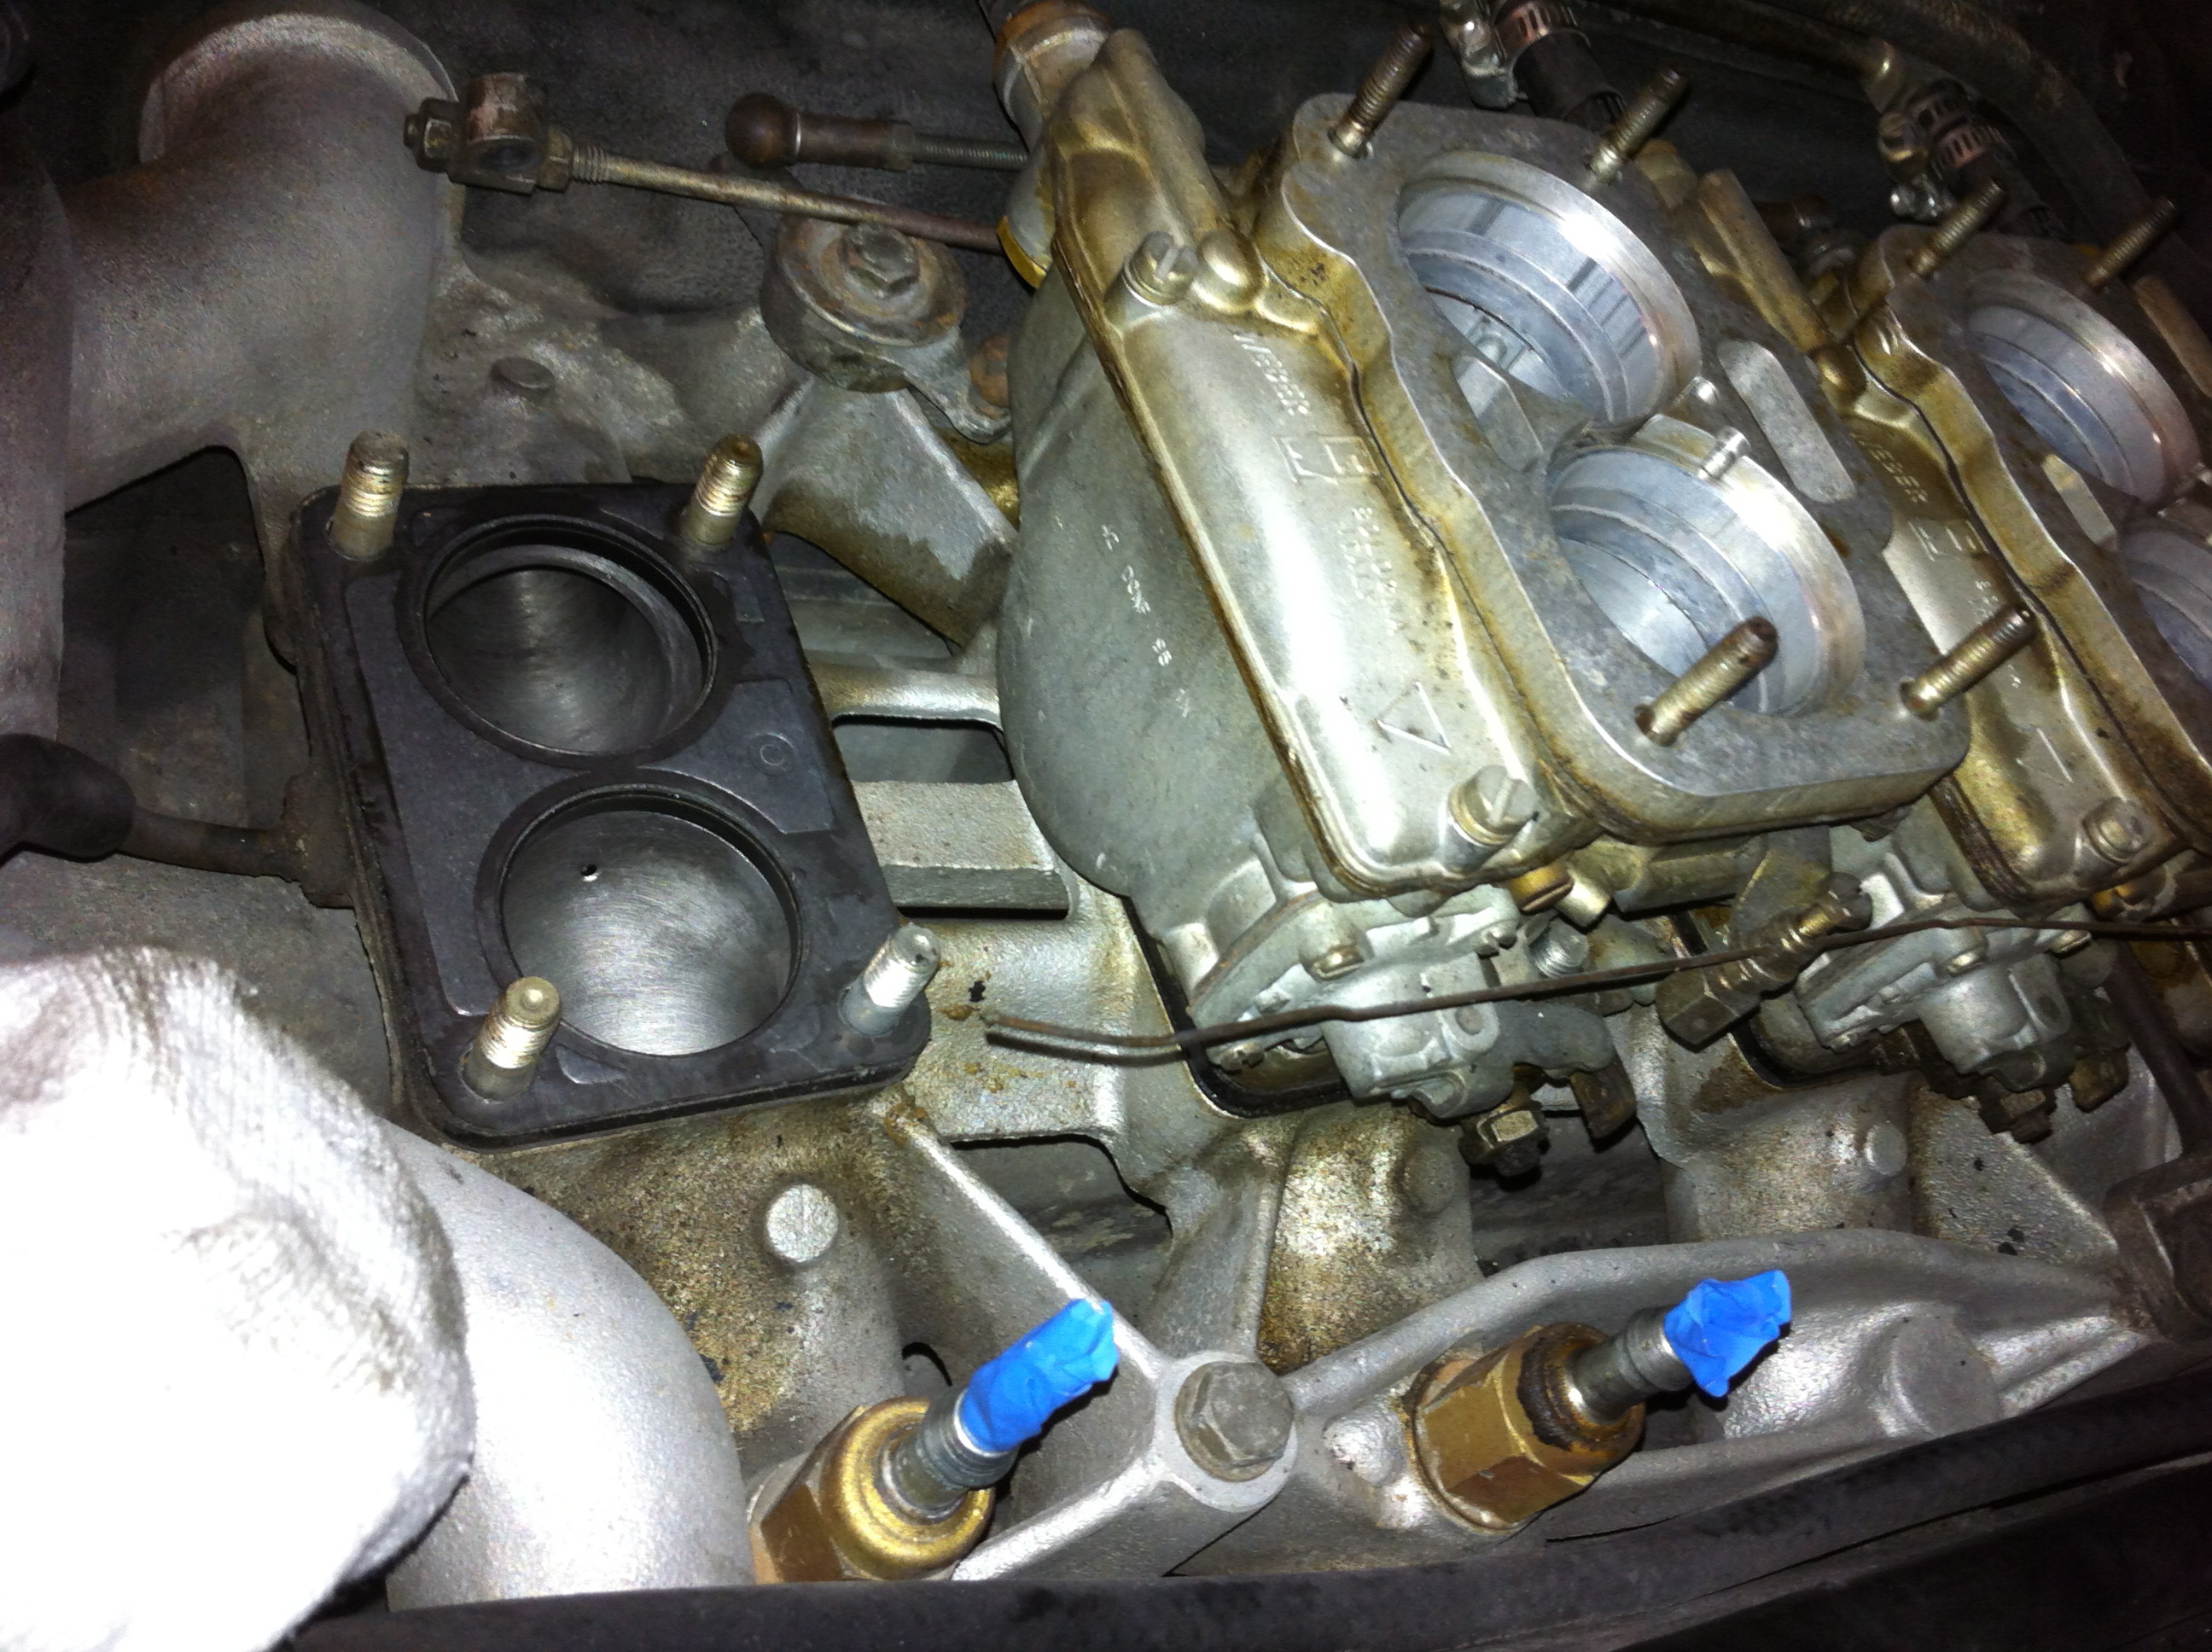
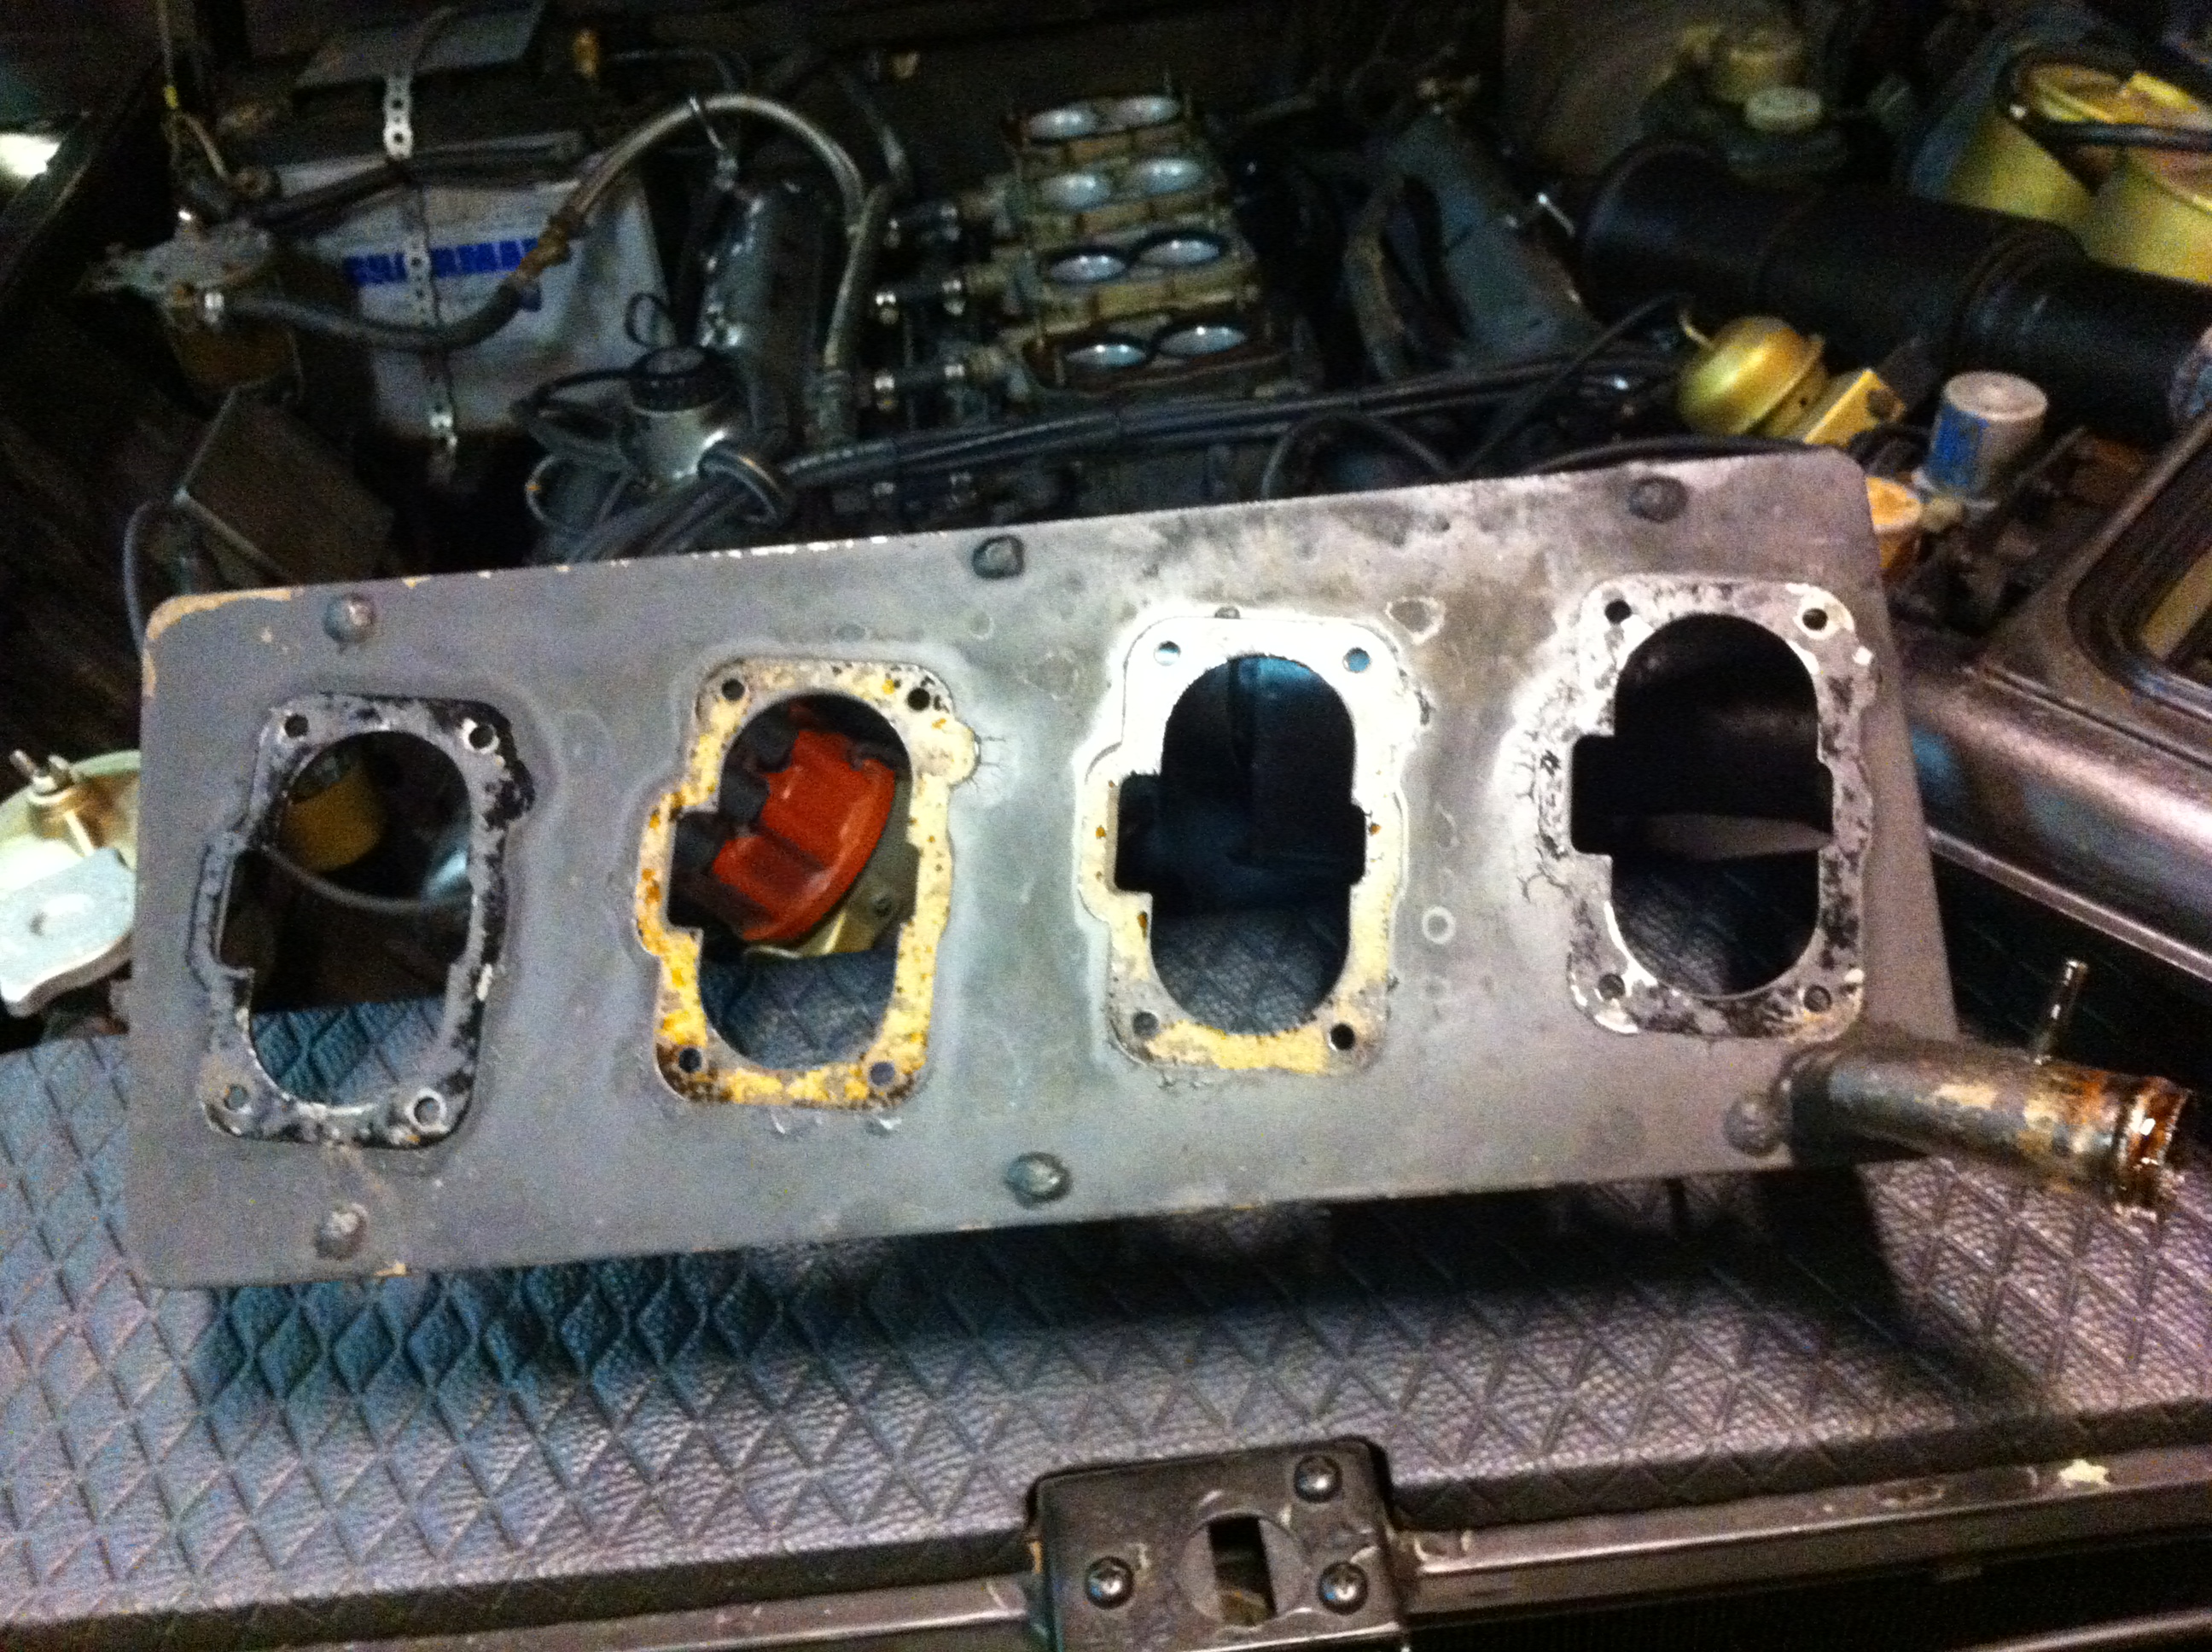
Inspect the phenolic riser plates for wear and unevenness, anything that can let ‘unmetered*’ air through is a bad thing and will cause endless headaches, bad running and a general all around bad mood.
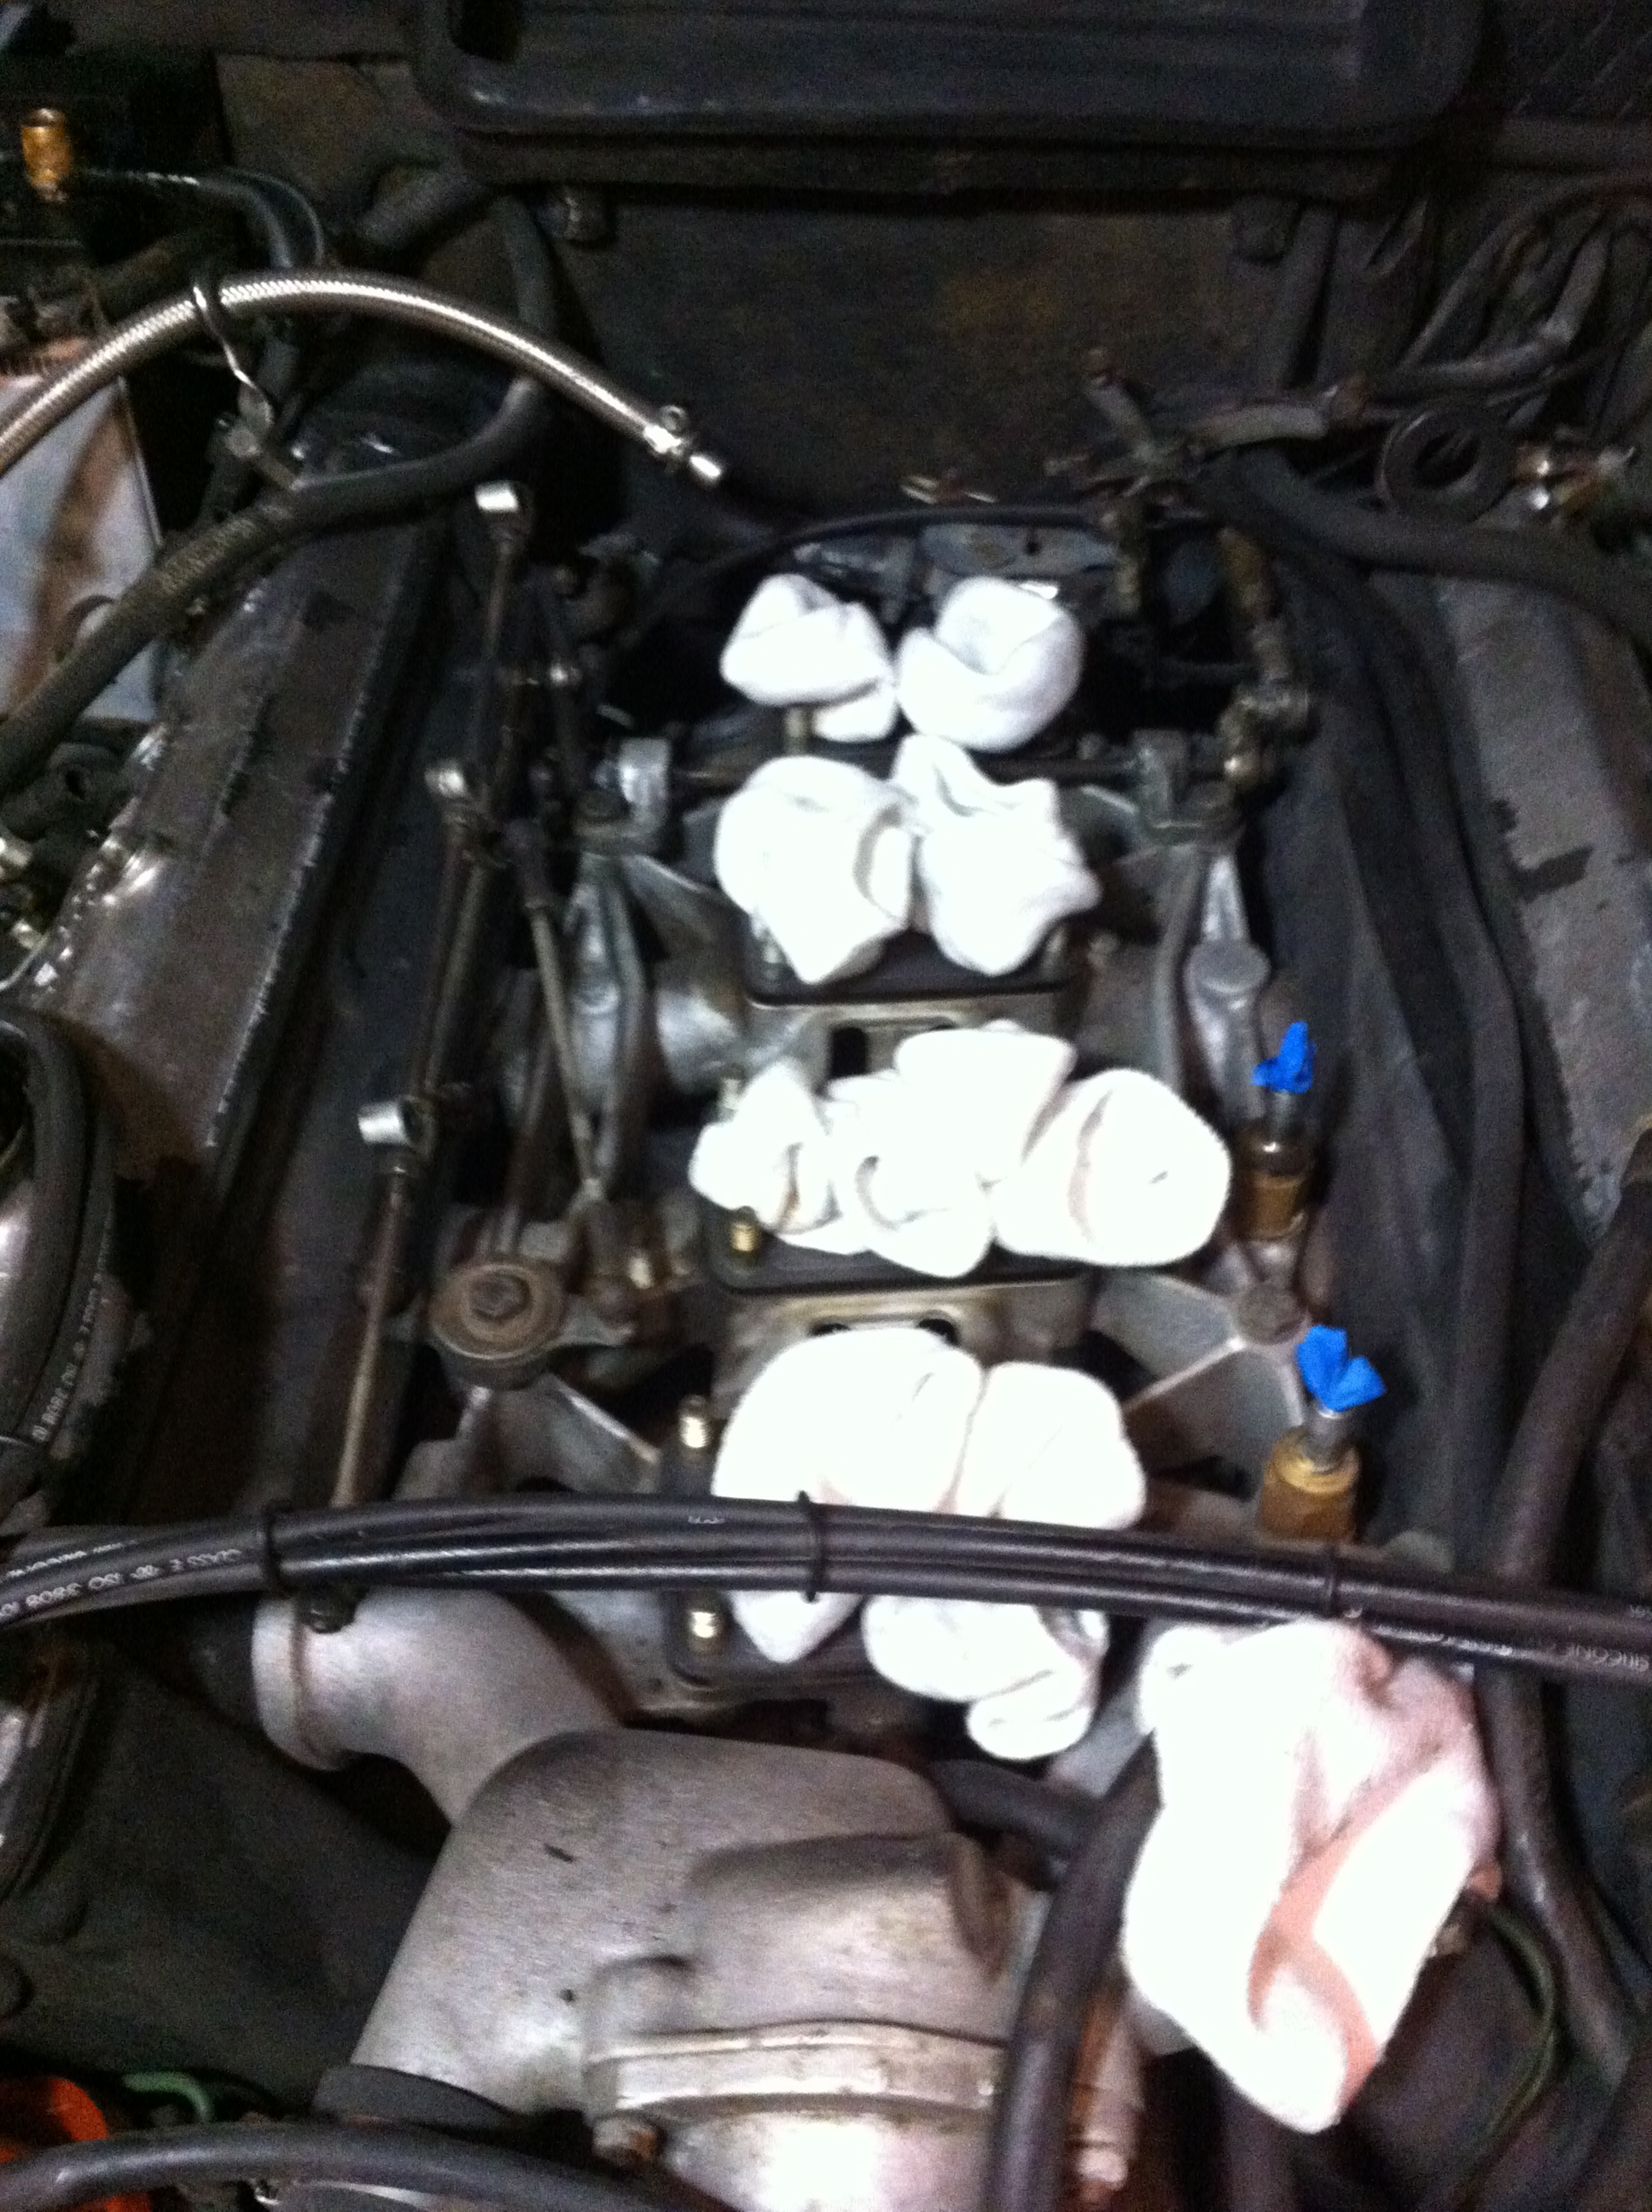
Plug the manifold openings to prevent unwanted objects from finding their way into the cylinders. That would really ruin your day.
Coming up: carb teardown.
*unmetered – a carburetor is essentially a controlled air leak into the engine. It mixes a precise amount of fuel with the air that flows through the venturii to provide an optimal fuel:air mixture. Any air entering the system by other means, ie via a leak, will unbalance the ratio and render all tuning and tweaking moot.