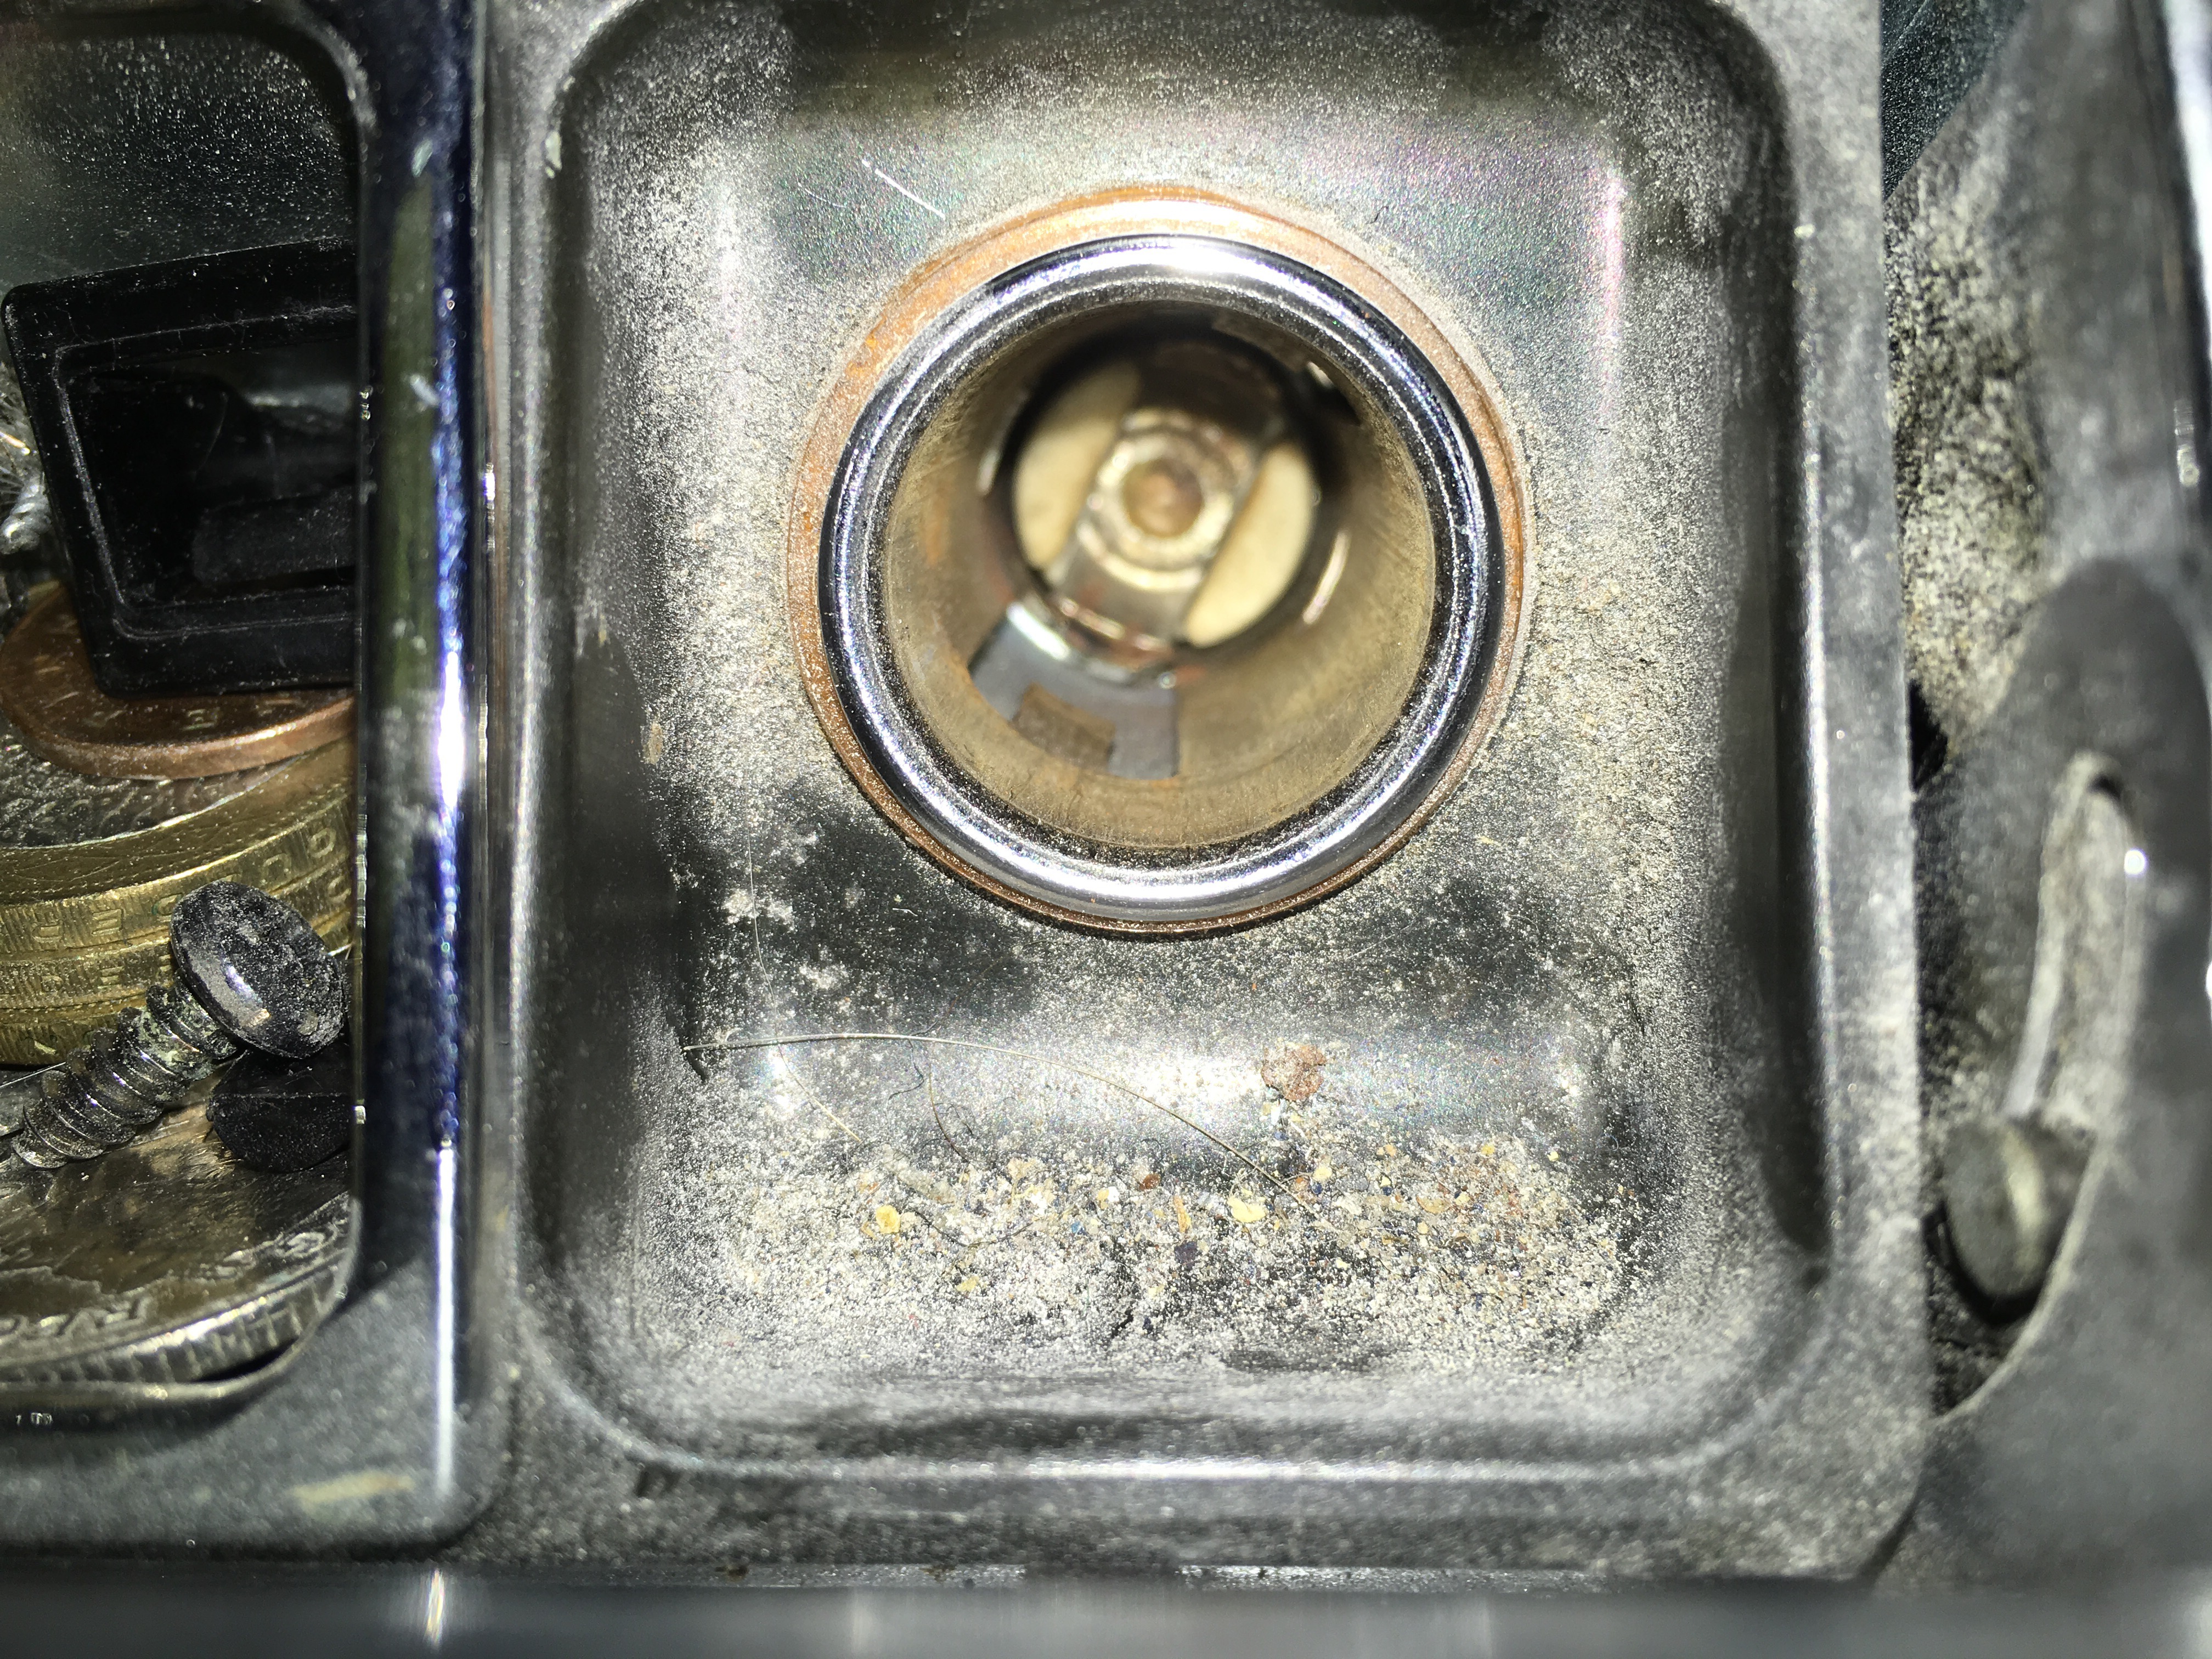
I bought a USB adapter for my lighter, since I don’t smoke in the car. Couldn’t get it to work, and have been too busy with other things (read “work”) to look into it.
As it turns out, it does work on the lighter port built into the emergency battery booster I have. And the charger for my portable work light has a lighter adapter that works on the car. I also checked the lighter sockets polarity on the suggestion of a fellow enthusiast, it’s center pin positive and shell to ground, as expected.
Looking closer at the lighter itself and the USB adapter, it appears that the latter is about 3-5mm too short to reach the contact at the bottom of the socket. The collar prevents it from going further in.
Problem identified. Now to find a new adapter. Ideally one with either a longer shell or contact pin so it will reach the bottom of the socket, and ideally 2 USB ports at 2amps each.
If you have a suggestion, please leave a comment!
On longer drives when using the phone as a GPS, it’s nice to be able to power the phone while driving and not arrive with an empty battery.
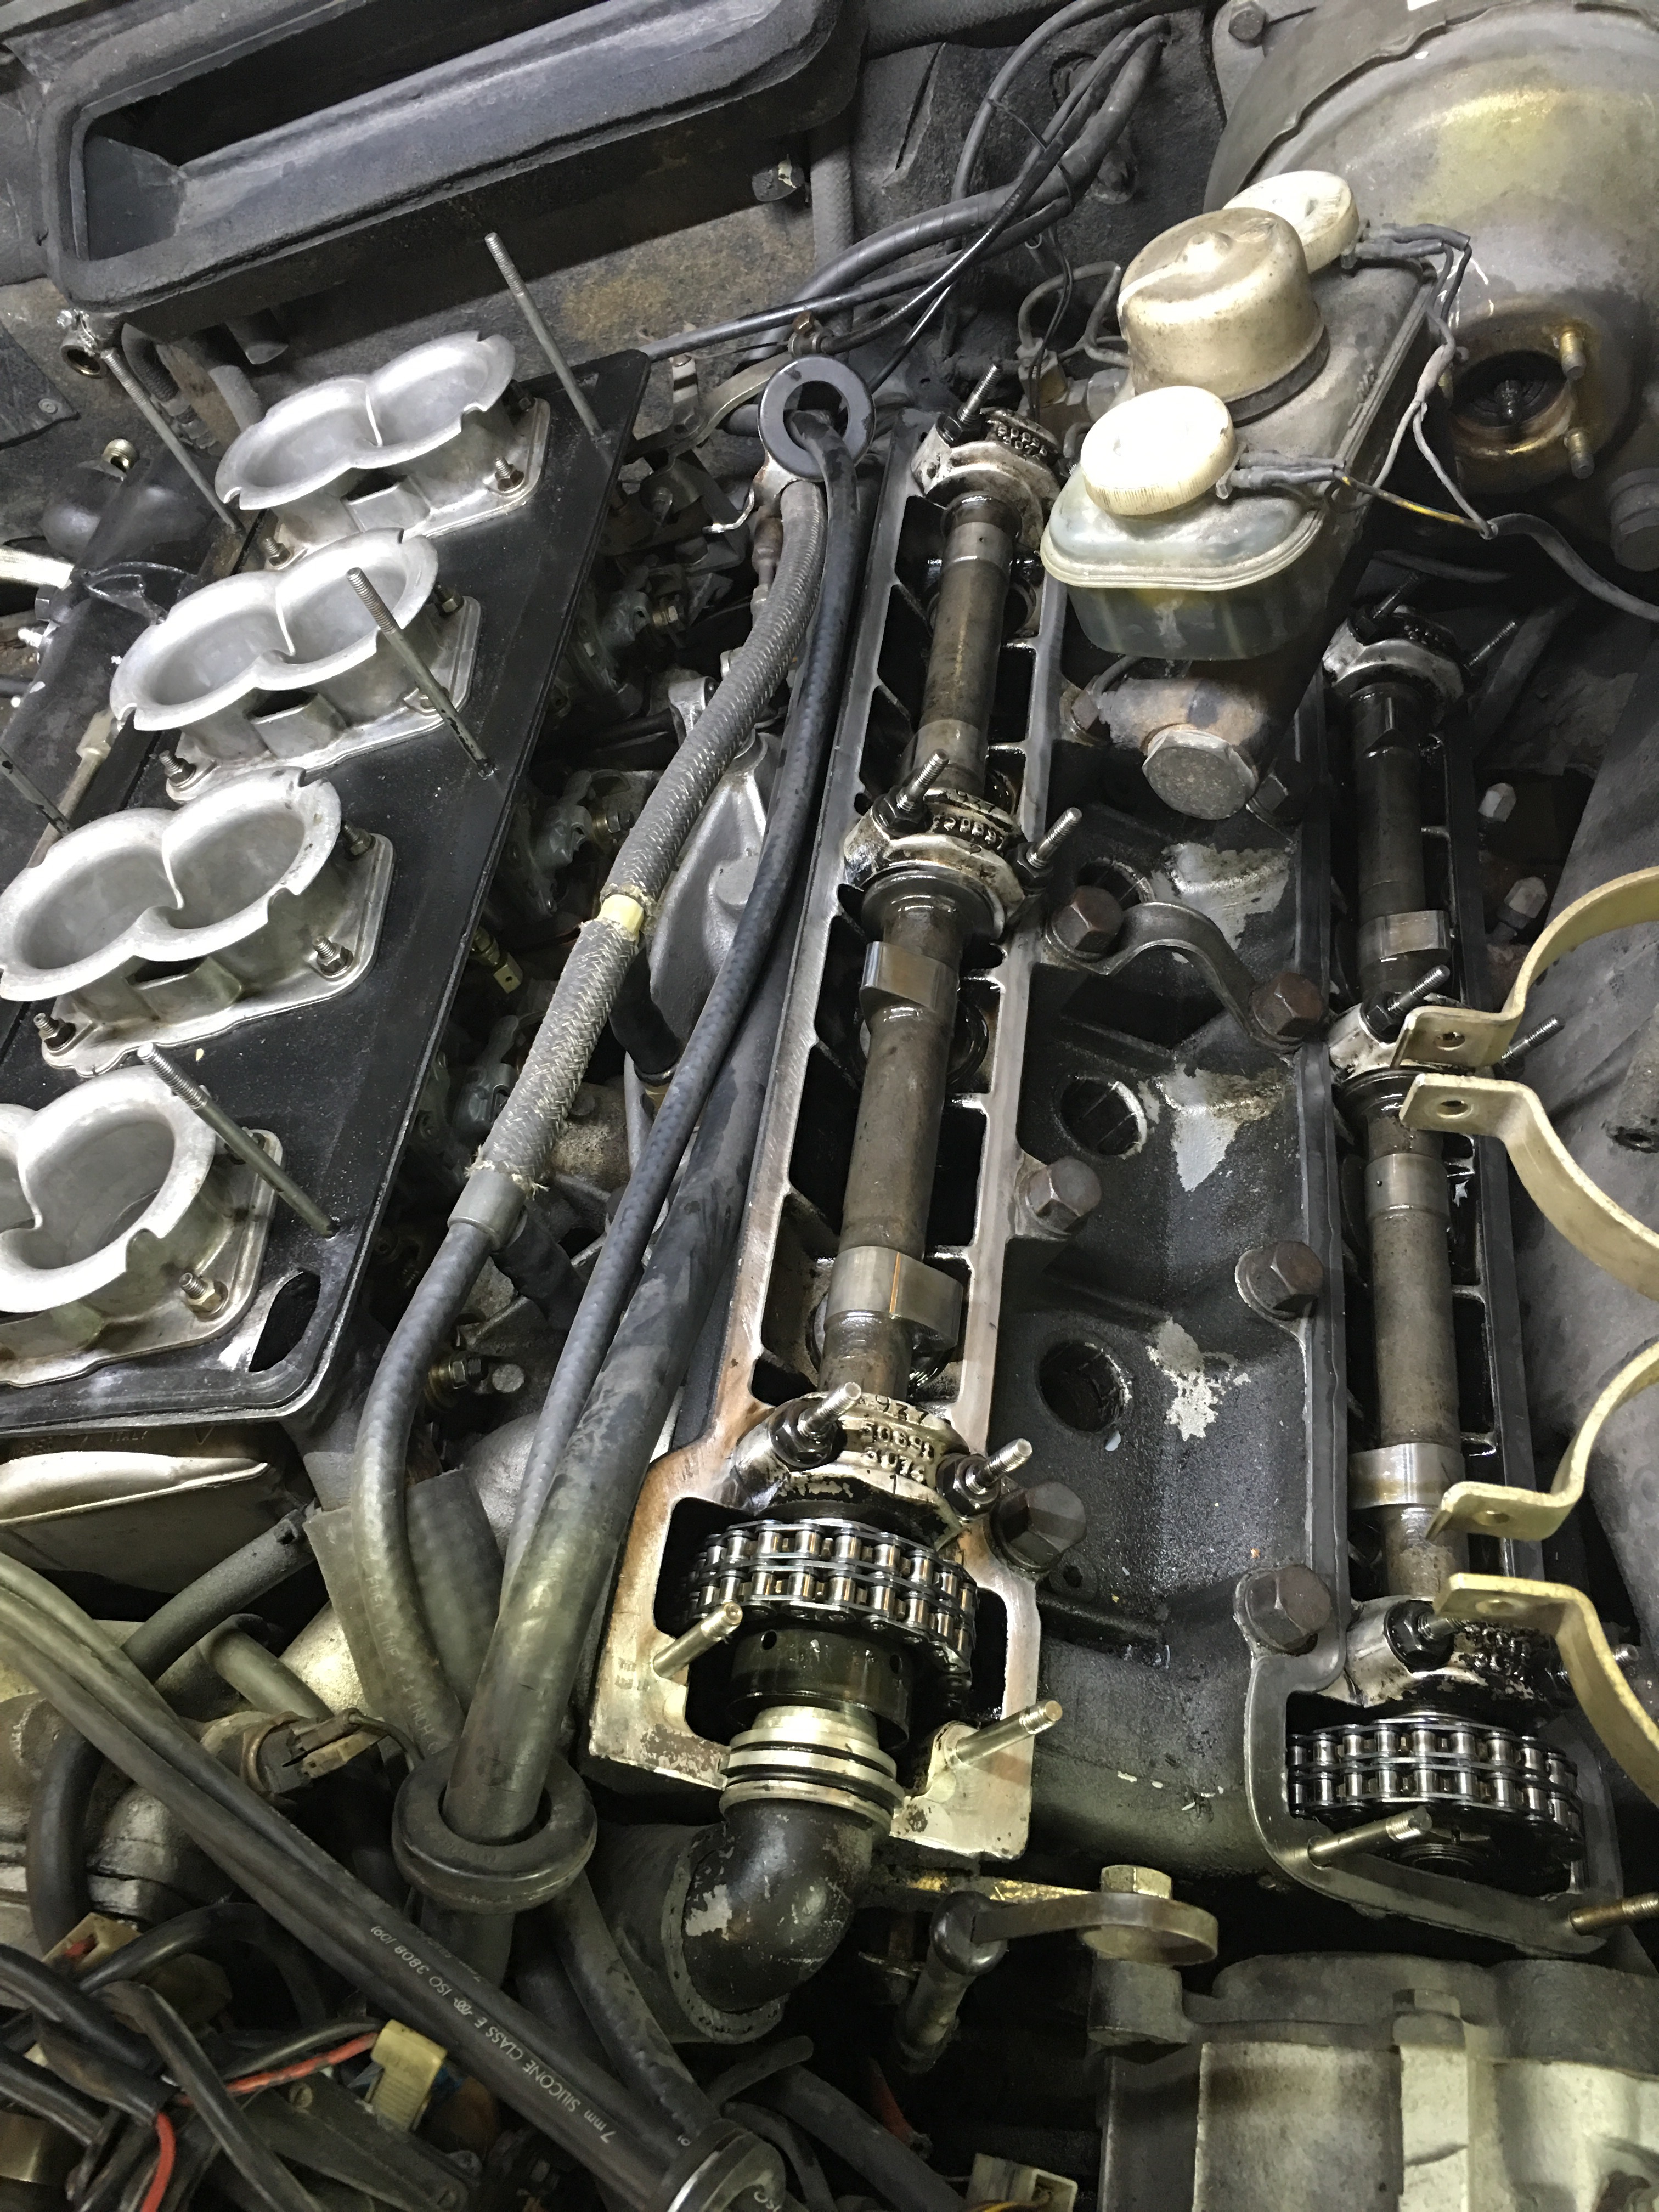
In an as-yet unposted blog entry, I’ll entertain you with my clumsiness and all thumbs dexterity during some wrenching I did last year (2015), and which resulted in an unplanned visit to the emergency ward (mechanics) to pull the cam covers. Nothing serious, thankfully, but immensely educational and slightly punishing to my wallet.
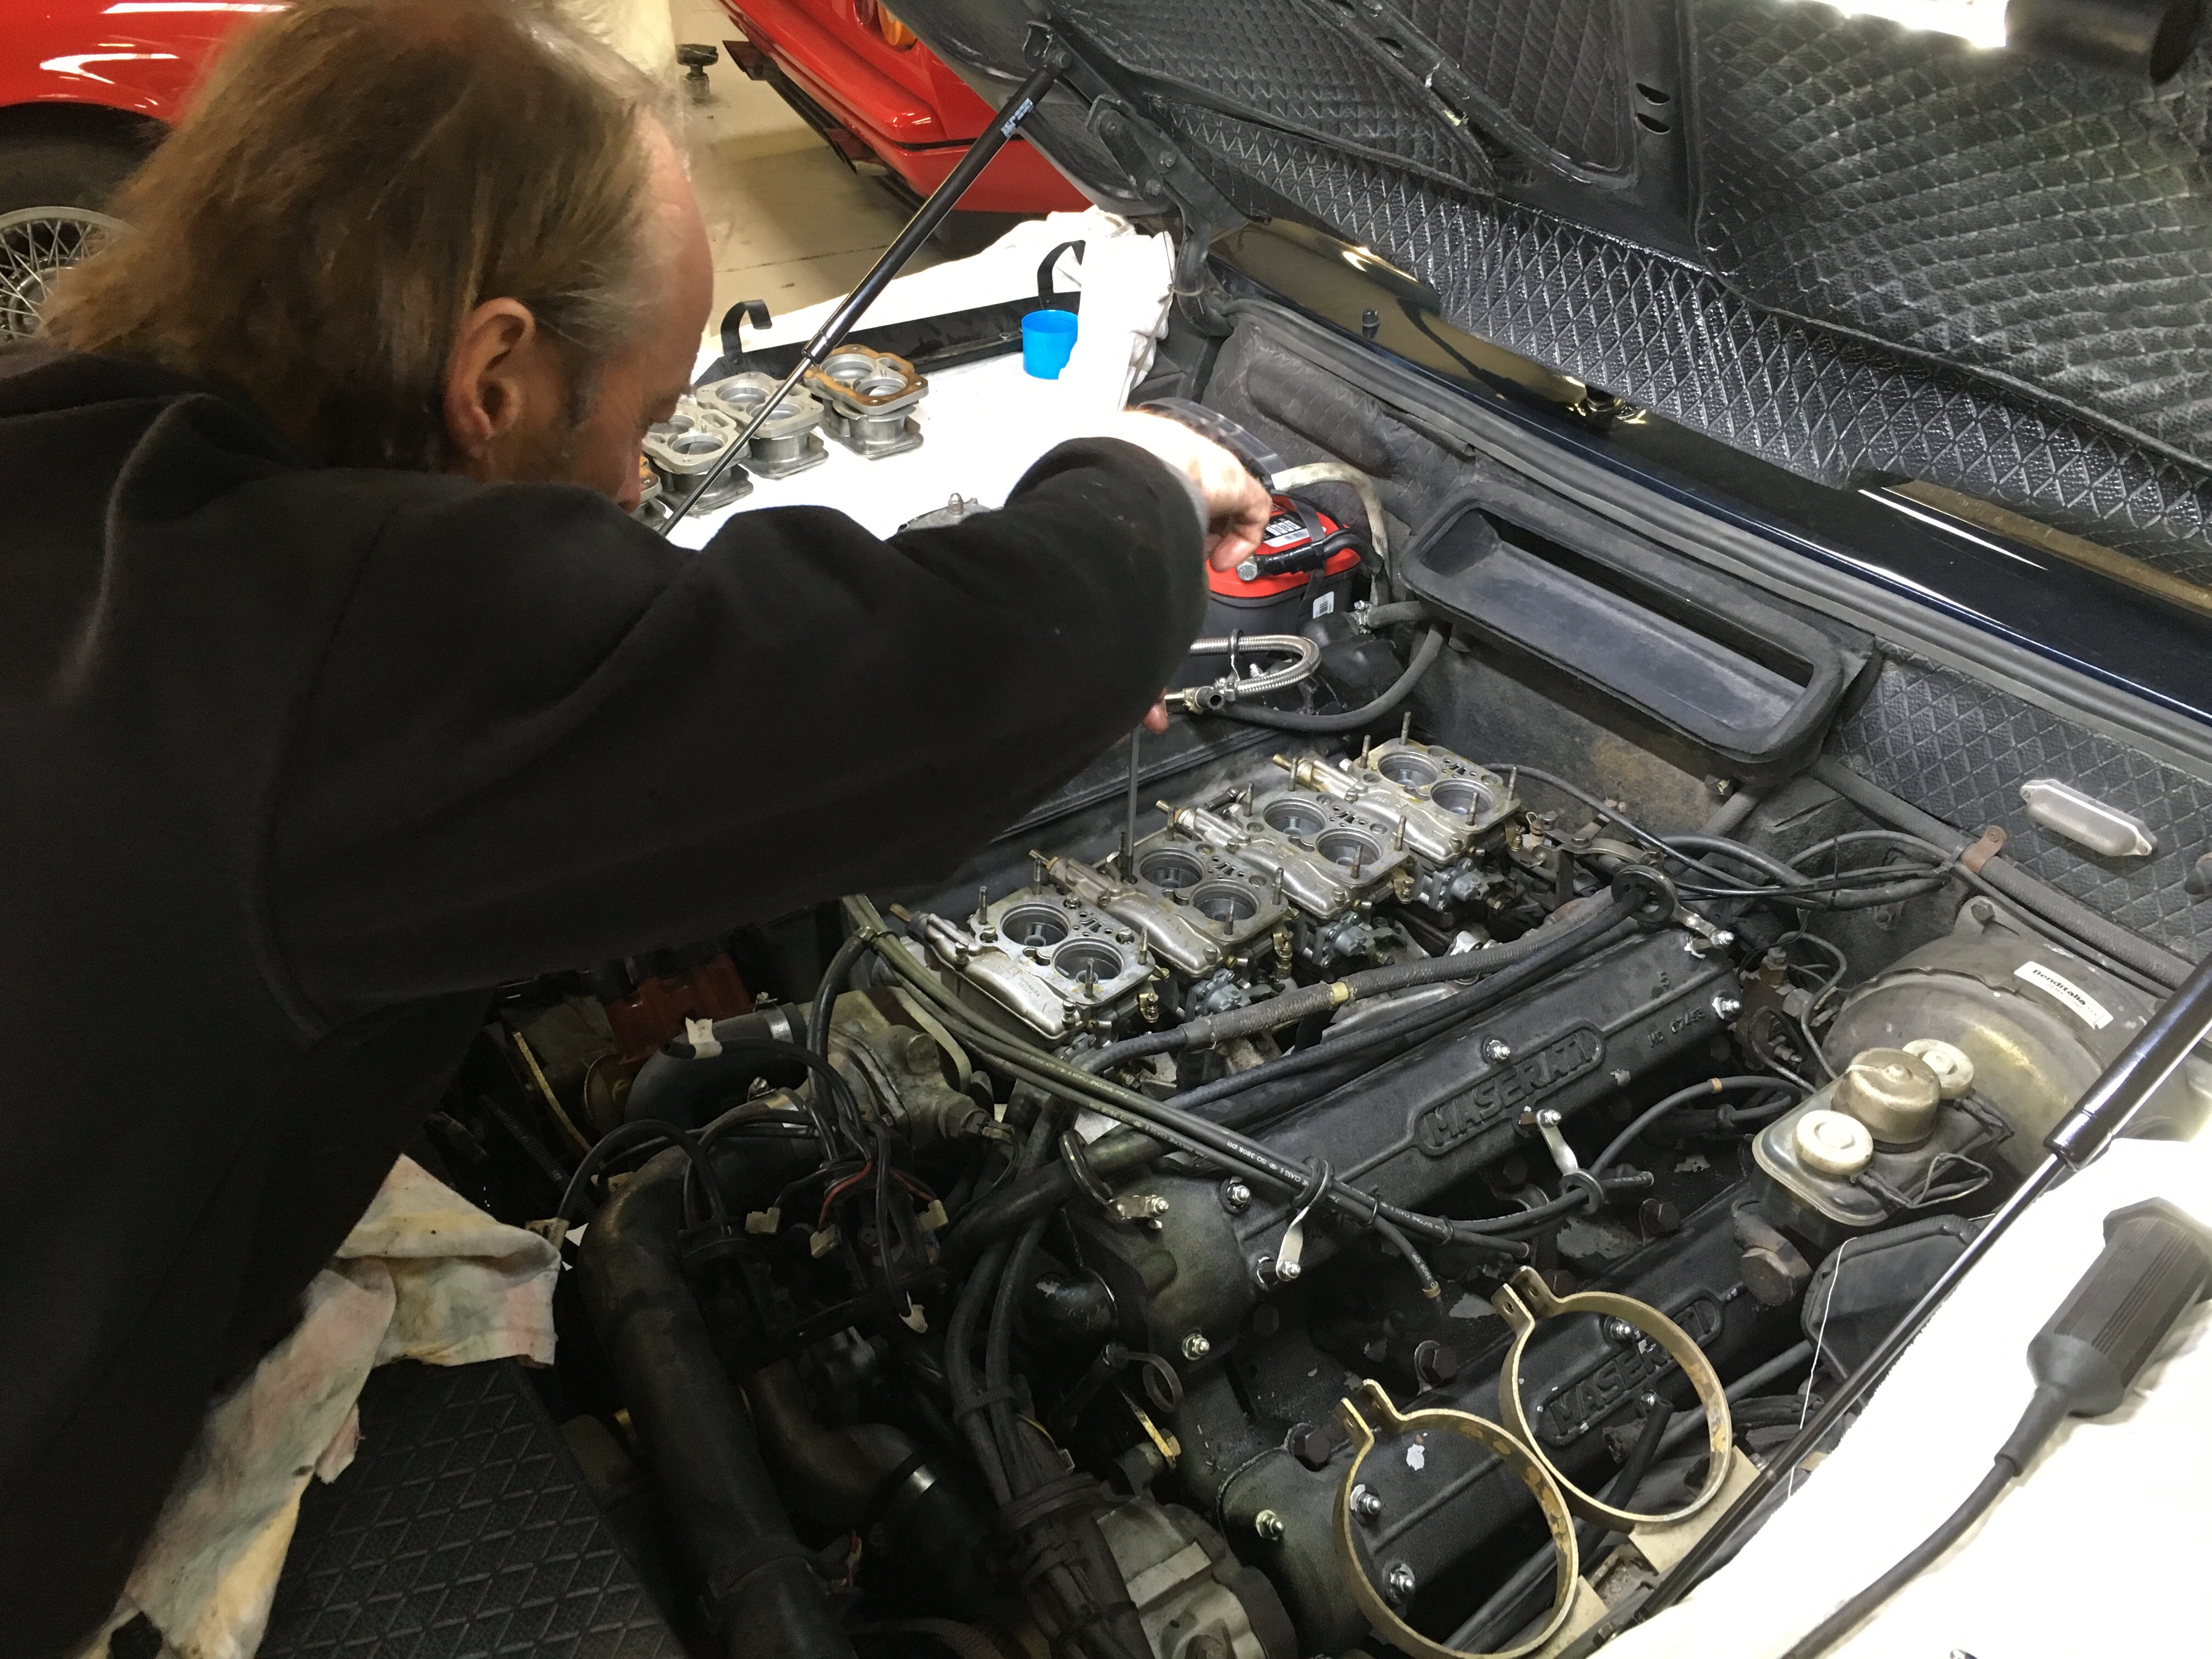
The mechanic was thoughtful enough while he was in there to measure the valve clearances (aka “lash”) as well as put a camera into each cylinder to see the condition of the pistons, valves and cylinder walls. The gods of metallurgy and chemistry have apparently smiled upon Sylvia, the cylinder walls showed no signs of wear or scoring, the pistons looked good and the valves as well. That would explain the excellent compression values and leak down results obtained earlier.
There was however a problem with the valve clearances, several being far out of spec. He gave me a choice, he could do them (learning along the way, for Maserati has their own way of doing things which differs enough from his Ferrari experience that he can’t make any assumptions) or I could take a drive to a specialist on the continent to have a look at it.
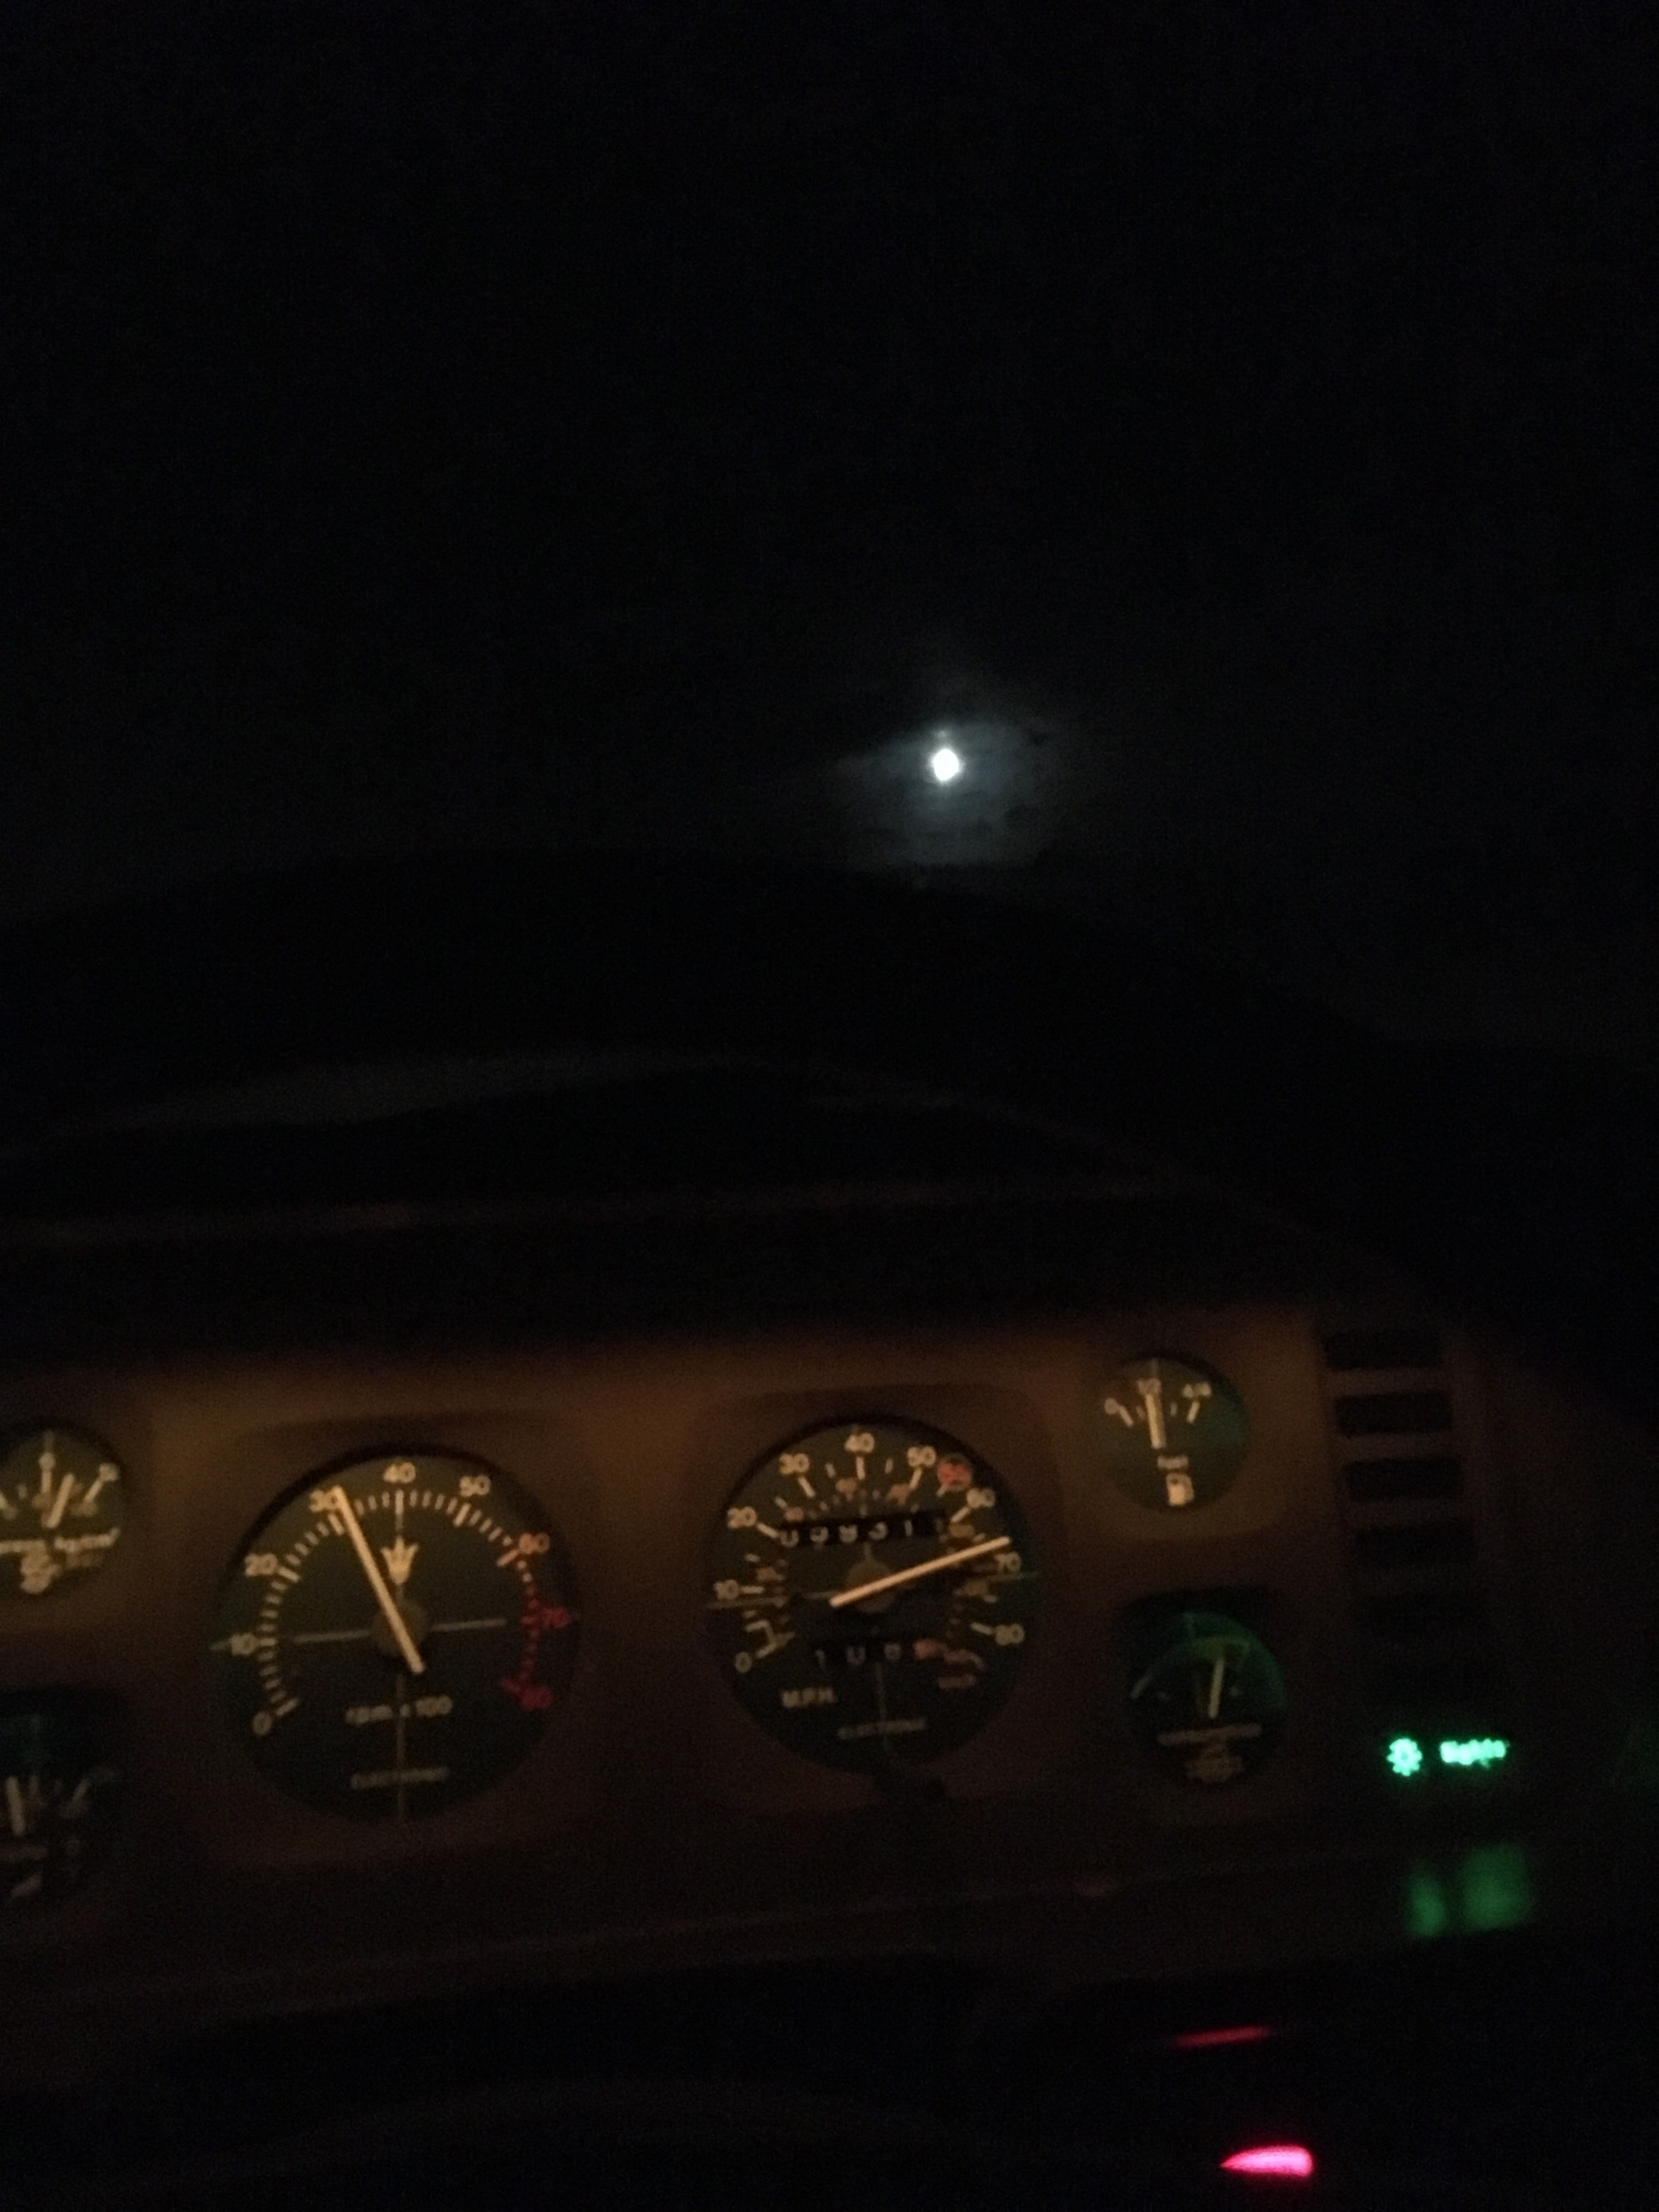
When one the choices includes a road trip, I’m pretty much sold already! So I packed a small bag, tossed my camera in the car and was on my way to Denmark to have the valves and cans adjusted. Coming off the ferry at night made for a beautiful “moon over Maserati” picture, as you can imagine.
The mechanics in Denmark have been doing this, on these cars, for decades. They know their stuff. Sylvia turned out to be in good shape, but definitely in need of a valve adjustment, as well as tightening up the timing chain. After the job was done we fired her up and I can’t say I’ve ever heard her purr smoother or queiter than at that time. Beautiful!
Even better was that due to the differences in labor costs, it was actually cheaper to drive to Denmark and have the job done than going local. Add to this the lack of local Maserati V8 specific knowledge and it’s a no-brainer.
Now to tweak and adjust the carbs – again. I’m gradually becoming an expert at tuning webers. Not sure there’s much use for it, but it is a lot of fun!
Stay tuned.
Well, fair enough. I did. For a while. Life has required my attention in other areas lately, leaving the blog to languish.
My apologies to subscribers and those following my ordeals. Rest assured that they have not abated, merely been pushed to the back burner while I attend to other matters.
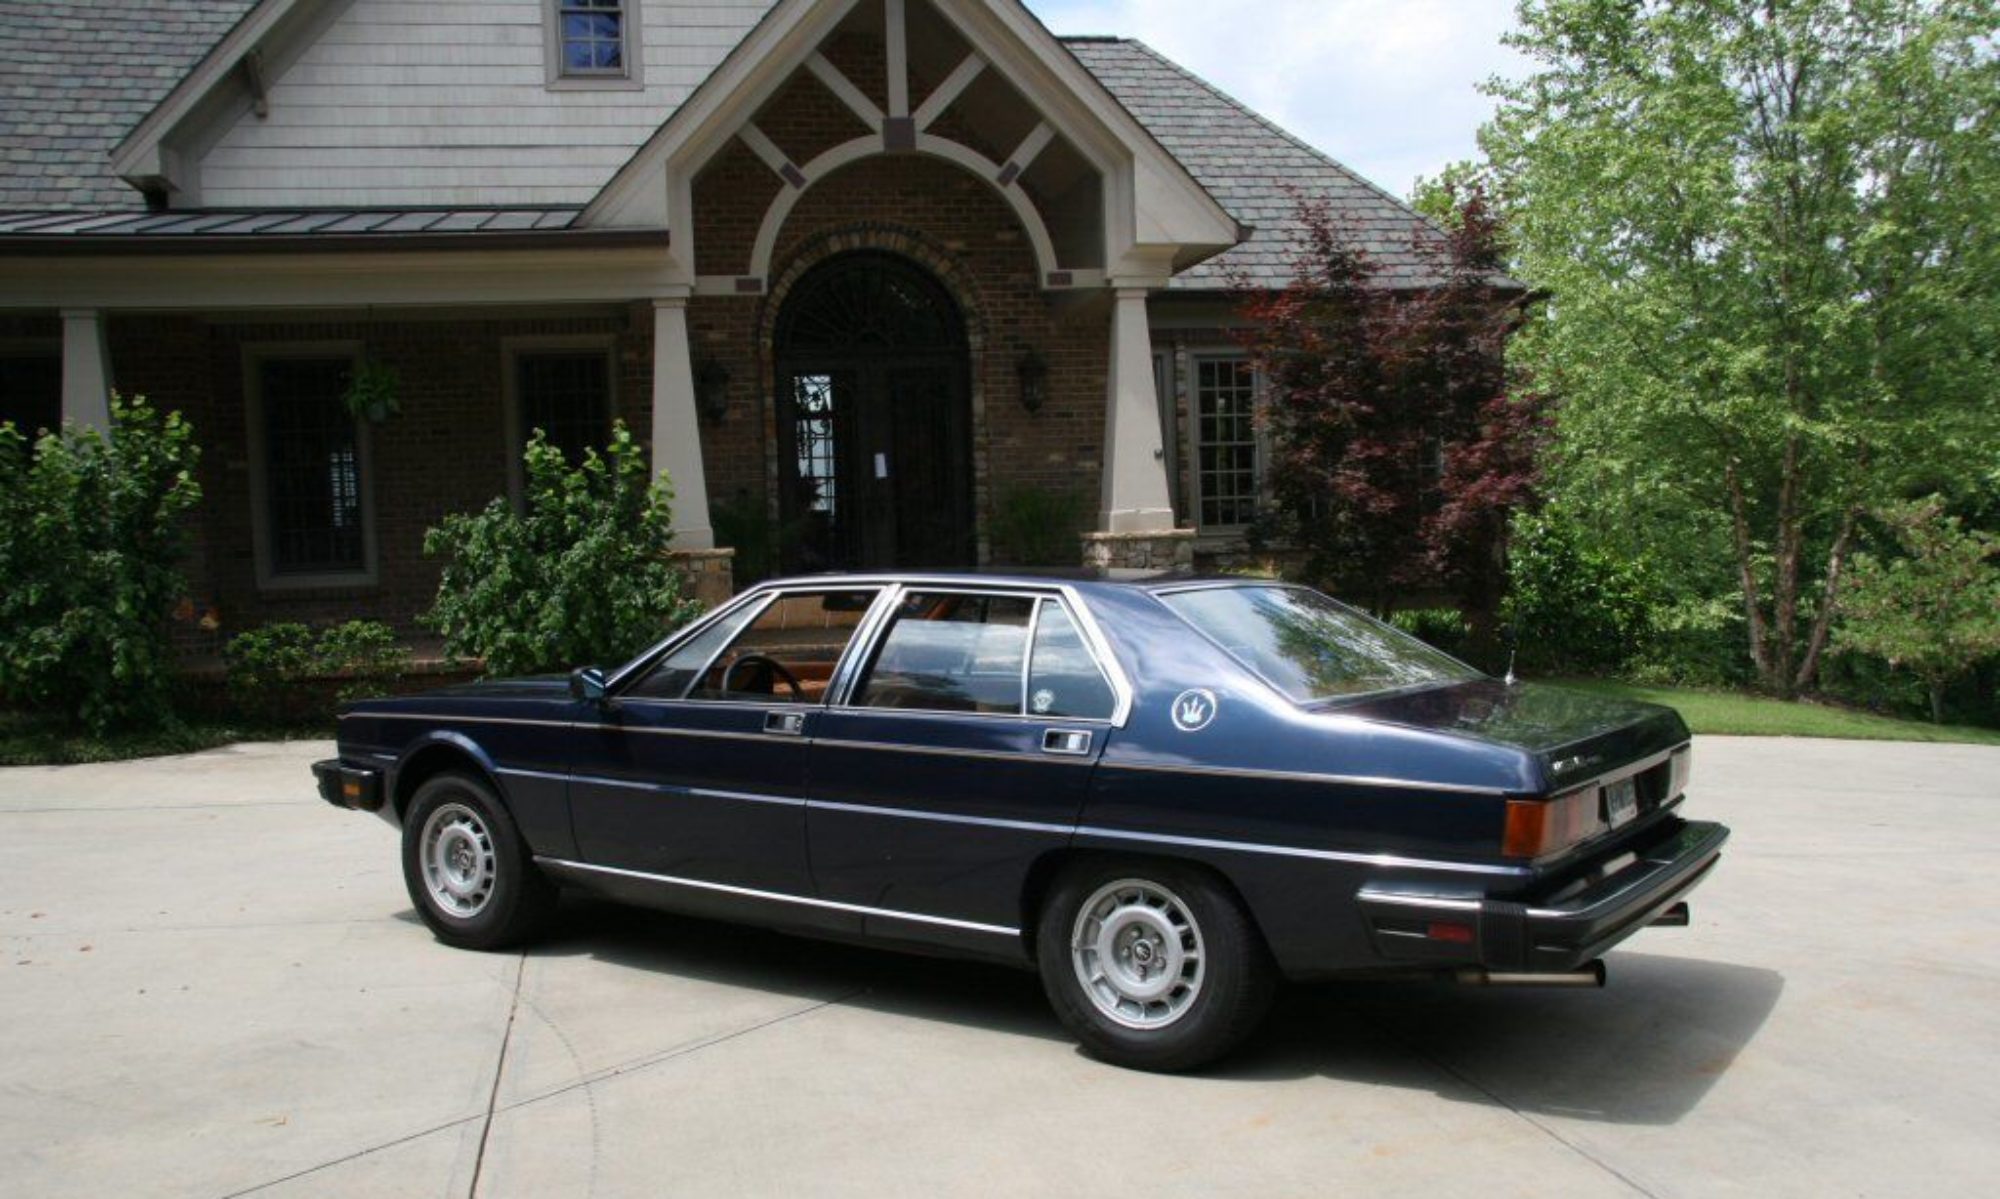
Some time ago, I managed to back into a concrete “tree stop”, short and stubby concrete barrier to protect trees. In the fog and rain, their grey color combined with low height (under what you normally see in the rear view mirrors, but high enough to meet the bumper) and washed out reflector strip made it effectively invisible. Long story short, I hit it and pushed the bumper into the body, triggering the gas-filled shock and thankfully stopping just at the new paint job. Whew!
Now you see it
Now you don’t!
Due to other responsibilities, it’s been a while since then, and I had to order a replacement gass-filled bumper shock. When it arrived, I found it was too long (remember I’ve moved the bumpers closer to the body, so it’s the same as the Euro models), so had a friend put it on his metal bandsaw. Lucky for us (very lucky), when the cut was complete we realized it had *just missed* the gas charge, as the internal dimensions have changed. We were lucky. Had the saw cut into the charge itself, kaaa-BOOM! I don’t want to think about it.
Like the saying goes, the third time’s the charm.
The first time, I had a friend over to help fit the bumper, we got it in place on the car but no amount of fiddling or sweet talking would get the bolts to grip the bumper. Hmm. Irritating, but ok, we’ll just try again later.
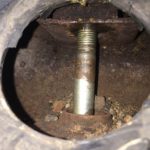
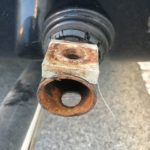
The bumper has a metal cage, two actually, one for each bumper mounting post. The cage contains a metal slab of steel about 1/2″ thick, with a threaded hole in the middle. On top of the mounting post (with the gas charge, mounted in the car) is an aluminum spacer plate that is flat on top (to rest the bumper cage on) and radius cut on the bottom (to fit the curvature of the mounting post, which is round). All of this forms a sandwich, and since the threaded locking plate (captive in the cage) is free to move about, within limits, one can adjust the bumper position until everything lines up.
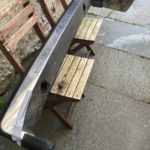
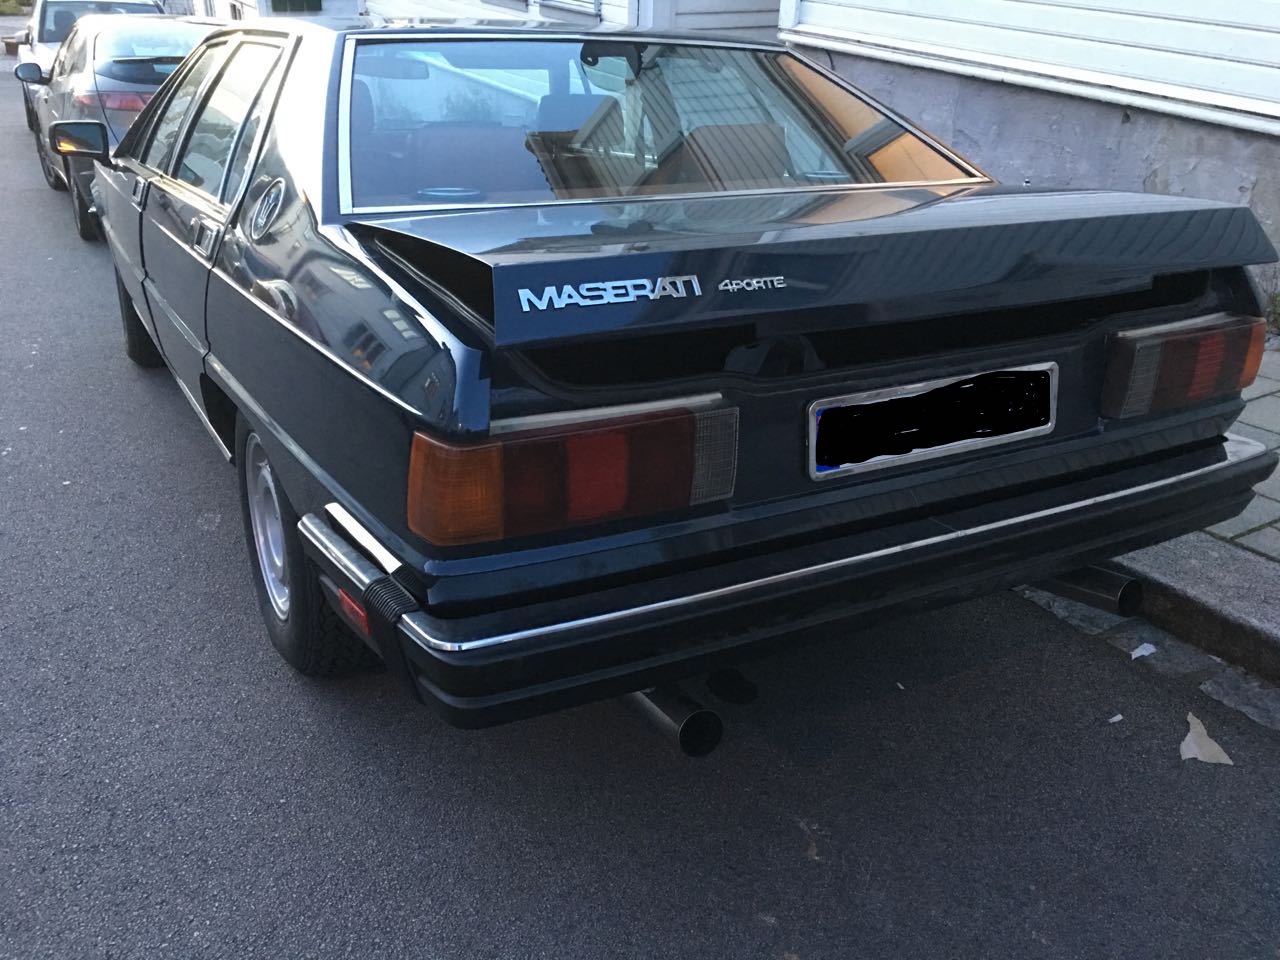
Bumper on test bed
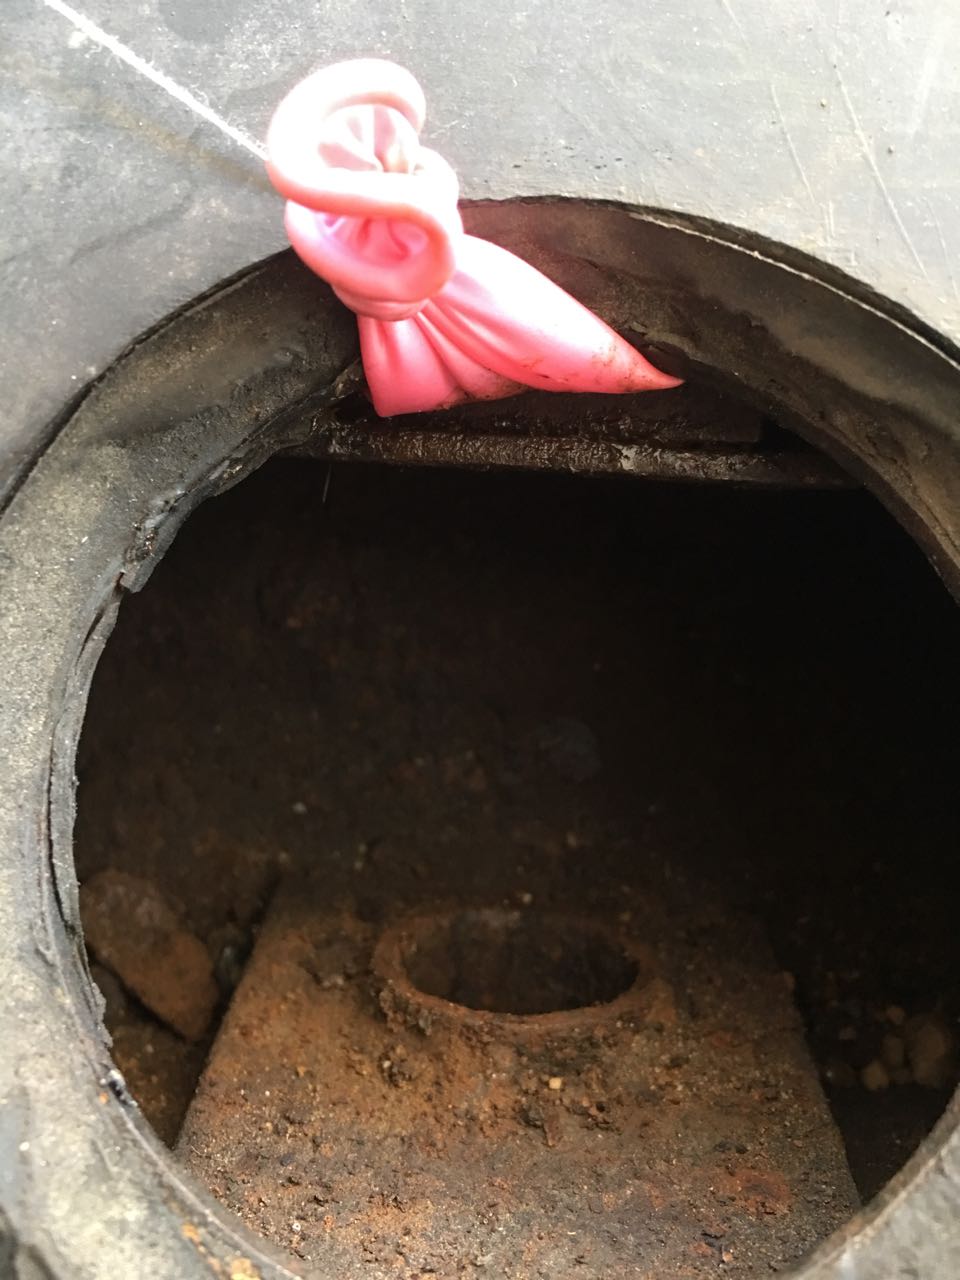
Bolt engages with threaded metal plate in captive cage
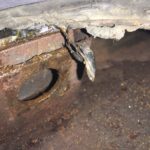
captive cage doesn’t prevent metal plate from tipping or even standing on edge, as seen here
Aluminum spacer, interface between mounting post and bumper
Except it doesn’t always seem to work. A second attempt last weekend resulted in more fiddling, and this time cursing, but no success.
Finally, I set the bumper up on a few old garden chairs, and experimented with the bolt and captive threaded plates, and found that they have enough wiggle room to actually tilt up at an angle and get stuck there, one would actually tip up onto it’s edge. Needless to say, the bolt will never find the threads with the plate in anything but a horizontal position. Thinking about what I could do to ensure it didn’t tip up when we were trying to fit the bumper, I considered a small metal clamp, like a paper clip or similar to hold it in position, but that wouldn’t keep it from lifting up when we put the bolt in. Then I remembered that we had some party balloons left over from a recent kid’s birthday….
Happy birthday to you,
With a miniature air bladder above each threaded plate to prevent it from moving too much, we gingerly lifted the bumper into place on the mounts, and adjusted it to get everything lined up, and the bolts went right in without any problems at all. Snugged everything up, installed the light bulbs for the side markers and new lenses, and went for a test drive (have to make sure the bumper doesn’t just fall off!).
Problem solved. In a quite self-gratifyingly creative manner.
(And if I do need to take a break again at some point, a not unlikely occurrence, I will try and keep it to a minimum, or at least let you all know. It’s good to be back!)