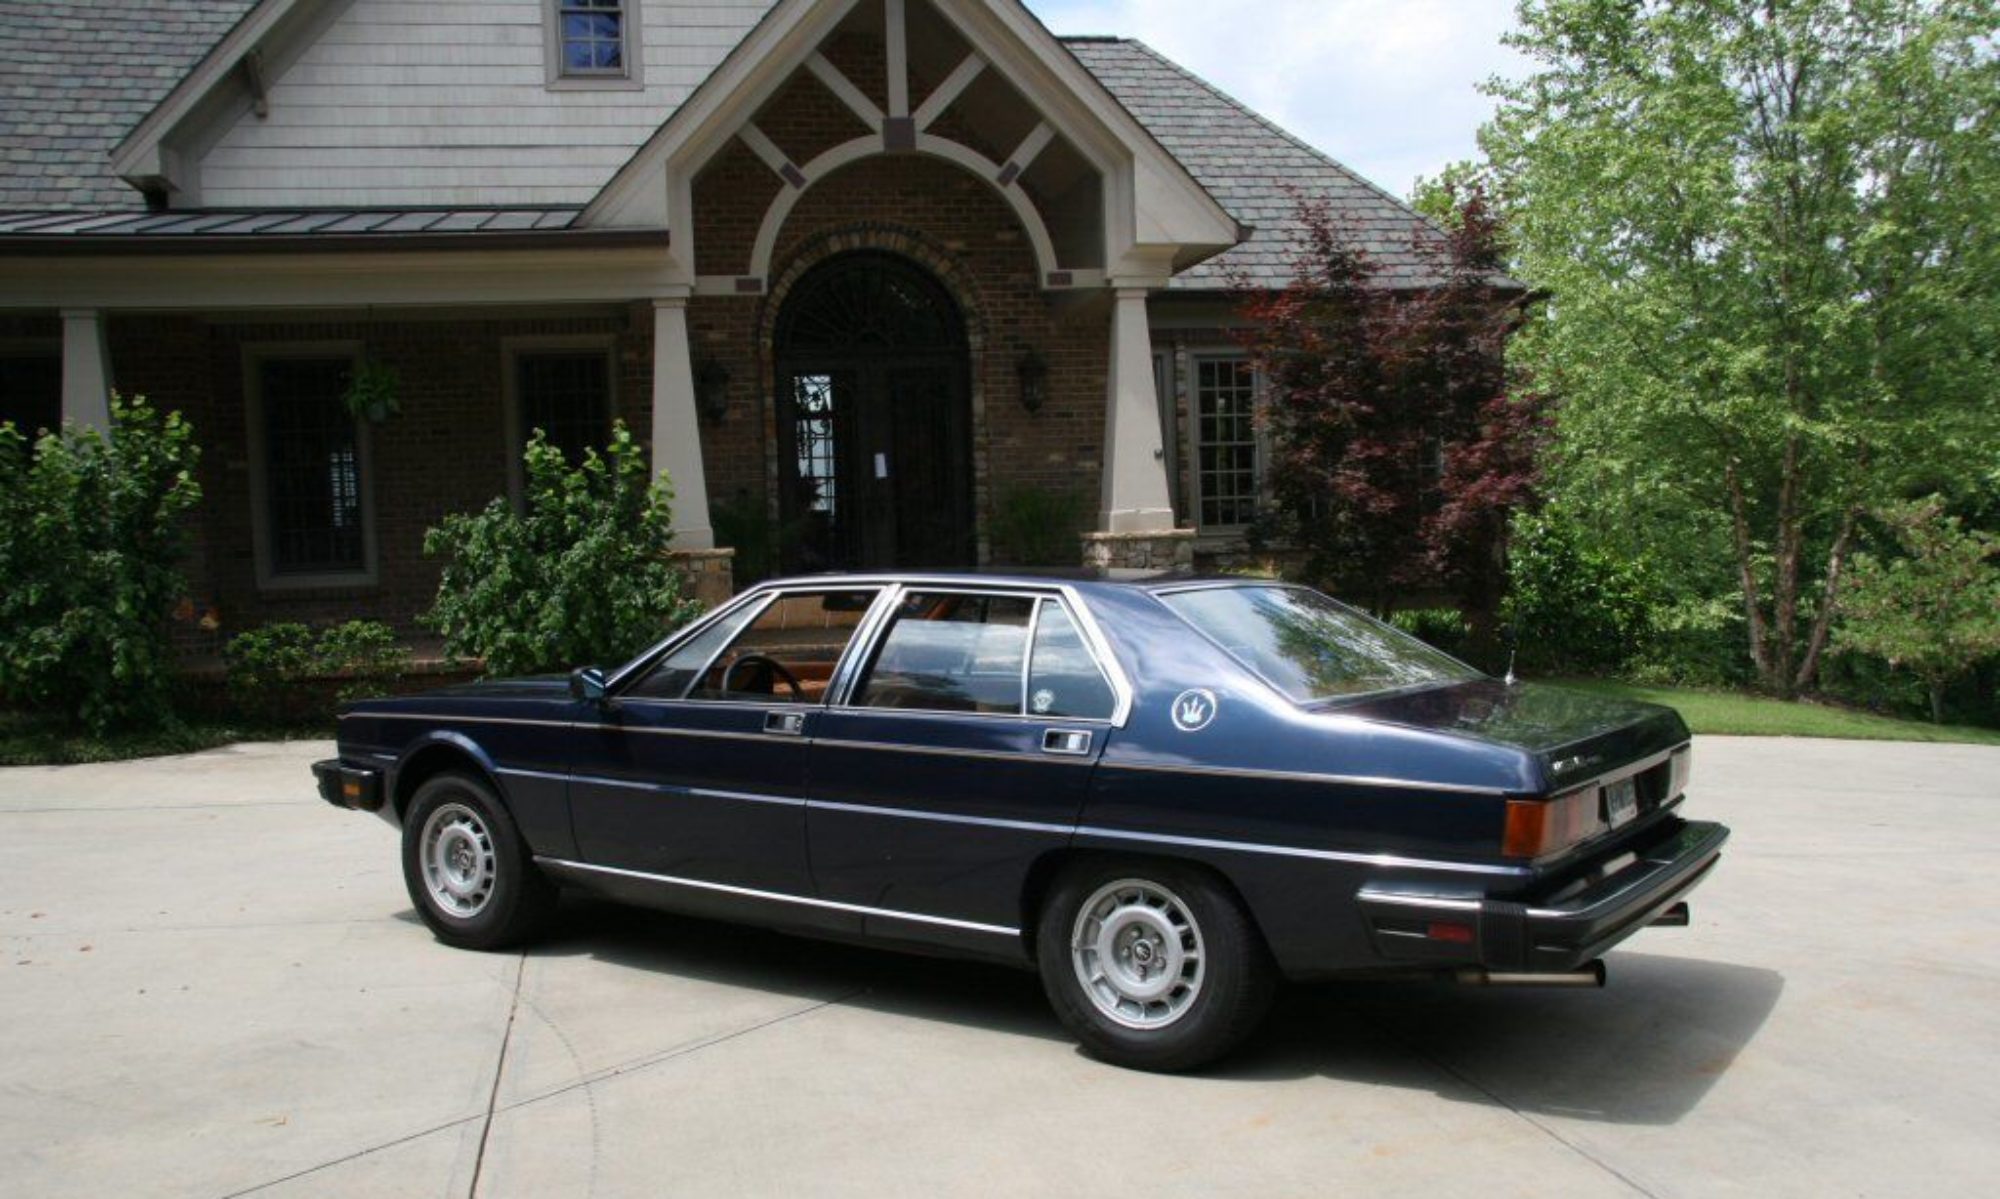
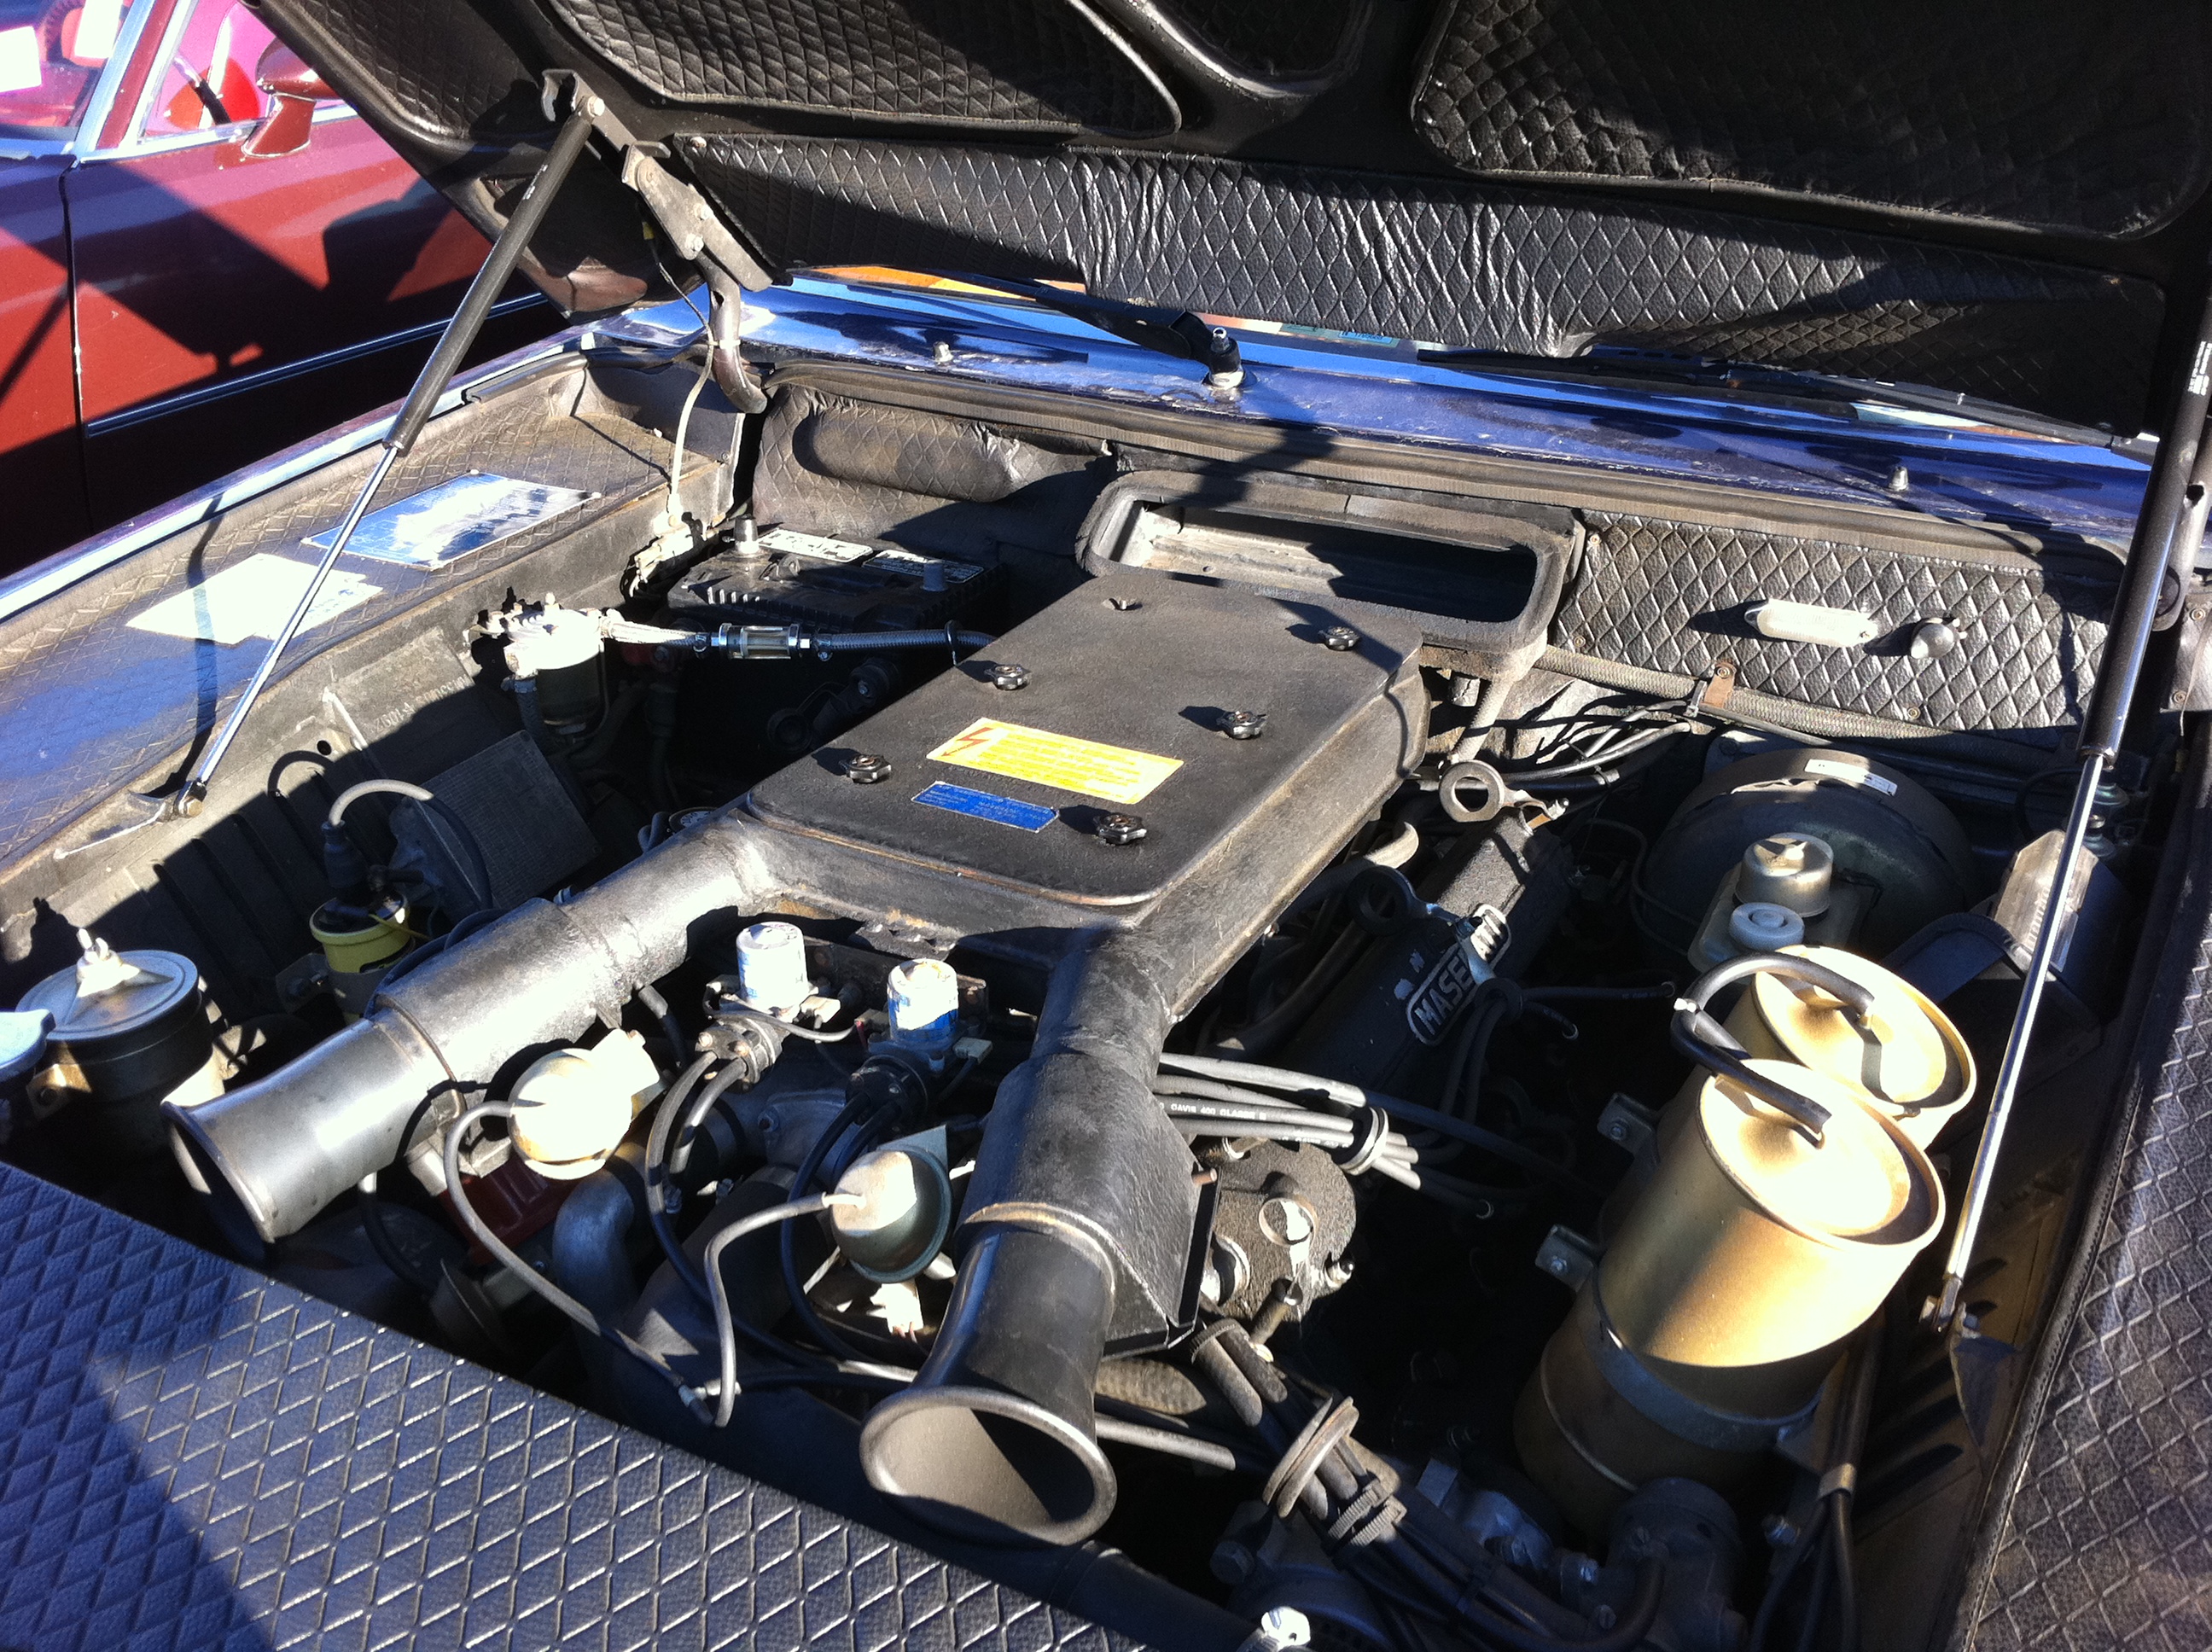
Sylvia is still at the mechanics getting her physical checkup, new belts, filters, tuning, etc. As part of her checkup, the shop tested cylinder compression and performed a leakdown test.
The results indicate that the compression is good to excellent and even on all cylinders.
A big “thank you” to a friend in Holland who recently discovered how much catalytic converters contribute – he mounted new cats on his QP3 and reduced CO emmisions from 6% to 0.09% (!!!).
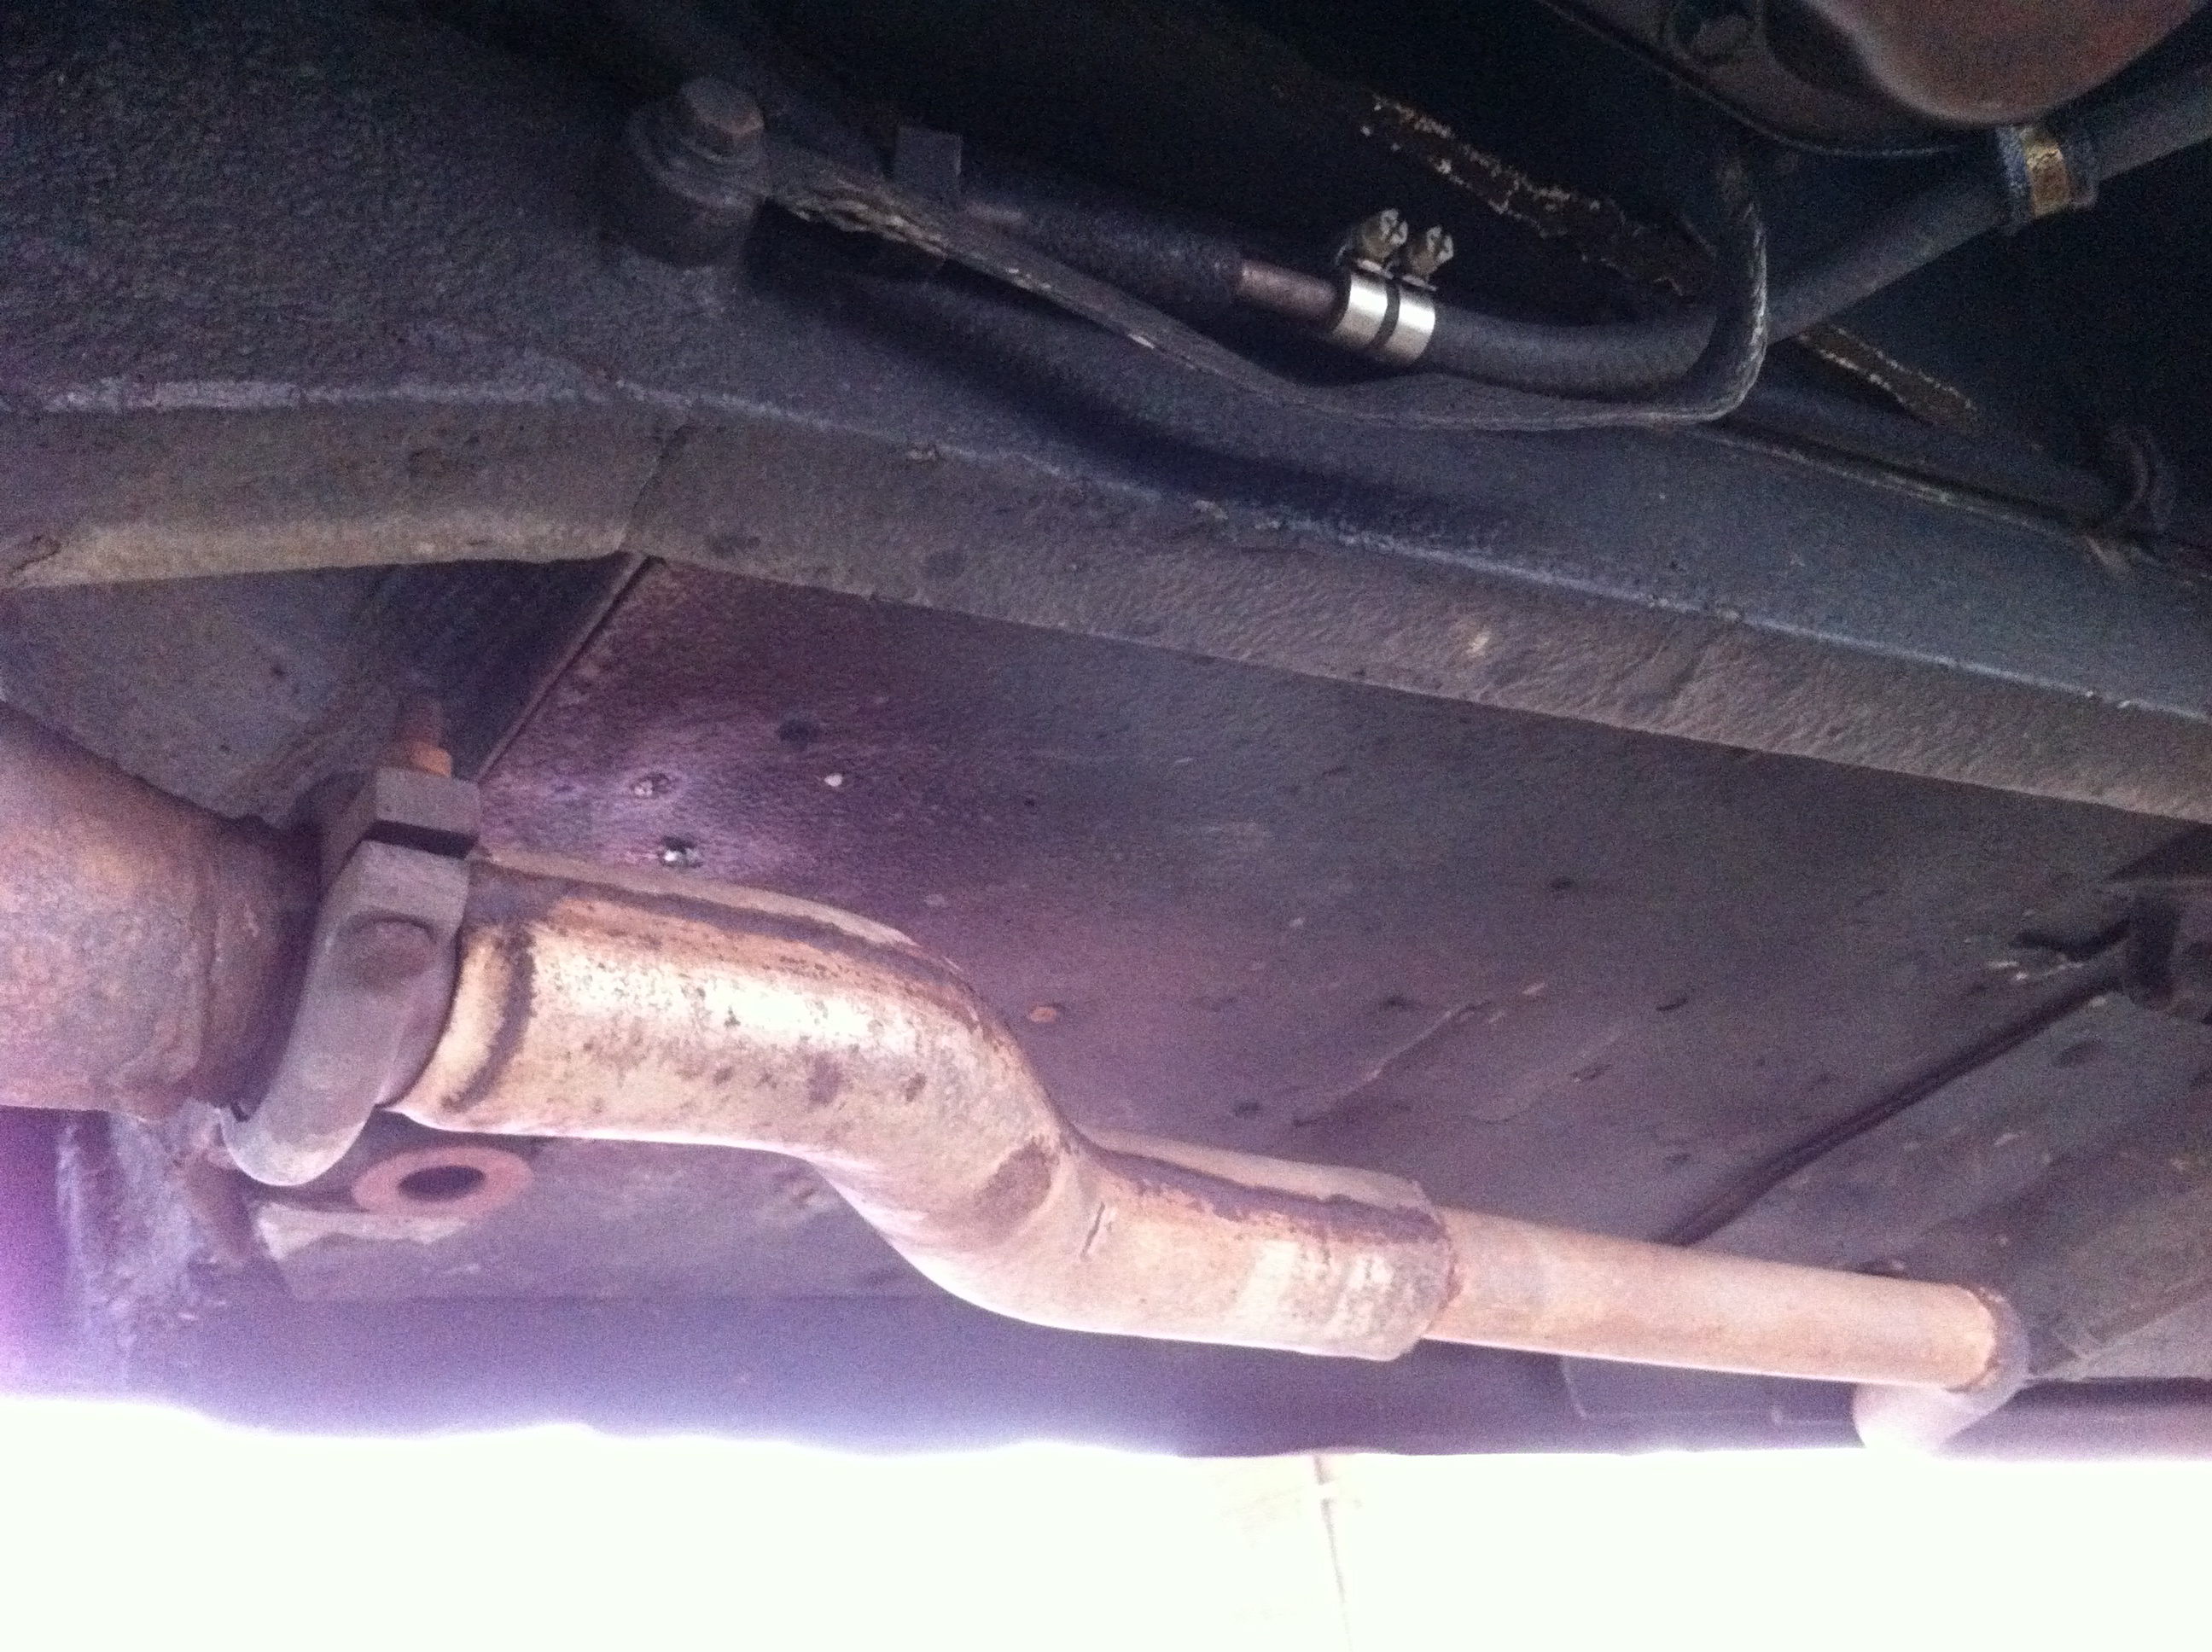
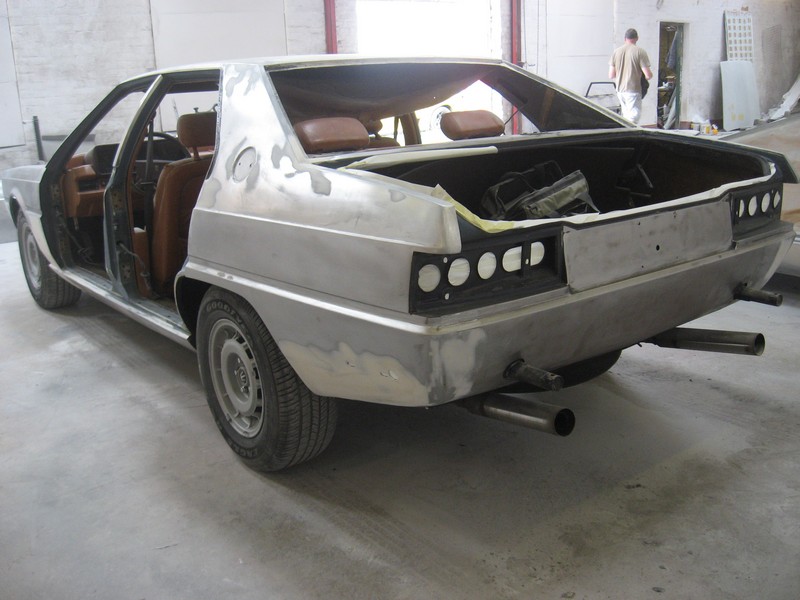
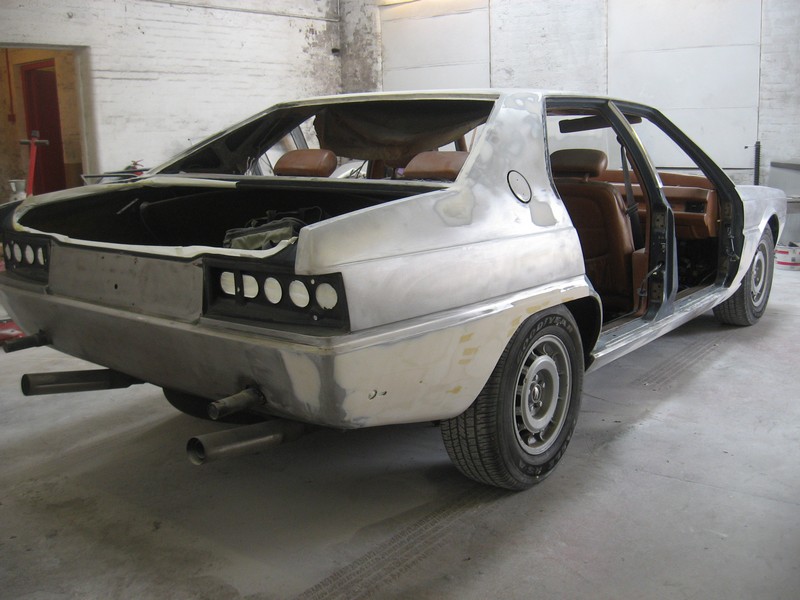
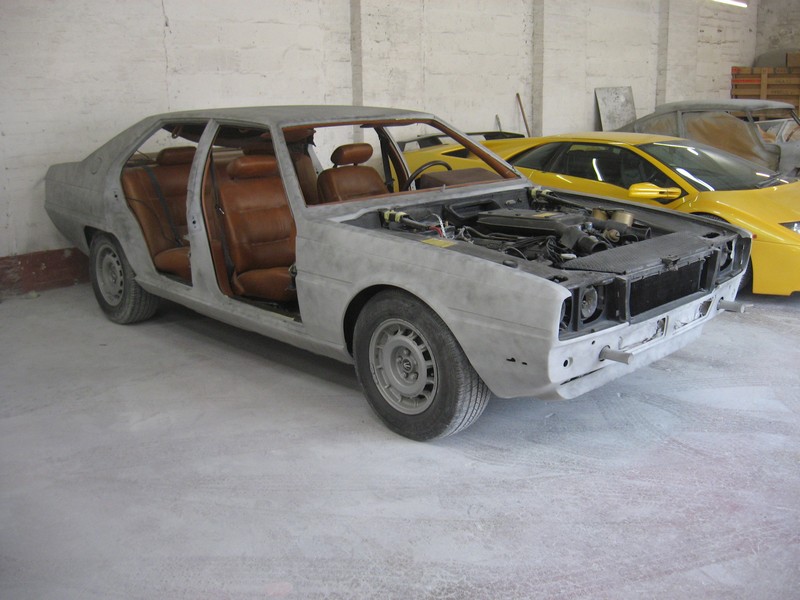
The catalytic converters on my car, as with so many others, had at some point been removed by a previous owner, with a section of straight pipe welded in it’s place. Despite that, the car passed inspection both when imported and more recently at my latest MOT.
Catalytic converter replaced by straight pipe.
One of the problems with 6% CO emissions figures, is that on any drive longer than 15-20 minutes, the occupants are going to notice. Several owners have reported headaches as a result.
My Dutch friend was happy to say that not only were the headaches gone, but the wonderful sound of the exhaust remains unaltered with high-flow sports cats.
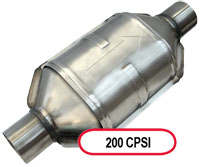
I found a 200cpi oval sport cat from Redback (Australia) and will install it soon.
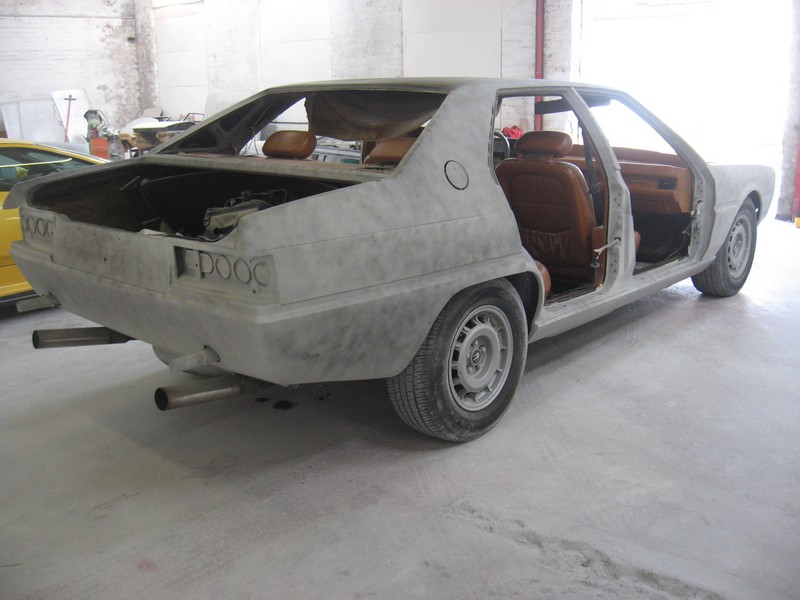
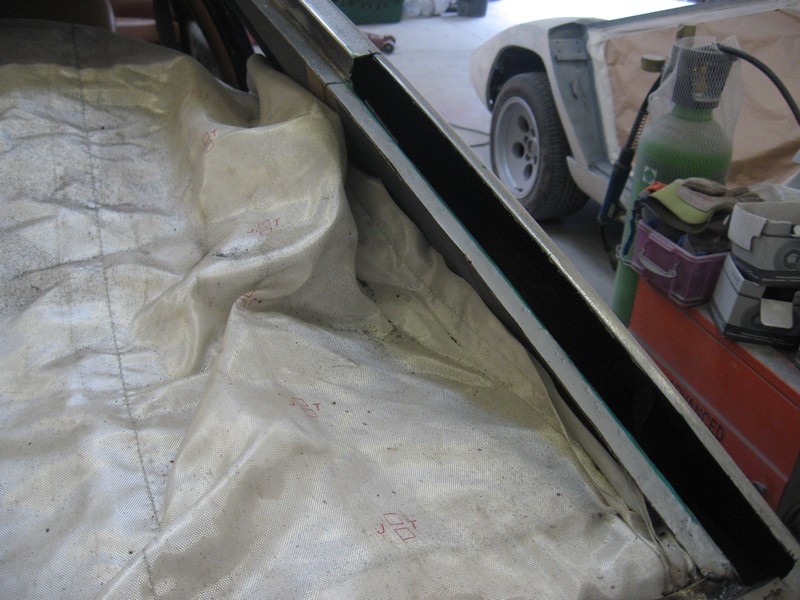
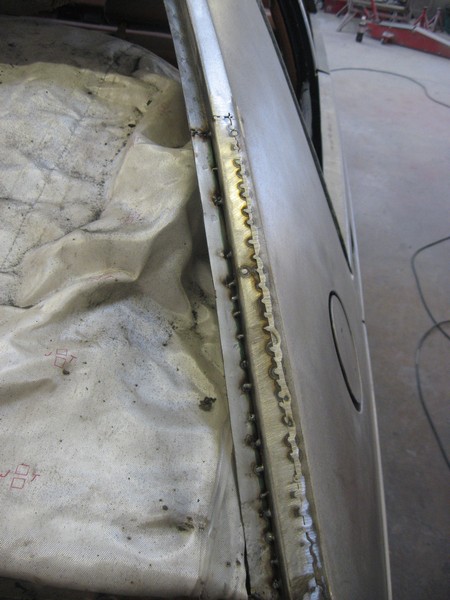
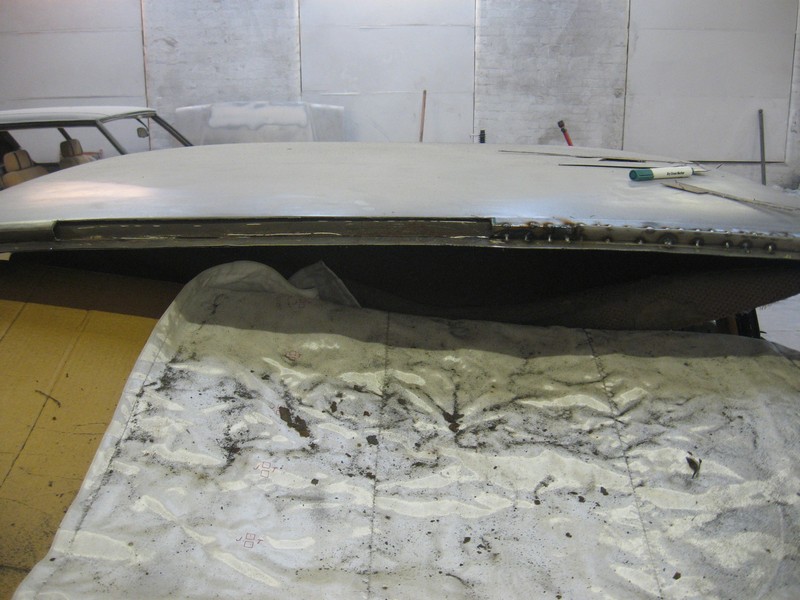
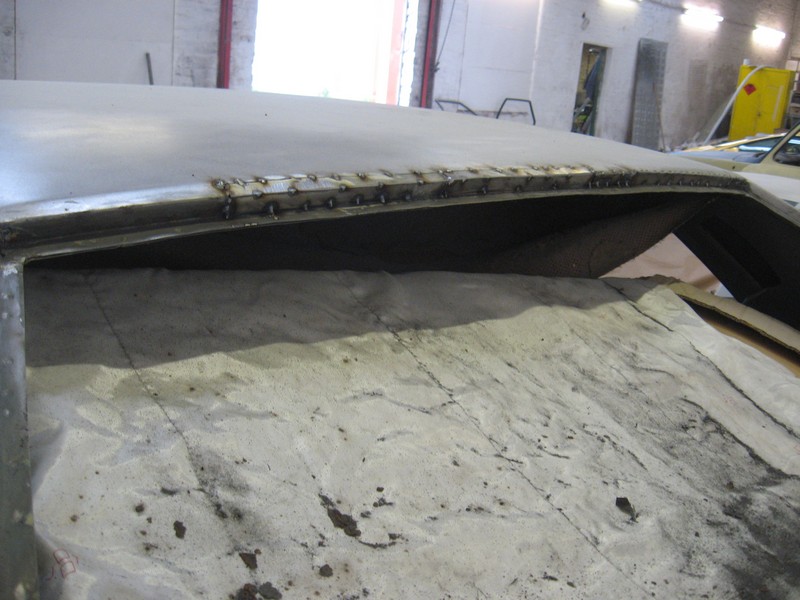
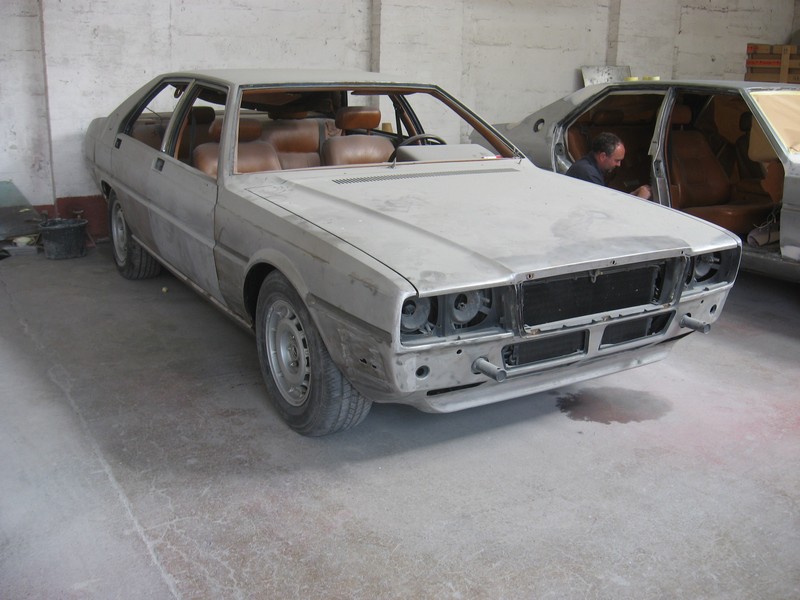
While the car is out at the mechanics, let’s have a look at some of the work that I’ve done with the interior.
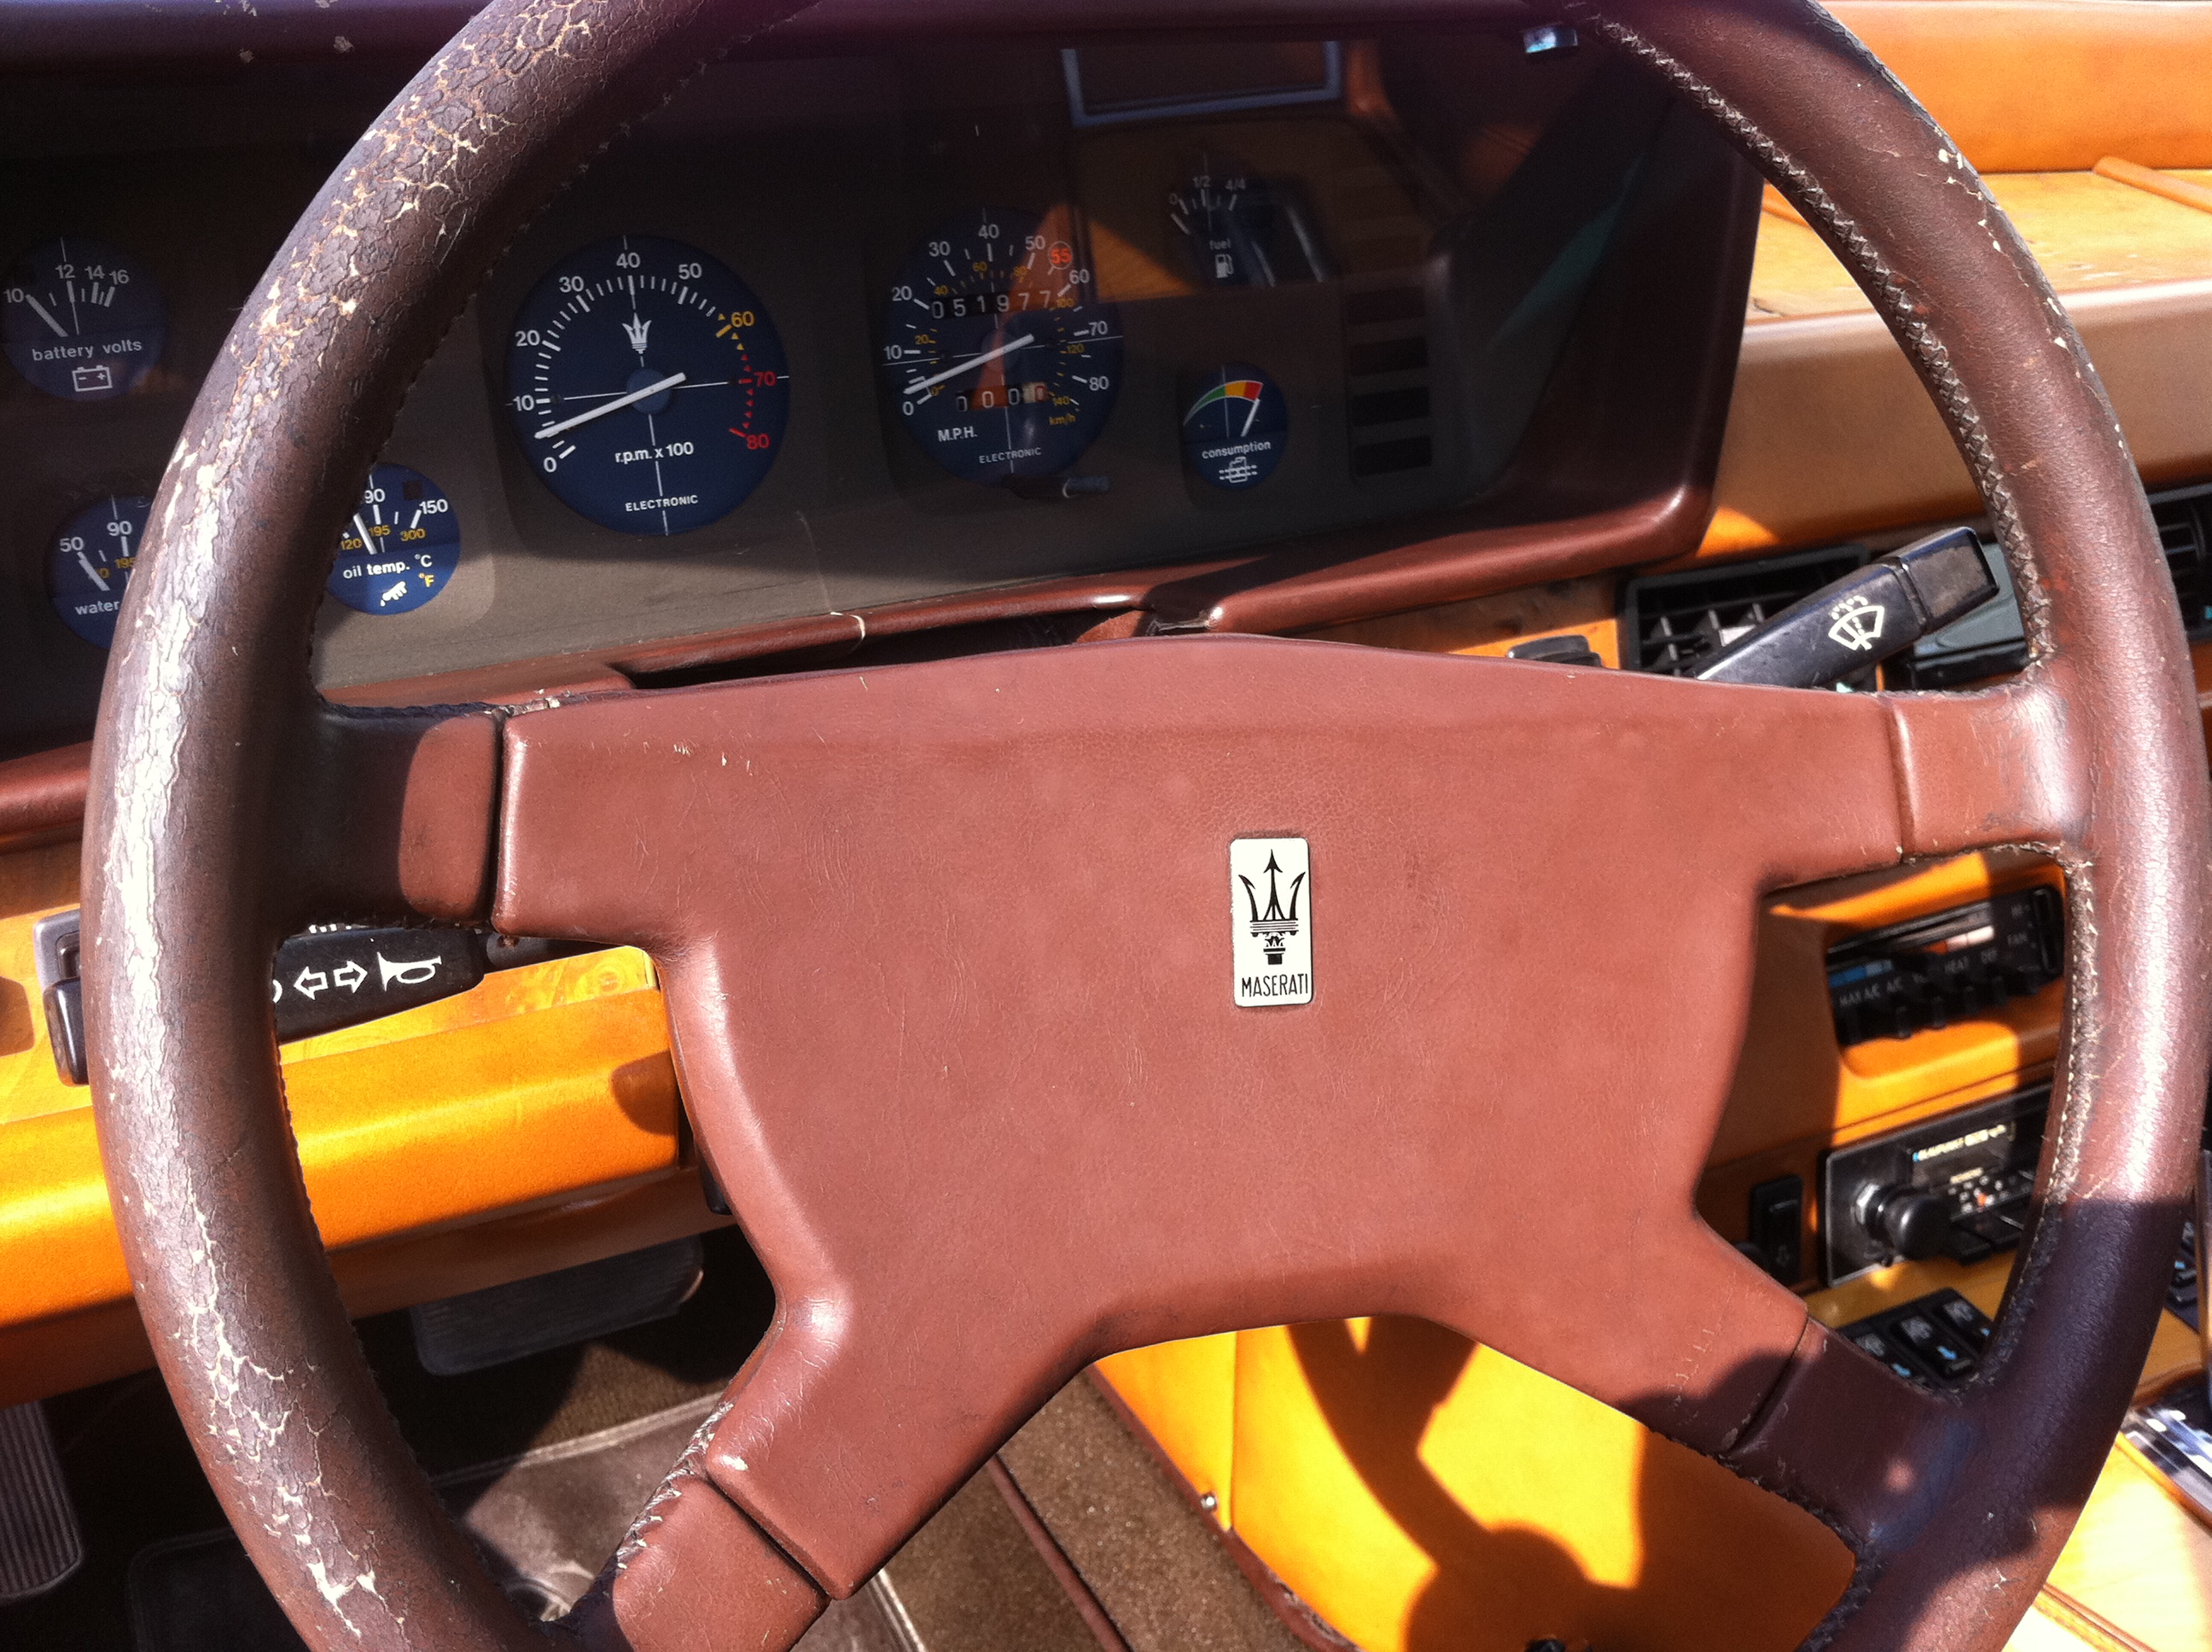
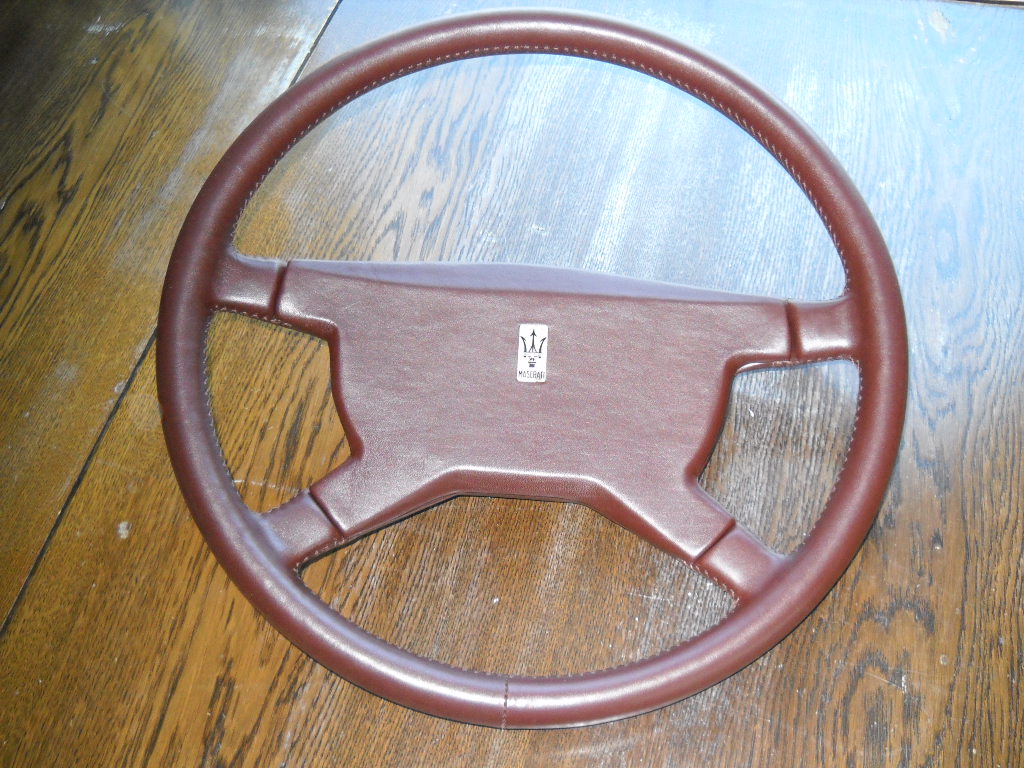
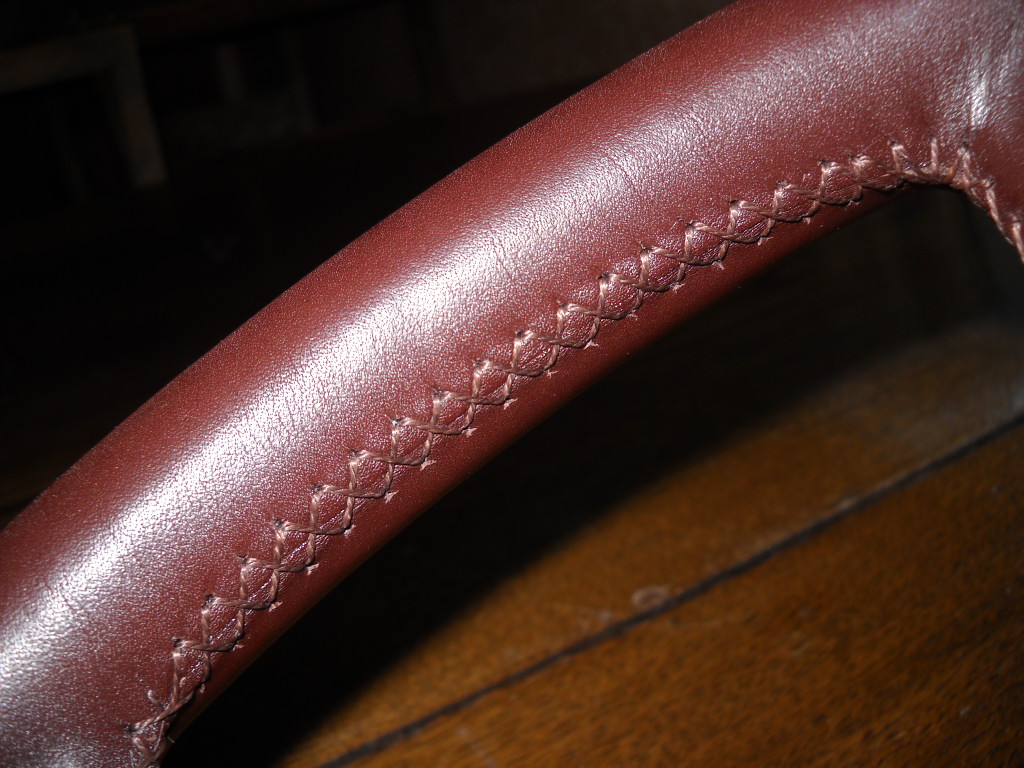
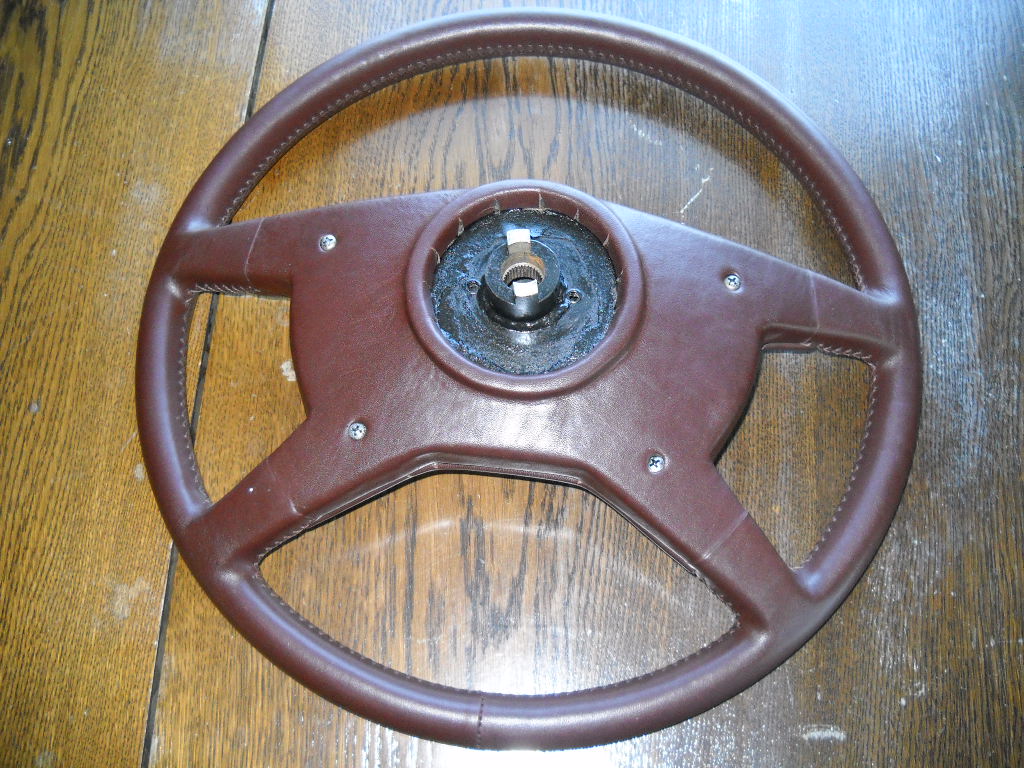
The original steering wheel was badly cracked, the leather dried and discolored. There’s a sailmaker down the street who does leather interiors as a sideline, and is really good. He managed to find replacement leather of the same color and grain and restore the wheel (two, actually, contact me if you need one).
Original steering wheel. Leather baked and cracked all around.Restored wheel looks brand new (this is actually a spare I purchased, as you can see the badge is different)All stitching is done by hand, requires steadiness and patience!Impeccable attention to detail. Probably better than when new.
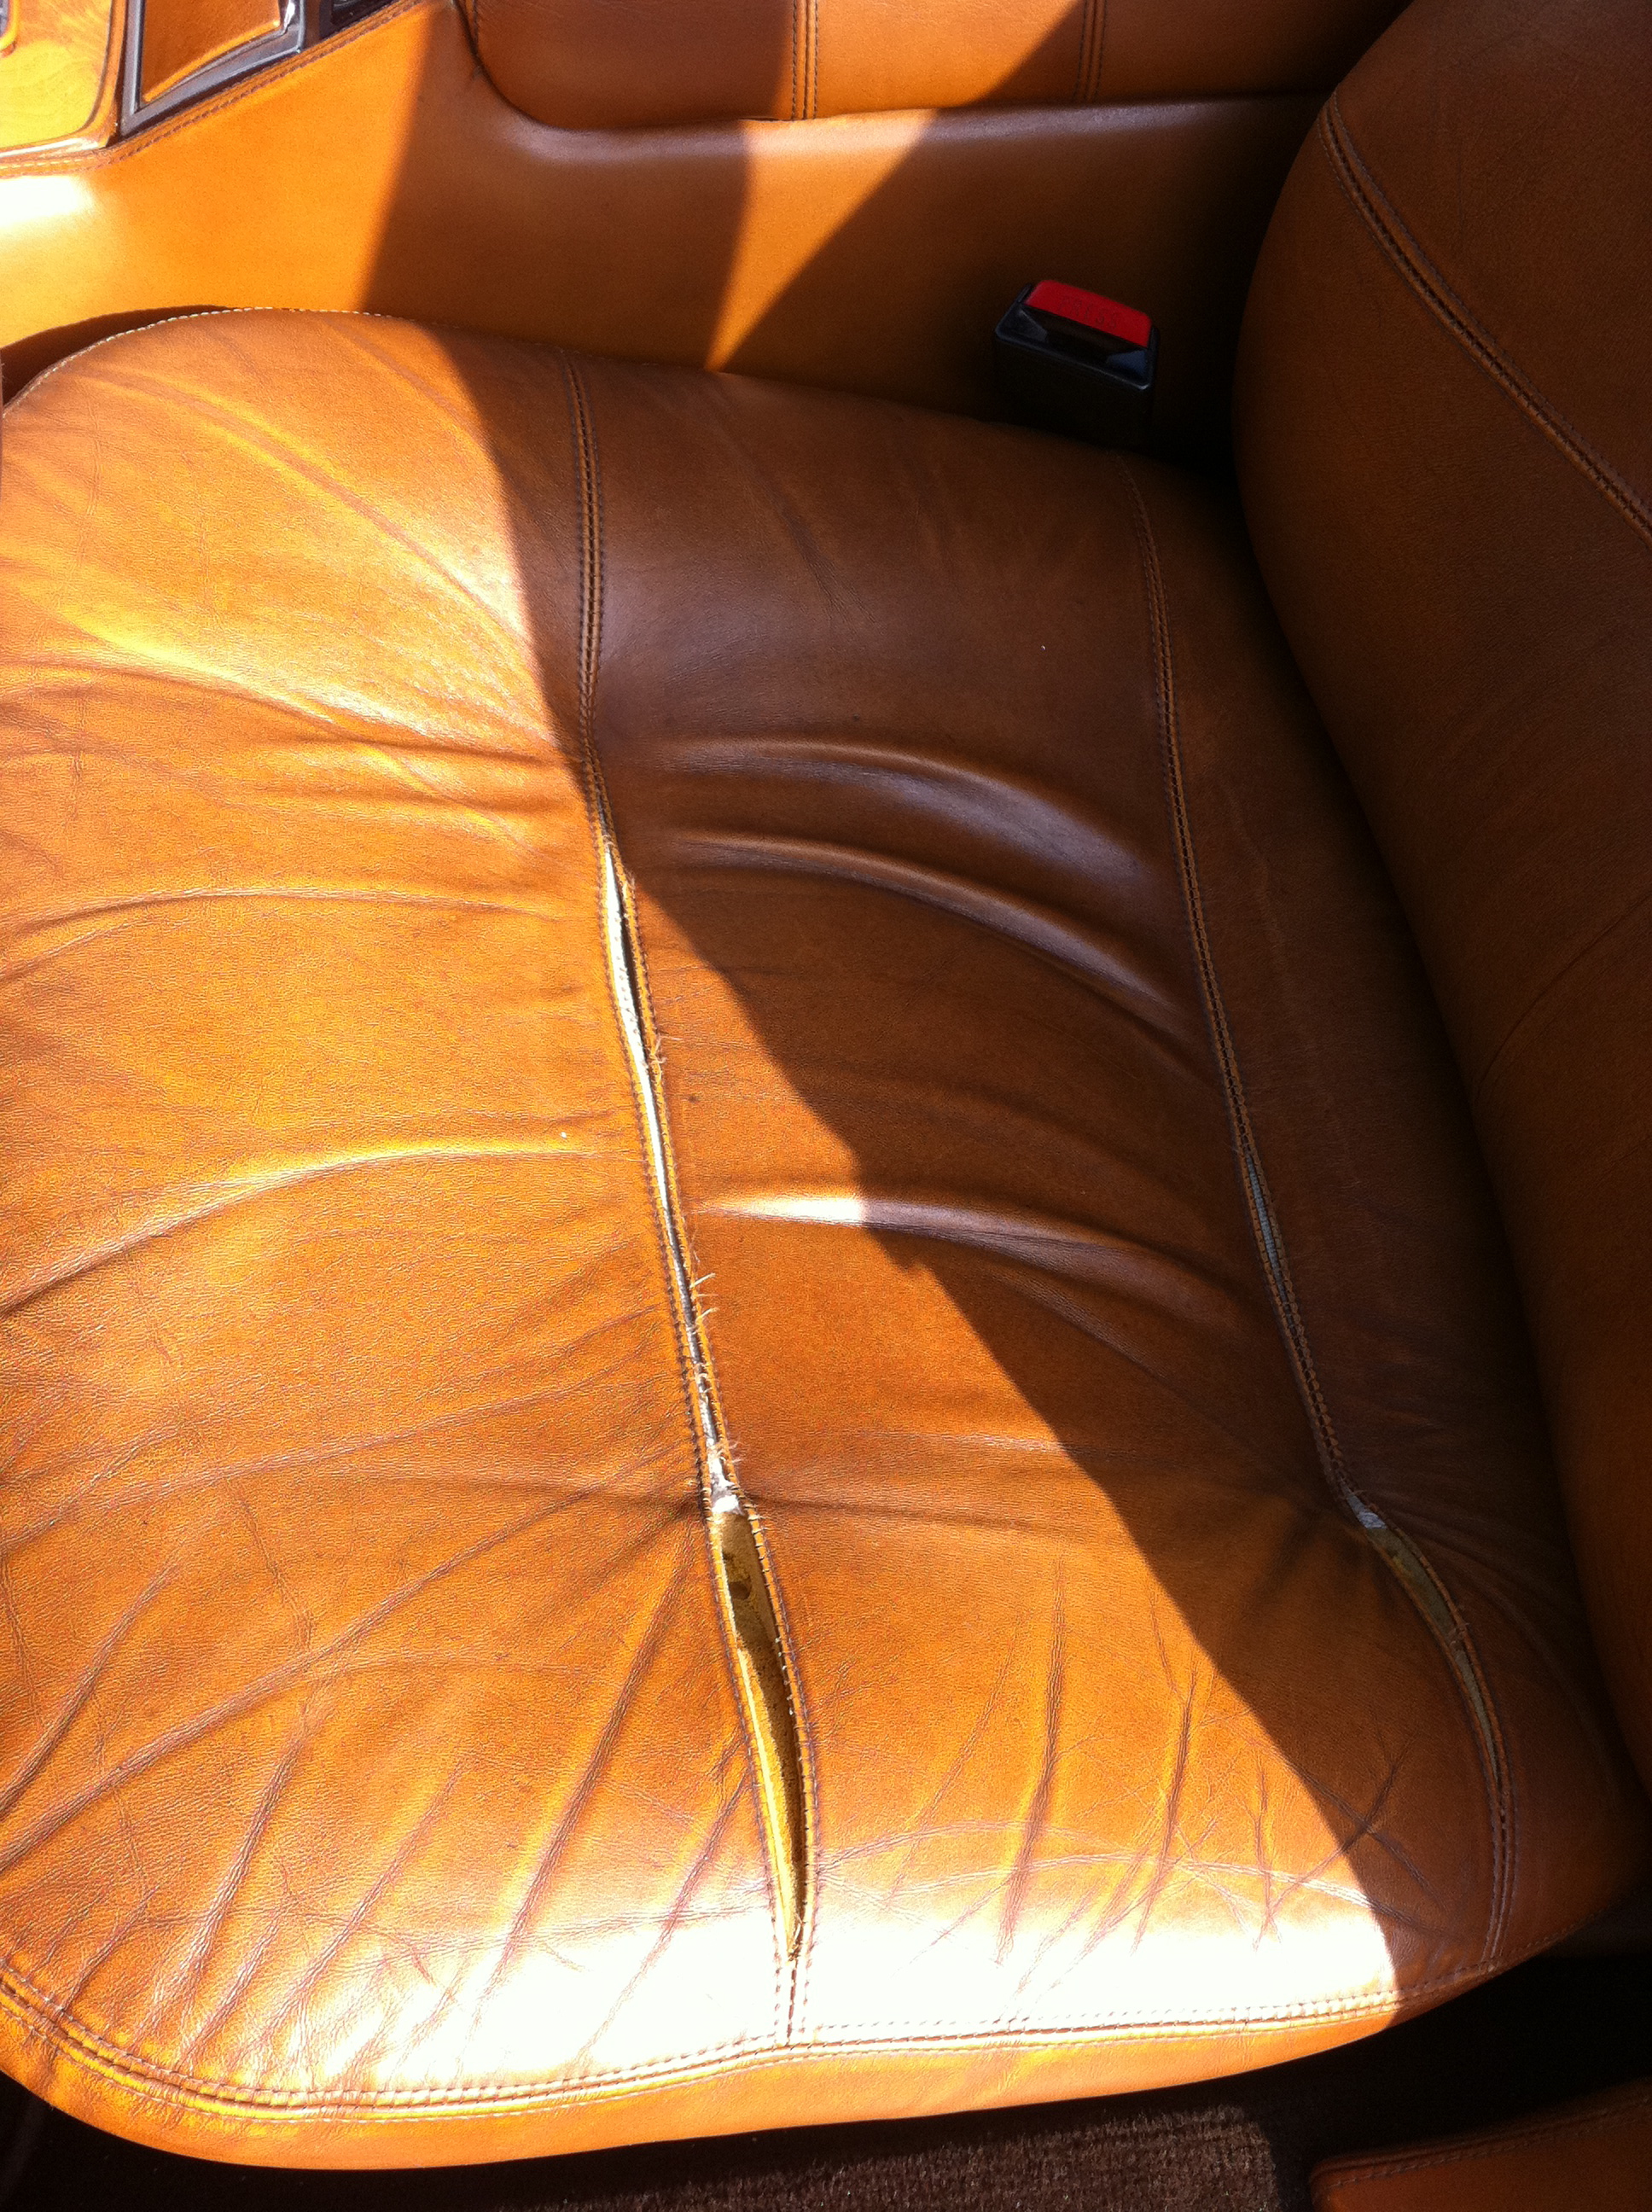
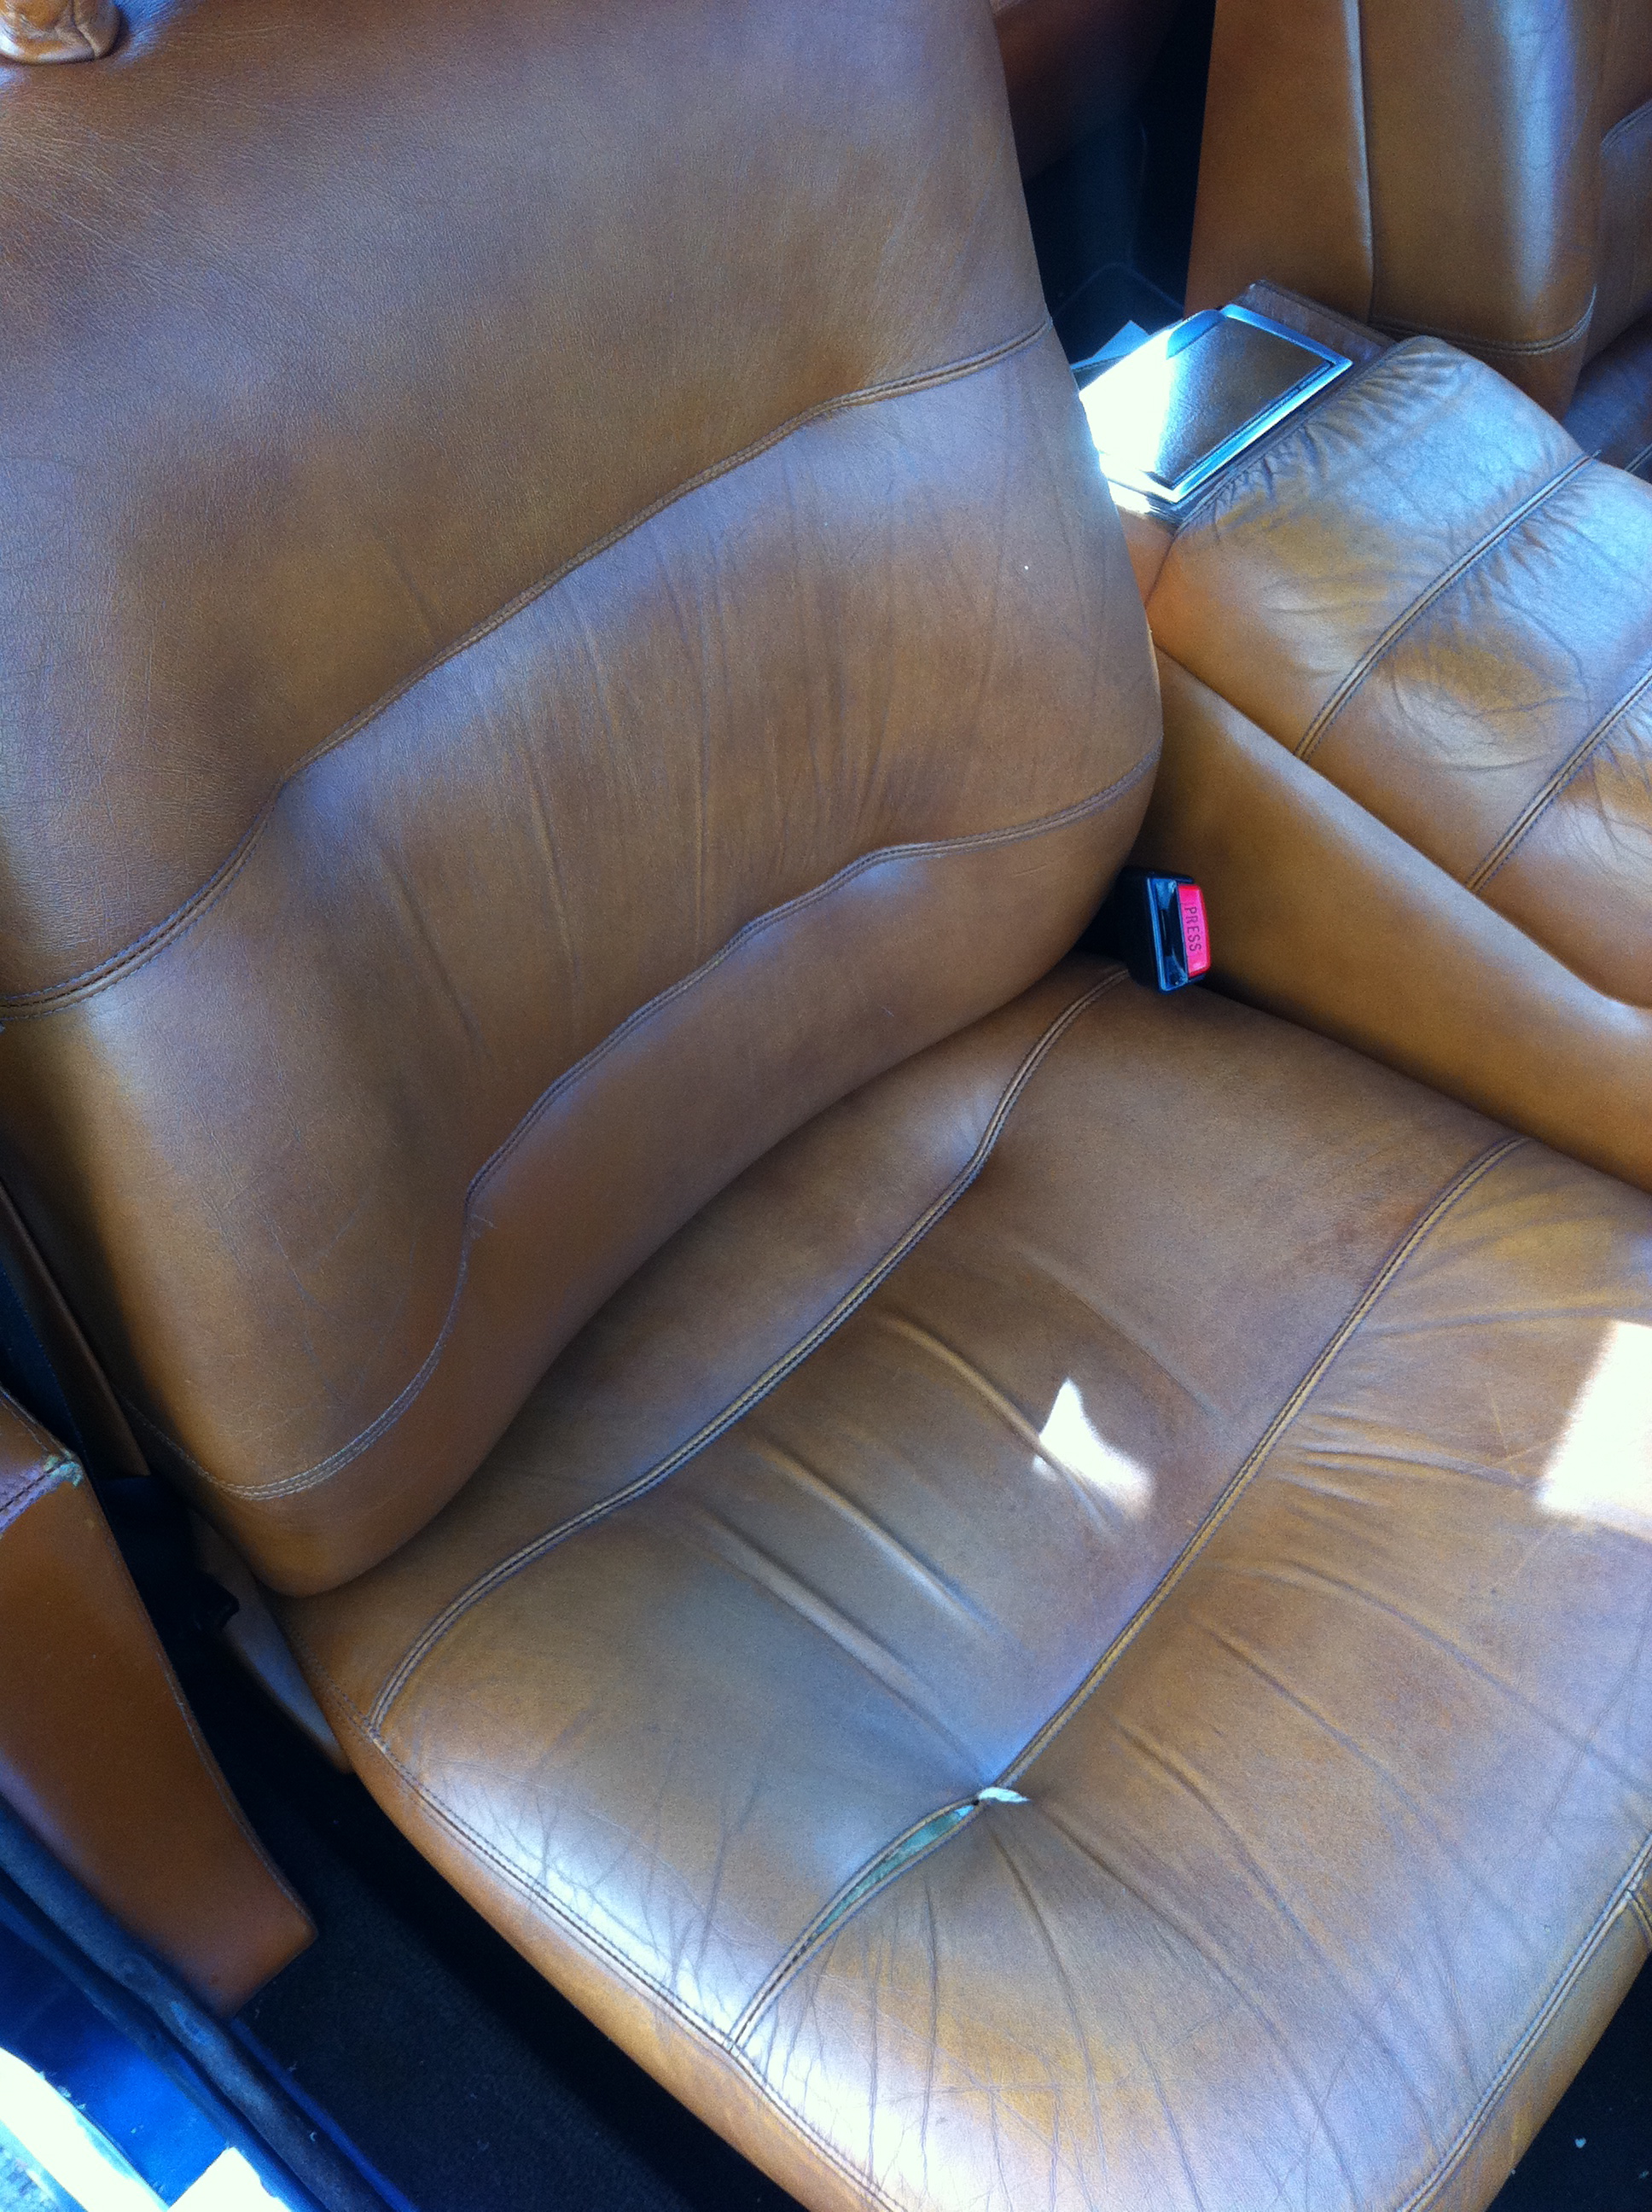
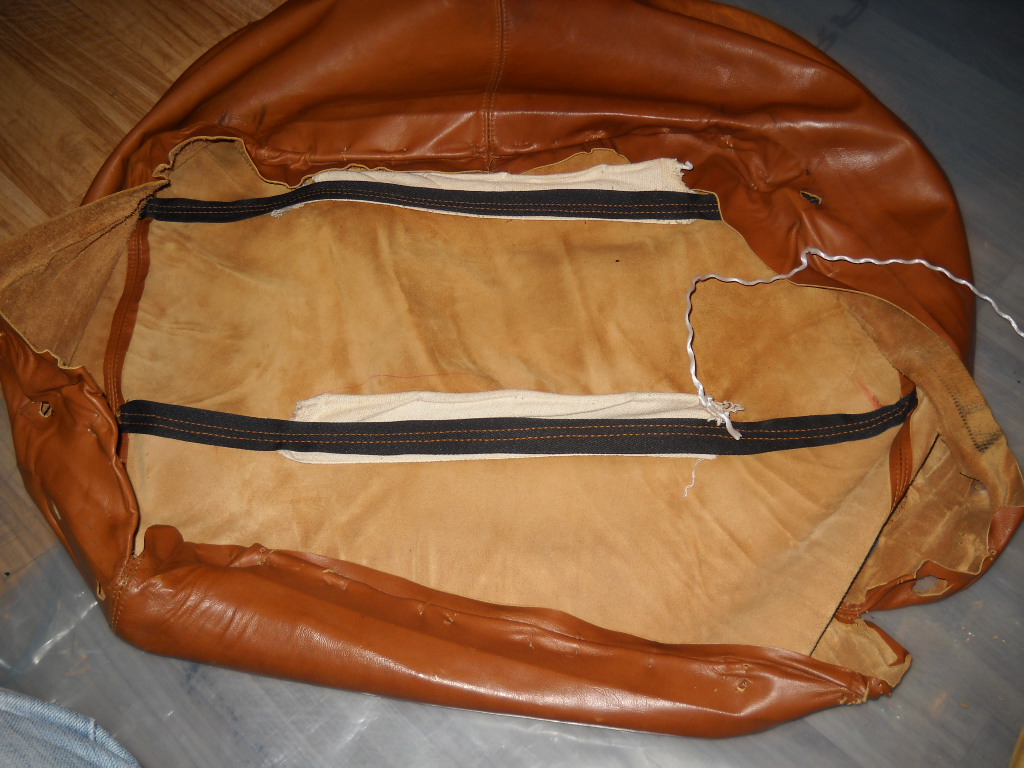
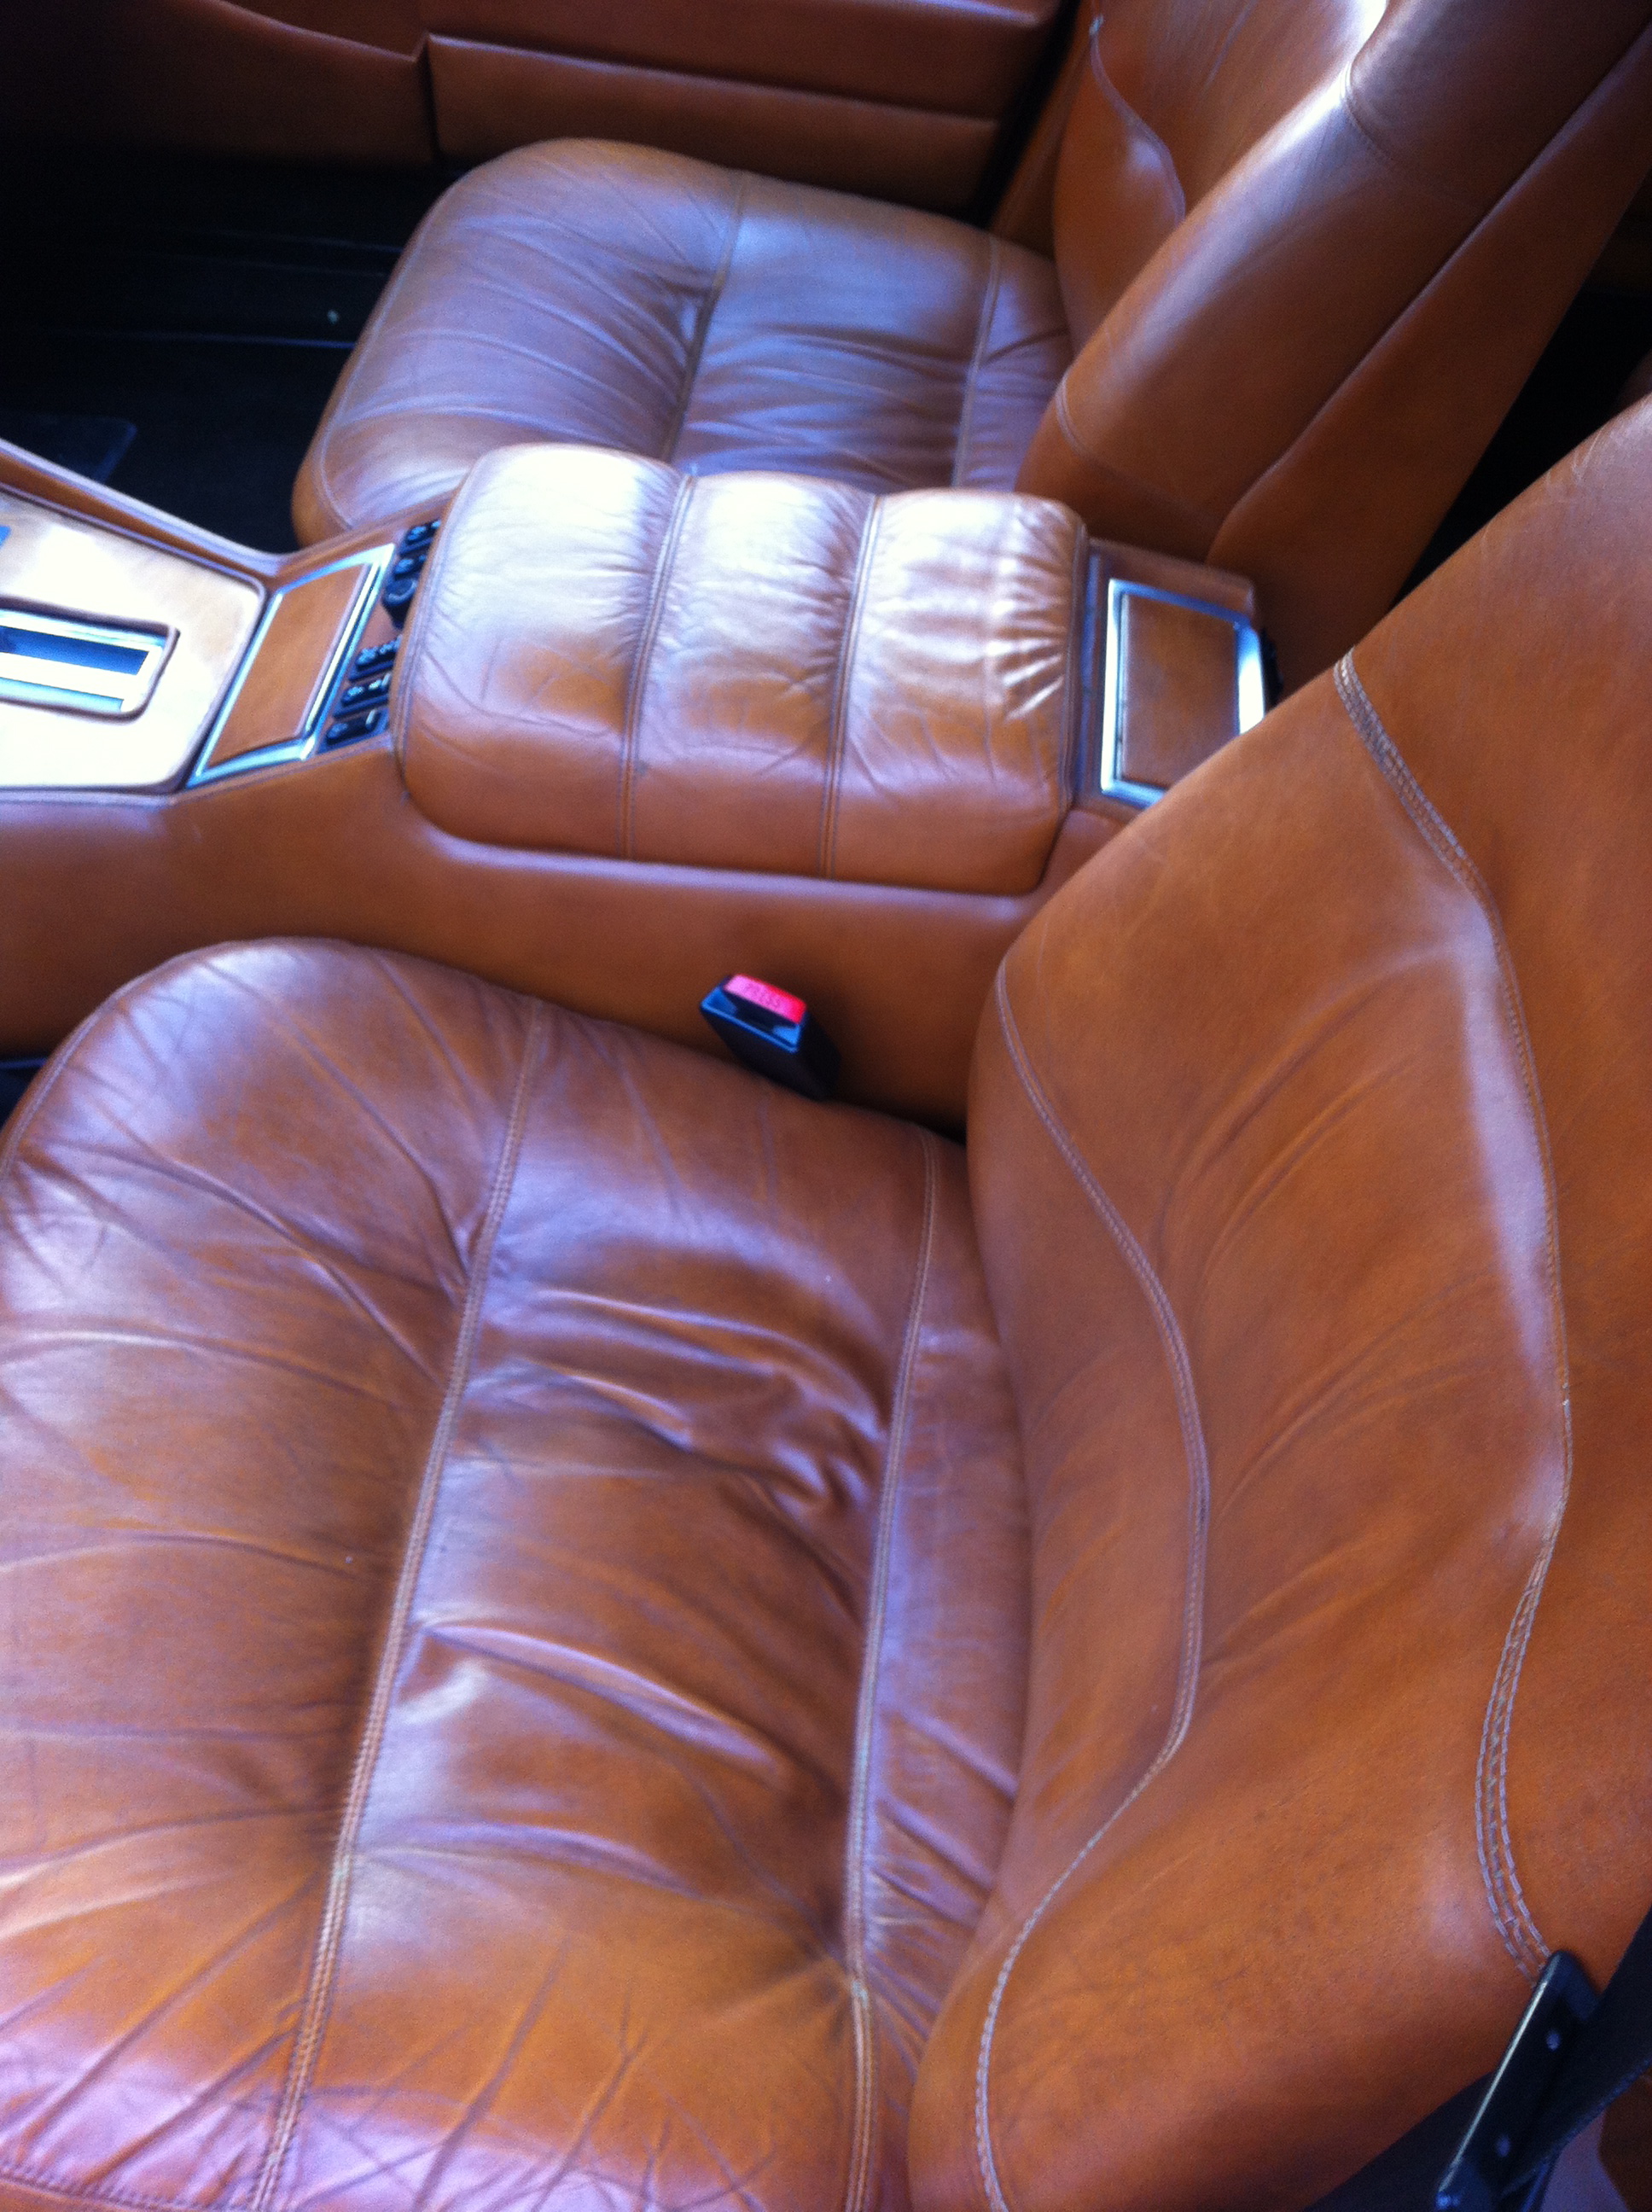
Another problem was that the seams on the front driver’s seat had split, although the leather itself was still in good condition. The passenger’s seat had also developed a beginning split it it’s seam.
There are quite a few stories about the Quattroporte III’s interior, from “a herd of cows was needed to cover it”, to “driving a gentlemans’ club (lot’s of wood and leather) down the highway”. One little known fact (as yet unverified) is that Italian exotica of the era preferred leather sourced from Scandinavian cattle instead of the closer Italian, French and Spanish suppliers. The reason for this was simple – barbed wire wasn’t used in farming in Sweden, Norway and Denmark, while it was common on the rest of the continent. No barbed wire meant hides without blemishes and marks, resulting in more useable hide of higher quality.
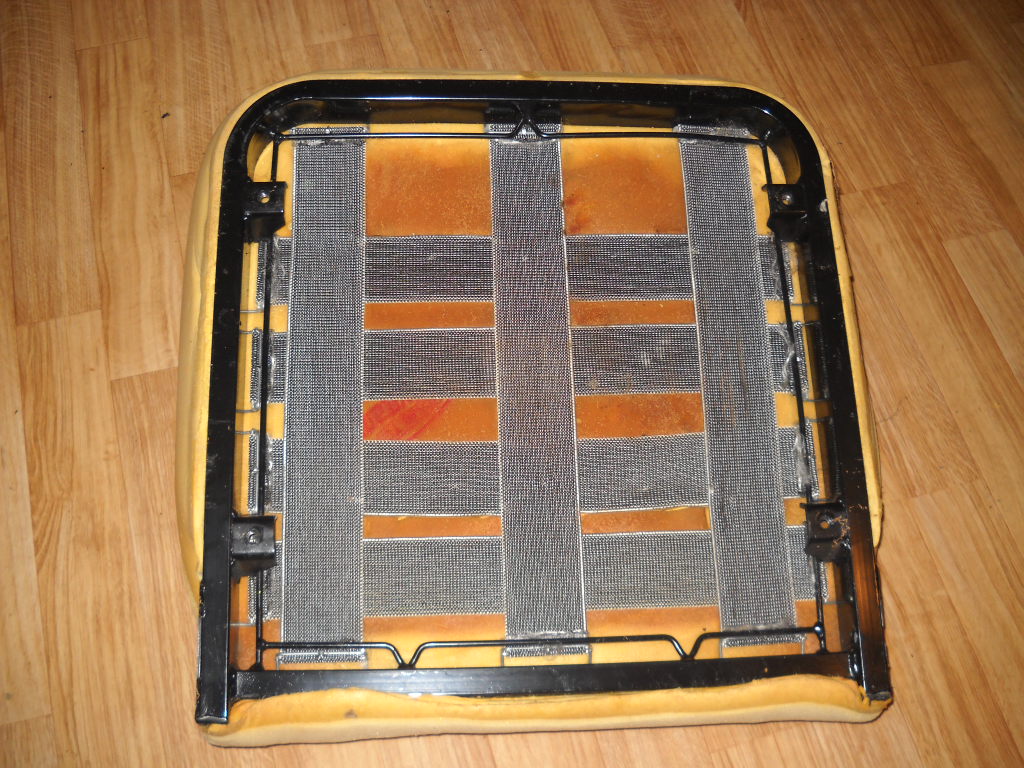
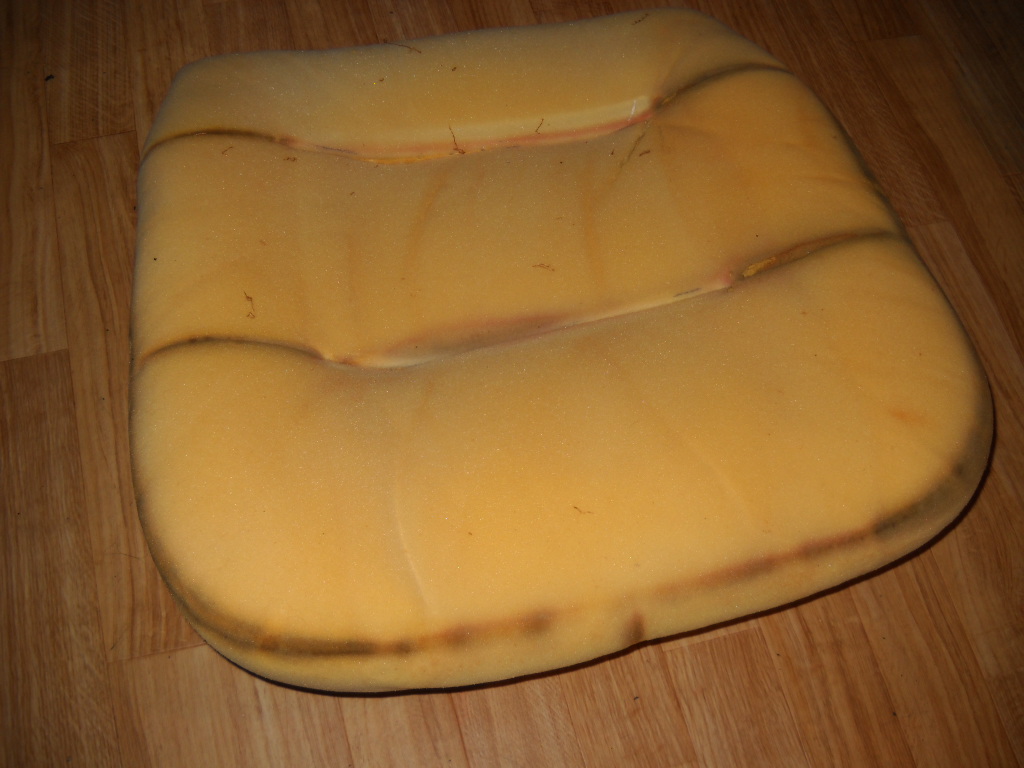
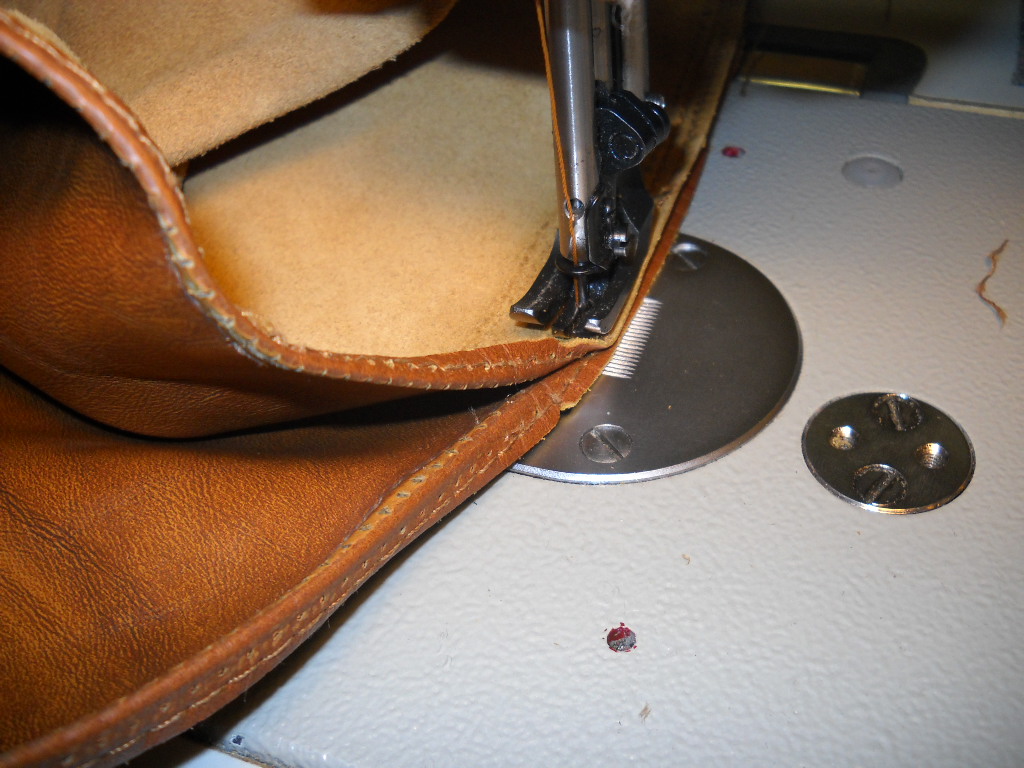
Driver’s seatFront passenger seatWebbing and frame in excellent conditionAs is the cushion itselfOriginal reinforcement tape had rotted and fallen apart, additional reinforcement is addedI don’t know how it’s possible, but all sewing uses the original holes in the leather!Restored. Not a hint that anything was every done, yet stronger than new.
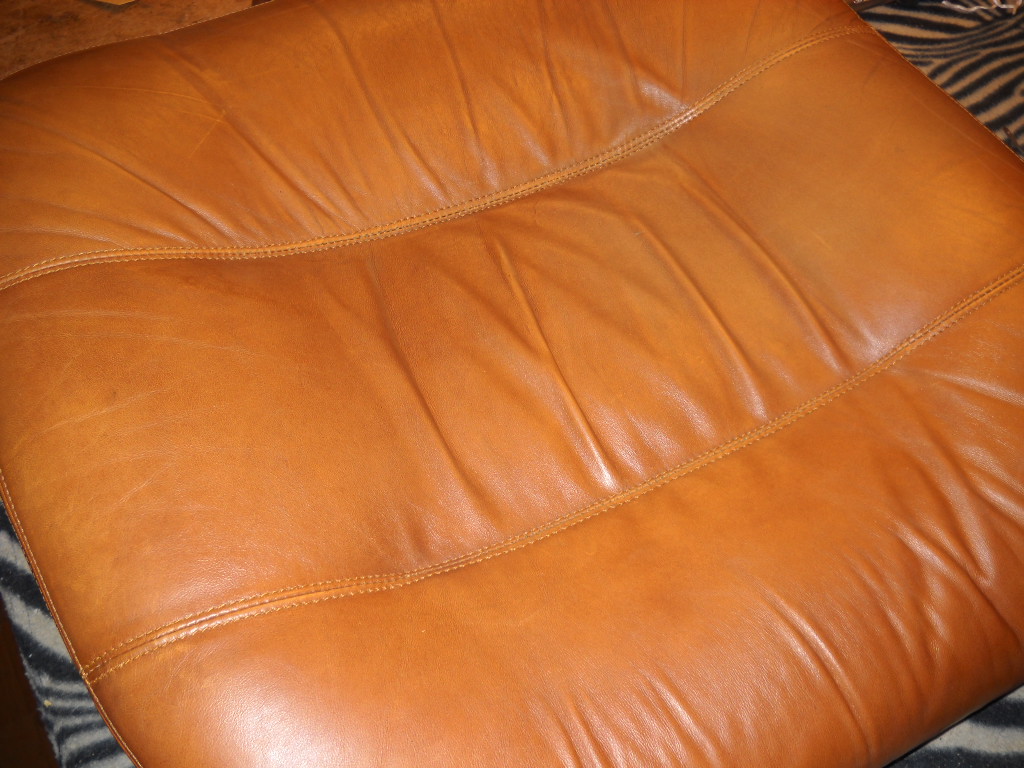
The front seats kept their beautiful patina, yet are now solid and ready for another 30 years. Special heavy duty thread was used to ensure both toughness and longevity. As “Joel” on Bring a Trailer put it (perfectly, IMHO), “sitting in there is what a baseball feels like when its well caught.”
Patina intact.
Based on recommendations I’ve received from other car enthusiasts, I’ve been using Leatherique products to clean and care for the leather. Results have varied, from excellent (center console cover/arm rest was 100% better, clean, and supple) to “is this on?” (rear seats, which seem exactly the same after multiple treatments as before). Lately I’ve heard from people restoring older Masers that Effax Leather-Combi is perhaps even better, and doesn’t risk discoloring or fading the leather. I’m thinking of giving it a try.
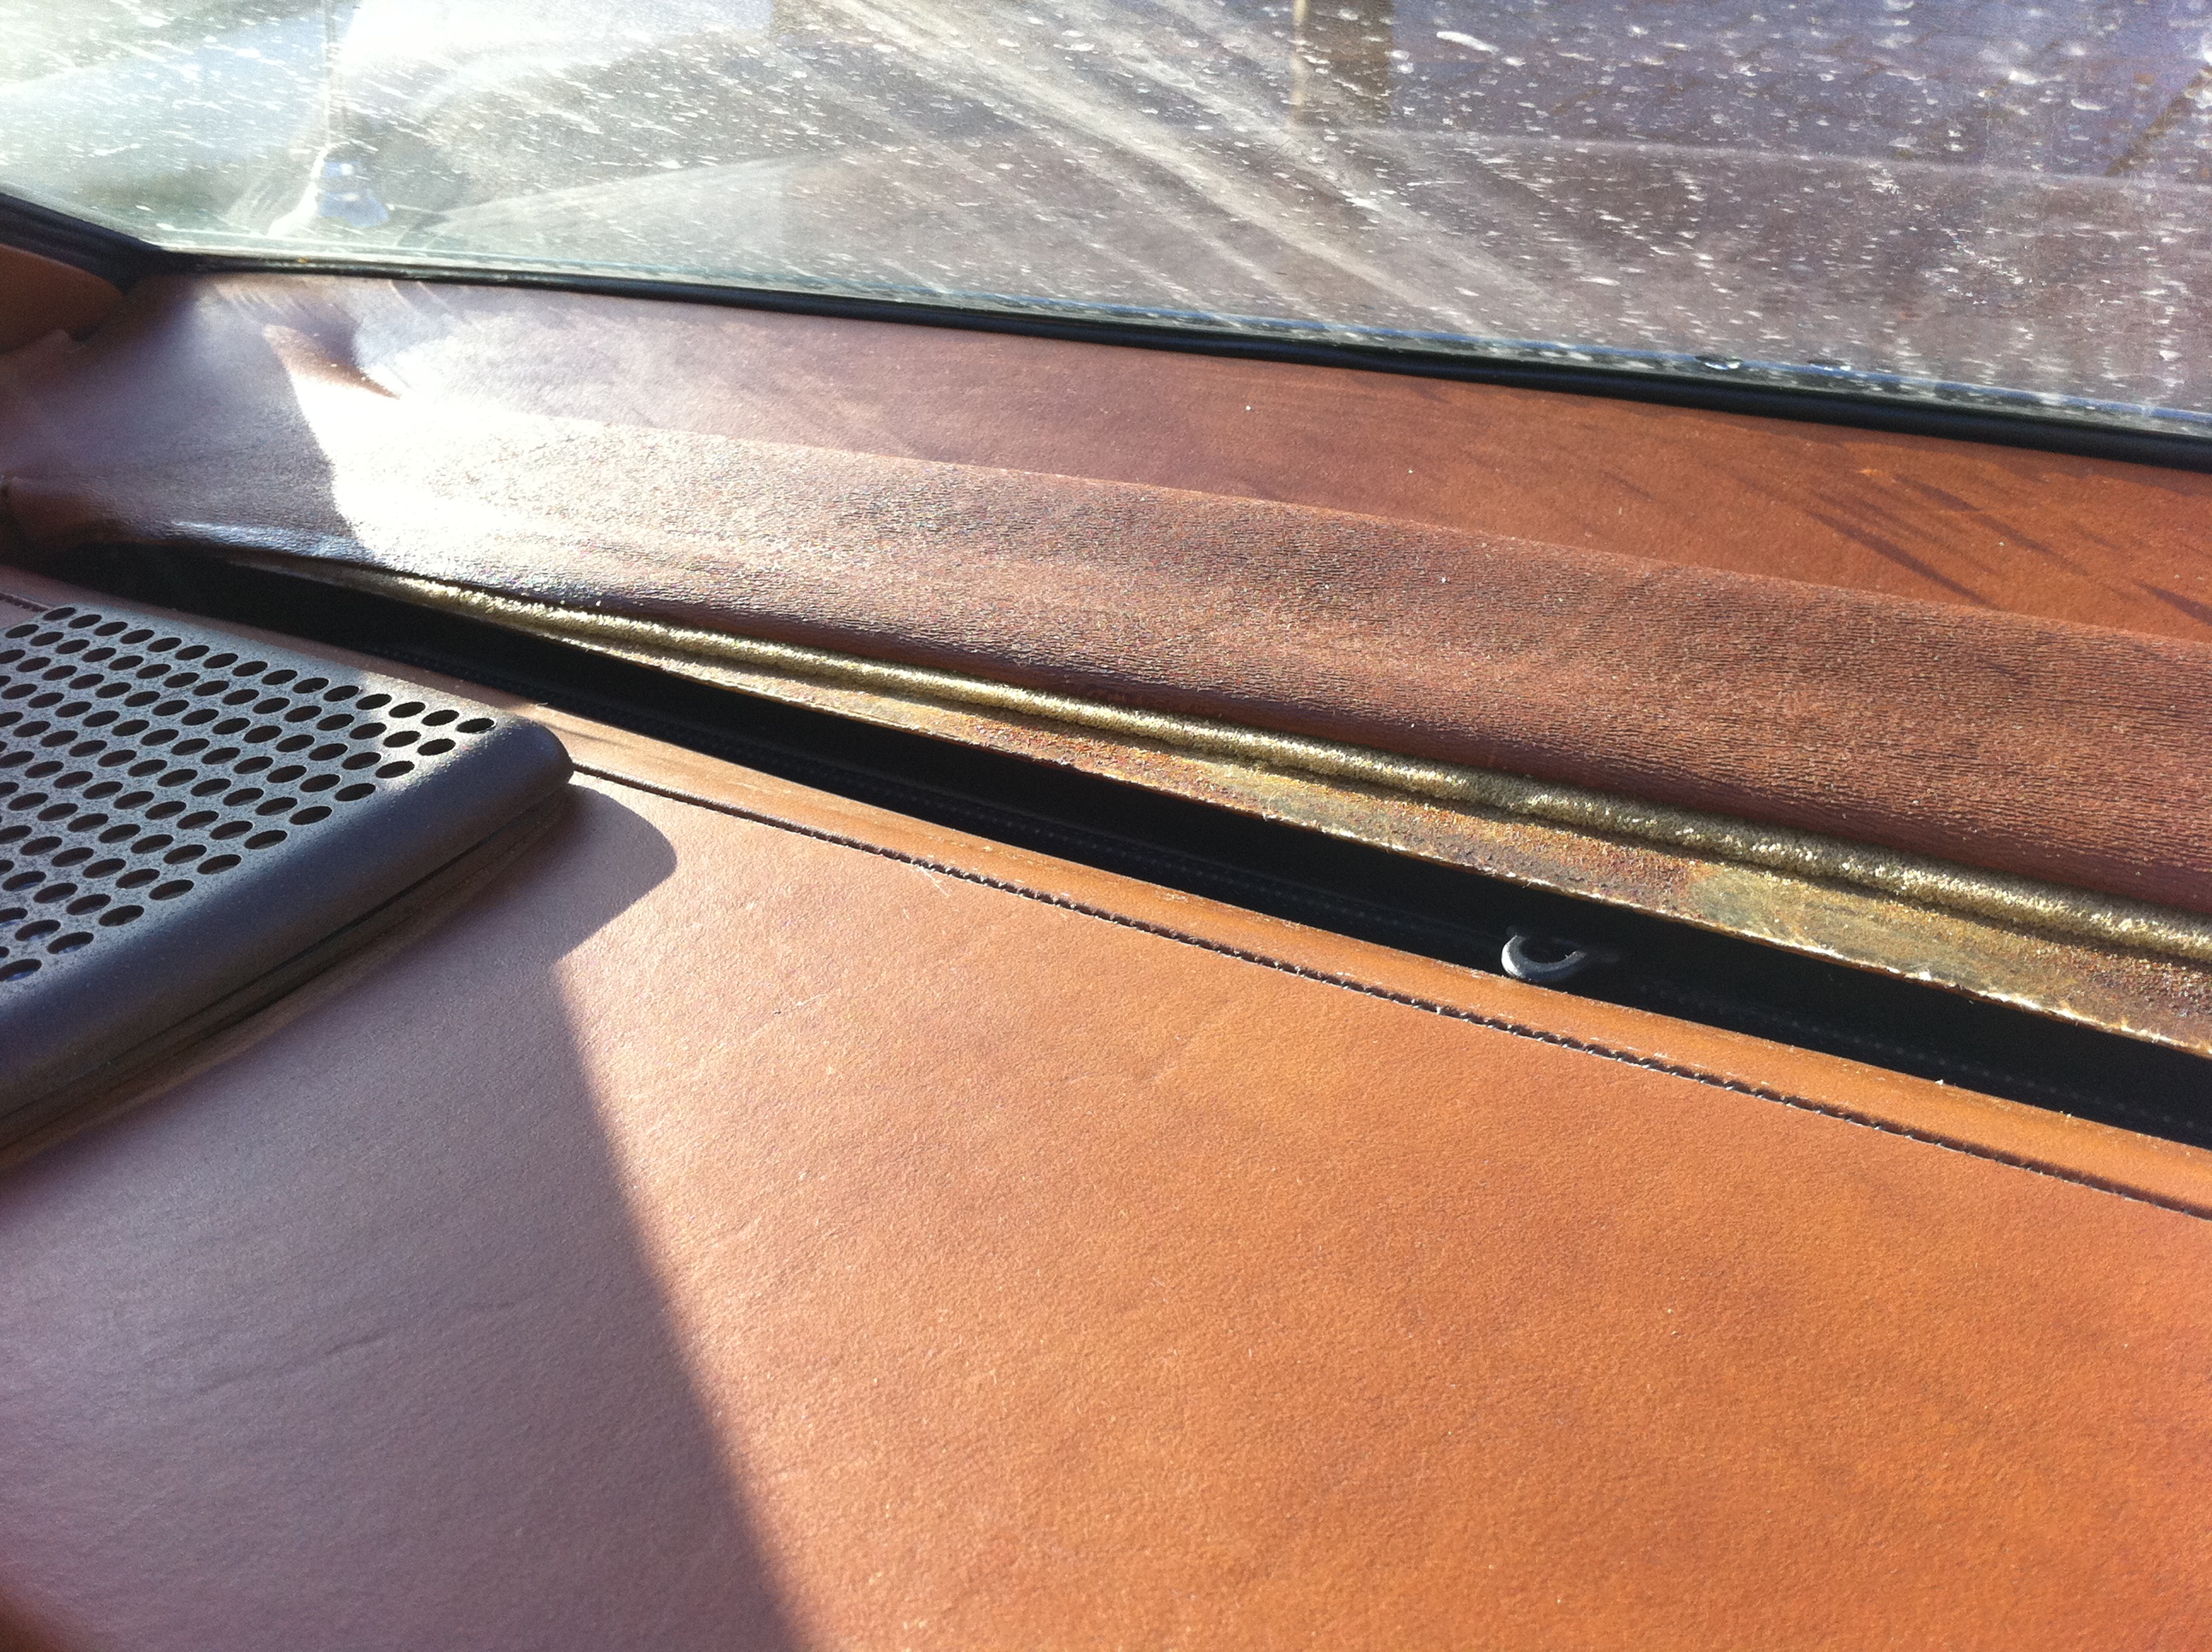
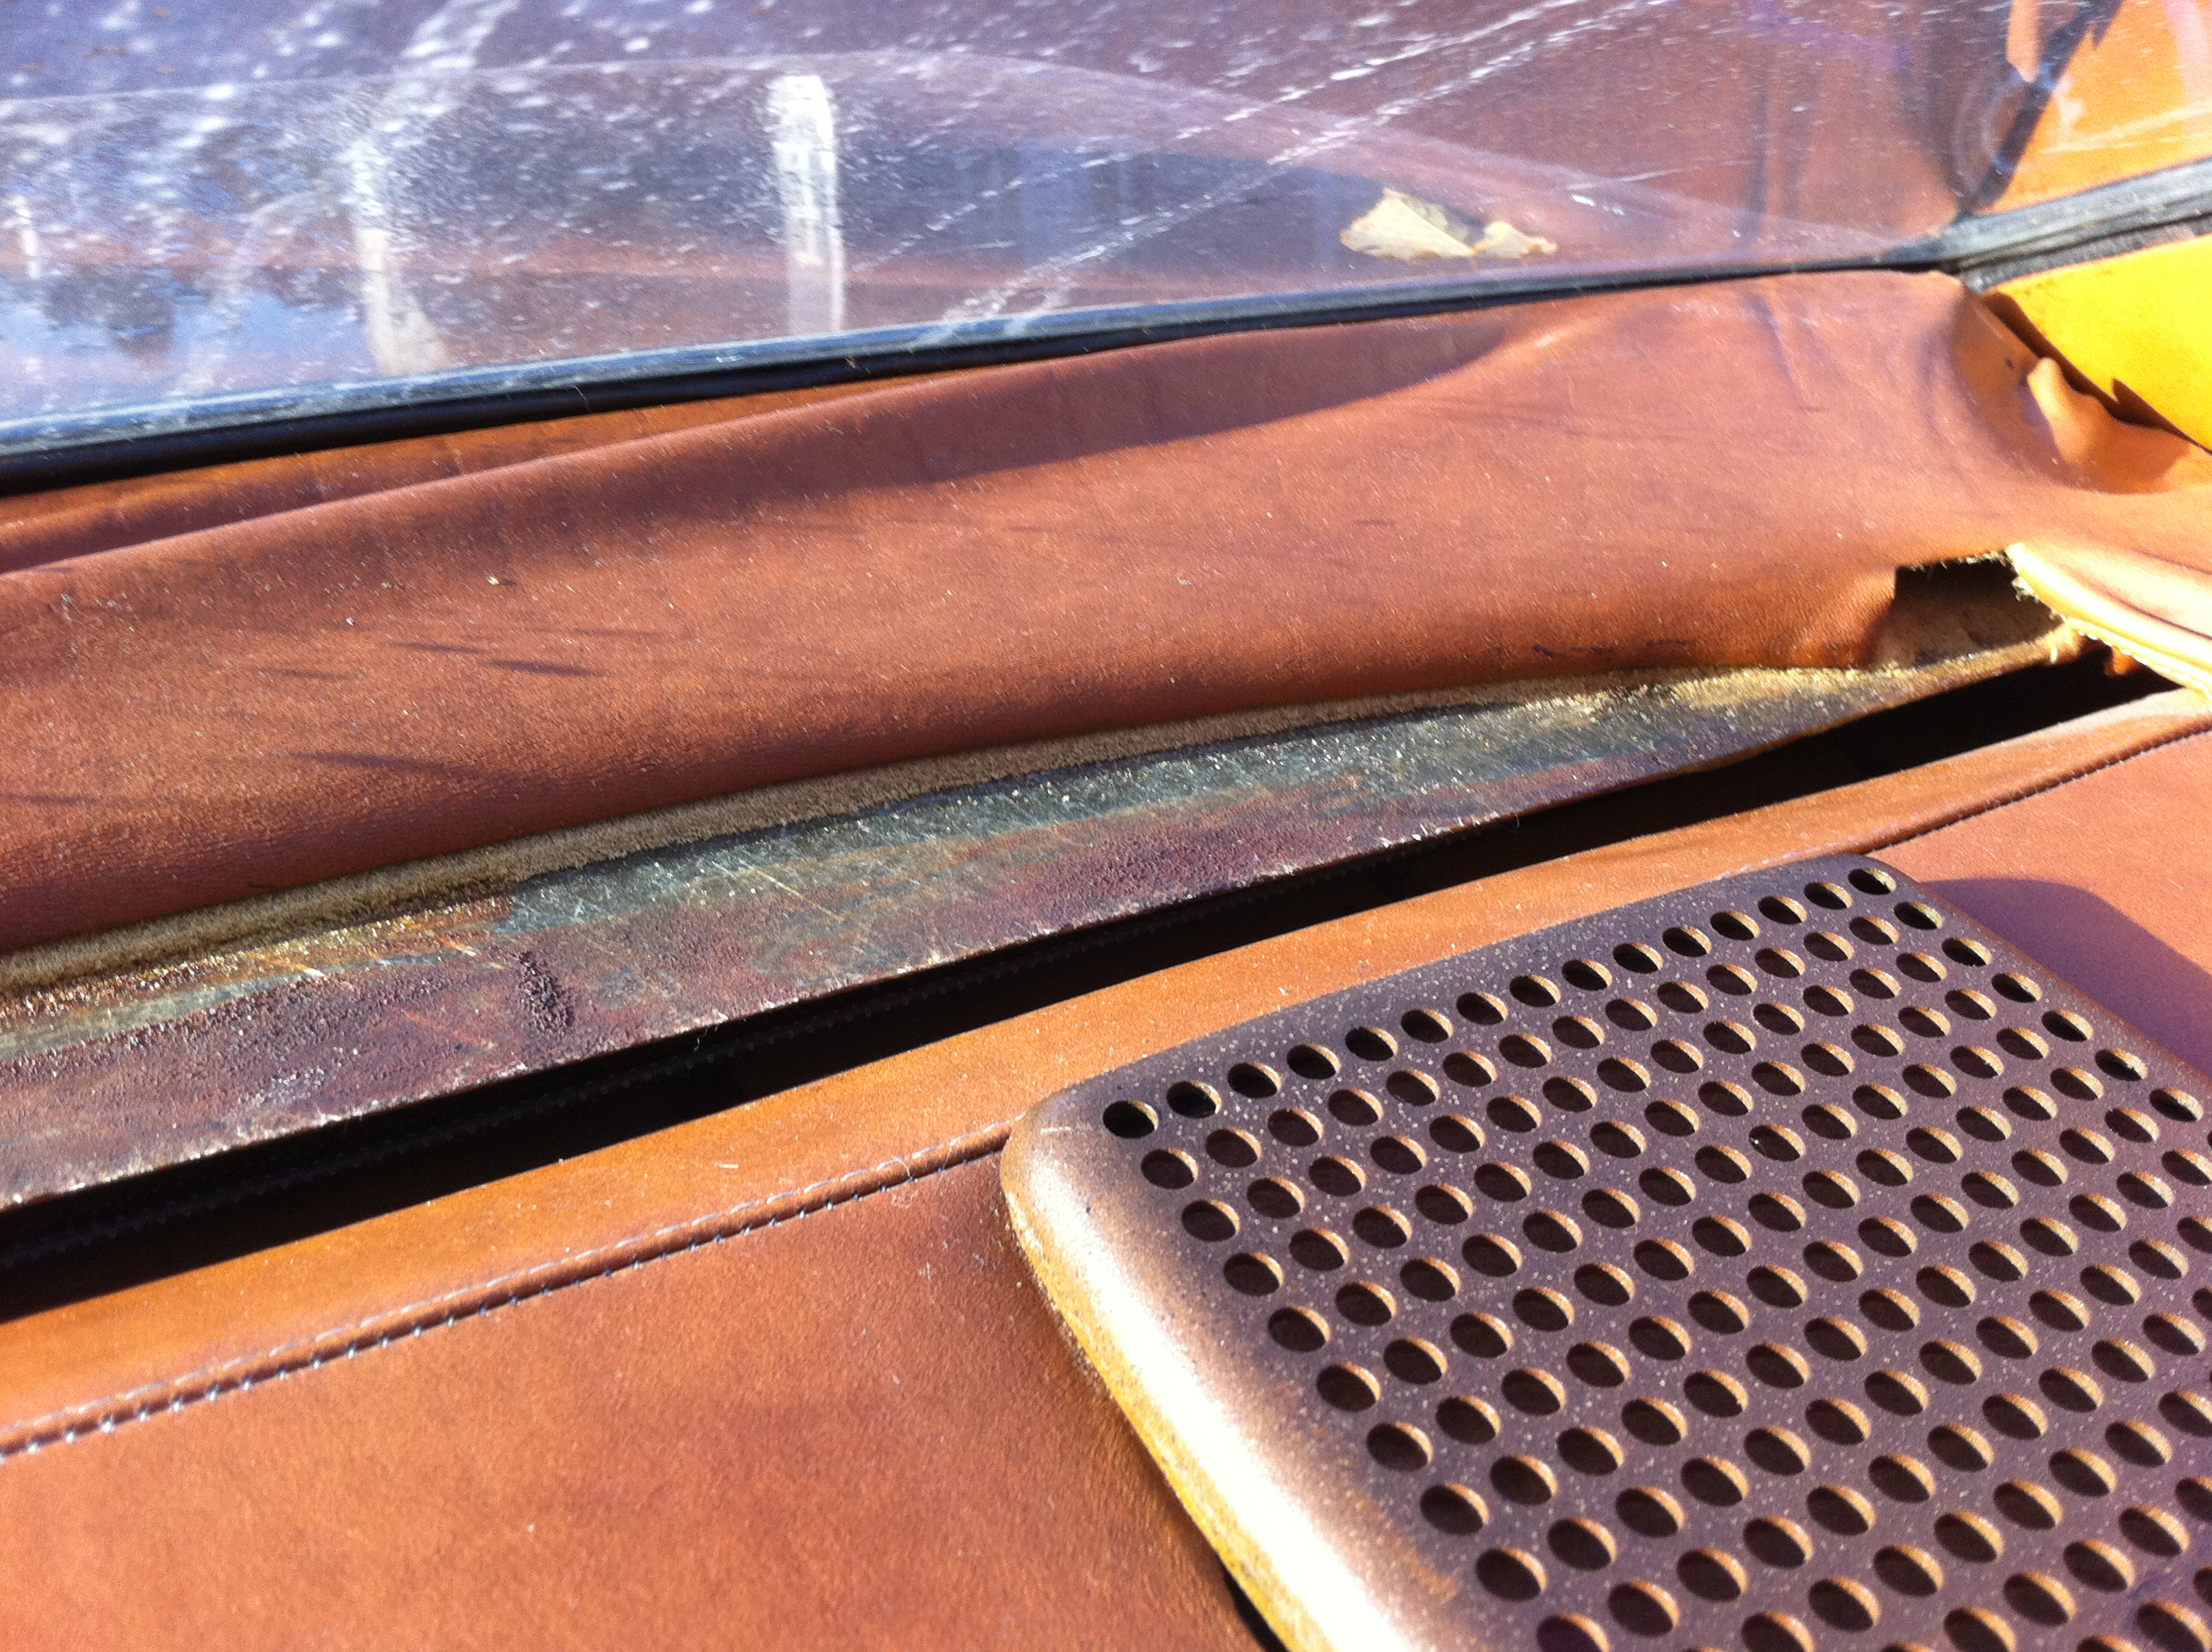
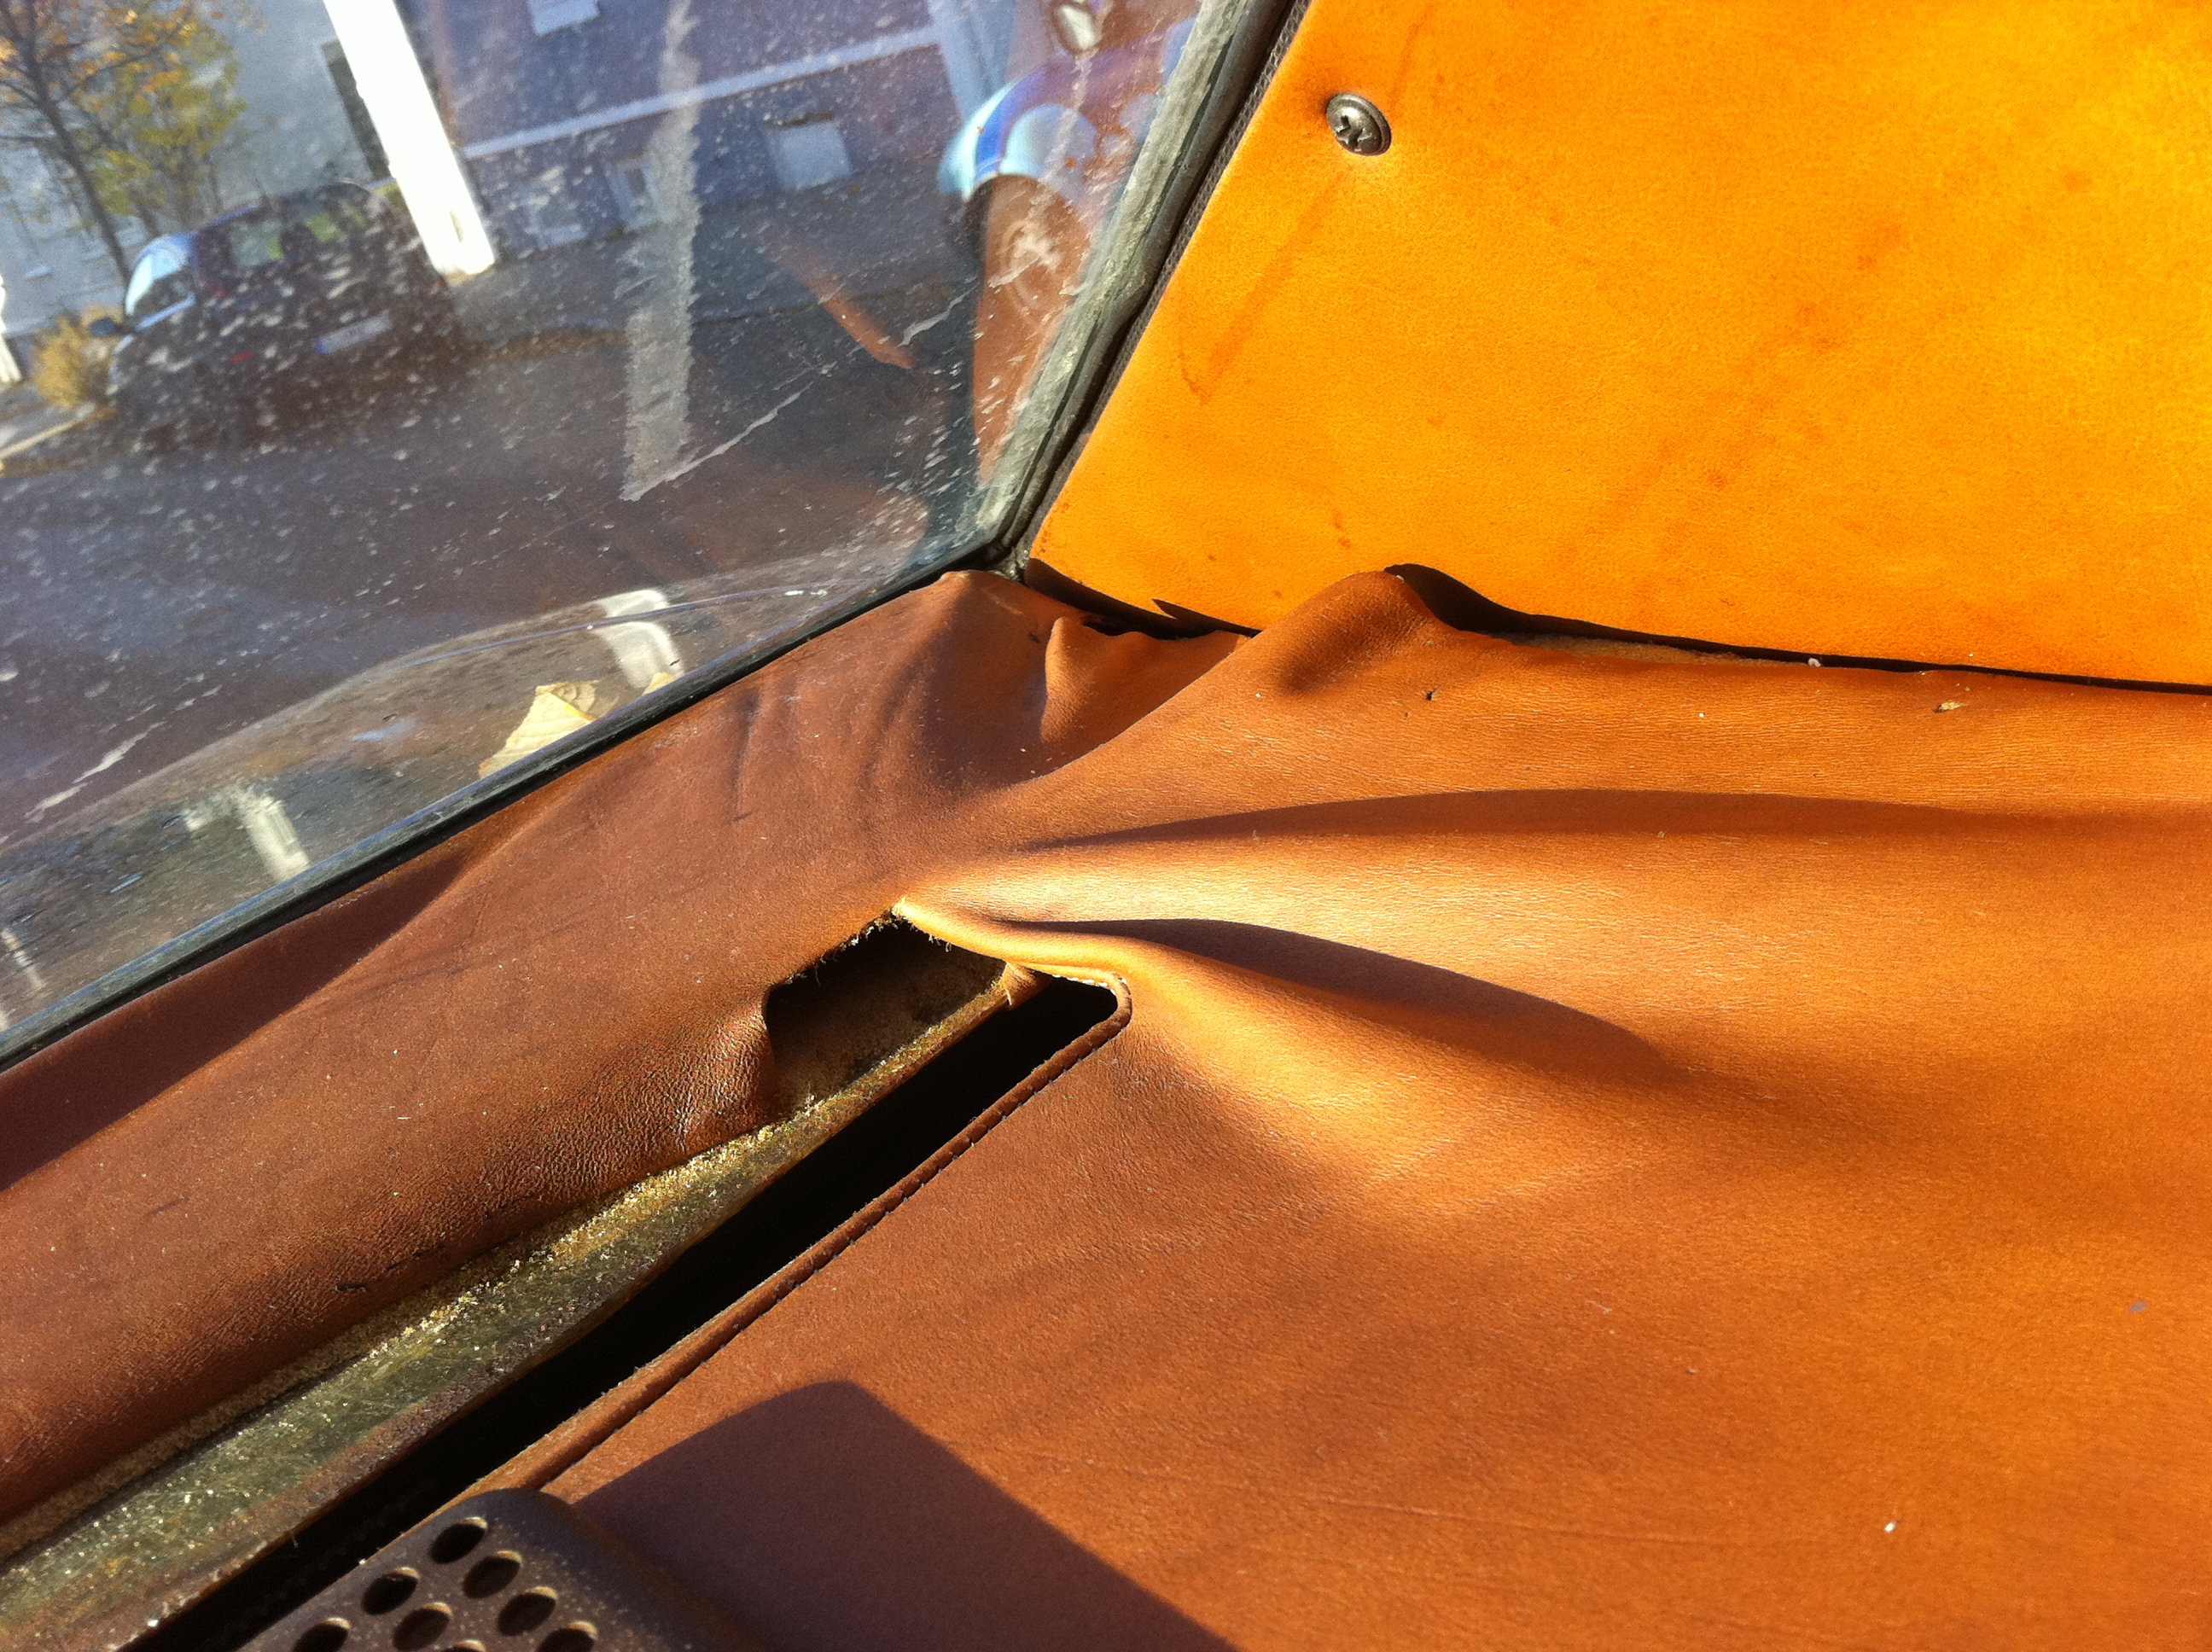
One thing none of the products available could help with was the rear parcel shelf. It was cracked, dried and looked like cardboard, or beef jerky, and had pulled away from the shelf it was glued to. Since the windows have to be removed for the paint job, it makes sense to have the rear shelf pulled at the same time and re-covered.
Both rear speakers were blown as well, and well, in a cruisin’ car you really need good tunes to drive to! So new speakers have been purchased and are waiting for installation. Not a whole lot to choose from in the size used here, but I want to keep things as original as possible.
JL Audio Evolution C2-525x
It would have been nice to find something that used the original or had optional square grilles, if anyone knows of a source, please leave a comment.
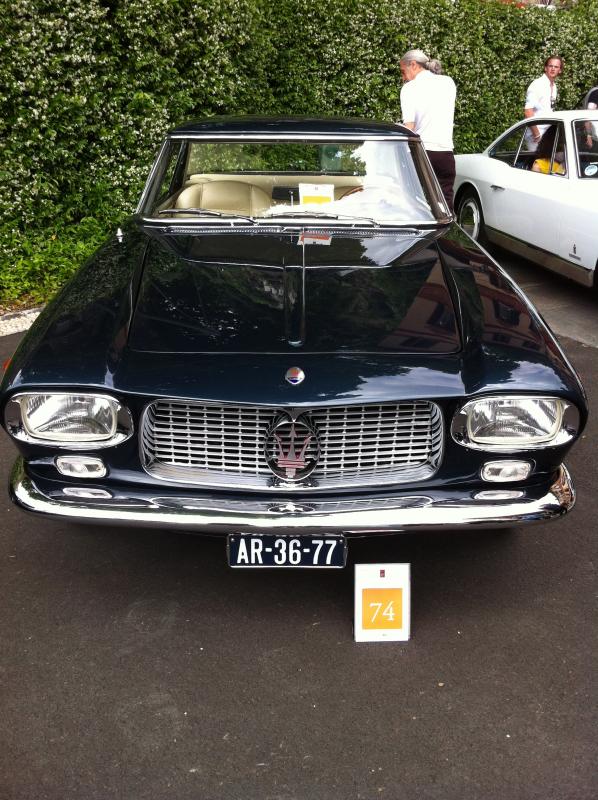
I’ve been leaning towards the original “blu sera met.”, a metallic midnight blue. Personally I think the car suits slightly darker colors to lighter ones, although I must admit it looks really nice in silver. Dark grey, metallic burgundy, even the metallic bronze all compliment the car nicely.
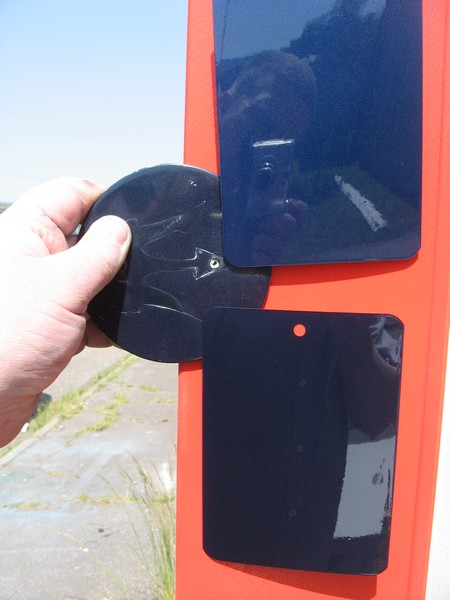
The older 60’s blu sera is even deeper and richer, with finer metallic flakes than the 80’s vintage, as technology changed (improved?), flakes became larger. Here’s an example of a Maserati 5000GT painted in a mid-60’s blu sera:
Here are a few paint chips. Ferrari blu sera top, my original blanking panel left middle (not sure if you can see the difference between the color where the trident was and the rest, but it’s there), and the model year-appropriate Maserati blu sera on the bottom:
Paint chips
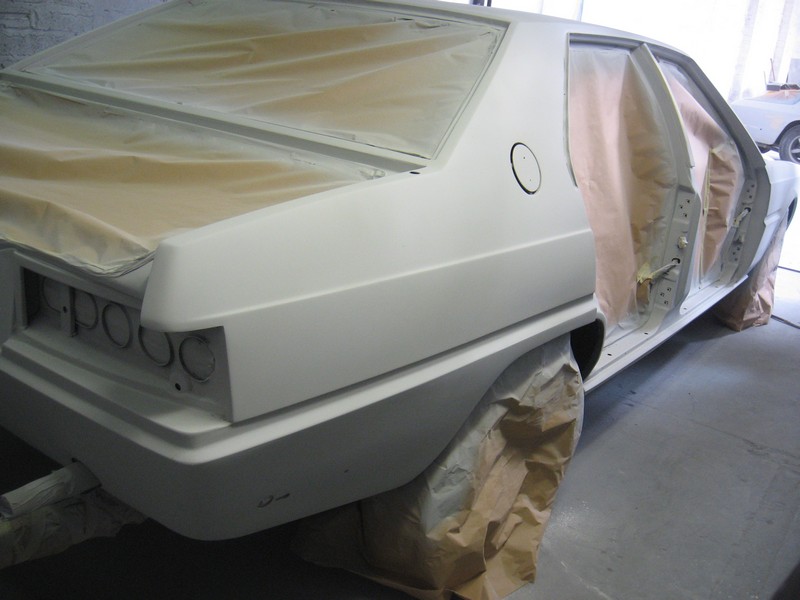
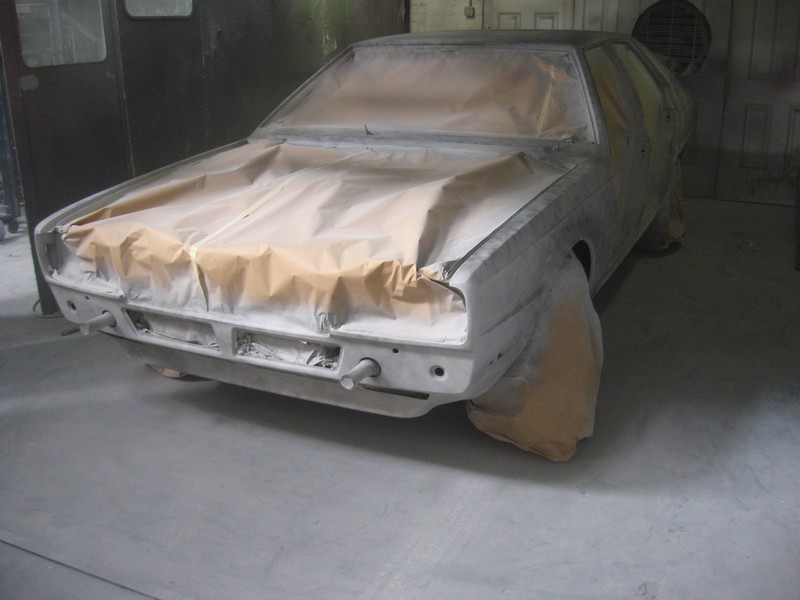
There’s still time to consider other colors before paint hits body.
What color would you think shows off the car best? Comments are open!
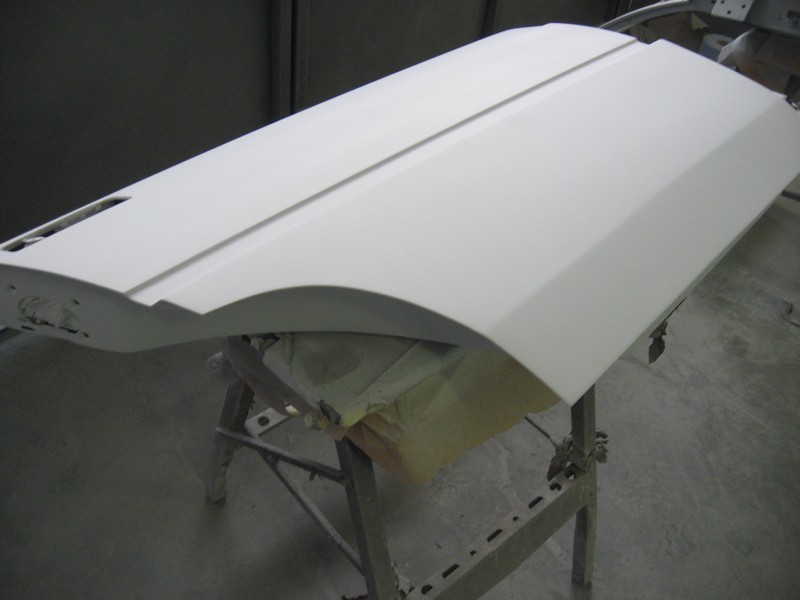
Every crease and detail in the body is pin sharp and precise. It’s always a pleasure to watch a master craftsman at their trade.
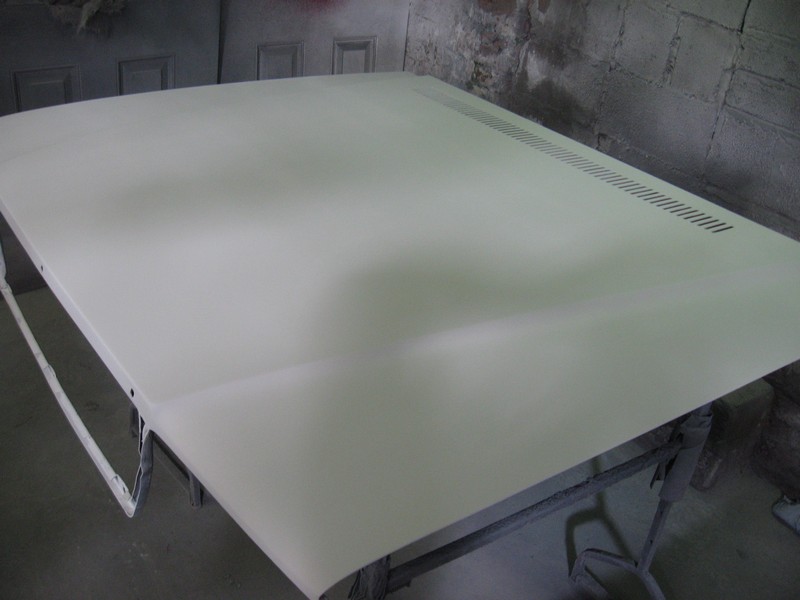
“Anyway, a few pics – but loads of progress – this week. Filling/shaping work completed, main body etch primed, high build primed and guide coated. Masking removed.”
“panels removed and ‘detail’ stripping being done in the door aperture areas ready for the filling/shaping work next week.”
The strike plates, hinges and other hardware have all been removed prior to final detail stripping, which will bring us to the point where filler and body shaping can commence.
Passneger side. Note door apertures.Driver’s side. Strike plate & post still fitted.
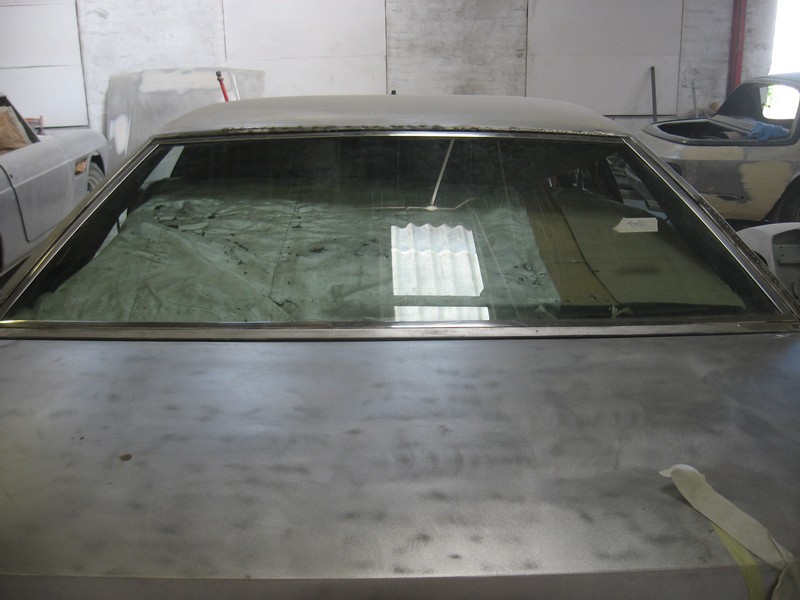
“….we have begun the repair around the rear windscreen area, the sections are just tack welded into place at the moment as I want to get everything set up and then trial fit the rear glass and trims to be sure that the fit is perfect.”
Rear window right sidetrial fittedRear window rusty metal removedFirst piece in placeRear window top edge tack welded inRear window fits perfectly!
“…tack welding of repairs finished on rear window surround and glass & trim trial fitted (thankfully all fitting perfectly).”
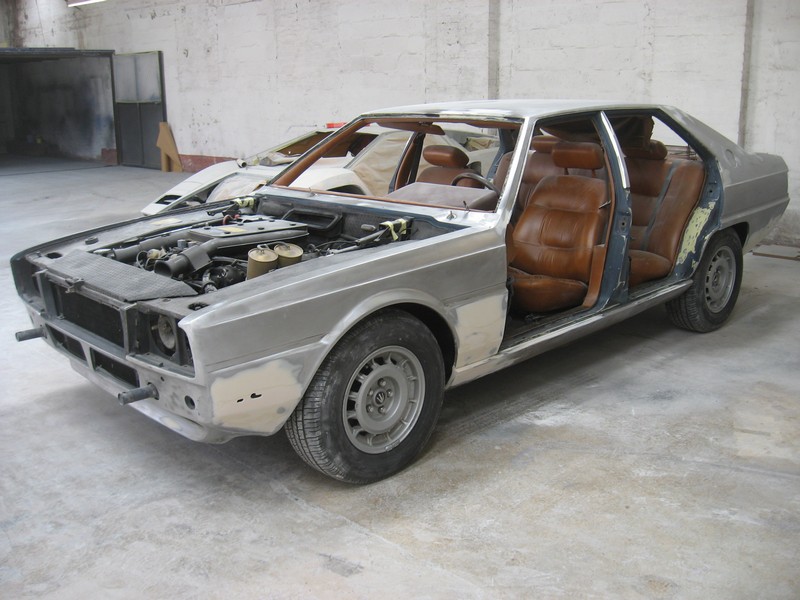
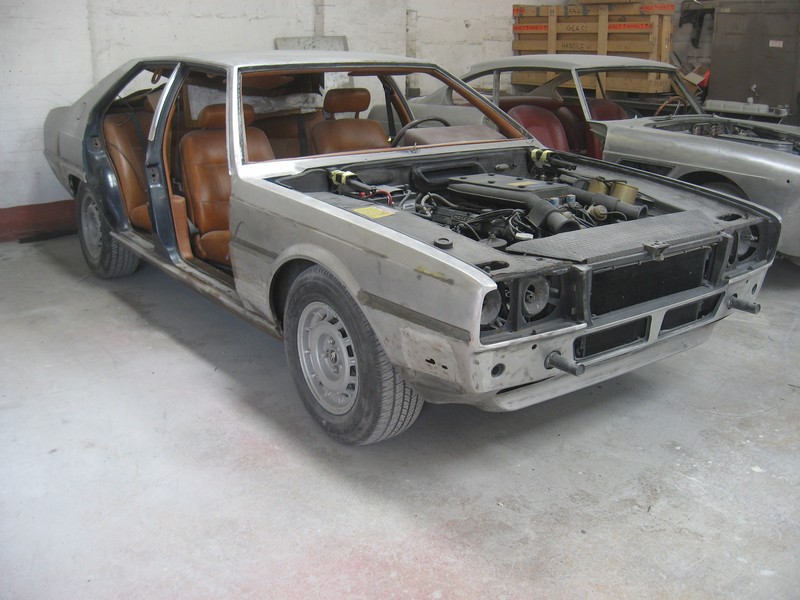
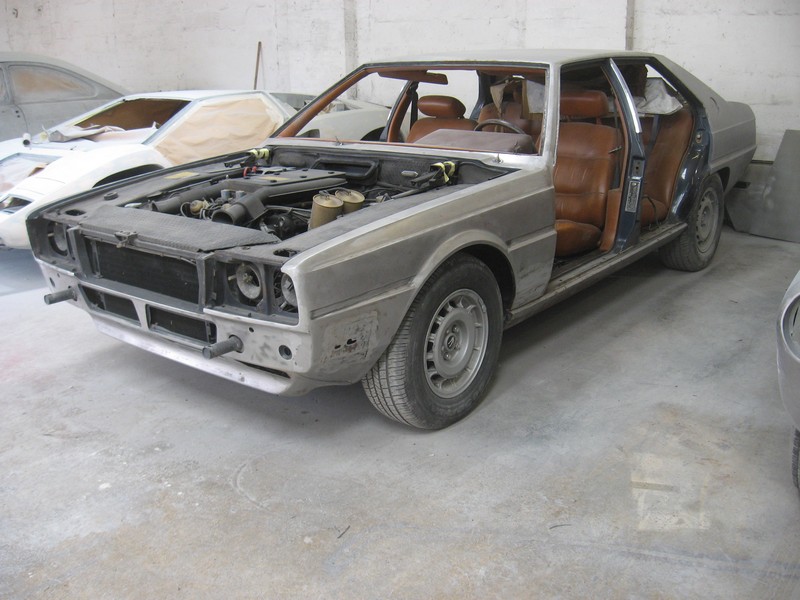
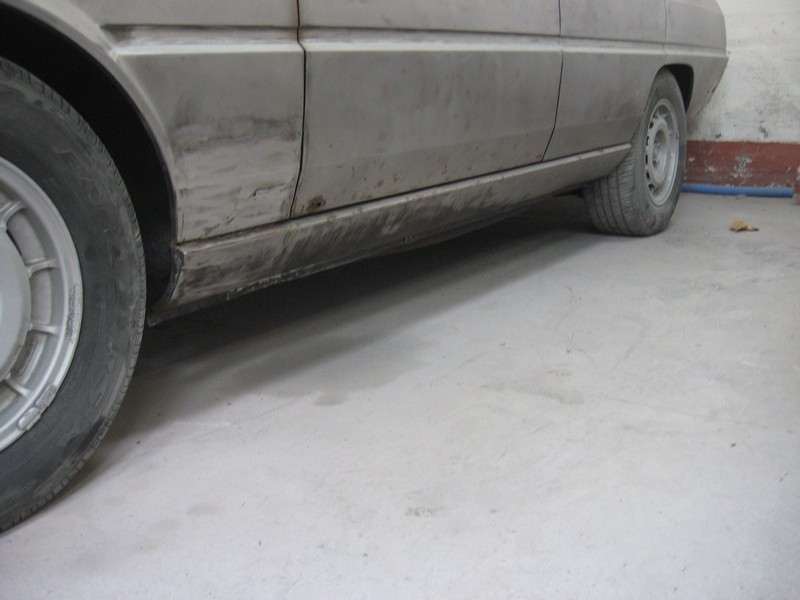
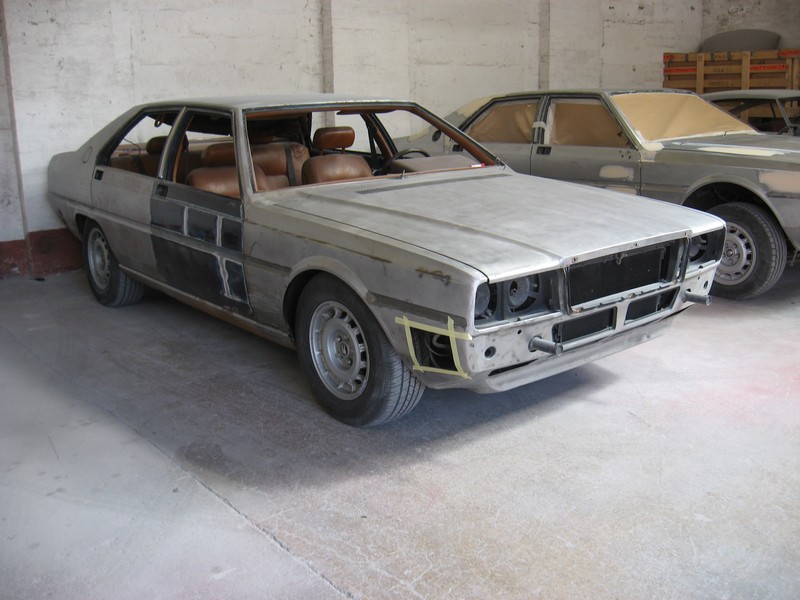
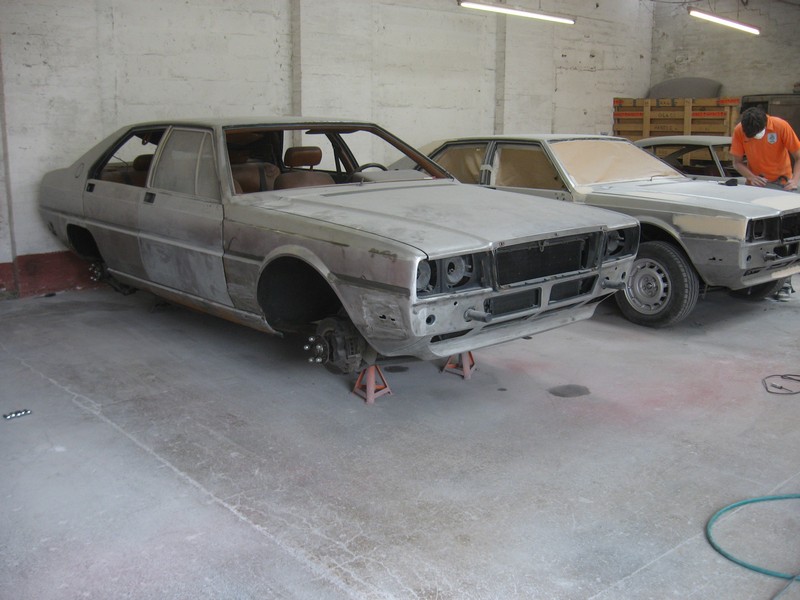
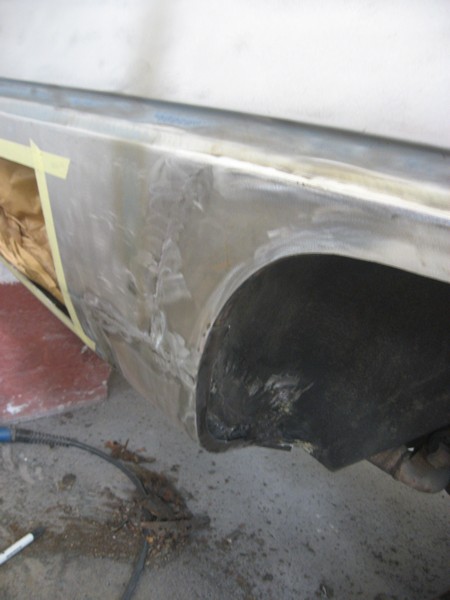
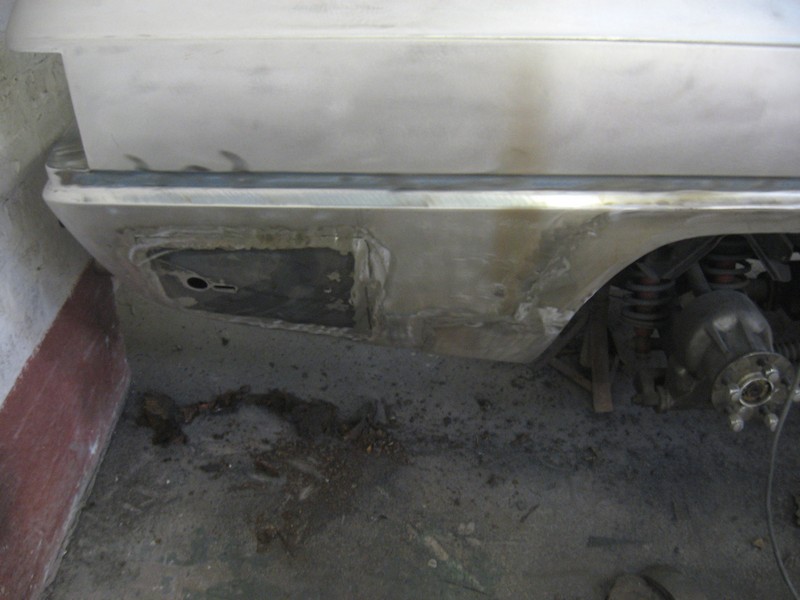
The car so far, with the exception of the front passenger door, has proven to be a solid and straight “what you see is what you get” car, no hidden surprises, patched-over accident repair or other confidence killers. A very good, well cared for car with documented ownership since new, all of whom kept her properly maintained.
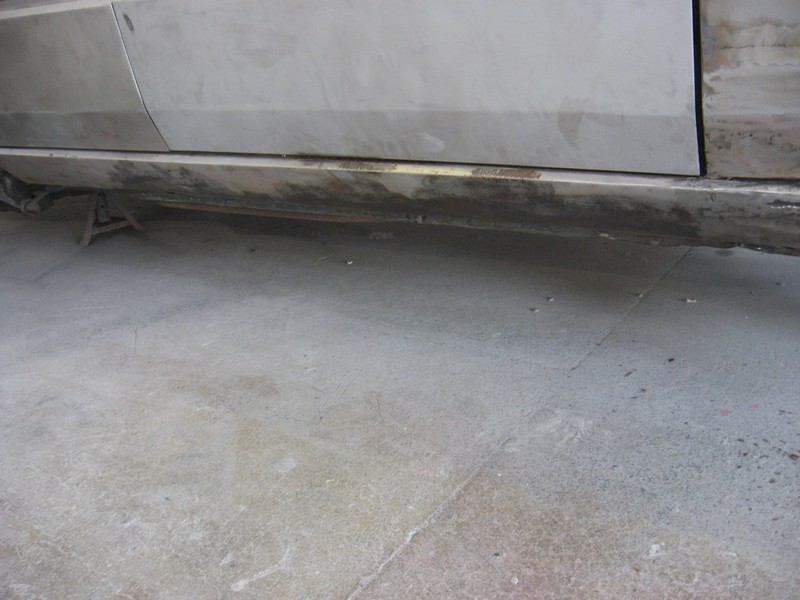
“..lower sill areas cleaned back, new right front door stripped out (glass removed etc) and light surface rust removed from sills. To be fair to the guys who did the repairs previously and painted the lower sill area – had done a very thorough job of de-rusting. The sills are completely solid.”
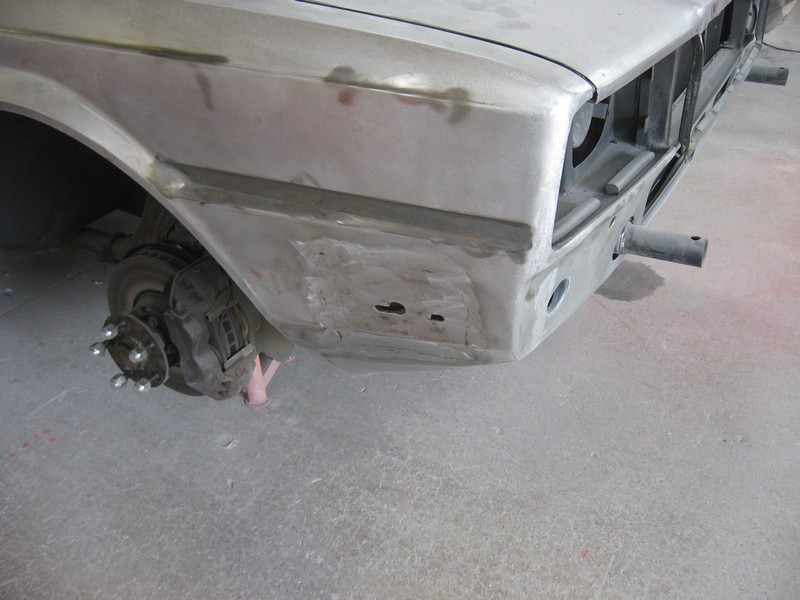
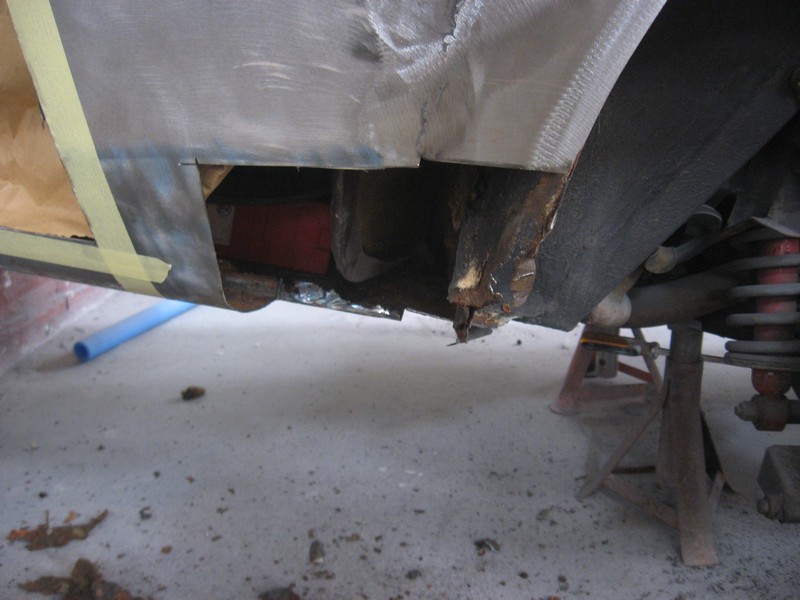
As to the bumper support areas replaced (see previous entry), the shop writes,
“I won’t be replacing the left rear bumper support area as it’s pretty perfect. I think the only reason the right side had gone was due to previous repair there which was tied up to the old right rear wheelarch repairs. (Which I’m certain happened a long time ago and certainly wasn’t a more recent ‘cover up’ job).”
The new door has been trial fitted and looks pretty good already, but will need minor adjustments to give perfect panel gaps.
I’m pleased to find that the shop doing the work is not content with merely dealing with the worst of the visible imperfections, be it rust, dings or otherwise. They also tend to areas no one will ever see, and make sure that the structural integrity of the car is maintained. Even nicer is the fact that their perspective is long term, and the work they perform they expect to last for years.
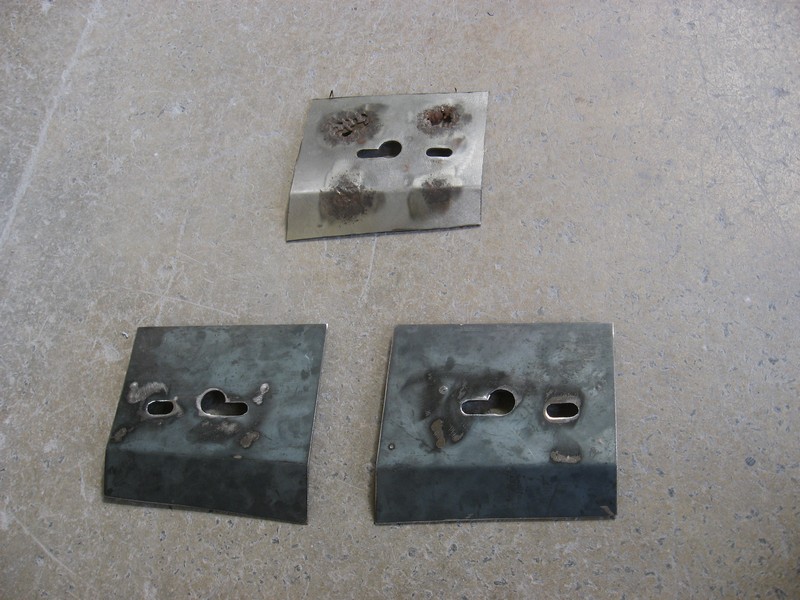
“A quick update today………front bumper corner support area cut out and sent to my fabricator as it has a strengthener section spot welded in behind, I have asked him to make me a new pair as the left one was just beginning to rust also and I don’t see the point of just doing the one as the other would undoubtedly have needed doing in a few years time.”
Old front bumper support removedNew front bumper supportsNew front bumper supports, rearFront bumper brace welded inCloseup
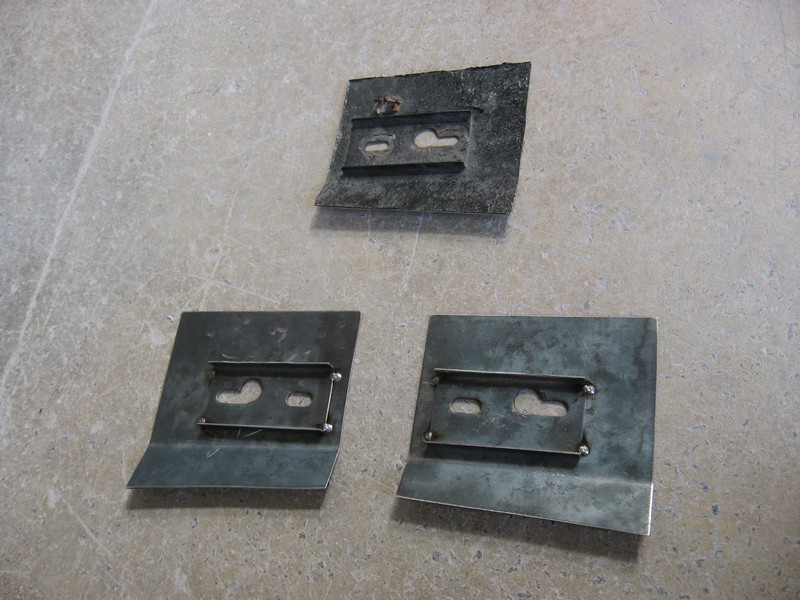
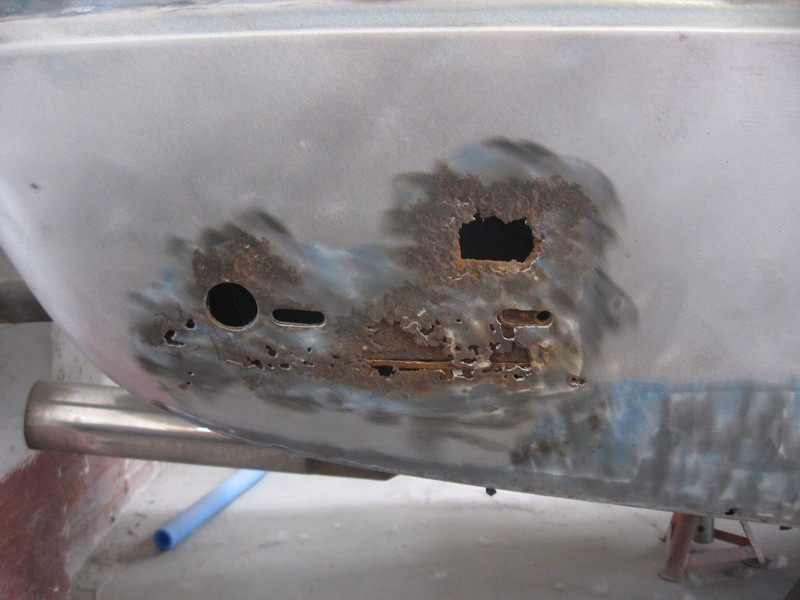
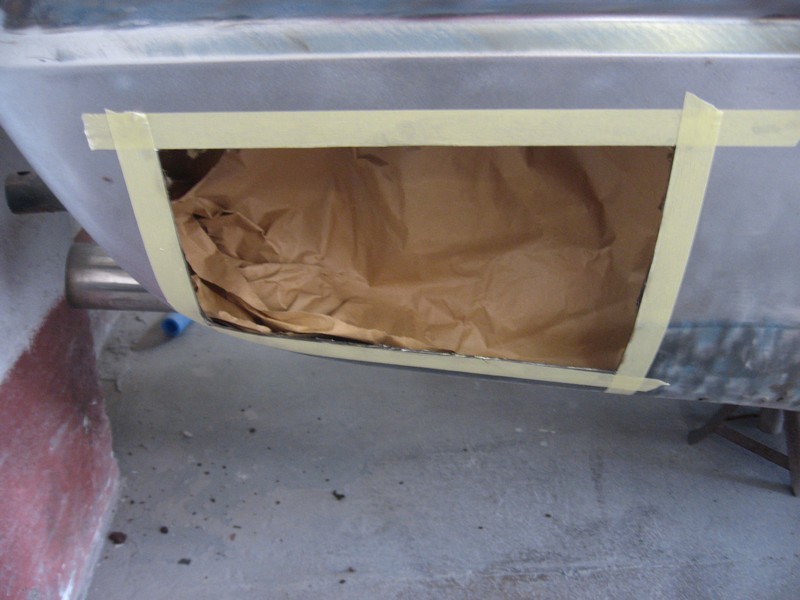
“both front corners now completed, new panel made for the right rear bumper corner mounting area, right rear wheelearch completed.”
The attention to detail continues on the rear quarter panels.
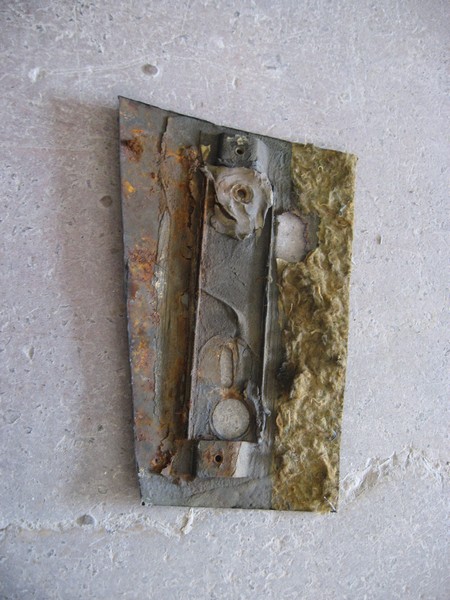
Rear bumper supportNow you see it, now you don’tOld rusted rear support. Note insulation, which is both hydrophilic and readily flammableRear wheel arch and trunk bottom being renewedBetter than newRight quarter panel complete
Most shops today think it’s too much work and too expensive to actually cut the rusted parts out and weld new metal in. They either hammer the rusted section in and weld a new piece of metal over it, or simply brush it out and cover it with filler. I.e. basically just postponing the problem, potentially making it much worse in the long run.
Do you have a story about amazing body work, or a link to some place you’d recommend? Add it in the comments section!